If your Tundra’s overheating, start by checking coolant level, concentration, and overflow for boiling or low fluid; feel upper and lower radiator hoses to verify flow and temperature difference. Inspect radiator and heater‑core for clogs, test the thermostat and radiator cap, and confirm fan clutch engagement at speed. Pressure‑test the system and watch for milky oil or white exhaust that suggest head gasket issues. Follow these systematic checks to narrow failures, and continued guidance will show specific fixes.
Quick Triage: Is Your Tundra Overheating?
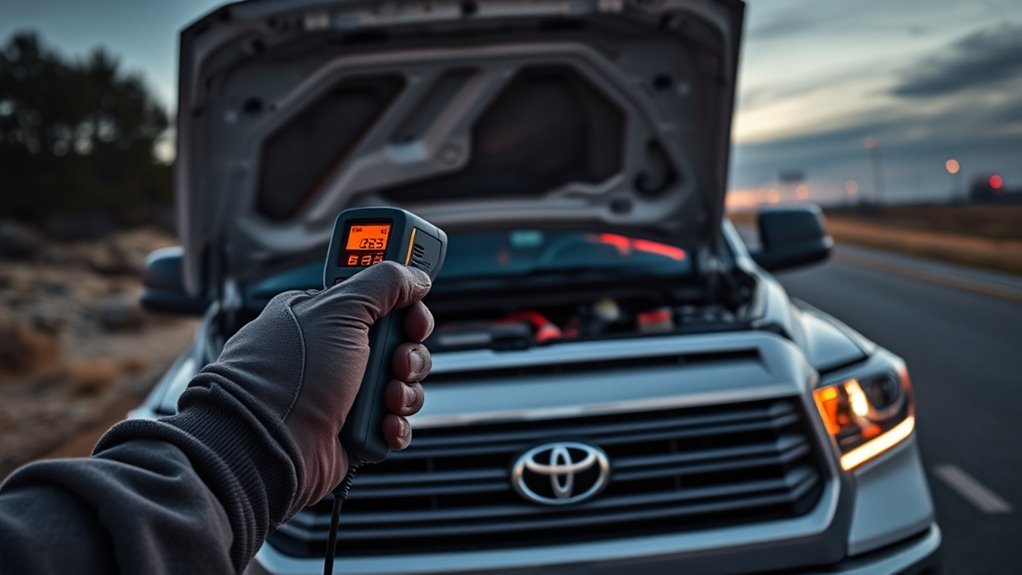
Noticing your Tundra running hot? Start a rapid, methodical check: monitor the temperature gauge for sustained elevation at cruising speeds, and glance at the coolant overflow for signs of boiling or low level. If the gauge climbs and the overflow shows bubbles or loss, suspect circulation or cooling component failure. Feel the lower radiator hose (with caution) after short operation; lukewarm rather than hot indicates inadequate flow through the radiator. Inspect the fan clutch engagement at speed—if it’s slipping, airflow will be insufficient despite vehicle velocity. Confirm coolant concentration and level; improper mix or low volume degrades heat transfer. Perform a coolant system flush if maintenance records are stale. These steps free you from uncertainty: gauge behavior and overflow condition tell you whether you’re facing an active overheating event versus transient fluctuation. Act on these indicators before moving to targeted repairs to regain control of your truck.
Tundra Overheating Causes (Top 7)
Start by checking the thermostat and overall coolant flow, since a stuck or miscalibrated thermostat will block circulation and raise engine temperature. Inspect the radiator and hoses for blockages, corrosion, or leaks that restrict flow or reduce cooling capacity. Addressing those two systems first will often identify the root cause and guide whether you need repair or component replacement.
Thermostat And Flow
A faulty thermostat or disrupted coolant flow is a common cause of Tundra overheating, because a stuck-closed thermostat, slipping water-pump impeller, blocked radiator, or trapped air will all prevent proper circulation and let temperatures spike. You’ll confront thermostat failure or impaired coolant circulation when the gauge climbs under load or during sustained highway runs. Inspect a new thermostat that behaves closed; test the water pump for impeller slip; and bleed the system to remove air pockets. Maintain hoses, clamps, and fan clutch to preserve flow and avoid repeated failures. Diagnose methodically, replace failed parts, then pressure-test the system. You deserve control—liberate your Tundra from heat with disciplined maintenance.
| Symptom | Action |
|---|---|
| Gauge spike | Test thermostat |
| Heat under load | Check pump |
Radiator And Hoses
When your Tundra overheats despite a warm upper hose, inspect the radiator and hoses immediately: a lukewarm lower hose with an excessively hot upper hose often signals internal radiator blockage or collapsed hose restricting flow. You want freedom from recurring heat—start with systematic checks.
- Check radiator maintenance: flush cooling system to remove debris, restoring full flow and heat exchange.
- Perform hose inspection: look for soft spots, kinks, collapsed sections and replace any compromised hoses.
- Test radiator cap and pressure: a faulty cap stops proper pressurization and circulation; replace if it won’t hold pressure.
- Verify fan engagement: a failed fan clutch reduces airflow at speed—confirm operation and replace clutch or fan assembly if needed.
Act decisively to reclaim control and prevent damage.
Check Coolant Flow: Radiator, Pump, Heater‑Core Tests
If you suspect poor coolant circulation, inspect the radiator hoses, water pump, thermostat, and heater core in a systematic order to pinpoint the restriction. Begin coolant inspection by feeling upper and lower radiator hoses with the engine at operating temperature: a notably cooler lower hose signals inadequate circulation, often from a failing water pump or stuck thermostat. For flow diagnostics, remove the radiator cap only when cool, then warm the engine and observe coolant movement; visible flow confirms pump action, absence of motion points to pump failure. Verify heater‑core function by checking dash outlet temperature and feeling core hoses—if the heater core is hot while cabin heat is weak, suspect internal blockage restricting flow. Regularly flush the cooling system to purge debris that causes low flow and overheating. Work methodically, replace failed pump components or clear heater‑core blockages, and reclaim control over your vehicle’s thermal system to prevent repeat failures.
Test Thermostat, Radiator Cap & Coolant Mix
Because overheating often traces to simple parts, start by testing the thermostat, radiator cap, and coolant mix in a systematic order to isolate failures quickly. You’ll perform targeted checks to regain control and prevent repeat failures: thermostat testing, radiator inspection, coolant maintenance, and air bleeding.
- Thermostat testing: remove the thermostat and immerse it in boiling water; confirm it opens near spec temperature. Replace if it sticks or opens late.
- Radiator inspection: examine the cap for cracks, torn seals, or spring damage; a faulty cap lets pressure escape and causes overflow.
- Coolant maintenance: flush if contaminated, then refill to a 60/40 antifreeze-to-water ratio for ideal boiling point and freeze protection.
- Air bleeding: after refilling, bleed the system to remove trapped air that blocks coolant flow and causes hotspots.
Follow this sequence; it’s efficient, technical, and empowers you to eliminate common overheating sources without unnecessary steps.
Pressure‑Test & Spot Head‑Gasket Signs
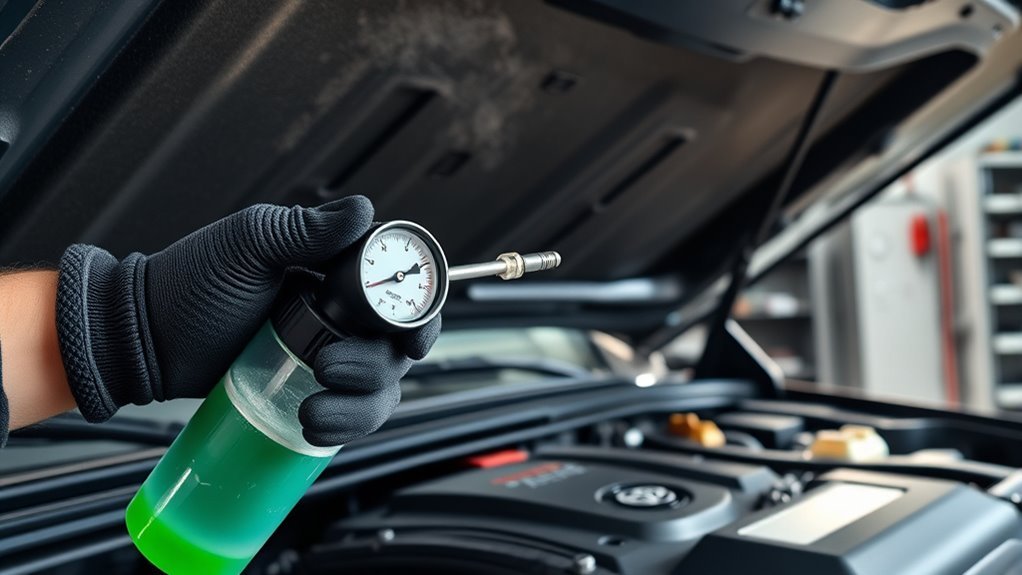
Having verified the thermostat, radiator cap, and coolant mix, move next to pressure-testing the cooling system and looking for head‑gasket indicators. You’ll use a pressure test to pressurize the system, reveal leaks, and compare measured pressure to spec. Lower-than-normal readings under load point to leaking paths: hoses, water pump, or a failing head gasket. Watch for white exhaust smoke, milky oil, or coolant in the oil—these are liberation signals that the engine’s integrity is compromised.
| What to watch | Diagnostic clue |
|---|---|
| Pressure test | Drops below spec under load |
| Exhaust smoke | Persistent white plume |
| Oil inspection | Milky or frothy oil |
| Coolant loss | Unexplained reservoir drop |
Systematically document pressure readings at idle and warm-up. If pressure loss coincides with combustion gas escape signs, isolate head gasket failure. Replace faulty caps or hoses first to rule out mimicry. Regular pressure testing prevents prolonged damage and frees you from catastrophic failure.
Repair Priorities: Cheap Fixes First, Then Parts to Replace
Start with inexpensive troubleshooting: check and, if needed, replace the thermostat, inspect the radiator cap for damage, verify fan clutch operation, and flush the cooling system to remove blockages. Confirm the coolant mix is correct (about 60/40 antifreeze-to-water) before moving to major repairs. If symptoms persist after these steps, prioritize replacing critical components such as the radiator, water pump, or head gasket.
Cheap Troubleshooting Steps
If your Tundra’s running hot, begin with inexpensive checks you can do yourself to rule out common causes and avoid unnecessary parts replacement. Focus on basic, liberating actions that restore control: confirm coolant level and 60/40 antifreeze-to-water ratio; consider coolant additives if corrosion or minor leak sealing is needed; perform radiator maintenance by inspecting for blockages and cleaning fins.
- Check coolant level, cap integrity, and pressure sealing.
- Test thermostat in boiling water; replace if it sticks.
- Flush cooling system to remove debris; monitor flow.
- Verify fan clutch engagement and airflow at speed.
Work methodically, document results, and only escalate to component replacement if these cheap steps don’t resolve overheating.
Replace Critical Components
Prioritize replacing components that directly affect coolant flow and airflow, moving from inexpensive parts to more costly assemblies as you confirm failures. You’ll start with the thermostat to restore proper coolant flow and verify coolant quality; a cheap OEM replacement often fixes erratic temps. Next inspect fan clutch and fan engagement—replace if it doesn’t engage under load. Then assess the water pump and belts for wear or slippage; replace if seals or bearings fail. Flush the cooling system to remove blockages before swapping major parts. Maintain high-quality Toyota antifreeze and correct levels after repairs to secure heat transfer and protect components. This sequence frees you from repeated failures and keeps cooling integrity systematic and resilient.
| Priority | Action |
|---|---|
| 1 | Thermostat, coolant quality |
| 2 | Fan clutch (fan engagement) |
What to Try at Home vs. When to Call a Mechanic
Wondering what you can safely check yourself versus when to call a mechanic? Use coolant maintenance tips and debunk overheating myths by handling basic inspections first. You’ll gain control and avoid unnecessary dependency, but know limits.
- Check coolant level and quality: confirm a 60-40 antifreeze-to-water ratio, look for contamination or low level.
- Inspect hoses and radiator: look for leaks, cracks, bulges, or blocked fins that restrict flow.
- Test thermostat/water pump function: if you can, monitor temperature rise and feel upper radiator hose for proper flow; don’t disassemble complex parts if unsure.
- Observe fan clutch and airflow at speed: note if overheating happens mainly at highway speeds—this suggests airflow or radiator efficiency issues.
Call a mechanic immediately if you see steam, boiling coolant, persistent high temps, or if you’re uncomfortable with diagnostics. These signs indicate serious faults requiring professional tools and expertise.
What to Tell Your Mechanic for Faster Diagnosis
What details should you give your mechanic to speed up diagnosis? Start with a clear symptoms description: state when overheating happens (sustained highway speeds, stop-and-go city driving, idle), whether the gauge spikes or creeps up, and if performance changes when the AC is on or off. Note any recent maintenance—radiator, coolant flush, thermostat, or water pump replacements—and whether you topped off antifreeze after past incidents.
List conditions precisely: ambient temperature, load (towing, heavy cargo), recurrence frequency, and whether the issue eases after cooling. Report prior coolant-level problems and exact fluid levels observed. Mention community-suggested checks you want them to prioritize, such as fan-clutch operation, fan motor/fuse, and potential blockages in hoses or radiator.
This focused mechanic communication lets the technician triage tests, replicate symptoms, and target inspections faster, reducing diagnostic time and cost while you reclaim control over your vehicle’s reliability.
Frequently Asked Questions
What Are 10 Common Causes of Overheating on a Toyota?
You’ll face ten causes: cooling system leaks, thermostat failure, radiator issues, low coolant, water pump faults, head gasket breach, cracked engine block, fan malfunction, air pockets in lines, and a faulty temperature gauge.
Conclusion
You’ve worked through quick checks, coolant flow tests, pressure checks and head‑gasket signs, prioritizing cheap fixes before parts replacement. Keep systematic notes, start with thermostat, cap and coolant mix, then radiator, pump and heater‑core tests; if symptoms persist, pressure‑test and scan for head‑gasket clues. Try home fixes only when safe; otherwise call a mechanic. Think of the process like troubleshooting a circuit: methodical steps save time, money and engine heartache.