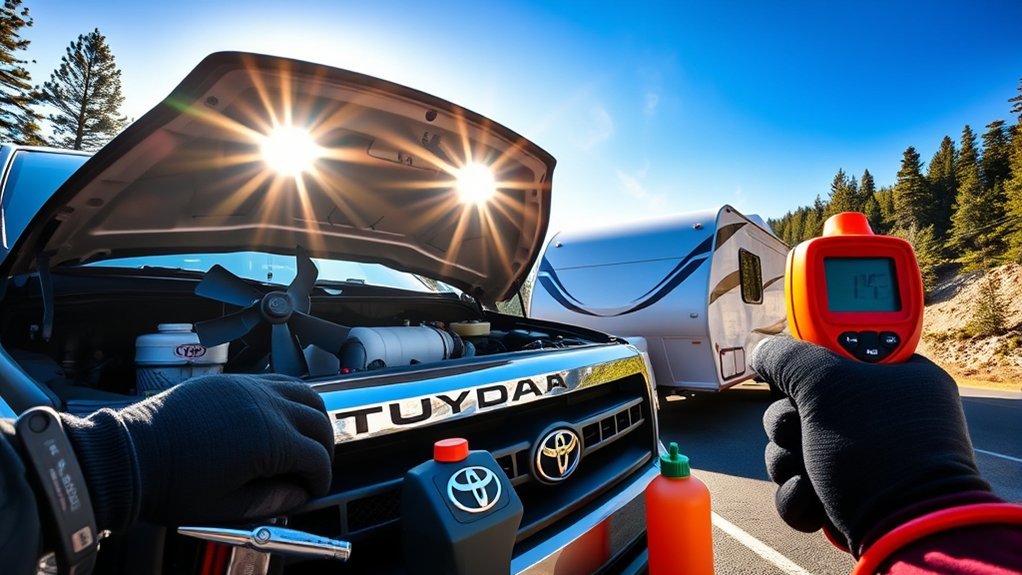
First check whether your Tundra has sealed LED headlights or a user‑replaceable lamp (most 2023–26 models use sealed LEDs; only amber DRL/indicator is often serviceable). If replaceable, gather a 10 mm socket, ratchet, small flathead, gloves and a 9003 bulb, then remove the grille and fender liner to reach the rear of the assembly. Swap the bulb, use dielectric grease, reconnect the battery, test and aim the light. Keep going for step‑by‑step removal and tips.
Identify Your Tundra Headlight Type (LED vs. Replaceable Bulb)
Wondering whether your Tundra’s headlight can be DIY-replaced or not? First, inspect the lens and owner’s manual to classify headlight types: integrated LED unit or modular, replaceable-bulb housing. The 2023–2026 Tundra commonly uses sealed LED units that look like a single assembly rather than a removable bulb socket. Note LED limitations: these units aren’t designed for bulb swaps; the amber DRL/indicator often remains the only user-replaceable lamp on non-premium trims. Next, open the hood and view the rear of the headlight assembly—no access port or detachable bulb socket signals an integrated LED. If you find a clear socket with a removable connector, you likely have a replaceable bulb. Record your trim and part numbers; some models may lack separate bulbs entirely. This checklist frees you to decide your next step without guessing and prevents wasted DIY effort on non-serviceable LED assemblies.
Should You DIY or Take It to the Dealer?
Now that you’ve confirmed whether your Tundra uses an integrated LED or a replaceable bulb, decide if you should tackle the job yourself or bring it to the dealer. Weigh DIY pros: clear Cost analysis shows parts plus your labor often beats dealer labor, and you gain autonomy. Consider Tool requirements and Time investment: grill and possible fender liner removal usually takes 35–40 minutes and needs a 10 mm socket and flat blade screwdriver. Factor Risk factors: fragile clips and extenders can break during disassembly, creating extra expense.
Check Warranty coverage first—under 36,000 miles or three years, dealer service may be free or cheaper. Note Dealer cons: higher immediate cost and potential upsells. Balance that against Professional benefits: trained techs reduce breakage risk and handle warranty claims smoothly.
Decide based on budget, confidence with disassembly, and desire for independence versus the convenience and protection of dealer service.
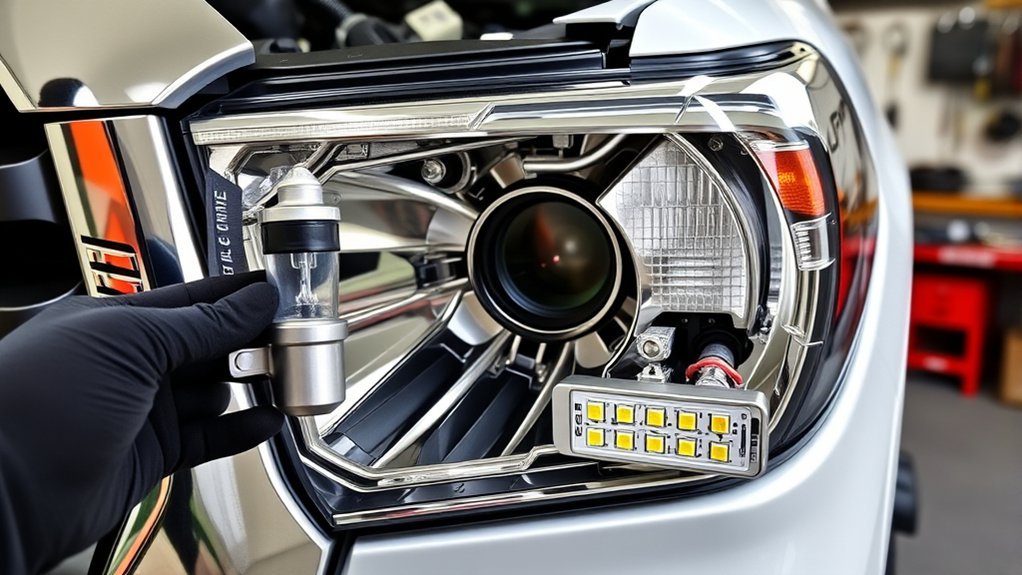
Tools and Parts to Have Before You Start
Before you start, gather the essential tools and parts so the job goes smoothly: a 10 mm socket and small flathead screwdriver for the grille and fender liner, a 9003 replacement bulb, bulb grease, and gloves to avoid touching the glass, plus a clean, well-lit workspace. Use this tools checklist to confirm you’ve got everything: 10 mm socket, ratchet, small flathead screwdriver, replacement 9003 bulb, dielectric or bulb grease, nitrile or clean cotton gloves, and a flashlight or work lamp.
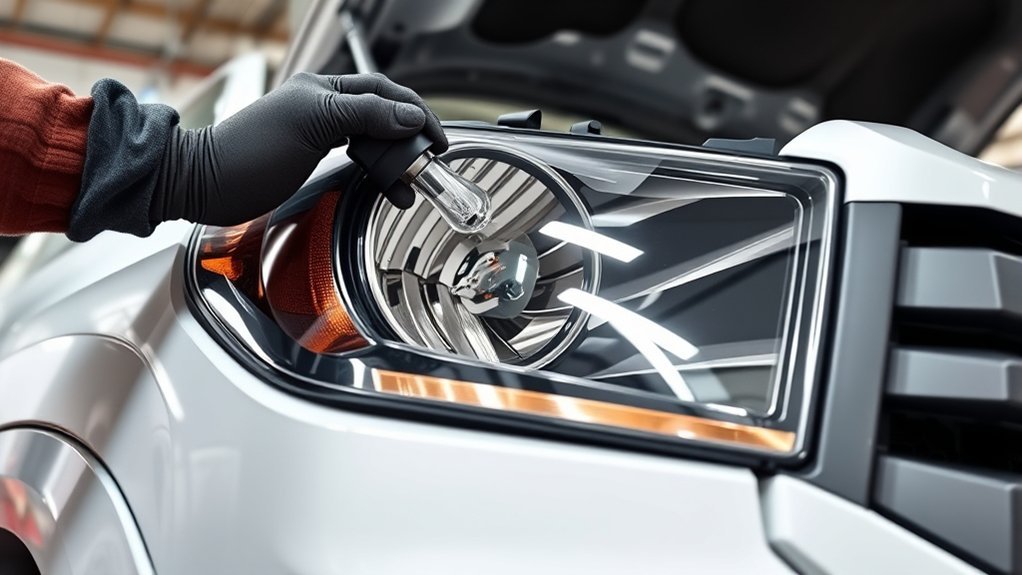
For bulb selection, pick an OEM-equivalent 9003 rated for your Tundra’s year and driving needs; avoid touching the glass and inspect the connector and socket for corrosion before installation. Keep parts organized in a tray and wear gloves when handling the bulb. Bulb grease on the base prevents corrosion and eases future removal. With this concise preparation you’ll reduce mistakes, speed the job, and retain control—liberating you from unnecessary shop costs.
Tundra Headlight: Grill Removal Step-by-Step
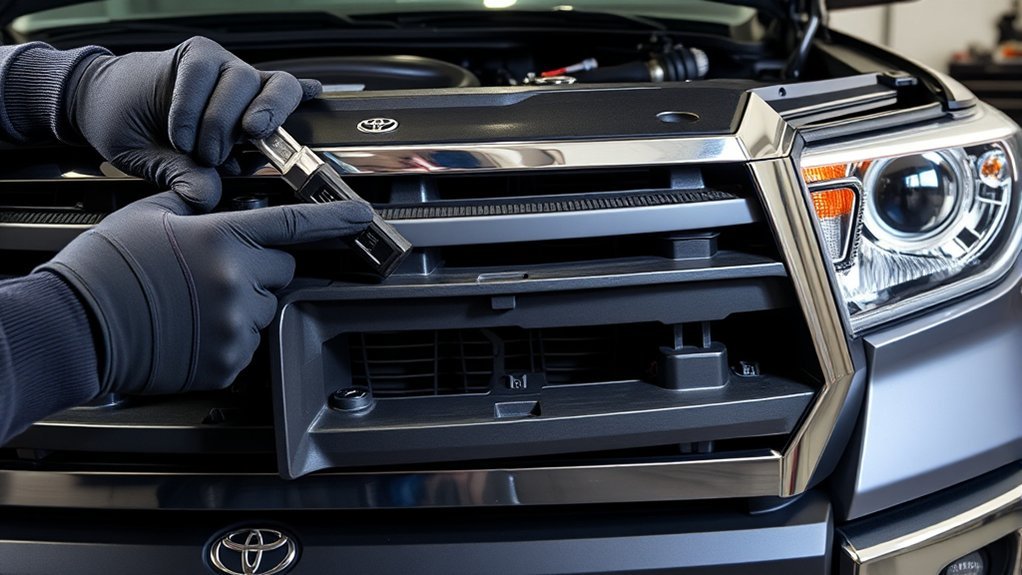
Because you’ll need clear access to the headlight housing, start by removing the grille: loosen the visible 10mm bolts that secure it to the front of the Tundra. Keep each fastener organized so reassembly won’t bind your freedom to finish the job. Next, perform fender dart removal—use a flat blade screwdriver to carefully pop out the plastic darts; some clips sit behind the inner lip and require access from inside the fender to free them fully. Once bolts and darts are removed, gently pull the grille away, checking for any hidden fasteners or retained clips. With the grille detached, inspect mounting points for damage and verify grill alignment before proceeding to the headlight. Confirm you’ve removed all bolts or darts that could block the housing; you’ll now have direct access to the bulbs, simplifying replacement. When finished, resecure the grille, tighten 10mm bolts to snug, and verify grill alignment for a clean, liberated fit.
Swap Amber DRL/Indicator via the Fender Well
Start by opening the fender well to reach the amber DRL/indicator: remove the few 10mm bolts and carefully pry out any plastic retainers with a small flathead screwdriver, working slowly so the liner and extenders don’t crack. With the liner loosened, fold it aside enough to expose the bulb socket; maintain fender liner considerations by supporting edges and avoiding sudden bends. If access is still tight, you can remove the grill and headlight assembly—this adds time but grants clear reach.
Disconnect the socket, twist out the old amber bulb, and install the replacement without touching the glass. Follow bulb handling tips: wear gloves or use a clean cloth to avoid oil contamination that shortens bulb life. Reconnect the socket, test the DRL/indicator, then reseat the liner and reattach 10mm bolts and retainers. Consult your owner’s manual for bulb type and torque references.
Prevent Broken Fender Liners and Plastic Clips
When you fold back the fender liner to reach the DRL or indicator, handle the plastic extenders and clips slowly and gently to avoid cracks or snapped tabs. You’ll protect parts and avoid a $40 CAD replacement by using steady pressure, slow leverage, and fingertip support. Practice fender liner care: score release points with a small flat tool, pry a little at a time, and never force a stuck extender.
| Action | Purpose |
|---|---|
| Slow pry | Prevents sudden snaps |
| Support tab | Distributes pressure |
| Use flat tool | Controlled release |
| Inspect clips | Find fatigue before stress |
| Replace damaged | Restore secure fit |
For plastic clip handling, remove and reinstall along the original axis, keep clips aligned, and avoid twisting. If a tab feels brittle, stop and source a replacement before proceeding. These steps give you control, reduce waste, and keep your Tundra repair sovereign and durable.
Final Checks and Optional Lighting Upgrades
After reinstalling the headlight, check that all clips and fasteners are secure and that the beam, high beam, and turn signal work correctly. Apply dielectric/Bulb grease to the bulb base and verify beam alignment to prevent moisture and guarantee proper road coverage. If you want brighter or more focused light, consider aftermarket options such as high‑output LED bars, upgraded fog lights, or lens cleaning/polishing for improved brightness.
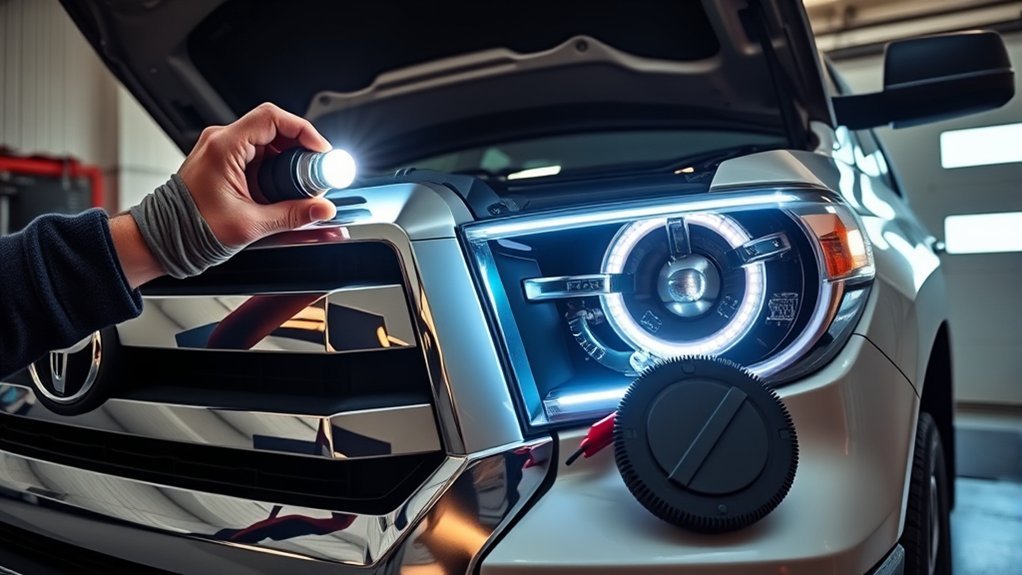
Final Functionality Checks
Before you finish, verify both headlights work and shine evenly by switching them on and checking low and high beams from a short distance; look for matching brightness and aim, and listen for any abnormal sounds. Perform functionality verification: confirm turn-on response, steady illumination, and identical bulb brightness on both sides. Inspect the rubber boot seal; reseat it firmly to block moisture that causes premature failure. Apply a light smear of bulb grease to the base for corrosion resistance and easier future removal. If one lamp appears dim, replace bulbs in pairs to restore balanced output and safety. Recheck aiming on level ground at night; adjust until beams align. Finalize by securing all clips and re-testing lights before driving.
Consider Aftermarket Upgrades
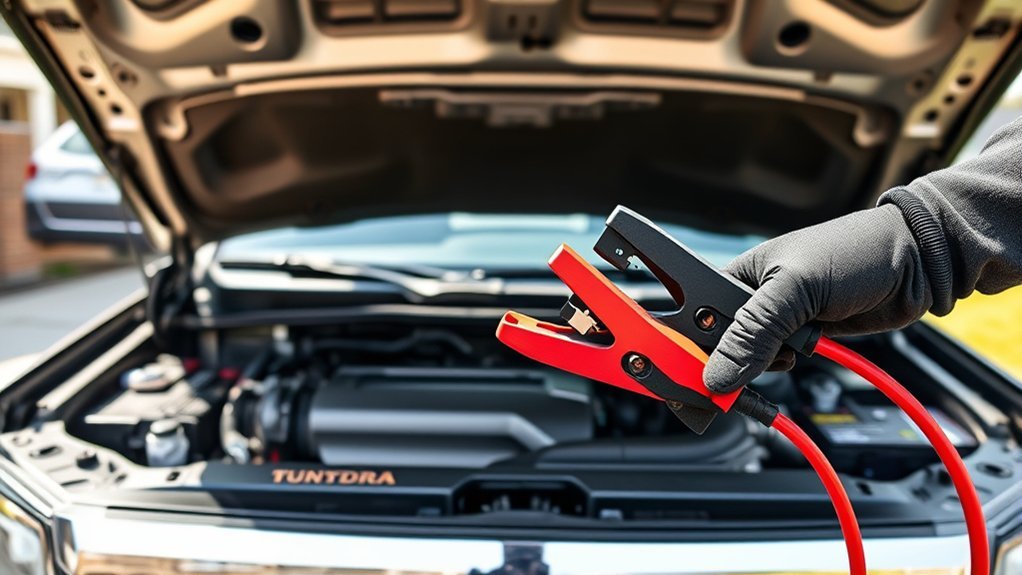
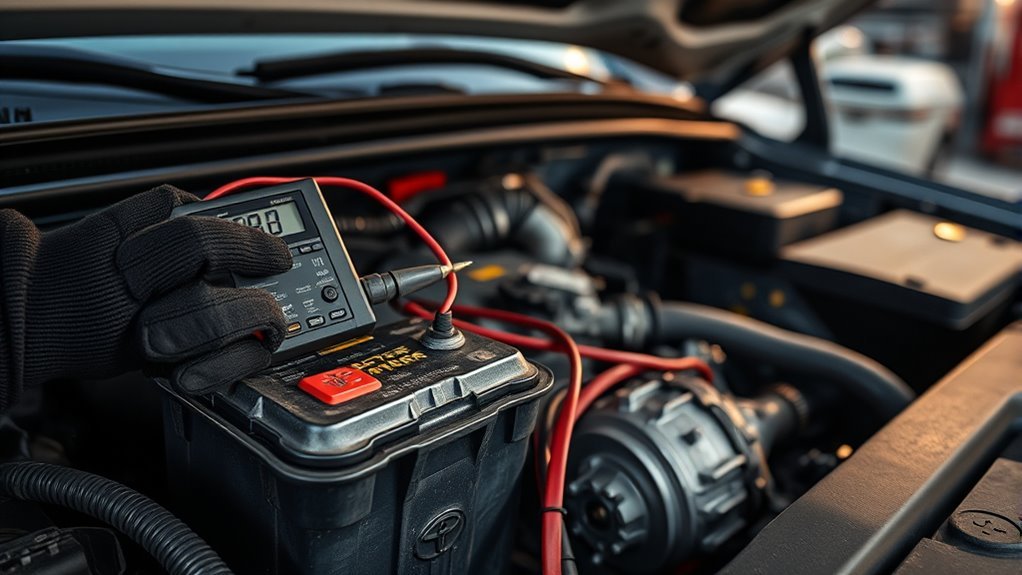
Now that your bulbs are working and aimed, consider aftermarket upgrades to boost nighttime visibility and style. You can install a pro grill with a high-output white bar light to dramatically improve illumination; choose aftermarket lighting that fits your Tundra’s lines and electrical capacity. Inspect wiring and verify compatibility before purchase to prevent power or grounding issues. Prefer LED or HID kits for efficiency and brighter beams; community feedback notes easier installation and clear visibility gains. Follow installation tips: disconnect the battery, route wires away from heat, use proper mounts, and secure connections with heat-shrink and dielectric grease. Test lights and aim after installation. Investing in quality parts frees you from stock limits and enhances safety and aesthetics.
Frequently Asked Questions
How Much Does It Cost to Replace a Headlight Bulb in a Toyota Tundra?
You’ll pay about $20–$100 for bulb types, more at dealerships with labor up to ~$150; DIY with basic tools and aftermarket bulbs ($15–$30) or free-install offers saves money, and warranties can cover replacement.
Conclusion
You’ve got this—whether your Tundra has replaceable bulbs or full LED assemblies, small prep and the right tools make the job quick and clean. Remove the grille or use the fender well access, swap the bulb or amber DRL, and secure clips and liners so nothing rattles or breaks. Double-check aim and connectors, test the lights, and consider an upgrade if you want brighter output that’ll blind a lighthouse—safely and legally.