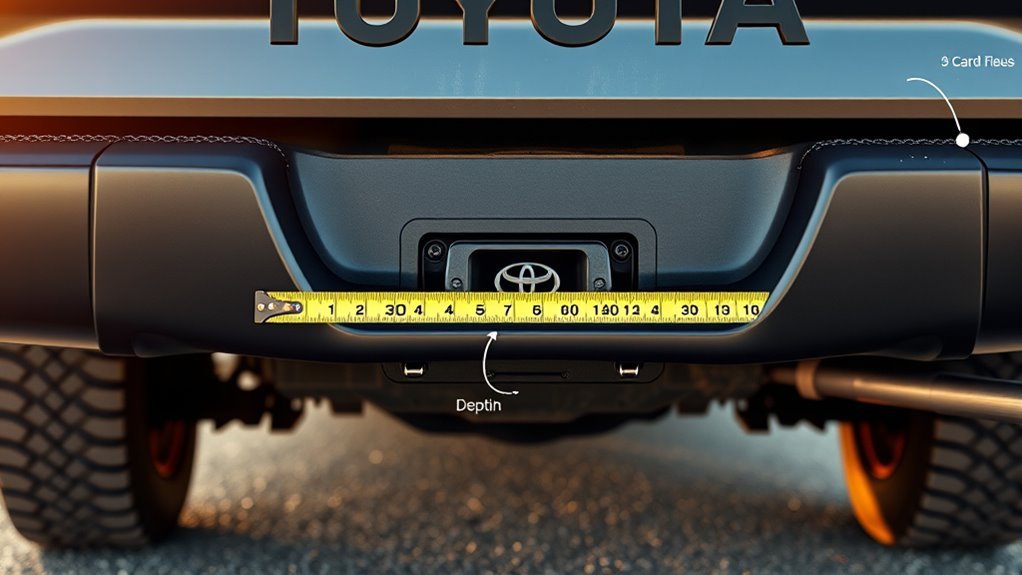
Your Tundra uses a 2‑inch Class IV hitch receiver (the actual opening often measures about 2.125″) rated up to 10,000 lb gross tow; you should match mounts, balls (1 7/8″, 2″, 2 5/16″), and hardware to those dimensions and capacities. That slight extra clearance can cause lateral play, so use steel shims, sleeves, or anti‑rattle devices and inspect for corrosion and fatigue regularly. Keep tongue weight and drop height correct for level towing, and continue for practical fit, stability, and upgrade guidance.
Tundra Hitch Receiver Size : The Quick Answer and Why It Matters
Clearance matters: the Toyota Tundra comes from the factory with a 2-inch hitch receiver opening (often measured at about 2.125 inches to allow slight movement and reduce rust), and that Class IV hitch is rated up to 10,000 lb—so you can tow heavy trailers but must confirm accessory fit. You’ll rely on precise receiver dimensions for safe Tundra towing: verify ball size and tongue weight to maintain proper weight distribution and towing safety. Inspect accessory compatibility before each trip; some nominal 2-inch accessories may rattle or fit loosely. Make receiver adjustments using shim tape or anti-rattle devices to improve hitch alignment and reduce wear. Schedule routine hitch maintenance—clean, lubricate, and inspect for corrosion—to preserve capacity and freedom on the road. If you need tighter control or higher capacity, consider receiver upgrades that maintain alignment and rated limits. Stay exact, act deliberately, and you’ll keep towing reliable while asserting control over your rig’s performance.
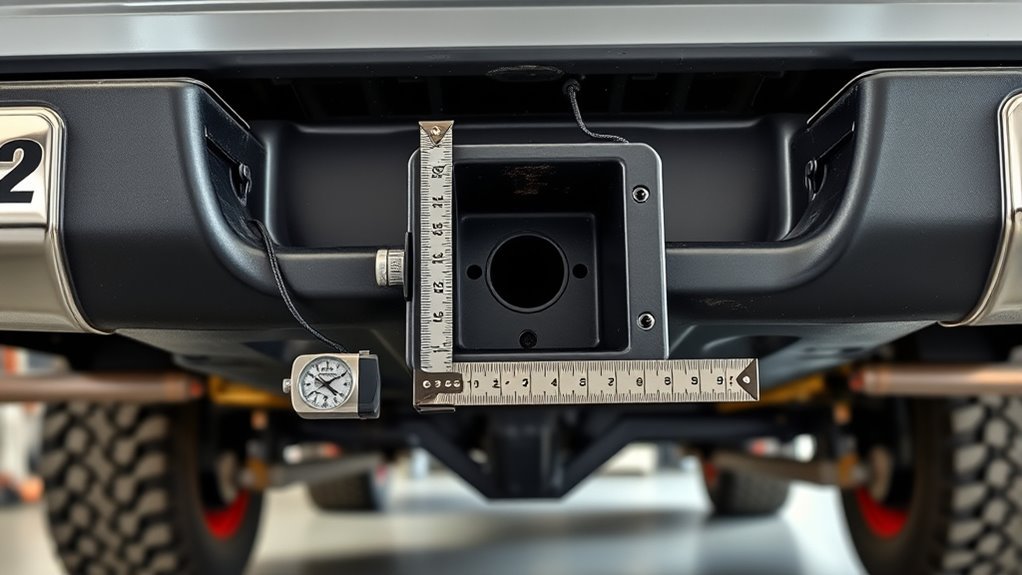
How 2.000″ vs. ~2.125″ Clearances Affect Fit, Movement, and Corrosion
You’ve seen that the Tundra’s receiver is nominally 2.00 inches but often measures about 2.125 inches; that small difference changes how accessories sit and move in the pocket. You’ll evaluate hitch alignment, receiver compatibility, and movement stability when choosing accessories. The extra ~0.125″ clearance reduces metal-to-metal contact, aiding corrosion prevention, but increases play that can impair towing safety unless you apply fit adjustments.
| Issue | Effect | Action |
|---|---|---|
| Clearance | ~0.125″ extra lateral play | Shim tape or sleeve |
| Corrosion | Less constant contact reduces rust | Regular lubrication, maintenance tips |
| Stability | Increased movement under load | Use longer pin, anti-rattle devices |
Select accessories with compatible dimensions and plan fit adjustments for secure engagement. You should prioritize towing safety by fitting anti-rattle hardware, checking hitch alignment, and following maintenance tips to preserve freedom of use and long-term reliability.
Stock Hitch Class (Class IV) : What It Actually Lets You Tow
Because the Tundra’s stock hitch is a Class IV receiver, it gives you a maximum gross towing capacity of up to 10,000 lb when matched to the truck’s towing package and trailer setup, but you must always verify the vehicle’s GVWR/GVWR, tongue weight limits, and trailer rating before loading. You get a strong, versatile platform for heavy trailers, but the hitch is only one element of a compliant system.
Tundra’s Class IV hitch supports up to 10,000 lb—confirm GVWR, tongue weight, and trailer ratings before towing.
- Confirm accessory ratings exceed intended tow weight to guarantee towing safety.
- Verify 2″ receiver compatibility; some mounts and pins vary despite the standard size.
- Manage tongue weight and load distribution to prevent sway and protect chassis limits.
- Maintain the hitch—inspect fasteners, coatings, and welds—to preserve capacity.
You’ll tow heavier loads confidently if you match components, respect weight limits, and maintain the system. This empowers practical freedom while minimizing risk; liberation comes from disciplined preparation, not assumptions.
Ball Sizes, Drop Height, and Choosing the Right Ball Mount
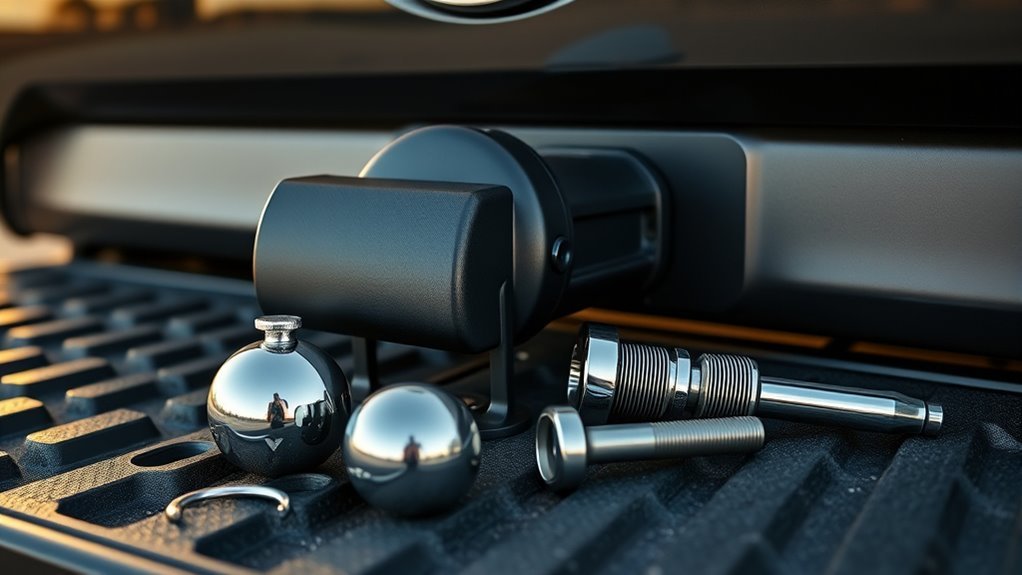
Which ball size and drop height will keep your trailer level and within the Tundra’s limits? You’ll choose from common ball sizes—1 7/8″, 2″, 2 5/16″—with the 2″ ball providing the broadest ball compatibility for most trailers. Match the ball to coupler size and use a connect-a-ball if you need quick interchangeability among hitch accessories.
Select a ball mount with the correct drop height so the trailer tongue sits level; that maintains trailer alignment and maximizes towing stability. Verify the mount’s rated capacity meets or exceeds your Tundra Class IV hitch limit (up to 10,000 lbs) to preserve proper weight distribution and avoid overstress.
Prioritize mounts with clear rating stamps and integrated safety features—pin size, securing clips, and corrosion-resistant finishes—to retain reliability and freedom on the road. Measure, confirm ratings, and install precisely to tow confidently and without compromise.
Anti‑Rattle Devices, Locks, and Rust‑Prevention for Tundra Receivers
When installing an anti‑rattle device in your Tundra’s stock 2‑inch receiver, tighten fittings to manufacturer torque specs and verify minimal lateral play. Choose locks rated for Class IV hitches and match pin diameter to the receiver to secure mounts and deter theft. Prevent rust by cleaning contact surfaces, applying rust‑resistant coatings or shim tape, and lubricating moving parts regularly to avoid seizing and noise.
Anti‑Rattle Installation Tips
Although small gaps in the Tundra’s 2-inch hitch receiver might seem harmless, they amplify noise, accelerate wear, and compromise towing stability—so you should address them with anti‑rattle devices, longer hitch pins, shims, and rust‑prevention measures.
You’ll benefit by understanding anti rattle benefits and preparing installation tools: torque wrench, punch, anti‑seize, and cleaning brush. Fit a compression-style anti‑rattle or shim tape to eliminate play, then insert a longer pin that engages fully. Torque fasteners to spec and apply anti‑corrosion coating or use stainless components to prevent rust. Inspect mating surfaces; remove debris before final assembly. Verify zero perceptible movement under load and re-torque after 50 miles.
- Choose device by receiver clearance and load.
- Prep surfaces; clean and de‑grease.
- Install, torque, and lock pin.
- Apply rust protection and inspect periodically.
Locking Hitch Options
With the play eliminated, you’ll want locking hitch options that combine anti‑rattle performance with secure locking and corrosion protection for the Tundra’s 2‑inch receiver. Choose anti‑rattle devices rated for Class V use so locking mechanisms match the hitch’s load profile and pin dimensions; the longer pin used on the Tundra enhances stability and theft resistance. Evaluate security features: keyed locks, hitch pins with hardened steel, and captive clip designs reduce unauthorized removal and movement. Inspect hardware regularly for wear, proper torque, and secure engagement to maintain towing integrity. Integrate anti‑rattle inserts that compress under load to eliminate noise without compromising engagement. Select components that balance minimal play, proven locking mechanisms, and clear maintenance intervals to keep you free and mobile.
Rust‑Prevention Strategies
Because moisture, road salt, and movement all accelerate corrosion, proactively protecting your Tundra’s 2‑inch receiver combines mechanical fitment and chemical barriers: install Class V locking hitch pins and anti‑rattle devices to eliminate play and abrasion, apply a compatible rust‑inhibiting spray or coating to exposed surfaces, and clean and inspect the receiver regularly—especially after winter—to remove salt and debris that would otherwise breach coatings and promote rust. You’ll extend service life and reclaim control through deliberate hitch maintenance and corrosion prevention.
- Install a Class V locking hitch pin for security and sealed contact.
- Fit anti‑rattle devices or shim/duct tape to stop micro‑movement.
- Apply a certified rust‑inhibiting coating; reapply annually.
- Inspect and clean after wet or salted conditions; document findings.
Practical Fixes: Shims, Spot‑Welds, and Safer Long‑Term Solutions
You can use steel shim tape inside the 2-inch Tundra receiver to eliminate play, reduce rattling, and resist corrosion for a near-permanent snug fit. For larger gaps or structural slop, spot‑welding the hitch or adding welded plates will remove movement more reliably than bolt-on fixes, though bolting permits easier removal and inspection. Temporary measures like duct or electrical tape will quiet noise but aren’t substitutes for steel shims or proper welded/bolted solutions when towing safety is required.
Shim Tape Options
One practical way to firm up a Tundra’s 2‑inch receiver is to apply steel shim tape inside the tube, which gives a durable, low‑profile fill that reduces play and limits moisture intrusion. You’ll gain shim tape benefits and steel tape durability versus temporary wraps. Use precise shim application techniques: clean, measure, layer, and torque to spec. Combine with anti rattle enhancement devices for towing noise reduction and long term stability solutions. Tailor custom shim solutions to your hitch for fit compatibility adjustments and liberated confidence on the road.
- Clean cavity, inspect corrosion, measure gap precisely.
- Apply steel shim tape in uniform layers; overlap minimally.
- Verify receiver/test-fit hitch, adjust layers.
- Re-torque hardware after short road test; recheck periodically.
Spot‑Welds Vs. Bolting
When deciding between spot‑welding and bolting as fixes for receiver play, weigh permanence, skill required, and inspectability: You’ll find spot weld benefits include a permanent bond that eliminates slop and enhances stability, but it demands welding skill, equipment, and destroys easy reversibility. Bolting advantages are reversibility, adjustability, and simpler installation—adding brackets or supports reinforces the hitch while allowing future changes. Combine approaches: use steel shim tape for a snug fit; reserve spot‑welds for components you’re prepared to commit to. Avoid relying on duct or electrical tape beyond temporary noise damping. Inspect all modifications regularly for fatigue, corrosion, or loosening. Choose the path that maximizes safety and autonomy: durable solutions you can verify and, if needed, undo.
When to Upgrade the Receiver: Ratings, Features, and What to Shop For
If your towing needs exceed the stock Tundra setup or you plan to haul heavier trailers, upgrading to a higher-rated receiver is warranted. You’ll choose receiver upgrades that match required tongue weight and gross trailer weight; a Class IV (up to 10,000 lbs) is common for heavier loads. Prioritize towing safety: verify compatibility checks for your 2-inch stock opening and note some receivers measure ~2.125″ to allow movement and resist rust.
- Assess ratings: match GTW and tongue weight; include weight distribution if trailer requires it.
- Select features: adjustable hitches with 2″ and 2-5/16″ balls increase versatility and performance enhancements.
- Fitment: confirm hitch accessories compatibility, bolt patterns, and clearances; follow installation guides precisely.
- Sustain: follow maintenance tips—lubricate, inspect for corrosion, retorque hardware—to preserve integrity and safe operation.
You’ll gain freedom to tow confidently when you pair the right receiver, proper installation, and disciplined upkeep.
Frequently Asked Questions
What Size Hitch Receiver on Tundra?
You have a 2-inch factory hitch receiver (Class IV), though measurements may be ~2.125 inches; check hitch types and towing capacity—up to about 10,000 lbs—and use a longer pin for secure, liberated towing.
Conclusion
You’re now armed with the key facts: Toyota Tundra receivers are nominally 2″ (Class IV) but actual openings often measure about 2.125″, a 0.125″ difference that affects fit, rattle, and corrosion. One study found up to 30% of aftermarket hitches misalign with OEM receivers, so verify fit before towing. Use properly sized balls, anti‑rattle devices, and corrosion protection; shim or weld only as interim fixes. Upgrade when ratings or features don’t meet your needs.