If your Tundra is shifting hard, check fluid level, color and temperature first and note parking angle for fluid migration. Scan for transmission and powertrain codes, then run controlled tests to reproduce the fault. Measure solenoid resistance, inspect valve body passages and torque converter engagement, and check wiring/connectors for corrosion or high resistance. Replace fluid and filter, swap faulty solenoids, reserve valve-body work for confirmed hydraulic issues. Keep going to get step‑by‑step diagnostics and repair priorities.
Quick Checks to Stop Hard Shifting Now: Fluid, Temperature, Parking Angle

Start by checking the basics: inspect the transmission fluid level and color, verify the fluid temperature is above about 100°F before evaluating shift quality, and note whether the vehicle is parked on an incline or decline. You’ll evaluate fluid condition first — low, dark, or burnt-smelling fluid points to contamination or overheating that degrades clutch friction and valve body response. Monitor temperature effects: cold fluid raises viscosity, delays hydraulic response, and produces hard shifts during initial acceleration; let the fluid warm or manually shift through gears to mitigate this transient. Log parking angle observations; consistent hard shifts after parking uphill or downhill indicate fluid migration or torque converter feed issues. Inspect wiring and harness condition to preempt electrical faults that trigger adaptive errors. You act: correct fluid level, replace degraded fluid, and test shifts after normal temperature is reached. These quick checks restore control and free you from chasing complex failures before you escalate diagnostics.
Read Codes and Run Basic Transmission Tests for Hard Shifting
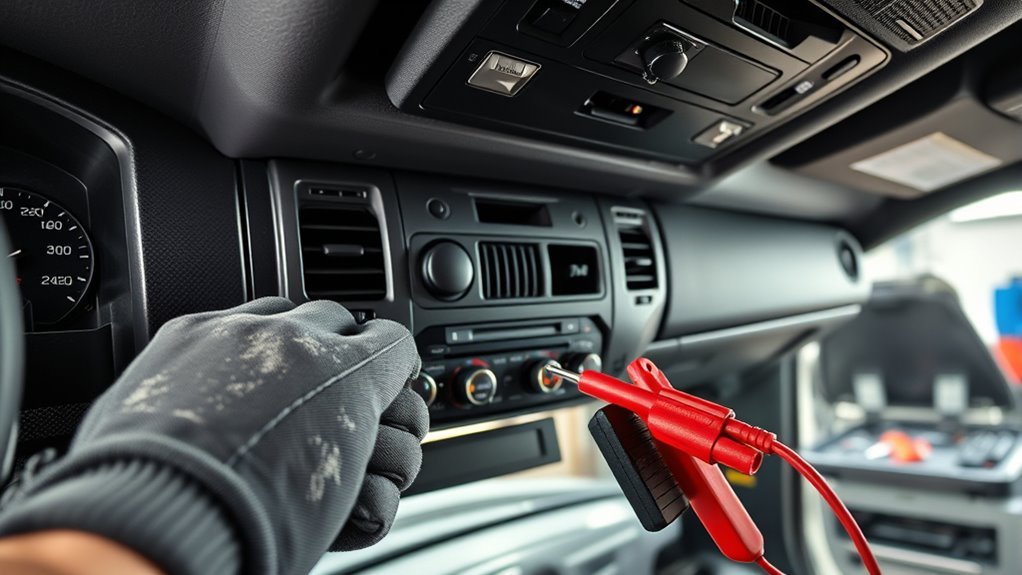
With the basics confirmed, move on to electronic diagnostics: plug an OBD-II scanner into the Tundra and read any stored transmission and powertrain codes to identify sensor, solenoid, or wiring faults that commonly cause hard shifts. You’ll record codes, clear them, then perform a controlled test drive to see which codes return — that recurrence separates transient events from persistent faults. Use methodical code interpretation: map each DTC to likely subsystems, note freeze-frame data and live PIDs, and prioritize faults that affect shift timing or pressure control.
Next, verify transmission fluid level and condition; burnt or dark fluid signals internal distress and demands service. Inspect the transmission wiring harness and connectors for corrosion, chafing, or high-resistance joints that can trigger codes. Run basic transmission diagnostics: check TCM communication, monitor shift solenoid status via live data, and confirm pressure control responses. These steps empower you to isolate electronic and fluid-related causes before advancing to targeted mechanical diagnosis.
Diagnose Specific Causes: Solenoids, Valve Body, Torque Converter, Wiring
When you move from system checks to component-level diagnostics, focus first on solenoids, the valve body, the torque converter, and any related wiring, since each can produce similar hard-shift symptoms but requires different tests and repairs. Start with solenoid testing: backprobe connectors, measure resistance against OEM specs, and watch activation with a scan tool to spot sticking or intermittent operation. Perform a valve body inspection for clogged passages, damaged springs, or scoring that causes erratic hydraulic control. Torque converter issues often show as shudder or failure to engage after shifts; test lockup clutch operation and stall characteristics. Finally, inspect wiring and connectors for high resistance, corrosion, or chafing that create false codes or weak actuation.
| Component | Diagnostic focus |
|---|---|
| Solenoids | solenoid testing, resistance, activation |
| Valve body | valve body inspection, passages, wear |
| Torque converter | engagement, shudder, stall test |
| Wiring | continuity, corrosion, connector health |
Repair Steps by Priority: Pan/Filter, Fluid Change, Solenoid Replacement, Valve Body Work
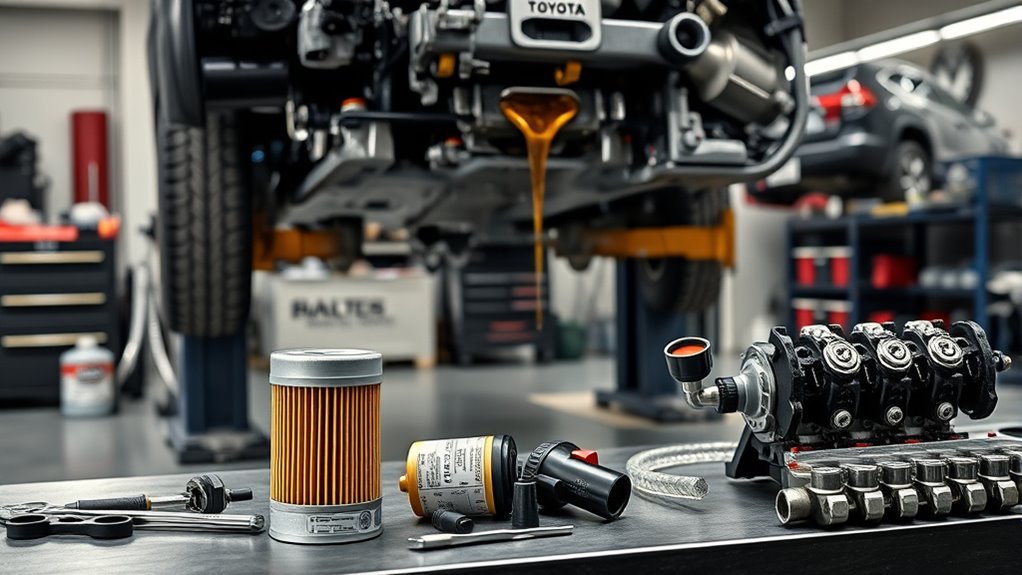
Begin by changing the transmission fluid and inspecting the oil pan and filter, since degraded fluid or a clogged filter often causes hard shifts and will confound downstream diagnostics. You perform a pan inspection during drain to check for metal debris and contamination; you replace the filter and reseal the pan to restore flow. After fluid and filter replacement, road-test and monitor pressures and shift quality to confirm improvement.
If hard shifts persist, you diagnose solenoids next: test resistance, apply bench and live tests, and swap or replace faulty units to regain control logic. Solenoid replacement is less invasive than valve body surgery and often restores smooth engagement.
Reserve valve body work for confirmed internal hydraulic or timing faults: inspect separator plate, check for wear, and rebuild or replace the valve body. Prioritize diagnostics at each step so you avoid unnecessary teardown and reclaim control of the vehicle’s transmission behavior.
When to Go to the Dealer or Rebuild: Warranty, Costs, and Escalation Criteria
If your Tundra keeps hard shifting after basic fixes, check warranty status and get to a dealer before problems escalate; you’ll avoid out-of-pocket rebuild bills that can run $2,500–$5,000 and preserve any manufacturer or extended coverage. Act quickly: persistent cold-start harsh shifts or recurring error codes after clearing indicate deeper faults that dealers diagnose with factory tools.
Verify warranty limitations up front—mileage, powertrain exclusions, and pre-existing condition clauses matter. Bring concise repair documentation: symptom logs, dates, mileage, prior shop reports, and any wiring/solenoid work you performed. This strengthens your claim and limits pushback.
If the dealer’s advanced diagnostics identify internal transmission failure, weigh dealer repair vs. independent rebuild against warranty eligibility. If denied, use documented service history to appeal. Escalate to regional Toyota support only after formal denial and when your documentation shows consistent, unremedied faults. You want control—clear records and prompt dealer engagement give you leverage to avoid unnecessary expense.
Frequently Asked Questions
What Can Cause Your Transmission to Shift Hard?
Cold or low transmission fluid, dirty fluid, worn pump or valve body, faulty shift solenoids, parking on an incline altering fluid distribution, or poor fluid additives can disrupt shifting patterns and make your transmission shift hard.
What Is the Transmission Problem With the Toyota Tundra?
About 30% of Tundras show hard shifting; you’re experiencing rough, delayed shifts caused by poor fluid quality, low levels, sticking solenoids or valve body faults. You’ll need transmission maintenance diagnostics and targeted repairs to regain control.
What Sensors Can Cause Hard Shifting?
You can blame Transmission Sensors and Shift Solenoids: faulty speed, TPS, input/output shaft, TCM-linked temperature sensors, or failing solenoids cause hard shifts; you’ll diagnose with codes, live data, and targeted resistance or continuity tests.
How to Rectify the Hard Gear Shifting?
A stitch in time saves nine: you’ll check transmission fluid level and quality, follow maintenance tips like filter and flush, scan for sensor faults, repair wiring or solenoids, and consult a dealer if problems persist.
Conclusion
You’ve covered the quick checks, codes, tests, and prioritized repairs, so act fast: check fluid level/condition, temp, and parking angle first, then pull codes and run basic transmission tests. Diagnose solenoids, valve body, torque converter, and wiring in that order, and tackle pan/filter and fluid changes before solenoid or valve body work. Remember, “a stitch in time saves nine.” If problems persist or you’re under warranty, see the dealer or plan a rebuild.