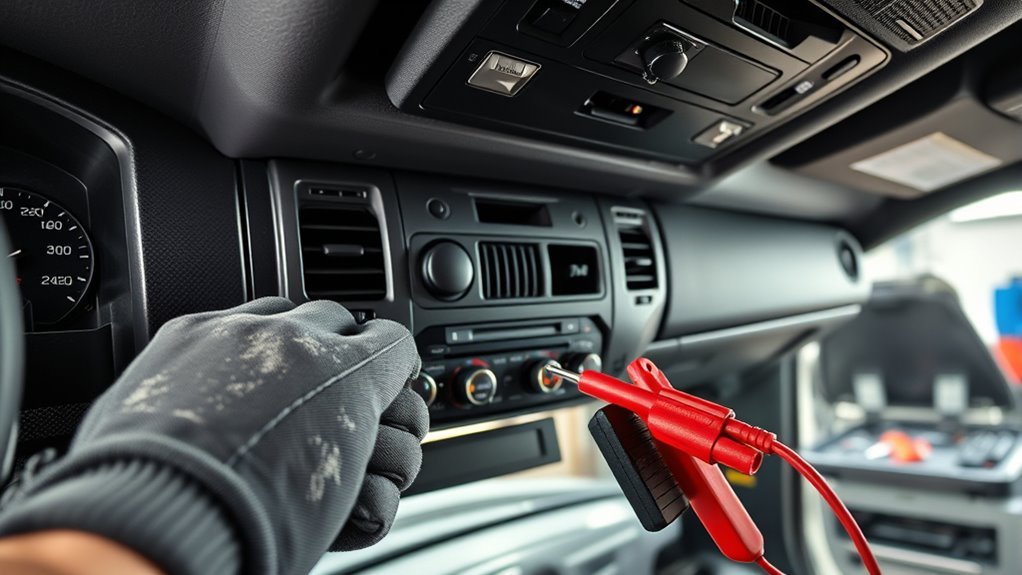
By Ryker Calloway · Published March 28, 2026 · Last updated September 1, 2026 · [VERIFY: add the author’s real automotive/HVAC credentials or qualified reviewer details, if applicable]
If your Toyota Tundra heater is blowing cold air, first separate the problem into two paths. Little or no airflow points toward the cabin air filter, blower motor, fuse, wiring, or speed controller. Normal airflow that stays cold points toward low coolant, trapped air, an engine that is not warming normally, restricted heater-core flow, or an air-mix door problem. If one side is warm and the other is cold, focus on zone control, an air-mix actuator or door, and uneven heater-core flow. Start with the symptom branch that matches your truck, and use the owner’s manual or repair information for the exact model year before opening the cooling system or removing HVAC trim.
September 2026 source check: This diagnosis order was rechecked against current Toyota owner resources, Toyota’s current cabin-airflow guidance, current Tundra climate-control documentation, NHTSA recall guidance, and current RepairPal Tundra repair references. This guide does not claim hands-on testing across every Tundra model year or HVAC configuration; model-specific service information controls whenever a procedure or connector layout differs.
Quick Answer
A Tundra heater that has strong airflow but stays cold most often needs diagnosis of coolant level and circulation, engine warm-up, heater-core flow, or the air-mix door. Little or no airflow points instead to the cabin filter, blower motor, fuse, wiring, or blower-speed control. If the engine never reaches its normal indicated temperature, thermostat operation moves higher on the list. If both heater hoses are hot but vent air stays cold, air-mix control becomes more suspect. Test the symptom branch first and replace only the part that fails a model-correct check.
Key Takeaways
- If the vents blow strongly but stay cold, focus on coolant level, trapped air, engine warm-up, heater-core flow, and air-mix-door movement.
- If little or no air comes out, check the cabin air filter, blower fuse, wiring, blower motor, and resistor or electronic blower controller.
- Heat that improves while driving can indicate marginal coolant flow, while different left and right vent temperatures can point toward a zone-control or air-mix problem.
- Do not open a hot cooling system, apply battery power to unidentified HVAC terminals, or drill into the dashboard or HVAC case.
At a Glance
| Time Required | Basic checks often take less than 30 minutes; actuator or HVAC access can take much longer and varies by model year |
| Difficulty | Easy for coolant-level, fuse, and filter checks; moderate to advanced for electrical or dashboard work |
| Tools Needed | Owner’s manual, flashlight, gloves, safety glasses, multimeter, trim tools, basic sockets, infrared thermometer or contact thermometer |
| Potential Cost | No-parts checks may cost nothing. Parts and labor vary widely by model year and access, so confirm the failed system before requesting an estimate |
Warning: Never open a hot radiator cap or pressurized coolant reservoir. Let the engine cool fully, wear gloves and eye protection, and follow the cooling-system procedure in the Toyota owner’s manual for your exact Tundra. If the engine is overheating or the defroster cannot clear the windshield, stop driving and get the truck inspected.
Toyota Tundra Heater Blowing Cold Air? Try These Checks First
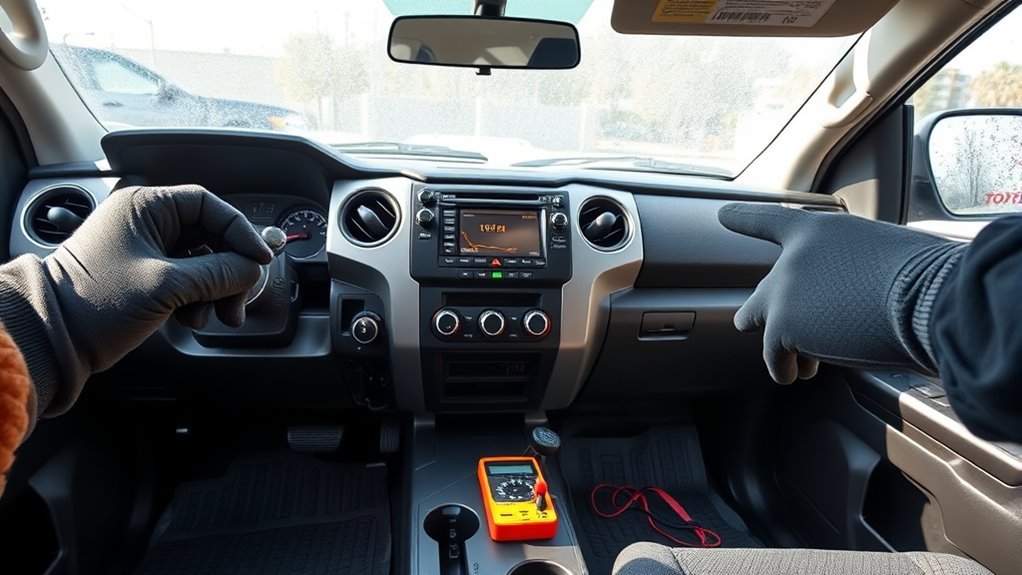
Begin with checks that do not require removing major panels. Start the engine, let it reach its normal indicated temperature, set the climate control to full heat, and test every fan speed. Compare the result with the table below.
| Symptom | Most likely area | First checks |
|---|---|---|
| No air from vents | Blower circuit or blocked airflow | Cabin air filter, blower fuse, wiring, motor, resistor or controller |
| Strong airflow, but cold air | Coolant flow or air-mix door | Coolant level, engine temperature, heater hoses, blend-door movement |
| Heat changes from hot to cold | Low coolant, trapped air, or intermittent control fault | Coolant level when cold, leaks, proper bleeding, actuator operation |
| Heat improves while driving | Marginal coolant circulation | Coolant level, trapped air, hose-temperature pattern, restricted flow |
| One side warm, one side cold | Zone actuator, air-mix door, or uneven core flow | Compare vent temperatures, cycle both zones, listen for actuator movement |
| Clicking behind dash | Actuator, door, or HVAC gear | Listen while changing temperature and vent-mode settings |
| Weak airflow on all temperatures | Cabin filter, blower wheel, ducts, or mode door | Inspect the cabin air filter and compare all vent modes |
Record Before Buying Parts: Note the cold coolant level, dashboard temperature-gauge behavior, working blower speeds, left and right vent temperatures, unusual noises, and both heater-hose temperatures. These observations are more useful than replacing the most commonly mentioned part.
Check the cabin air filter early if airflow feels weak. Toyota notes that a dirty cabin filter can severely restrict vent airflow and may need earlier replacement in dusty areas or heavy traffic. Inspect and replace it according to the Toyota cabin-filter and airflow guidance. A clogged filter will not normally cool hot engine coolant, but it can make the heater feel ineffective because too little air crosses the HVAC unit.
Also verify the control settings. On Tundras with automatic climate control, the system can select fan speed and outlet modes automatically. On manual-control trucks, turn the temperature fully warm, switch the fan on, and select a floor or vent mode that should produce heat.
Note: Tundra HVAC layouts vary by model year, trim, and climate-control configuration. Treat every cable, valve, resistor, controller, actuator, and trim-removal instruction as “if equipped” unless the manual or repair information for your exact truck confirms the component.
Confirm Your Tundra HVAC Layout Before Testing
Do not order an actuator, resistor, valve, or control panel from a generic symptom list. Toyota’s 2024 Tundra quick-reference material shows more than one climate-control layout, including configurations with separate driver and passenger temperature control. That is why a one-side-cold complaint can follow a different diagnostic path from a single-zone no-heat complaint. Check the exact year, powertrain, trim, and climate-control type first, then use the matching Toyota manual or model-specific repair information.
Test the Blower Motor and Speed Controller
If the heater is not moving air, diagnose the blower side before checking coolant flow or blend doors. With the ignition in the required operating mode and the fan commanded high, listen for the motor and check each vent for airflow.
- Inspect the cabin air filter: remove it according to your owner’s manual and check for heavy dust, leaves, rodent material, or a collapsed filter.
- Inspect the correct fuse: use the fuse diagram for your exact Tundra. Replace a failed fuse only with the same amperage. If it fails again, stop replacing fuses and diagnose the short or overloaded circuit.
- Inspect the blower connector: look for looseness, corrosion, discoloration, melted plastic, damaged terminals, or a disconnected plug.
- Follow the correct wiring diagram: conventional blower motors and electronically controlled systems may use different power, ground, and command circuits. Do not assume every terminal should show full battery voltage.
- Measure only where the procedure permits: use a multimeter if you understand automotive circuit testing. Avoid piercing insulation or shorting adjacent terminals.
- Do not apply direct battery power to unidentified terminals: confirm the connector pinout and test method for your exact system before powering a removed motor. Otherwise, have the motor and controller tested professionally.
- Check the resistor or electronic controller: a failed speed-control component can cause missing speeds, erratic operation, or no blower response even when the motor itself is serviceable.
Never install a larger fuse to keep the blower running. A repeatedly failed fuse indicates an electrical problem that must be located.
Check the Temperature Control and Linkage
Identify the control type before removing trim. Depending on the model year and equipment, the temperature command may be transferred through a mechanical control, an electrical actuator, or an electronic climate-control system. Do not assume a cable or lever is present.
Identify and Inspect the Control Connection
If the model-specific repair information confirms a visible cable or mechanical linkage, inspect its retainers and full travel. If the system uses a servo or actuator, skip the cable checks and follow the actuator tests in the next section.
- Move the temperature setting from full cold to full hot while watching the confirmed control connection, if it is safely visible.
- Check whether the control reaches both ends of its intended travel.
- Look for a loose retainer, cracked mounting point, disconnected linkage, damaged connector, or harness pulled tight.
- Stop if the control binds. Forcing a cable, lever, actuator, or HVAC door can turn a control fault into a broken door or gear.
Check Temperature Knob Movement
A physical temperature knob should move normally through its range. If it spins loosely, slips, or feels jammed, inspect only the trim needed to identify the fault. Do not force a control that has stopped moving.
| Item inspected | Action required |
|---|---|
| Knob | Re-seat or replace it if the mounting point is cracked |
| Confirmed cable or linkage | Secure it and investigate any binding before replacement |
| Control panel | Inspect for loose mounting, damaged connectors, or broken tabs |
| Actuator or HVAC lever | Confirm commanded movement without forcing the shaft |
Is the Blend Door the Problem? Symptoms and Quick Tests
The blend door, also called an air-mix door in some service information, changes how much airflow receives heat from the heater core. If the core is hot but the door stays toward the cold position, the vents can remain cold even when the engine has warmed normally.
[Products Worth Considering]

This coolant electric water pump is designed as a replacement for select Toyota vehicles, helping maintain proper engine cooling performance and reliable temperature control. Built to OE specifications, it offers fitment support for compatible Avalon, Camry, and RAV4 models with 2.5L L4 engines. It also includes cross-reference part numbers for easier matching and comes with after-sales support for covered defects.

This engine water pump kit is designed to help maintain reliable cooling performance across a wide range of compatible Toyota, Lexus, Scion, and Pontiac vehicles. Built with aluminum and tested for leak-free operation, it offers a direct replacement solution that supports engine efficiency and long-term service life. The kit includes a professional water pump and gasket for a convenient installation-ready repair.

This coolant thermostat is a direct replacement designed for a wide range of Toyota, Lexus, and Scion vehicles. It helps maintain proper engine temperature, supports reliable cooling system performance, and installs easily without special tools or programming. Built to meet OEM standards, it offers durable, stable operation and dependable fitment for compatible models.
Blend Door Symptoms
Possible blend-door, actuator, or zone-control symptoms include:
- Cold air after the engine reaches its normal indicated temperature.
- Different temperatures from the driver and passenger vents on a dual-zone system.
- Clicking, ticking, or grinding that begins when you change temperature or vent mode.
- A long delay between a control change and the outlet-temperature change.
- Air stuck at one temperature while fan speed and vent direction still respond.
Quick Diagnostic Tests
Run these checks before removing dashboard trim:
- Cycle the temperature setting: with the engine warm, move from full cold to full hot and listen for movement or repeated clicking.
- Change vent modes: switch between face, floor, and defrost. A separate mode-door fault may be present if airflow direction also fails.
- Compare heater-hose temperatures: use a thermometer while keeping hands, clothing, and tools away from belts, fans, and hot exhaust components.
- Observe the actuator only if accessible: remove the smallest confirmed access panel and check whether the actuator responds to temperature commands.
- Test the circuit from the correct diagram: do not guess at actuator pin functions or back-probe a connector where a safe test point is unavailable.
What Do the Heater-Hose Temperatures Mean?
Measure both heater hoses near the firewall after the engine reaches its normal indicated temperature and the heater is commanded hot. Compare the pattern rather than relying on one absolute temperature.
| Observed pattern | What it may suggest | Next check |
|---|---|---|
| Both hoses similarly hot, but vents remain cold | Coolant is reaching the core; air-mix operation becomes more suspect | Cycle temperature controls and observe the correct actuator or linkage |
| Inlet hot and outlet notably cooler | Restricted core flow or a valve problem, if a valve is fitted | Confirm coolant level, valve position, and restriction before replacing the core |
| Both hoses remain relatively cool after engine warm-up | Coolant supply, trapped air, engine temperature, or valve position may be limiting flow | Check cold coolant level, gauge behavior, leaks, bleeding, thermostat operation, and any confirmed valve |
These patterns are diagnostic clues, not proof of a failed part. Hose routing, outside temperature, engine load, and model-specific coolant controls can affect the readings.
Pro Tip: Before removing an actuator, photograph its connector, mounting position, shaft orientation, and surrounding linkage. Do not rotate an actuator or door shaft beyond its normal travel.
Check Coolant, Thermostat, and Trapped Air in the Heater Core
If airflow is strong but the outlet air stays cold, move to the cooling-system branch. The heater core transfers heat from engine coolant to the air moving through the HVAC unit.
- Check coolant only when the engine is cold: verify the level using the points and procedure specified for your truck. Use only the coolant type required for that model year. If the coolant specification is unclear, use the Toyota Tundra coolant guide as a starting point and confirm it against the manual for your exact truck.
- Look for coolant loss: inspect visible hoses, connections, radiator area, reservoir, water-pump area, and heater-hose connections. Inside the cab, check for damp carpet, coolant odor, or unusual windshield film.
- Watch the engine-temperature indication: an engine that remains unusually cool can produce weak cabin heat. If the truck overheats, stop driving and follow the Toyota Tundra overheating guide or obtain professional diagnosis.
- Measure the heater hoses: compare both readings with the heater commanded hot. Use the interpretation table above instead of judging by touch.
- Bleed the system with the correct procedure: trapped air can cause gurgling, inconsistent heat, and unstable coolant flow. Follow Toyota’s process for the exact engine and model year.
- Check a coolant-control valve only if confirmed: if the model-specific layout includes a heater valve, verify its command and physical movement before condemning the heater core.
How Can I Tell If the Thermostat May Be Stuck Open?
A thermostat that does not let the engine warm normally can weaken cabin heat because the heater core never receives sufficiently hot coolant. The useful clue is the engine-temperature pattern, not cold vent air by itself. If the engine takes unusually long to reach its normal indicated temperature or will not maintain it in normal driving, thermostat operation deserves testing. If the engine warms normally and both heater hoses become hot, keep diagnosing heater-core flow and air-mix control instead of replacing the thermostat from the heater symptom alone.
Why Does the Heat Work Only While Driving?
If the heater becomes warmer at higher engine speed but cools again at idle, begin with the cold coolant level and trapped-air checks. Higher engine speed can temporarily improve flow through a marginal system, so the pattern may also occur with a restricted heater core or another coolant-circulation problem. The symptom does not prove that the water pump, thermostat, or heater core has failed. Compare the heater-hose temperatures and look for coolant loss before buying parts.
Why Is One Side Cold and the Other Side Warm?
On a dual-zone system, command both sides to the same temperature and measure the air at matching left and right vents. Then cycle each zone separately while listening for actuator movement. A persistent side-to-side difference may involve that zone’s air-mix actuator, door, control circuit, or uneven airflow through the heater core. Confirm actuator response and coolant-flow clues before selecting a replacement actuator.
Heater-Core Leak Versus Restricted Flow
A possible heater-core leak may produce coolant loss, damp carpet, coolant odor, or film on the windshield. A possible flow restriction is more likely to produce weak heat and a notable inlet-to-outlet hose-temperature difference without obvious cabin leakage. Either condition needs confirmation before the dashboard is removed.
If trapped air returns after the system has been bled correctly, investigate the source rather than repeatedly topping off coolant. A leak, sealing problem, or internal engine fault may require pressure testing or combustion-gas testing by a qualified technician.
Should You Flush a Tundra Heater Core?
Do not start with a heater-core flush just because the vents are cold. First confirm that coolant level is correct, the engine warms normally, the blower works, and the hose-temperature pattern points toward restricted core flow. If a restriction is still likely, use the model-specific service procedure or have a shop test the system. A leaking core, recurring coolant loss, contaminated coolant, or a cooling system that will not bleed correctly needs diagnosis of the underlying problem rather than repeated flushing.
Access the HVAC Unit Only After Confirming the Fault
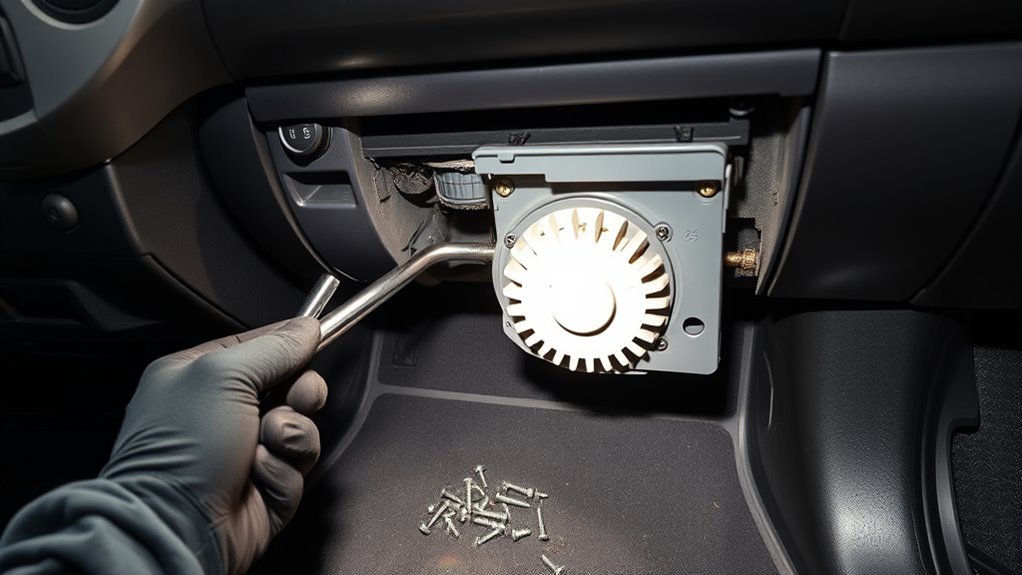
Move to HVAC-unit access only after coolant level, engine temperature, hose-temperature patterns, airflow, fuses, filter condition, and control response have been checked. Actuator locations and access panels vary by model year and equipment.
Warning: Dashboard work can place you near airbag wiring, sharp brackets, and fragile trim. Disconnect the 12-volt battery only when the model-specific procedure instructs you to do so, and observe the required waiting period before working near supplemental-restraint components. Never drill into a bracket, duct, or HVAC case without a verified Toyota procedure.
Remove only the trim identified by the correct repair procedure. Keep fasteners grouped by location and photograph connectors before unplugging them. Once the correct actuator is visible, inspect its connector, mounting screws, output shaft, and response to a commanded temperature change. Do not assume every clicking noise means the actuator itself has failed; a binding door or damaged linkage can overload a working replacement.
[Products Worth Considering]

AISIN OE matched engine coolant thermostat delivers consistent temperature control for reliable cooling system performance. Built with high-quality materials and designed for perfect OE form, fit, and function, it helps maintain efficient engine operation across a wide range of compatible Lexus, Scion, and Toyota vehicles. The correct OE specified operating temperature supports dependable cooling, while note that a gasket is not included.

This engine coolant thermostat with seal is designed to help maintain proper engine temperature and support efficient cooling system performance. It is compatible with a wide range of Toyota, Lexus, Ford, Chevrolet, Mitsubishi, Scion, and Pontiac models, making it a versatile replacement choice for many vehicles. With included seal and durable metal-and-rubber construction, it offers a convenient fitment solution for cooling system repairs and maintenance.

This automotive circuit tester checks low-voltage DC systems from 3-65V, making it useful for diagnosing headlights, taillights, fuses, sockets, and other vehicle wiring issues. The digital backlit display provides clear voltage readings with fine accuracy, while the bidirectional polarity indicator helps you test from either ground or positive. Built with a durable probe, insulated tip, and extra-long spring wire, it is designed for dependable everyday use in automotive and household electrical work.
Replace an HVAC Actuator or Gear Only After Confirmation
Actuator and door repairs vary enough that a universal center-console procedure would be misleading. Use the steps below as a confirmation and reassembly checklist, not as a substitute for the factory repair procedure.
- Confirm the affected function: determine whether the fault changes temperature, vent direction, recirculation, or one climate-control zone.
- Confirm coolant and blower operation: do not replace an air-mix actuator when the heater core is not receiving hot coolant or the blower is not moving air.
- Document the original position: photograph the connector, shaft, gear, and mounting orientation before removal.
- Check door movement only as permitted: if the procedure allows manual movement, use light pressure. Stop if the shaft binds or reaches its travel limit.
- Install the correct VIN-matched part: actuator shape, connector, position, and function can differ even within the same model year.
- Complete any required initialization: follow the model-specific calibration or initialization procedure if one is specified.
- Test before final reassembly: verify full-cold, full-hot, left and right zones if equipped, face, floor, defrost, and recirculation operation.
If the door binds or the replacement actuator immediately clicks, stop operating it. The HVAC case or door may need deeper repair.
[Products Worth Considering]

This automotive test light combines a bright LED voltage display with quick polarity indication for fast, accurate circuit checks in a wide range of vehicle systems. It helps diagnose battery, charging, lighting, and fuse issues with a sharp stainless probe, long spring wire, and easy-to-use alligator clip for efficient troubleshooting.

This A-Premium AC expansion valve is a direct replacement designed to restore proper refrigerant flow and improve cooling performance across a wide range of compatible vehicles. Built to meet or exceed OEM quality standards, it features precision internal components for reliable operation and long-lasting durability. It is supported by an unlimited-mileage warranty for added peace of mind.

This plug-and-play AC button switch is designed to replace a faulty factory air conditioner switch in compatible Toyota vehicles. It installs easily without tools and is made to match the original part for a seamless fit and reliable operation. Built from durable ABS plastic, it offers a dependable replacement backed by warranty support and fitment guidance.
Post-Repair Tests: Airflow, Temperature, and Hose Temperatures
After a repair, test the system before reinstalling every panel. Bring the engine to its normal indicated temperature, command full heat, and check each blower speed, outlet mode, and climate zone.
| Test | Expected Result |
|---|---|
| Airflow testing | Consistent airflow from the selected face, floor, and defrost outlets |
| Blower speeds | Each commanded speed works without a burning smell, connector heat, or abnormal noise |
| Temperature control | Outlet air changes predictably as the temperature command changes |
| Left and right zones | Matching commands produce similar vent temperatures on a dual-zone system |
| Heater-hose temperatures | The temperature pattern is consistent with coolant flowing through the heater core |
| Cooling-system bleed | No gurgling, unstable gauge behavior, recurring air, or coolant-level drop after cool-down |
| Defroster | The windshield receives enough warm airflow to maintain safe visibility |
Recheck the coolant level after the engine cools fully. If the level drops again, find the cause instead of continuing to top it off.
When to Replace Parts or Seek Professional Help
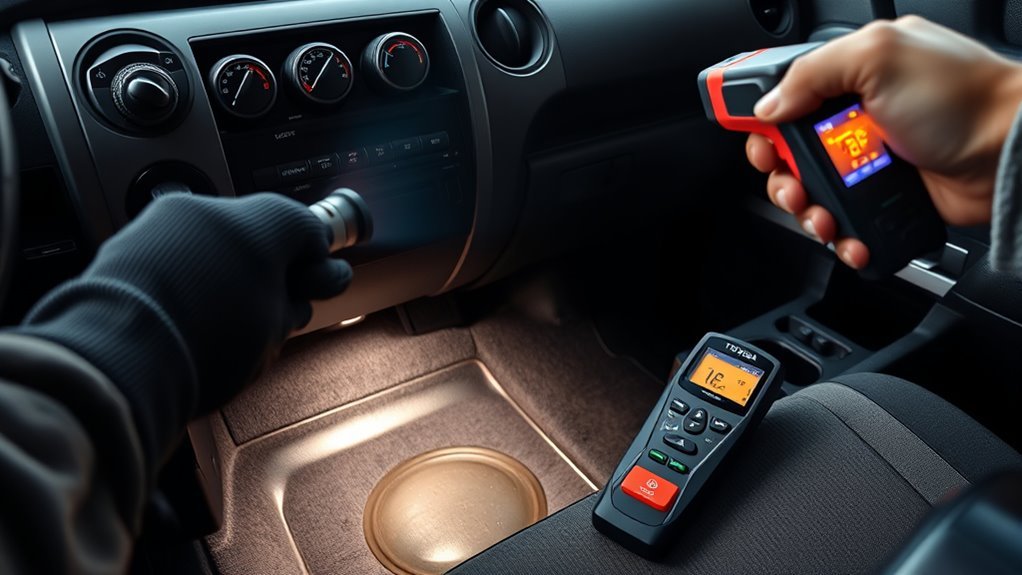
Replace a component only after its inputs, outputs, and mechanical operation have been checked. A cold vent is a symptom, not proof that the most commonly mentioned part has failed.
Current cost context: RepairPal’s estimates updated August 7, 2026 list a Toyota Tundra HVAC blend-door actuator replacement at about $960–$1,319 on average and a Tundra heater-core replacement at about $1,254–$1,894 on average. Actual cost varies by model year, location, taxes, related repairs, and how much dashboard access is required. Use these figures only after the failed system has been confirmed.
- Replace the cabin air filter if it is heavily restricted, damaged, wet, collapsed, or contaminated and airflow is weak.
- Replace the blower motor if the correct circuit test confirms that it receives the required inputs but does not operate normally.
- Replace the resistor or electronic blower controller if the correct testing identifies a speed-control failure and the motor and wiring are serviceable.
- Replace the thermostat only after testing shows that the engine is not reaching or maintaining its expected operating temperature.
- Replace an actuator after confirming that the correct actuator receives its command but fails to move its assigned door.
- Seek professional help if the engine overheats, coolant continues to disappear, the heater core may be leaking, a fuse repeatedly fails, the HVAC door binds, or airbag-adjacent trim must be removed.
Also check for open safety recalls or service campaigns using the truck’s VIN. Use the Toyota recall lookup and the NHTSA recall search. Recall eligibility is VIN-specific.
Frequently Asked Questions
Why is my Toyota Tundra heater not getting hot?
If airflow is normal, check the cold coolant level, engine-temperature behavior, heater-hose temperature pattern, trapped air, any confirmed coolant-control valve, and the air-mix door. If airflow is weak or absent, diagnose the cabin filter and blower circuit first.
How do I fix my Tundra heater blowing cold air?
Start with the engine cold and check coolant level, visible leaks, and cabin-filter condition. Warm the engine, test every blower speed, measure both heater hoses, compare left and right vent temperatures, and listen for actuator movement. Repair the first fault confirmed by those tests.
Can low coolant make a Tundra heater blow cold?
Yes. Low coolant can reduce flow through the heater core and may cause heat to fluctuate, especially at idle or during changes in vehicle position. Check the level only when the engine is cold and find the cause if coolant continues to disappear.
Why does my Tundra heater click behind the dash?
Clicking that begins when you change the temperature or vent mode may come from an actuator, damaged gear, binding door, or linkage problem. Match the noise to a specific control command before removing or replacing an actuator.
Why does my Tundra have heat while driving but cold air at idle?
Heat that improves with engine speed can indicate marginal coolant flow. Check the cold coolant level and trapped air first, then compare both heater-hose temperatures. A restricted core or another circulation problem is possible, but the symptom alone does not identify the failed part.
Why is one side of my Tundra heater cold?
On a dual-zone system, one cold side may involve that zone’s air-mix actuator, door, control circuit, or uneven airflow through the heater core. Set both zones equally, compare matching vent temperatures, and confirm actuator movement before replacing a part.
How can I tell if the Tundra heater core is restricted?
With the engine at its normal indicated temperature and the heater commanded hot, measure both heater hoses. A hot inlet and notably cooler outlet can suggest restricted flow, but first confirm coolant level, trapped air, and the position of any model-specific coolant valve. Do not replace the core from hose readings alone.
Can a stuck-open thermostat cause a Tundra to have weak or cold heat?
Yes. If the engine does not reach or maintain its normal indicated temperature, the heater core may not receive coolant that is hot enough for normal cabin heat. Diagnose the engine warm-up pattern before replacing the thermostat; cold vent air by itself is not proof of thermostat failure.
Should I reset or calibrate the Tundra blend-door actuator?
Only if Toyota’s repair information for your exact model year specifies an initialization or calibration procedure. Do not use a universal reset sequence or force the door shaft. First confirm that the correct actuator receives its command and that the door or linkage is not binding.
Can I drive my Tundra if the heater does not work?
Do not drive if the engine is overheating, coolant is leaking, the temperature warning is active, or the defroster cannot maintain clear visibility. If engine temperature and visibility remain safe, a short trip to a repair facility may be possible, but the cause still needs diagnosis.
Conclusion
For a Toyota Tundra heater blowing cold air, diagnose airflow, coolant flow and engine warm-up, and air-mix control in that order. Start with the cold coolant level, cabin filter, blower operation, and dashboard temperature indication. Then compare both heater-hose temperatures, left and right vent temperatures, and actuator response. Replace only the component that fails a model-correct test. Stop the DIY process if the truck overheats, loses coolant, repeatedly blows a fuse, has a binding HVAC door, or requires airbag-adjacent dashboard work.
Sources
- Toyota Owners Manuals and Warranties — model-year-specific owner manuals and official operating guidance.
- Toyota 2024 Tundra Quick Reference Guide — Tundra heating/air-conditioning control layouts, automatic mode, airflow modes, and separate driver/passenger temperature control where equipped.
- Toyota 2023 Tundra Manual Air Conditioning System — model-specific HVAC control reference.
- Toyota Common Air-Conditioning and Airflow Issues — cabin-filter, blower, fuse, actuator, wiring, and restricted-airflow guidance.
- Toyota Recall Lookup — VIN-specific Toyota recall and service-campaign checks.
- NHTSA Recalls — official U.S. safety-recall lookup.
- RepairPal Toyota Tundra Blend-Door Actuator Guide — actuator function, symptoms, testing, access considerations, and an August 7, 2026 Tundra cost estimate.
- RepairPal Toyota Tundra Heater-Core Guide — heater-core operation, leakage symptoms, restriction symptoms, repair complexity, and an August 7, 2026 Tundra cost estimate.