If your Toyota Camry’s AC is blowing warm air, start with the simple checks first: weak airflow, a clogged cabin air filter, debris on the condenser, or an incorrect climate-control setting. If airflow is strong but the air is still warm, the problem is more likely a refrigerant leak, compressor issue, electrical fault, or blend-door problem.
Quick Answer
A Camry AC usually stops blowing cold because of low refrigerant from a leak, a clogged cabin air filter, blocked condenser airflow, a failing compressor, a weak blower motor, a bad blend door actuator, or an electrical issue. Check airflow and the cabin filter first; leave refrigerant recovery, leak repair, and compressor work to a qualified technician.
Key Takeaways
- If the air from the vents is weak, check the cabin air filter, blower motor, and vent controls before assuming the refrigerant is low.
- If airflow is strong but warm, suspect low refrigerant, a compressor problem, condenser airflow restriction, or a blend-door issue.
- Do not blindly add refrigerant. Low refrigerant usually means the sealed AC system has a leak that should be found and repaired.
- Hybrid Camry models may use an electric high-voltage AC compressor, so avoid probing compressor wiring or adding generic oils, dyes, or stop-leak products.
- A cabin filter is a simple DIY job, but leak testing, evacuation, recharge, and compressor replacement are best handled by a Section 609-certified AC technician.
At a Glance
| Time Required | 10–30 minutes for basic airflow checks; 1–2 hours or more for professional AC diagnosis |
| Difficulty | Easy for filter and debris checks; advanced for refrigerant, compressor, and electrical diagnosis |
| Tools Needed | Flashlight, thermometer, gloves, owner’s manual, replacement cabin filter; AC gauges or recovery equipment only for qualified service |
| Typical Cost | Cabin filter: usually low-cost DIY; leak inspection: about $122–$179; recharge: about $254–$336; compressor replacement: about $1,235–$1,637, before taxes and location adjustments |
Warning: Do not vent refrigerant, mix refrigerant types, or add “stop leak” to your Camry’s AC system. The EPA’s MVAC service rules require approved refrigerants and proper handling, and anyone performing paid MVAC service must be Section 609 certified. Hybrid Camry AC compressors may also involve high-voltage components and special insulating compressor oil.
Common AC Problems and How to Fix Them

When a Camry AC is not blowing cold air, the best approach is to separate the problem into two questions: is the airflow weak, or is the airflow strong but warm? Weak airflow usually points to the cabin filter, blower motor, vent doors, or duct restrictions. Strong airflow that stays warm usually points to refrigerant, compressor, condenser, cooling fan, or blend-door problems.
| Symptom | Likely Cause | Safe First Check |
|---|---|---|
| Weak air from vents | Clogged cabin filter, blower motor issue, blocked vents | Replace the cabin filter and check fan speeds |
| Strong air but warm | Low refrigerant, compressor fault, blend door issue | Check temperature settings, listen for compressor operation, look for oily leaks |
| Cold while driving, warm at idle | Condenser fan problem, dirty condenser, low charge | Inspect the condenser area for debris and confirm radiator fans run when commanded |
| Clicking, grinding, or rapid cycling | Compressor/clutch issue, low pressure, electrical fault | Stop using the AC if grinding is present and schedule diagnosis |
Here are the most common Camry AC problems:
- Low refrigerant from a leak: Refrigerant does not get “used up” like fuel. If the charge is low, the system usually has a leak. The EPA explains that topping off or recharging can improve cooling, but it does not permanently fix a leak.
- Clogged cabin air filter: A dirty filter can reduce airflow enough to make the AC feel weak even if the refrigeration side is working.
- Dirty or blocked condenser: Leaves, dust, bugs, and road debris can block airflow through the condenser at the front of the vehicle.
- Compressor or compressor clutch issue: Older belt-driven systems may have clutch engagement problems; hybrid/electric systems may use a different compressor design.
- Electrical or control problem: Fuses, relays, pressure sensors, fan controls, temperature sensors, and blend-door actuators can all affect AC performance.
Note: Your exact Camry year matters. Older Camrys may use HFC-134a, while many newer light-duty vehicles use HFO-1234yf. The EPA notes that HFO-1234yf is now used in the majority of light-duty vehicles, but existing HFC-134a vehicles can continue to be serviced with HFC-134a. Always verify the refrigerant type on your under-hood label or owner documentation before any service.
How to Identify Low Refrigerant Levels in Your Camry’s AC
Low refrigerant is one of the most common reasons a Camry AC blows warm air, but it should be diagnosed carefully. A low-pressure reading alone is not enough unless it is interpreted with the outside temperature, high-side pressure, compressor operation, and system behavior.
Watch for these signs:
- Warm air with strong airflow: If air volume feels normal but the air never gets cold, low refrigerant or compressor trouble is possible.
- Compressor short cycling: On some belt-driven systems, the compressor clutch may click on and off rapidly when the charge is low. This is a clue, not a final diagnosis.
- Oily residue near AC fittings or hoses: Refrigerant oil can leave damp or greasy marks around leaking fittings, lines, condenser seams, or the compressor.
- Cooling fades over days or weeks: A gradual loss of cooling often points to a small leak.
Warning: Avoid one-gauge “quick recharge” guesswork. Overcharging can reduce cooling and damage the compressor, and the wrong refrigerant or sealer can contaminate the system. If the system is low, the better fix is to find the leak, repair it, evacuate the system, and recharge it to the correct specification.
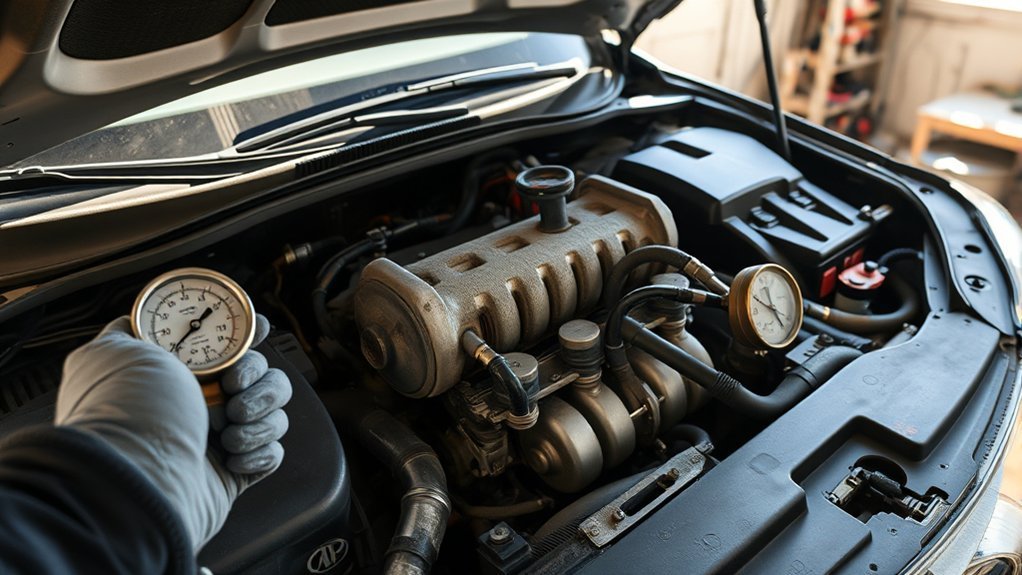
How to Check Your AC Compressor’s Functionality
The compressor circulates refrigerant through the AC system. If it does not run, runs noisily, or cannot build correct pressure, the AC will not cool properly. The safe check depends on whether your Camry has a conventional belt-driven compressor or a hybrid/electric compressor.
Signs of Compressor Issues
- Warm air from the vents: A failed compressor may move little or no refrigerant through the system.
- Grinding, rattling, or squealing: Mechanical noise can mean clutch, pulley, bearing, or internal compressor damage.
- Rapid cycling: On clutch-equipped systems, quick on/off cycling may point to low refrigerant, pressure-switch behavior, or electrical control issues.
- No compressor operation: The cause may be a fuse, relay, pressure sensor, low charge, wiring problem, control module issue, or failed compressor.
Testing Clutch Engagement
For a conventional belt-driven compressor, you may be able to hear or see the clutch engage when AC is set to MAX, fan is high, and the engine is running. If it never engages, check the owner’s manual for the AC fuse and relay locations. If it engages and disengages rapidly, stop and have system pressures checked by a qualified technician.
| Check | What It May Mean | Next Step |
|---|---|---|
| Clutch clicks once and stays engaged | Compressor is being commanded on | Check vent temperature and condenser airflow |
| Clutch cycles rapidly | Possible low charge or pressure-control issue | Have high/low pressures diagnosed |
| No engagement | Fuse, relay, sensor, wiring, low charge, or compressor fault | Check basic fuses only; avoid compressor probing unless trained |
| Grinding or loud bearing noise | Possible mechanical failure | Turn AC off and schedule repair |
Hybrid Camry caution: Do not probe orange high-voltage wiring or service an electric AC compressor unless you are trained for hybrid systems. DENSO notes that ND-oil 11 is a POE oil developed for electric driven scroll compressors in hybrid and electric vehicles, with high insulation properties. Generic oil, dye, or stop-leak products can cause costly damage.
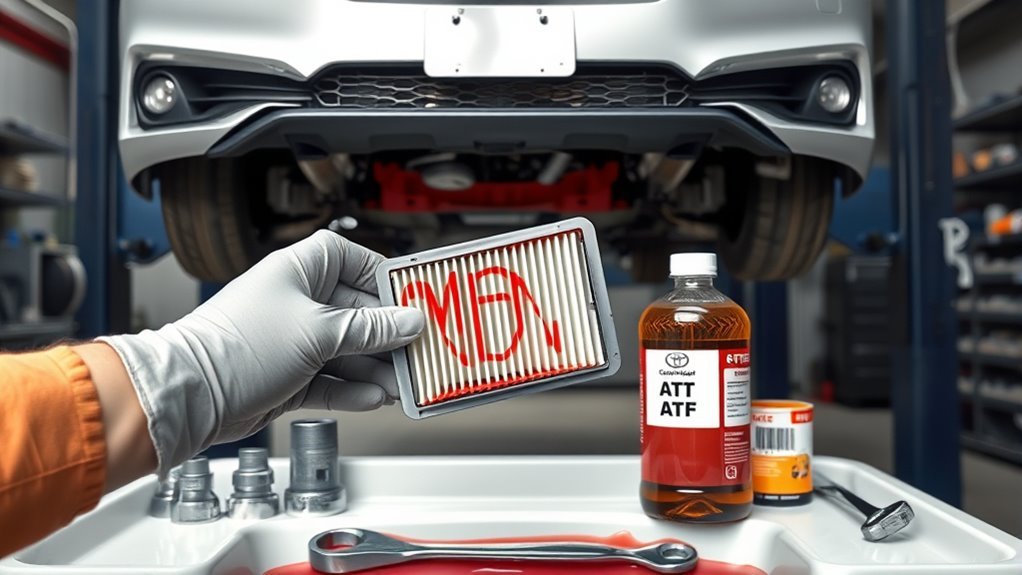
How to Check and Replace Your Cabin Air Filter
A clogged cabin air filter is one of the easiest Camry AC problems to check at home. It can make the AC feel weak, noisy, or slow to cool the cabin because less air is moving across the evaporator and through the vents. Toyota’s owner information says the air conditioning filter should be inspected and replaced according to the maintenance schedule, and if airflow from the vents decreases dramatically, the filter may be clogged.
A dirty cabin filter can mimic a weak AC system. If the fan is loud but airflow is low, check the filter before paying for refrigerant diagnosis.
- Locate the filter: In many Camry models, it is behind the glove box. Check your owner’s manual for the exact procedure.
- Remove the old filter: Open the access cover, slide the filter tray out, and note the airflow or “UP” direction marking.
- Inspect it: Replace it if it is dark, dusty, packed with leaves, or has a musty odor.
- Install the new filter correctly: Use a genuine Toyota or quality compatible filter and match the direction marking.
- Test airflow: Turn the fan from low to high and confirm airflow improves at multiple vents.
As a general rule, many owners inspect or replace the cabin filter every 15,000 to 30,000 miles, but dusty roads, pollen-heavy areas, pets, and heavy traffic can require earlier replacement. Follow the maintenance guide for your exact Camry year.
Troubleshooting Airflow Issues in Your AC

If the AC is not cold, do not skip airflow checks. Poor airflow can make a good refrigeration system feel weak, especially on hot days. Test airflow with the fan on high, recirculation on, temperature set to cold, and all dashboard vents open.
Common Airflow Restrictions
- Clogged cabin air filter: This is the first DIY check because it is cheap, fast, and common.
- Blocked vents: Make sure dashboard vents are open and not blocked by phone mounts, papers, or accessories.
- Dirty evaporator or duct odor: A musty smell can point to moisture and debris in the HVAC case.
- Condenser debris: Leaves, bugs, and dirt in front of the radiator/condenser can reduce heat transfer.
- Blend door or mode door fault: If air comes from the wrong vents or temperature changes randomly, an actuator may be stuck or failing.
Pro Tip: Use a simple thermometer in the center vent. Record the outside temperature, fan speed, recirculation setting, and vent temperature. This gives a repair shop better information than “it does not feel cold.”
Blower Motor Functionality Check
The blower motor pushes air through the evaporator and vents. If it is weak or intermittent, the cabin may not cool even when the AC system itself is cold.
| Check | Action |
|---|---|
| Fan speeds | Confirm low, medium, and high speeds work |
| Noise | Listen for scraping, chirping, or rattling from the blower area |
| Fuse and relay | Check only the owner-serviceable fuses listed in your manual |
| Air direction | Switch between face, floor, and defrost vents to check mode-door operation |
If airflow is low after replacing the cabin filter and confirming the fan settings, a blower motor, blower resistor/control module, or HVAC door actuator may need professional testing.
How to Spot and Fix AC Leaks

AC leaks are common because the system uses rubber seals, crimped hoses, aluminum lines, a condenser exposed to road debris, and an evaporator hidden inside the dash. A small leak may cool for a while after a recharge, then slowly return to warm air.
Look for these signs:
- Oily residue: Refrigerant oil may appear near hose fittings, the compressor, condenser corners, or service ports.
- Hissing sound: A noticeable hiss after shutdown can point to pressure escaping.
- Visible condenser damage: Rock impacts, bent fins, or oily patches at the front condenser can indicate a leak.
- Repeated low charge: If the system needs refrigerant again, the leak was not fixed.
- Musty smell or damp carpet is not enough proof: Those can be HVAC drain or evaporator issues, but they do not confirm refrigerant loss by themselves.
Professional leak diagnosis may include electronic leak detection, UV dye, pressure testing, evacuation, and recharge by weight. RepairPal notes that technicians may use UV dye to confirm leaks and that professional equipment is used to read pressures and diagnose the faulty part. However, dye and oil choice matters, especially on hybrid/electric compressors.
Warning: Do not use stop-leak compounds. They may temporarily mask a leak, but they can contaminate recovery equipment and damage AC components, turning a small repair into a major one.
Easy AC Maintenance Tips for Your Camry
Good AC maintenance is mostly about airflow, cleanliness, and catching small problems early.
- Replace the cabin air filter on schedule: Use your Camry’s maintenance guide, and replace sooner in dusty or high-pollen conditions.
- Keep the condenser clear: Gently rinse bugs and dirt from the front condenser area. Do not bend the fins with high pressure.
- Run the AC regularly: Using the AC periodically helps keep seals lubricated and alerts you to performance changes early.
- Watch for oily residue: Oil around AC lines, fittings, or the condenser can point to refrigerant leakage.
- Do not ignore compressor noise: Grinding or squealing should be checked quickly to prevent wider system damage.
- Use the correct refrigerant and oil: The under-hood label and service information matter more than generic advice.
When to Call a Professional for AC Repairs
Call a qualified AC technician if the basic airflow checks do not restore cold air, or if the issue involves refrigerant, compressor operation, pressure readings, or hybrid high-voltage components.
Professional help is the safer choice when you notice:
- Strong airflow but warm air: This often requires pressure testing and leak diagnosis.
- Visible oily leaks: Refrigerant oil on fittings, hoses, the condenser, or compressor should be inspected.
- Rapid compressor cycling: This can point to low charge or pressure-control issues.
- Grinding or squealing: Stop using the AC and schedule service.
- Hybrid/electric compressor concerns: High-voltage systems and special compressor oils are not normal DIY work.
- AC works only after a recharge: That means the underlying leak still needs to be found.
| Repair or Service | Typical 2026 Estimate | Notes |
|---|---|---|
| AC leak inspection | About $122–$179 | Does not include taxes, fees, location adjustments, or repair parts |
| AC recharge | About $254–$336 | May not last if the leak is not repaired |
| AC compressor replacement | About $1,235–$1,637 | Can vary by year, engine, hybrid system, parts, and labor rates |
Frequently Asked Questions
Why is my Toyota Camry AC not blowing cold air?
The most common causes are low refrigerant from a leak, a clogged cabin air filter, blocked condenser airflow, a failing compressor, a weak blower motor, a bad blend door actuator, or an electrical fault. Start with airflow and filter checks, then move to professional refrigerant and compressor diagnosis if the air is still warm.
What is the most common cause of AC not blowing cold air?
Low refrigerant from a leak is one of the most common causes when airflow is strong but warm. If airflow is weak, the cabin air filter or blower system is often the better first suspect. Do not assume the system only needs refrigerant until airflow and basic controls have been checked.
How much does it cost to fix the AC in a Toyota Camry?
It depends on the fault. Current estimate ranges show a Camry AC leak inspection around $122–$179, AC recharge around $254–$336, and AC compressor replacement around $1,235–$1,637. These ranges do not include taxes, fees, location differences, or related repairs.
Can I recharge my Camry AC myself?
A DIY recharge can add refrigerant, but it can also overcharge the system, hide a leak, use the wrong refrigerant, or introduce sealer. If the system is low, the more reliable fix is professional leak diagnosis, repair, evacuation, and recharge to the correct weight.
Why does my Camry AC get cold while driving but warm at idle?
This often points to poor condenser airflow, a weak or non-working cooling fan, a dirty condenser, or a low refrigerant charge. At road speed, air naturally moves through the condenser. At idle, the fans must do that job.
Is it safe to drive with a Camry AC problem?
Most AC cooling problems do not make the car unsafe to drive, but loud compressor grinding, belt noise, electrical smells, or hybrid high-voltage warnings should be taken seriously. Turn the AC off and schedule service if the compressor sounds damaged.
Conclusion
A Camry AC that is not blowing cold air does not always need an expensive repair. Start with the simple, safe checks: cabin filter, airflow, fan settings, condenser debris, and visible leaks. If airflow is strong but still warm, stop guessing and have the refrigerant charge, leak points, compressor operation, and electrical controls tested properly. Fixing the actual cause is cheaper than repeatedly adding refrigerant to a leaking or contaminated system.
Sources
- Toyota Owners — 2025 Camry Air Conditioning Filter — supports cabin filter inspection and airflow guidance.
- U.S. EPA — Options for Recharging Your Air Conditioner — supports leak/recharge guidance and why topping off is not a permanent repair.
- U.S. EPA — Regulatory Requirements for MVAC System Servicing — supports refrigerant handling, venting, and service-compliance warnings.
- U.S. EPA — Acceptable Refrigerants and Their Impacts — supports R-134a, R-1234yf, and current MVAC refrigerant context.
- DENSO — A/C Compressor Oil — supports hybrid/electric compressor oil cautions.
- RepairPal — Toyota Camry Repair Estimates — supports current AC repair-cost ranges and repair categories.