If your Toyota RAV4’s door lock actuator is faulty, you’ll notice unresponsive front doors, no sound from the locking mechanism, and resistance measurements beyond 49 ohms. Start by gathering essential tools like a T30 torque socket and a test light. Carefully disassemble the door panel, document each step, and address any misalignment during installation. After replacing the actuator, test its functionality by checking lock/unlock responses. This guide covers everything you need to restore your locking system effectively.
Understanding the Symptoms of a Faulty Door Lock Actuator
A malfunctioning door lock actuator can be a frustrating issue that compromises your vehicle’s security. If you notice your 2014 RAV4’s front doors aren’t responding while the rear doors work fine, it’s a clear symptom of actuator failure. You might also find that you can’t hear the locking mechanism engage or disengage when using your key fob. To assess the condition of the actuator, consider using a test bulb; if it doesn’t illuminate during locking commands, it’s likely faulty. Additionally, measuring resistance can provide insights—normal actuators typically show around 49 ohms, while a failing one might be as high as 613 ohms. To maintain your actuator and prevent moisture-related issues, apply weather seals and park under cover during storms. Regular actuator maintenance tips will guarantee longevity and reliability, keeping your vehicle secure.
Diagnosing Door Lock Actuator Issues: Symptoms and Solutions
When diagnosing door lock actuator issues, recognizing the specific symptoms can save you time and effort. If your front doors fail to lock or open while the rear doors function normally, it points to a problem with the front actuator. To troubleshoot, connect a test bulb to the actuator’s wires; if the bulb lights up on the open command, the actuator’s working. Resistance measurements can further pinpoint failure, with faulty actuators showing notably higher resistance—like 613 ohms compared to a new one at 49 ohms. For effective actuator maintenance, document every step during disassembly and reassembly, ensuring you avoid damage. Post-repair, always test functionality to confirm successful operation. These troubleshooting techniques streamline the diagnosis process, helping you maintain your RAV4’s door locking system efficiently.
Gathering Tools and Preparing to Access the Door Lock Actuator
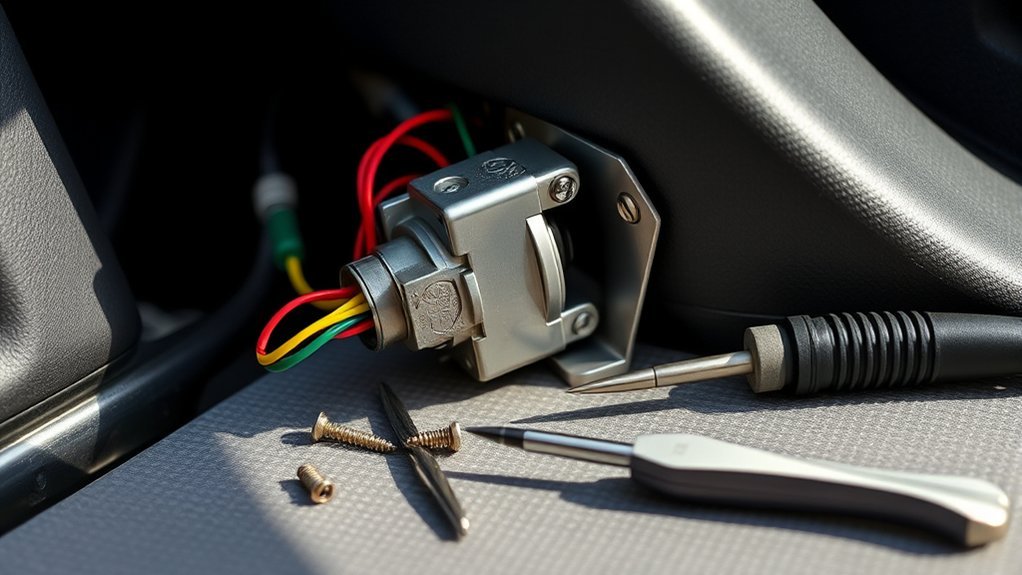
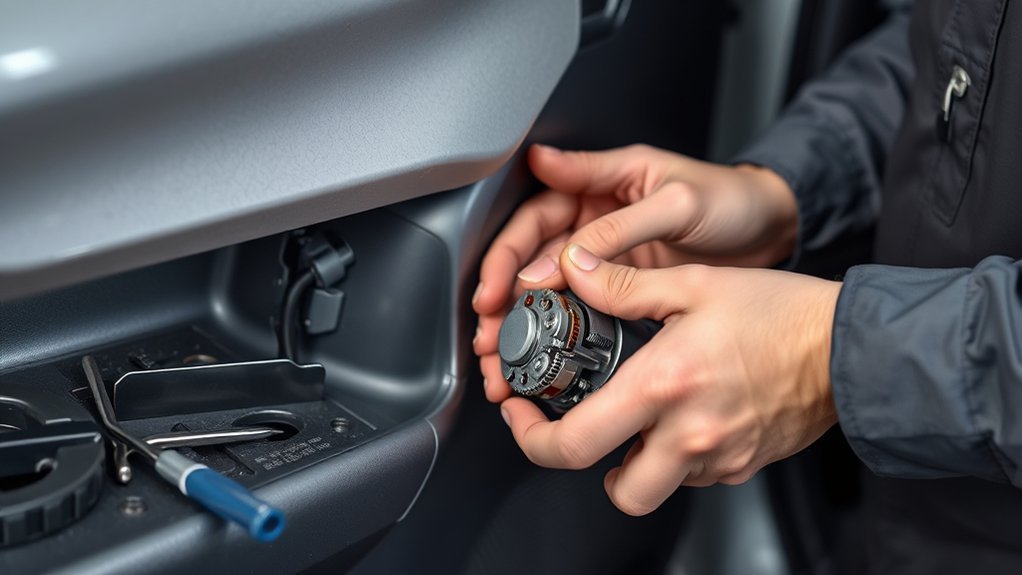
Gathering the right tools is essential for efficiently accessing the door lock actuator in your Toyota RAV4. Start with a T30 torque socket, as it’s vital for removing the necessary bolts. Tool organization is key; keep your workspace tidy by using magnet sockets to secure bolts and prevent losing hardware during disassembly. Create a repair checklist to guarantee you don’t overlook any components. Before diving in, confirm the compatibility of your new actuator by checking the pin count against the old one—this step will save you from installation headaches later. To access the actuator, roll up the front door glass and remove the sub-assembly to reach the securing bolts. Carefully disconnect the wiring harness to avoid damage, and document the removal process for future reference. This preparation will streamline your repair and empower you to tackle the job with confidence.
Step-by-Step Guide to Removing the Old Actuator
To start removing the old door lock actuator, gather your essential tools, including a T30 torque socket. Use safe disassembly techniques to avoid damaging any components, and handle the actuator carefully throughout the process. Document each step meticulously to guarantee a smooth reassembly later on.
Essential Tools Required
Before you start the removal process of the old door lock actuator in your 2014 RAV4 hybrid, it’s crucial to have the right tools on hand. Gather a T30 torque socket, magnet sockets, and a test light for electrical checks. Understanding various lock types and actuator brands can also help guarantee compatibility with your vehicle. Disconnect the wiring harness carefully to avoid any damage, and use a test bulb connected to the actuator wires to confirm functionality before removal. Document each step meticulously to assist with reassembly and track any issues faced. Make sure all bolts securing the actuator are loosened, and slide the bracket out of the way for ideal access before proceeding with disassembly.
Safe Disassembly Techniques
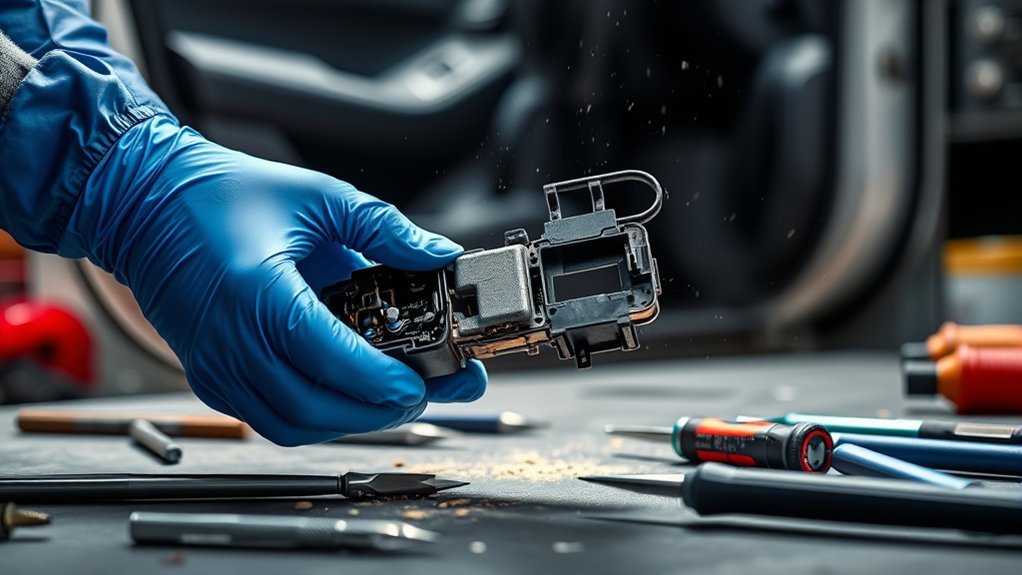
While disassembling the door lock actuator, ensuring precision and care is essential to prevent damage to the door panel and internal components. Start by carefully removing the door panel, employing effective clip removal techniques to avoid breaking any clips or fasteners. Maintain workspace organization to keep all hardware easily accessible. Next, identify and loosen the bolts securing the actuator, documenting their locations for reassembly. Use a T30 torque socket to remove screws, considering magnet sockets to catch any dropped hardware. When disconnecting the wiring harness, do so cautiously to protect the connectors, and make a note of the connections. Always refer to the service manual’s step-by-step instructions for a safe, efficient removal process.
Proper Actuator Handling
Removing the old door lock actuator requires careful attention to detail to confirm a smooth process. Start by removing the door panel and rolling up the window to access the bolts securing the actuator. Use magnet sockets to catch any dropped hardware while loosening these bolts. Next, carefully disconnect the wiring harness from the old actuator, making sure you don’t damage nearby components. Slide the bracket aside for better access and to guarantee proper alignment of the new actuator during installation. Document the resistance measurements of both actuators; the old one will likely show higher values, indicating a fault. Following these actuator maintenance tips and utilizing effective actuator installation techniques will facilitate a successful repair.
Installing the New Door Lock Actuator: Tips for Success
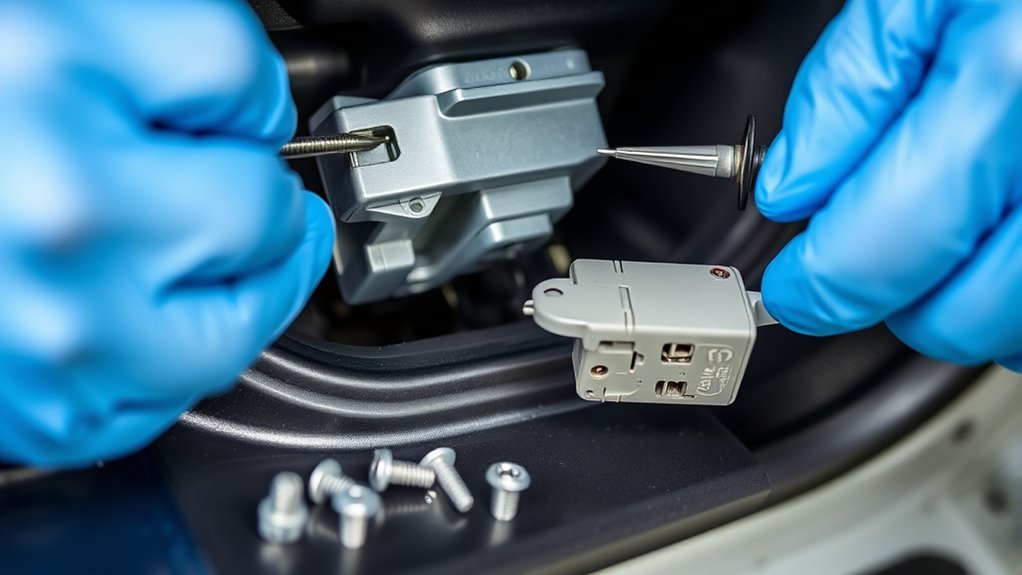
When installing the new door lock actuator, proper alignment is vital to guarantee peak functionality. Start by following actuator alignment tips; make sure that the actuator rod is securely inserted into the back of the new actuator. This connection is essential for the lock/unlock mechanism to operate correctly. Position the lock retainers accurately to secure the new components, preventing any movement that could lead to failure.
Utilize secure installation techniques to minimize the risk of misalignment issues. Before final assembly, perform a thorough test of the new actuator to confirm it operates as intended. Check the lock/unlock functionality to make sure of reliability. It’s also wise to document the resistance values of the old actuator (613 ohms) versus the new one (49 ohms) to validate your replacement decision based on functionality. Following these steps will enhance your success in this repair.
Testing the New Actuator: Ensuring Proper Lock/Unlock Functionality
After installing the new door lock actuator, you need to conduct a thorough testing procedure to guarantee it functions correctly. Start by measuring the resistance values to confirm they align with the expected readings, and then proceed to test the lock and release operations. This step is essential for verifying that the actuator is fully operational and the issue has been resolved.
Testing Procedure Overview
Testing the new door lock actuator involves a systematic approach to verify proper lock and open functionality. First, conduct an ohm test to compare resistance values; a functional actuator should measure around 49 ohms, unlike the faulty one at 613 ohms. Make sure the actuator is correctly aligned during installation, as misalignment can hinder performance. After securing the actuator and connecting the wiring harness, it’s time for a lock/unlock test using the key fob. This confirms that the actuator responds correctly and the door locks operate as intended. Document any discrepancies, like failure to illuminate or actuate, to assist with future troubleshooting techniques. Following these actuator maintenance tips guarantees long-lasting performance and reliability.
Measuring Resistance Values
Measuring resistance values is essential for diagnosing the functionality of your new door lock actuator. To start, use a multimeter for accurate resistance measurement. For reliable results, connect the multimeter leads to the actuator terminals and note the displayed value. A properly functioning actuator typically shows resistance within a specific range, important for effective lock/unlock operations. For instance, if your old actuator measured 613 ohms and the new one shows 49 ohms, this significant difference confirms the old part’s failure. Documenting these resistance values not only aids in evaluating the new actuator’s performance but also serves as valuable reference data for any future repairs or troubleshooting you might undertake.
Confirming Lock Operation
Once you’ve installed the new door lock actuator, it’s crucial to confirm its lock and release functionality to guarantee everything’s working as intended. Start by using the key fob to perform a lock/unlock test. The resistance of the new actuator should measure around 49 ohms, considerably lower than the faulty actuator’s 613 ohms. Verify the actuator rod is securely inserted into the back for complete locking functionality. Double-check all electrical connections and wiring harnesses to prevent any communication issues during these commands. Document the successful operation, noting any challenges encountered during testing. This attention to detail not only guarantees lock safety but also enhances your understanding of different actuator types for future repairs.
Common Repair Challenges and Solutions
Although replacing the door lock actuator in a 2014 RAV4 hybrid can seem straightforward, several common challenges often arise during the process. First, make sure your workspace is organized to prevent losing small hardware, as components can easily get misplaced. One frequent issue is improper torque; use a T30 torque socket to secure bolts correctly, as misalignment can lead to common actuator failures.
When troubleshooting, document the resistance measurements of the old actuator (613 ohms) against the new one (49 ohms) to confirm the original part’s failure. Additionally, carefully disconnect the wiring harness to avoid damaging it, which could create further electrical issues. After installation, always verify the lock/unlock functionality before reassembling the door panel. This step guarantees the actuator operates correctly, saving you time and effort in the long run. Following these troubleshooting tips will help you tackle these common challenges effectively.
Frequently Asked Questions
What Is the Toyota Door Actuator Lawsuit?
The Toyota door actuator lawsuit addresses claims of actuator malfunction causes, highlighting legal implications explained by consumers facing safety risks and financial burdens due to defective locking mechanisms that can compromise vehicle security and convenience.
How Much Does It Cost to Replace the Actuator on a Toyota RAV4?
Replacing the actuator on your Toyota RAV4 can feel like maneuvering through a maze, costing around $300 plus labor. For DIY repair tips, consider potential actuator replacement costs and inspect wiring to avoid surprises.
Conclusion
In summary, tackling a faulty door lock actuator in your Toyota RAV4 may seem intimidating, but with the right tools and guidance, it’s manageable. Just like a well-oiled machine, each step you take guarantees your vehicle operates seamlessly. Remember, a secure door is not just a convenience; it’s an essential aspect of your safety. So, roll up your sleeves, follow the steps, and restore that lock’s reliability—your RAV4 deserves it.