Installing a child seat in a 2021 Toyota RAV4 is easier when you know which anchor belongs to which seating position. The RAV4 has three rear top-tether anchor brackets, while the two outboard rear seats have LATCH lower anchors. The center rear seat does not have its own pair of lower anchors, so it normally uses the vehicle seat belt plus the top tether when the child-seat manual calls for one.
Quick Answer
The 2021 Toyota RAV4 has three top-tether anchor brackets behind the rear seatbacks, one for each rear seating position. The left and right rear seats also have LATCH lower anchors. For the center seat, install the child restraint with the vehicle seat belt, then attach the top tether if the seat requires it.
Key Takeaways
- Use the left or right rear LATCH lower anchors for compatible child seats, but use the seat belt for the center rear seat.
- A forward-facing child seat with a tether should be connected to the correct top-tether anchor when allowed by both the vehicle and child-seat manuals.
- Do not hook the tether to cargo hooks, headrest posts, loose hardware, or any point that is not the marked tether anchor.
- Lower anchors have weight limits. If your child-seat label does not give a specific limit, NHTSA’s general formula is 65 lb minus the child-seat weight.
At a Glance
| Time Required | 5–10 minutes after you have read both manuals |
| Difficulty | Easy to moderate, depending on the child-seat model |
| Tools Needed | No tools; use the child seat, vehicle seat belt or LATCH connectors, and tether strap |
| Cost | $0 for normal installation using factory anchors |
Warning: This guide supports, but does not replace, your 2021 Toyota RAV4 owner’s manual and your child-seat manual. If the two manuals disagree, stop and follow the manufacturer instructions or ask a certified child passenger safety technician for help.
Find the RAV4 Top-Tether Anchors
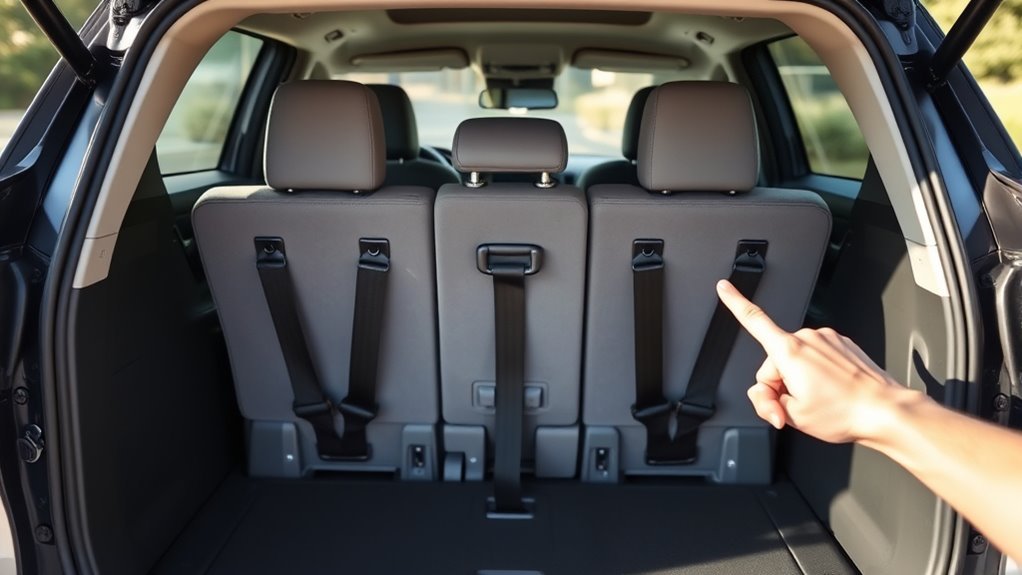
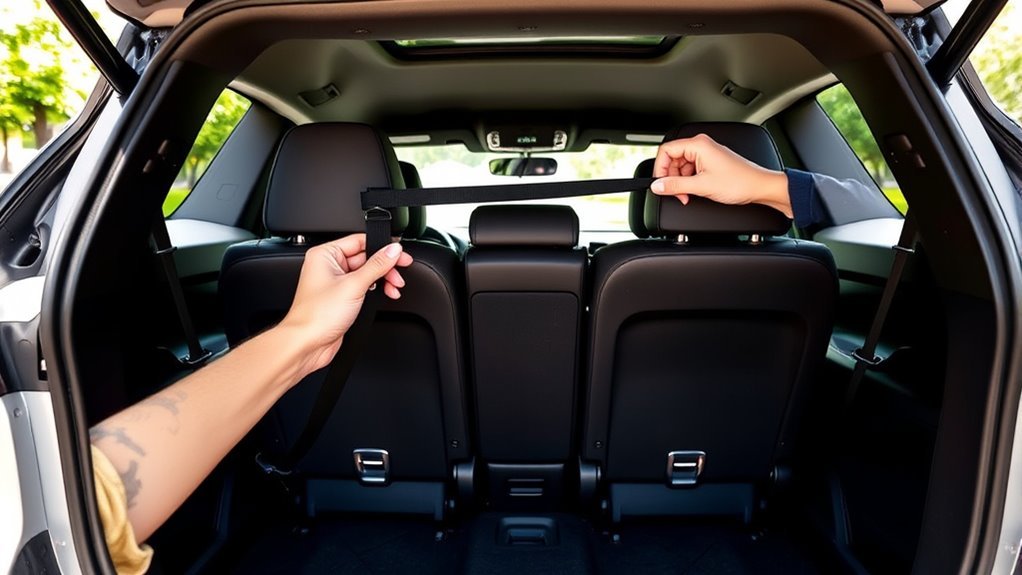
In the 2021 RAV4, the rear top-tether anchor brackets are behind the rear seatbacks. Toyota’s owner resources identify anchor brackets for the outboard rear seats and the center rear seat, so each rear seating position has a designated top-tether location.
Look for the tether-anchor marking near the rear seatback area. Depending on trim and upholstery, the anchor bar may sit behind a small fabric opening or cover. Raise the rear head restraint if it blocks your hand or the tether path. If the head restraint interferes and the manual allows removal, remove it only as directed by Toyota and reinstall it correctly when the child seat is removed.
Note: Toyota’s U.S. manual language uses “LATCH anchors” and “anchor brackets for top tether strap.” Many international readers call the lower anchors “ISOFIX.” In this guide, LATCH lower anchors and ISOFIX lower anchors refer to the same general lower-anchor concept, but you should always follow the manual for your market.
[Products Worth Considering]

Protect your Toyota RAV4 interior with this custom‑fit windshield sun shade that blocks 99% of harmful UV rays and reduces cabin heat. The mirror cut‑out ensures a seamless fit without gaps, while durable 240T polyester and bendable wire keep it sturdy through repeated use. Foldable and stored in a convenient pouch, it offers easy installation and removal for everyday comfort.

The Autovir windscreen shade offers full windshield coverage for Toyota RAV4 models from 2019 to 2026, blocking up to 99.95% of UV rays and reducing interior heat. Its multi‑layer reflective material provides SPF 100 and UPF 80+ protection while keeping the dashboard, seats, and steering wheel cooler. The foldable design installs quickly and stores conveniently in the glove box, and reinforced stitching ensures long‑lasting durability for daily use.
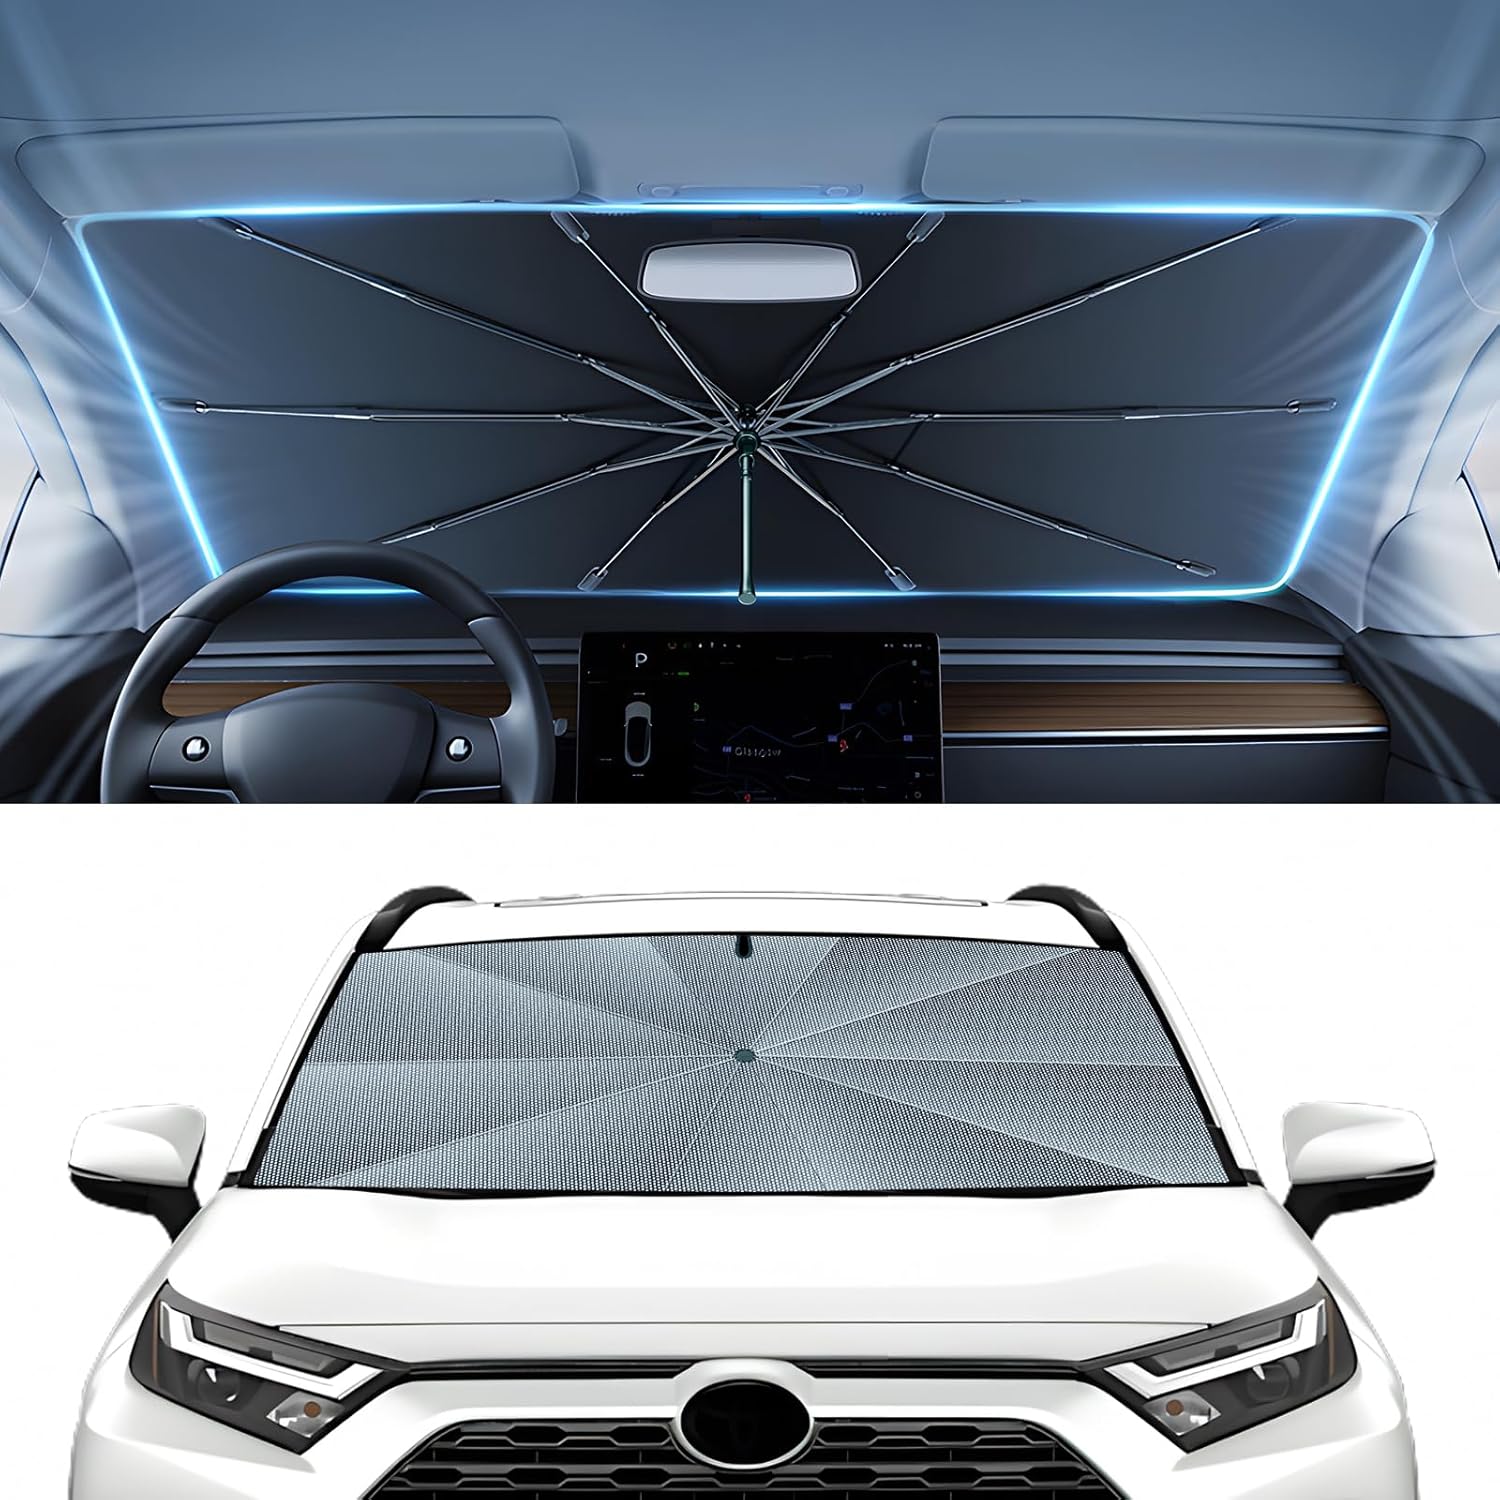
The Autorder windshield sun shade umbrella provides full coverage for Toyota RAV4 models from 2019 to 2026, blocking heat and UV rays with its advanced ice crystal material. Its ten reinforced skeletons and anti‑puncture edges ensure durability and stability, while the effortless umbrella‑style deployment and compact storage bag make it convenient for everyday use. Keep your car interior cool and protected from sun damage with this easy‑setup, high‑performance sunshade.
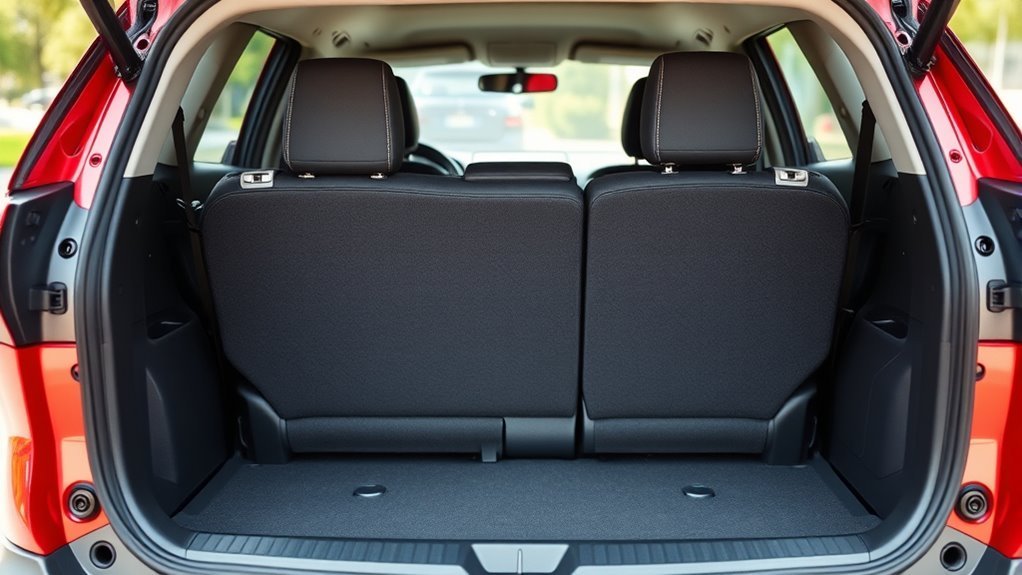
Which Rear Seats Use LATCH/ISOFIX and Which Use the Seat Belt
The left and right rear seats are the easiest positions for many child-seat installations because they have dedicated lower anchors. The center rear seat does not have its own lower-anchor pair, so it normally uses the vehicle seat belt for the lower installation point.
| Rear seating position | Lower installation method | Top tether |
|---|---|---|
| Left outboard rear | LATCH lower anchors for compatible seats, or vehicle seat belt | Use the left rear tether anchor when required by the child-seat manual |
| Center rear | Vehicle seat belt | Use the center rear tether anchor when required by the child-seat manual |
| Right outboard rear | LATCH lower anchors for compatible seats, or vehicle seat belt | Use the right rear tether anchor when required by the child-seat manual |
Use either the lower anchors or the vehicle seat belt to secure the bottom of the child seat. Do not use both at the same time unless both the RAV4 manual and the child-seat manual specifically allow it. NHTSA gives the same general rule for child-seat installation.
NHTSA research has estimated a 46% combined misuse rate for car seats and booster seats, which is why anchor choice, belt routing, and final tightness checks matter.
[Products Worth Considering]

The KDOWES front windshield sun shade offers a custom fit for Toyota RAV4 SUVs, featuring a double‑layer heat shield that blocks up to 99% of solar rays and reduces interior temperature by up to 40°F. Reinforced steel rings and Velcro fasteners ensure easy installation and a secure fit, while the foldable cartilage steel ring allows convenient storage. This high‑quality, reflective fabric protects upholstery, dashboard, and electronics from UV damage, keeping the cabin cool and comfortable.

The Purthog titanium‑silver sun shade umbrella quickly blocks heat and glare, keeping your car interior cool on hot days. Its ten‑rib frame stays sturdy without sagging, and the foldable design with a storage bag makes it easy to keep under a seat or in a glove compartment. Simple installation with a nylon strap and rear‑view mirror ensures a secure fit for most sedans and SUVs.

ISOFIX ADAPTER: Enables secure installation of ISOFIX child safety seats in vehicles WITHOUT built-in ISOFIX anchors. Give older vehicles modern safety upgrades.
Before You Start: Child-Seat Installation Checklist
Before you attach the tether, confirm the basics. This prevents the most common installation mistakes and helps you avoid using the wrong anchor point.
- Read both manuals: check the RAV4 owner’s manual and the child-seat manual before choosing LATCH or the seat belt.
- Choose the seating position: use an outboard seat for lower-anchor installation, or use the center with the vehicle seat belt if the child seat fits there correctly.
- Check the child-seat direction: most U.S. rear-facing seats do not use a top tether, while forward-facing harnessed seats usually do when the manual allows it.
- Check lower-anchor limits: lower anchors have weight limits. If the child-seat label does not list a specific limit, NHTSA’s general formula is 65 lb minus the weight of the child seat.
- Inspect the tether strap: confirm the strap is not twisted, frayed, cut, or routed under a hard edge.
- Identify the real tether anchor: use the marked anchor bracket only, not cargo tie-downs or seat hardware.
Access Hidden Tether Bars: Raise the Headrest and Use the Fabric Slit
Raise the rear head restraint if it blocks your view or the tether path. Then locate the marked tether-anchor opening behind the chosen rear seating position. On many RAV4 rear seatbacks, the anchor is reached through a narrow fabric slit or cover. Slide your hand through the opening and feel for the metal anchor bar or bracket.
Route the tether strap in a straight line from the child seat to the anchor. The strap should not wrap around the headrest posts unless the child-seat manual specifically instructs that path. The hook should sit fully on the anchor bar, with the open side of the hook facing the correct direction according to the child-seat manual.
Pro Tip: Before clipping the hook, run your fingers along the whole tether strap. If you feel a twist, flatten it before tightening. A twisted tether is harder to tension and easier to misread during your final check.
Step-by-Step: Attach a Top Tether on a 2021 RAV4
Use these steps after the child seat is positioned in the correct rear seating location. The tether is the last part of a forward-facing installation, after the seat is secured with either the lower anchors or the vehicle seat belt.
- Park on level ground: set the parking brake and make sure the rear seatback is locked in place.
- Install the lower part of the child seat: use the outboard LATCH lower anchors or the vehicle seat belt, following the child-seat manual. For the center rear seat, use the vehicle seat belt.
- Lock and tighten the lower installation: if using the seat belt, lock it as described in the RAV4 manual. If using lower anchors, tighten the lower-anchor strap as described by the child-seat maker.
- Check movement at the belt path: pull the child seat side-to-side and front-to-back at the belt path. NHTSA says a correctly installed seat should not move more than 1 inch at the belt path.
- Find the matching tether anchor: use the anchor behind the same seating position as the child seat. Do not cross the tether to another position unless the manuals specifically allow it.
- Route the tether: pass the strap through the fabric slit or cover opening so it runs straight to the anchor bracket. Keep the strap flat and untwisted.
- Clip the hook to the anchor: make sure the hook is fully seated on the metal anchor bar and not caught on fabric, trim, cargo hardware, or a headrest post.
- Tighten the tether: pull the tether adjuster until the slack is removed. Do not crank the tether so hard that it lifts or distorts the child seat beyond the manufacturer’s instructions.
- Final check: confirm the lower installation is still tight, the tether remains clipped, and the strap has no slack or twist.
6 Common Top-Tether Mistakes and How to Fix Them
Most tether problems come from using the wrong anchor, routing the strap around the wrong part, or tightening the tether before the lower installation is secure. Here are the mistakes to check before you drive.
Incorrect Tether Attachment
Mistake: clipping the tether to a cargo hook, seat frame, headrest post, or unmarked metal part.
Fix: unclip the tether and find the marked top-tether anchor behind the same rear seating position. Federal rules define tether anchors as part of the child restraint anchorage system, and the vehicle manual is the authority for their location and use.
Headrest Positioning Error
Mistake: leaving the head restraint in a position that blocks the tether strap or forces the strap into a sharp bend.
Fix: raise the head restraint if it interferes. If the RAV4 manual and child-seat manual allow removal, remove it only as directed and store it safely. Reinstall it correctly when the child seat is removed.
Twisted or Loose Tether Strap
Mistake: tightening a strap that is twisted, folded, or still slack after installation.
Fix: loosen the tether, flatten the webbing, clip the hook again, then pull the adjuster until slack is removed.
Using Lower Anchors Past the Weight Limit
Mistake: continuing to install with lower anchors after the child and seat exceed the lower-anchor limit.
Fix: check the child-seat label and manual. If no specific limit is listed, use NHTSA’s general formula: 65 lb minus the child-seat weight. Once your child exceeds the lower-anchor limit, reinstall with the vehicle seat belt and continue using the tether if the manuals allow it.
Using the Seat Belt and Lower Anchors Together
Mistake: using both the vehicle seat belt and lower anchors for the same child seat because it feels “extra secure.”
Fix: use one lower installation method: either the lower anchors or the seat belt. Only use both if both the RAV4 manual and the child-seat manual clearly permit it.
Forgetting the Final Belt-Path Check
Mistake: tightening the tether but not checking the child seat at the belt path.
Fix: grab the child seat where the belt or lower-anchor strap passes through it. Pull side-to-side and front-to-back. If it moves more than 1 inch, tighten the lower installation again before relying on the tether.
Troubleshooting: Fitting Three Child Seats and Alternatives
Some three-across setups may fit in a 2021 RAV4, but the rear seat is not guaranteed to fit every combination of three child restraints. Width, belt-buckle access, child-seat shape, and tether routing all matter. Test-fit the exact seats before assuming the setup is safe.
- Measure the child seats: compare the combined width with the usable rear-seat space, but do not rely on width alone. Buckle access and shell shape matter too.
- Use the correct lower method: the two outboard seats may use LATCH lower anchors if within limits; the center seat normally uses the vehicle belt.
- Do not borrow lower anchors for the center: unless both the RAV4 manual and child-seat manual clearly allow it, do not connect a center seat to the inner lower anchors from the two outboard positions.
- Check every tether separately: each forward-facing tether-equipped seat needs its own matching tether anchor.
- Watch for buckle overlap: a tight three-across setup is not safe if one seat blocks another seat belt buckle or changes another seat’s angle.
- Try narrower seats if needed: slim convertible or combination seats may work better than wide cup-holder models.
- Get an inspection: use NHTSA’s inspection resources if you are unsure whether the setup is tight, independent, and correctly routed.
Note: A child seat can look tight when three seats press against each other, but each seat must still be independently secure. Remove the neighboring seats one at a time and confirm the remaining seat still passes the belt-path movement check.
When to Get Help From a Certified Technician
Get in-person help if the tether hook will not reach, the anchor marking is unclear, the seat moves more than 1 inch at the belt path, you are trying a three-across setup, or the child-seat and vehicle manuals seem to conflict. NHTSA provides car-seat installation guidance and inspection-station resources for caregivers who want a trained check.
Frequently Asked Questions
Are RAV4 tether anchors compatible with European top-tether standards?
Do not assume compatibility from the RAV4 name alone. Use the owner’s manual for the vehicle’s market and the approval label on the child restraint. A U.S.-market 2021 RAV4 follows U.S. LATCH/FMVSS labeling and instructions, while European-market instructions may use ISOFIX terminology.
Can I add aftermarket tether anchors to the RAV4?
Do not drill, bolt, or add generic aftermarket tether anchors to a 2021 RAV4. The vehicle already has factory rear top-tether anchor brackets. If you believe an anchor is missing, damaged, or inaccessible, contact Toyota service or a certified child passenger safety technician before installing the child seat.
Do tether anchor locations differ between RAV4 trims or model years?
They can differ by market, generation, upholstery, seatback design, and model year. For a 2021 RAV4, use the 2021 owner’s manual and the anchor markings in your vehicle. Do not rely only on a photo or video from a different year or market.
Can the center rear seat use the outer lower anchors?
No, not unless both the RAV4 manual and the child-seat manual clearly allow a center installation using borrowed lower anchors. For the 2021 RAV4 center rear position, the safer default is to use the vehicle seat belt for the lower installation and the center top tether when required.
Do rear-facing child seats use the top tether?
Most rear-facing child seats sold in the United States do not use a top tether, but some child-seat designs and markets differ. Follow the child-seat manual exactly. Forward-facing harnessed seats are the seats most commonly associated with top-tether use.
Are there weight limits for child seats using the top tether?
Check both manuals. Lower anchors have weight limits, and NHTSA’s general formula is 65 lb minus the child-seat weight when no specific lower-anchor limit is shown. Tether-use limits depend on the child-seat and vehicle instructions. If a child outgrows lower-anchor use, reinstall with the vehicle seat belt and use the tether if the manuals still permit it.
How do I clean or maintain the fabric slit access area?
Vacuum crumbs and debris gently, then wipe the fabric edge with a lightly damp cloth if needed. Do not cut, widen, unzip, or force the slit. If the fabric is torn or the anchor is hard to reach, have Toyota service inspect the seatback area before installing a child restraint there.
Conclusion
The 2021 Toyota RAV4 gives you three rear top-tether anchor points and LATCH lower anchors on the two outboard rear seats. For the center rear seat, use the vehicle seat belt for the lower installation and the center tether anchor when your child-seat manual requires it. The safest installation is not the one that feels most improvised; it is the one that matches the RAV4 manual, the child-seat manual, the marked anchor, and the final 1-inch belt-path check.
Sources
- Toyota Owners — 2021 RAV4 Manuals and Warranties — official owner-manual access for 2021 RAV4 instructions.
- NHTSA — Car Seats and Booster Seats — lower anchors, tether anchors, weight limits, and inspection resources.
- NHTSA — Car Seat Installation Tips — belt-path movement check and tether installation basics.
- NHTSA Traffic Safety Research Note DOT HS 812 157 — car-seat and booster-seat misuse rate.
- eCFR — 49 CFR § 571.225 Child Restraint Anchorage Systems — federal definitions and vehicle-instruction requirements for lower anchors and tether anchors.
- Federal Register — 2025 FMVSS 225/213b Final Rule — current freshness context for tether/lower-anchor usability and markings.