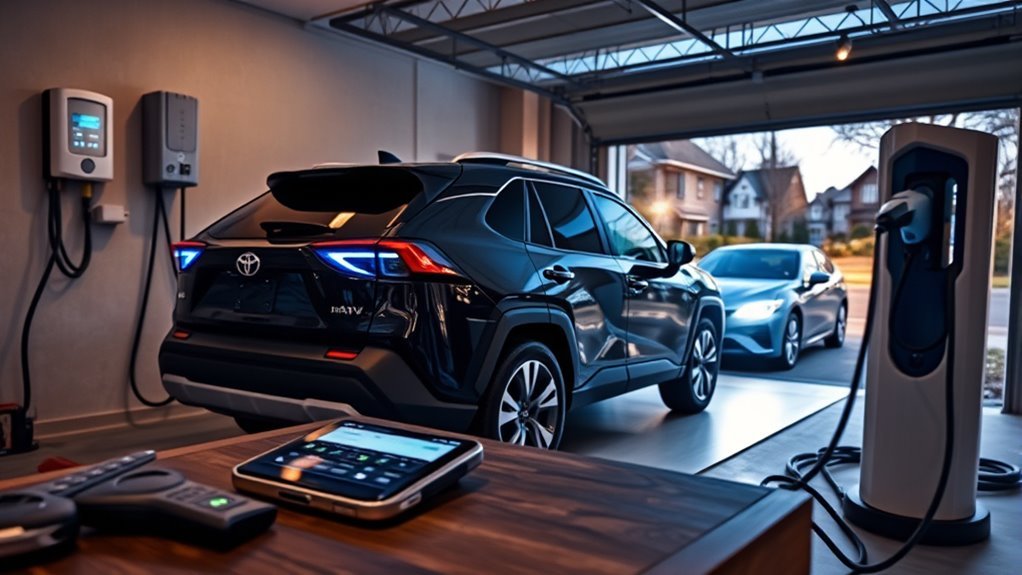
Charge your RAV4 Prime at home using a 120V outlet for slow top-ups or install a 240V Level 2 charger for faster fills and scheduled off‑peak charging. Open charge settings on the SC via directional buttons or on the XSE touchscreen to set charge current, limits, and up to eight timed events. Use J1772 connectors at public Level 2 stations, authenticate via app or terminal, and monitor SoC. Follow scheduling and SoC best practices for cost and battery health—more specifics follow.
Start a Home Charge (RAV4 Prime)
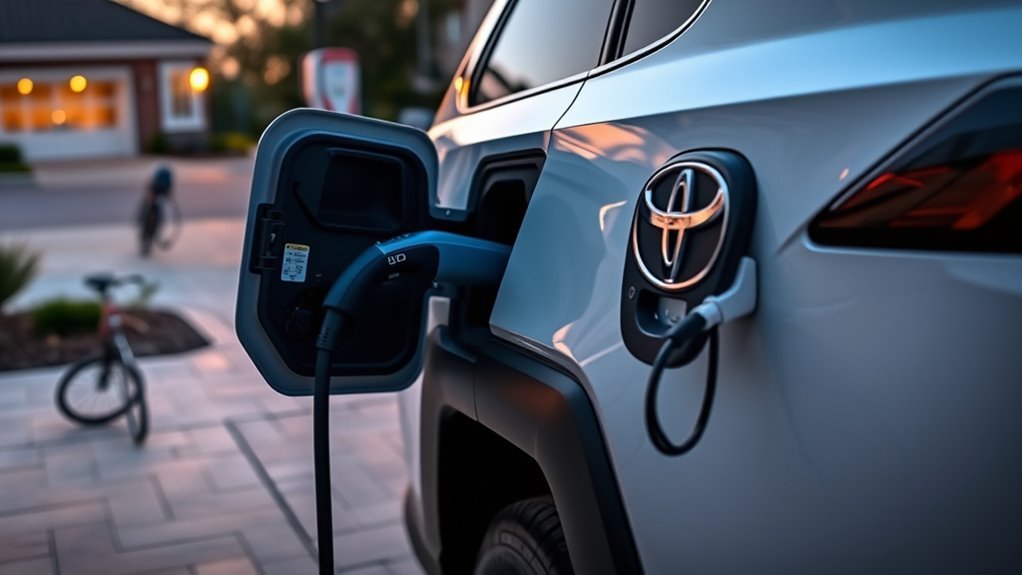
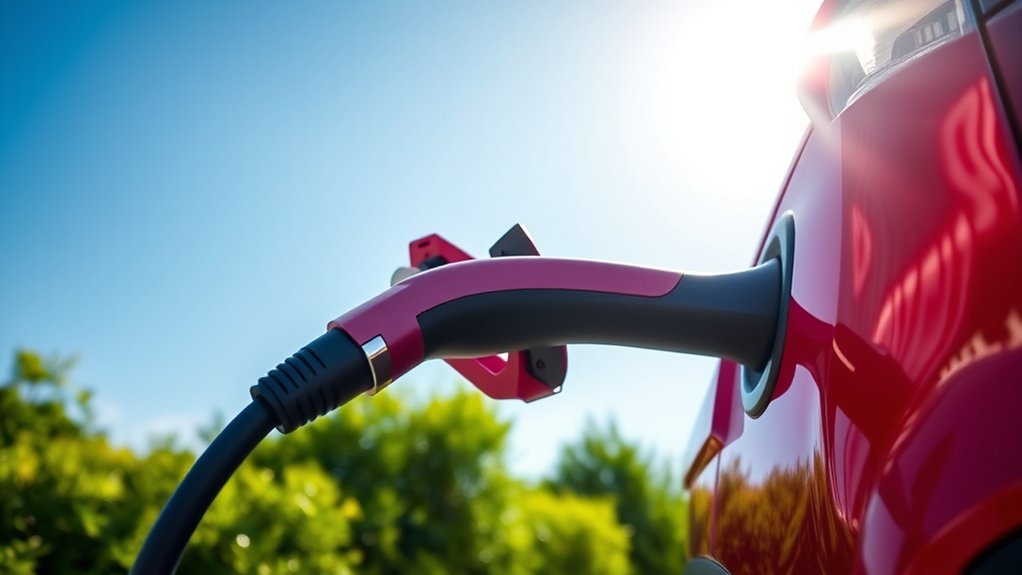
Begin charging by plugging the RAV4 Prime into either a standard 120V outlet or a 240V Level 2 charger—the latter gives much faster fill times. You connect the charging cable to the vehicle inlet, confirm the connector locks, and verify charging status via the indicator light. Make an intentional outlet selection: use 120V for convenience and slower timing, or 240V for efficient energy transfer and shorter dwell.
You’ll want to configure charge current limits and schedule windows through the vehicle interface, but avoid diving into model-specific UI differences here. Program charging events to align with low-rate periods to maximize autonomy and minimize cost. Monitor battery state regularly; the SC model lacks a hard percentage cap, so you’ll manage limits manually. Maintain the charging cable, inspect connectors, and guarantee ground integrity at the chosen outlet. These steps give you control, reduce dependency on public infrastructure, and expand your operational freedom.
Open Charge Settings on RAV4 Prime (SC vs XSE)
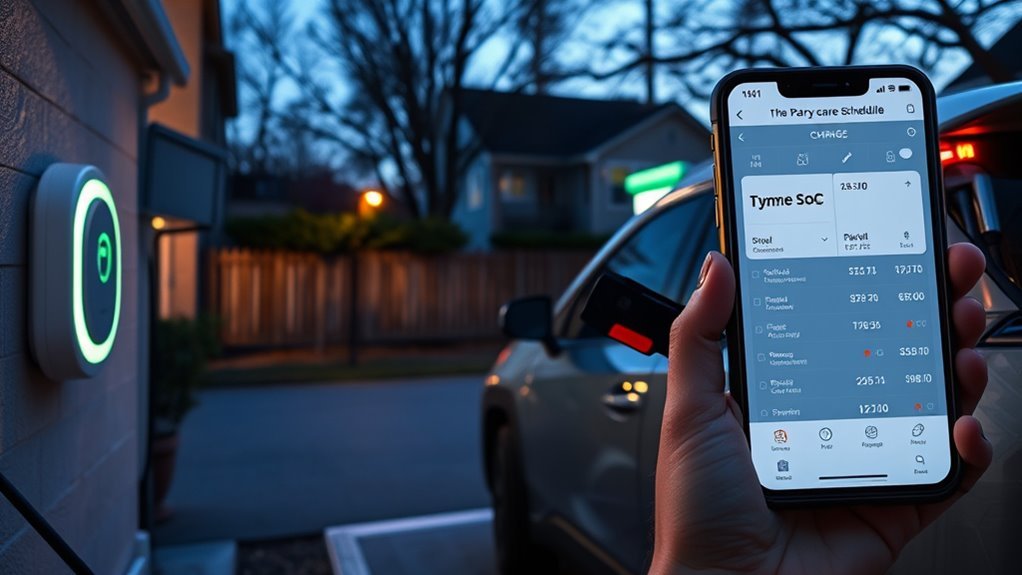
After you’ve plugged in and configured a charge session, open the charge settings to control current limits, scheduling, and battery thermal management; the method differs between SC and XSE. You’ll use the multi-function display with directional buttons on the SC: navigate to Vehicle Settings, hold OK, then change charge current limit and battery heater/cooler controls. The SC stores up to eight scheduled charging events in the main gauge cluster, using military time and repeating daily by default. The XSE exposes scheduling via the main display with a clearer interface.
| SC (Main Gauge) | XSE (Main Display) |
|---|---|
| Access: directional buttons | Access: touchscreen menu |
| Edit: hold OK in Vehicle Settings | Edit: scheduling screen |
| Schedules: up to 8, military time | Schedules: user-friendly UI |
| Clock dependency: critical | Clock dependency: critical |
Verify the vehicle clock so scheduling aligns with off-peak rates. These concise model differences let you claim control.
Level 1 Vs Level 2: Which to Use at Home
Wondering whether to rely on a standard 120V outlet or install a 240V charger at home? You’ll weigh Level 1 convenience against Level 2 efficiency. Level 1 charging uses a 120-volt outlet and delivers roughly 4–5 miles of range per hour; it’s accessible and fine for overnight top-ups if your daily mileage is low. Level 2 requires a 240-volt circuit and boosts charging to about 25–30 miles per hour, dramatically cutting dwell time. For the RAV4 Prime SC, Level 2 shortens full-charge duration and frees you from schedule constraints. Installing Level 2 supports efficient daily charging and lets you target off-peak rates, reducing cost and grid impact. If you need timely readiness and operational freedom, choose Level 2. If you rarely deplete range and prioritize simplicity, Level 1 suffices. Make the choice based on your mileage, schedule demands, and desire for liberation from range anxiety.
Public Charging: Connectors and Step-by-Step
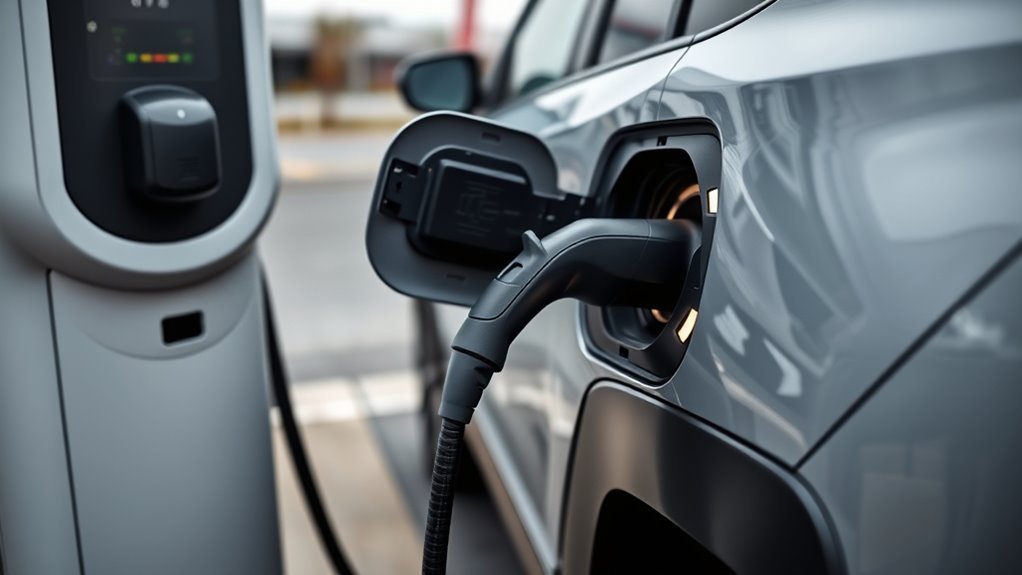
Public Level 2 stations use the standard J1772 connector for the RAV4 Prime, so you’ll plug the station’s cable into the vehicle’s charge port until it clicks to secure the connection; many stations will recharge the battery in roughly 2.5 hours at that rate. At public stations, verify connector types—Level 2 uses J1772, DC fast uses CCS if available—and select the appropriate pedestal.
Step-by-step: locate a station via PlugShare or ChargePoint, confirm availability and pricing, park within reach, uncoil the cable, visually inspect the connector, insert until it clicks, authenticate if required, and start the session on the terminal or app. Monitor charge progress on your vehicle display or mobile app; terminate the session only after charging completes or you reach your desired state of charge.
Practice charging etiquette: don’t occupy EV stalls after charging finishes, move promptly, and report faults. These concise, technical actions keep you mobile and assert control over public infrastructure.
Schedule Charging to Save Money
If you want to cut charging costs, use the RAV4 Prime SC’s scheduler to run up to eight timed charging events during off-peak hours—typically after midnight when rates drop to about $0.18/kWh. You’ll set events via the multi-function display: navigate with directional buttons, hold OK to edit, and verify the vehicle clock so repeat schedules align. Schedule daily repeats to automate disciplined charging habits and free you from manual intervention.
| Event # | Start Time | Repeat |
|---|---|---|
| 1 | 00:30 | Daily |
| 2 | 02:00 | Daily |
| 3 | 03:30 | Daily |
If you must charge daytime, unplug before 3:00 p.m. to avoid higher rates. Regularly run a brief cost analysis whenever tariffs change and adjust scheduled events. This tactical control reduces bills, preserves autonomy, and converts energy pricing into an operational advantage.
Best Times and Rates to Minimize Costs
Having your charging schedule set up makes it simple to pick the lowest-cost windows: most utilities drop rates after midnight to roughly $0.18/kWh, so program the RAV4 Prime’s SC to start in that period and run until the battery reaches your target state of charge. You’ll exploit predictable electricity rate trends and reduce dependence on expensive daytime power. Use the SC’s eight programmable events to stagger fills across multiple nights or to avoid day-time top-ups. Monitor your utility’s rate calendar and enable scheduled charging; automation frees you from manual intervention and increases savings. Implement peak hour strategies by ensuring charging completes before 3:00 p.m., when many grids enter higher-rate intervals. If your utility offers real-time pricing, adapt schedules dynamically to capture sub-off-peak dips. Log consumption and cost per session for at least a month to quantify savings and refine schedules. These steps let you charge strategically, minimize expense, and preserve autonomy over your energy choices.
Battery Care, SoC Limits, and Indicators
You should aim to keep the RAV4 Prime’s lithium-ion pack around 50–80% SoC for maximum longevity and performance. The SC model has no built-in charge-limit setting, so you’ll need to monitor and stop charging manually or use scheduled charging to avoid sustained high SoC. Use the charging cable’s LED behavior—blinking during setup and off when properly programmed—to confirm a correct connection and active schedule.
Ideal State Of Charge
While the RAV4 Prime’s lithium‑ion pack accepts a full charge, keeping its state of charge (SoC) between about 50–80% will best preserve capacity and efficiency over time. You should target this band to maximize battery longevity and peak efficiency: it reduces chemical stress and heat generation, extending usable life. Because the SC model lacks a built‑in SoC limit, you’ll monitor charge manually and use scheduled charging to avoid prolonged full charges. Watch charging cable indicators—blinking during setup, then steady or off when programmed—to confirm status. Check the vehicle’s SoC regularly; the legacy charging system won’t reliably prevent overcharge when idle. Operate deliberately: charge into the 50–80% window whenever practical to safeguard performance and autonomy.
No Built-In SoC Limit
Because the RAV4 Prime SC lacks a built‑in SoC limiter, you’ll need to monitor and stop charging manually to avoid prolonged full charges that accelerate lithium‑ion degradation. You’re responsible for SoC monitoring and manual tracking: aim for 50–80% as the operational band to minimize stress and calendar fade. Use the vehicle display or connected app to read percent state of charge frequently during charging sessions. Unplug immediately when you reach the target SoC to prevent high‑voltage dwell time. Rely on charging cable indicators for setup feedback, but don’t treat them as control of final SoC. Consistent manual tracking and timely disconnection preserve usable capacity and performance, giving you freedom from avoidable battery wear without depending on imposed software limits.
Charging Indicator Behavior
How do the RAV4 Prime’s charging indicators inform your battery‑care decisions? You’ll use charging indicator types as tactical feedback: cable LEDs blink during setup, then extinguish when charging is programmed, giving clear visual confirmation. Because the SC model lacks a built‑in SoC limit, you must monitor state of charge and schedule deliberately to avoid overcharge when idle.
- Observe cable LEDs: blinking = setup; off = programmed/connected.
- Check scheduled-charge indicators: confirm timing or cancel to keep SoC within 50–80%.
- Monitor SoC manually: adjust usage or charging windows to prevent extended full charge.
Mastering these indicators frees you from passive dependence, reduces energy waste, and preserves lithium‑ion battery longevity.
Troubleshooting Common Charging Problems
If you run into charging problems, start by confirming physical and software basics: guarantee the connector is fully seated and the cable’s indicator lights are steady (blinking usually means the handshake is in progress), verify the charging station is functional, and check that your RAV4 Prime’s clock and scheduled-charge settings are correct so the timer can activate. Inspect connection security at the inlet and the charging cable for damage; reseat and retry if indicators keep blinking. For scheduled issues, correct the vehicle clock and reprogram the timer, then observe the first cycle to confirm activation. If charging stops unexpectedly, review current limits in the multi-function display — a low limit can halt efficient replenishment when the battery is low. Verify station faults and retry at another charger to isolate vehicle vs. infrastructure failure. For overcharging concerns, monitor state-of-charge manually; the SC lacks a cap-to-percentage feature, so you’ll need to manage charge windows to avoid sustained full-charge dwell.
Frequently Asked Questions
How Do You Charge a RAV4 Prime at Home?
You plug the RAV4 Prime into a 120V outlet or 240V Level 2 station at home. Charging tips: set charge current, schedule off‑peak times, verify clock accuracy, monitor cable indicators for proper Home setup and secure connection.
How Do I Schedule My EV Charging?
Like setting a clockwork tide, you program scheduled charging via your RAV4 Prime’s charge settings (hold OK on the cluster), use charging apps to monitor, and you’ll secure cost savings by timing off‑peak starts and accurate vehicle clock sync.
Can I Charge RAV4 Prime at Tesla Supercharger?
No — you can’t directly use Tesla Superchargers; Toyota RAV4 Prime lacks Tesla compatibility. You’ll rely on other charging networks with J1772 Level 2 or planned DC fast options, empowering independent route and schedule control.
Conclusion
You’ve got the tools and the map: plug in at home or public, choose Level 1 for gentle overnight top-ups or Level 2 for faster daily recovery, and schedule charging to hitch your energy bill to cheaper hours. Think of routine SoC limits and smart charging as polite fences that keep the battery thriving. If issues appear, follow diagnostics before escalation. With these practices, your RAV4 Prime stays ready—dependable, efficient, and quietly patient.