When your check engine light flags the EVAP system, it means fuel vapors are escaping or components aren’t responding, and the computer’s detected pressure or flow faults. Start by checking the gas cap, visible hoses, purge and vent valves, and the charcoal canister for damage or saturation. Use an OBD‑II scan and, if needed, a low‑pressure smoke test to pinpoint leaks. Follow basic fixes first, then get professional help for stubborn codes—continue below to learn detailed steps.
Quick Actions When an EVAP Check Engine Light Appears
When your check engine light comes on for the EVAP system, first tighten and inspect the gas cap—it’s the most common and quickest fix. You’ll confirm whether the cap is cross-threaded, cracked, or missing its seal; replace it if damaged. If the light persists, read the diagnostic trouble codes (DTCs) to narrow the fault—codes like P0440, P0442, or P0456 point you to specific EVAP issues. Don’t ignore the alert: it raises emissions and risks inspection failure. Next, schedule a professional diagnostic for targeted leak detection of the EVAP canister, fuel tank, and hoses. A technician will pressure-test and often perform a smoke test to reveal invisible leaks, ensuring accurate repair. You’ll regain control by addressing codes promptly, documenting repairs, and confirming the light stays off after the fix. Take action swiftly; liberation from uncertainty comes through precise diagnosis and decisive repair.
How the EVAP System Works (And Why Leaks Matter)
You’ll first see how the system captures fuel vapors from the tank and routes them to a charcoal canister for temporary storage. The car’s diagnostics then monitor for pressure changes so leaks—whether a cracked hose, faulty valve, or loose cap—trigger a DTC and the check engine light. During normal operation the EVAP purges stored vapors into the engine to reburn them, preserving fuel and cutting emissions.
Vapor Capture Process
Because fuel vapors are both wasteful and polluting, your vehicle traps them in a charcoal canister where they’re held until the engine needs them; fresh air is then drawn in to mix with those vapors so the purge valve can route the blend into the intake for combustion. You rely on this vapor recovery to cut emissions and reclaim fuel, reducing environmental impact while preserving efficiency. The canister adsorbs vapors; sensors and valves control timing and flow. When you drive, the PCM opens the purge valve, fresh air dilutes vapors, and the engine burns the mixture. Inspect hoses and caps routinely to keep the system sealed and free. Repairing faults restores freedom from wasted fuel and unnecessary pollution.
| Component | Role |
|---|---|
| Canister | Stores vapors |
| Purge valve | Controls flow |
| Vent | Allows fresh air |
| Sensors | Monitor pressure |
Leak Detection Importance
Although EVAP components are small, even tiny leaks can trigger the check engine light and undermine emissions control, fuel economy, and performance. You need to treat leak detection as strategic: it protects your vehicle, reduces leak ramifications, and safeguards the environmental impact of escaped vapors. Detecting leaks quickly preserves freedom from costly failures and fines.
- Check common sources: gas cap, cracked hoses, faulty valves.
- Use proper diagnostics: smoke machines and pressure tests find hidden breaches.
- Act promptly: repair restores vapor containment and efficiency.
You’ll spot problems early by prioritizing systematic inspection and diagnostic verification. That disciplined approach frees you from recurring faults, maintains compliance, and keeps emissions low so you can drive with authority and responsibility.
Engine Reburn Cycle
When the engine enters its reburn cycle, stored fuel vapors in the charcoal canister are pulled into the intake and burned with the air–fuel mixture, which cuts evaporative emissions and recovers fuel energy. You rely on this controlled purge to reclaim fuel and meet emission regulations while maintaining fuel efficiency. The vehicle computer times purge events and monitors pressure changes; if it detects a leak—say a damaged gas cap or cracked hose—it logs a DTC and illuminates the check engine light. You want the system sealed so vapors flow predictably into combustion. Fixing leaks restores the reburn cycle, prevents vapor loss to the atmosphere, and frees you from needless fuel waste and regulatory noncompliance.
Common EVAP Parts to Inspect: Gas Cap, Canister, Valves, Lines
Start by checking the gas cap for tightness, cracked seals, or worn threads since even a slightly loose or damaged cap will let vapors escape and can trigger a check engine light. Next, inspect the charcoal canister for signs of saturation, cracks, or physical damage that would prevent it from storing vapors properly. If either component shows defects, you’ll narrow the likely causes and guide the next steps in EVAP diagnostics.
Gas Cap Inspection
Begin by checking the gas cap—it’s the simplest EVAP component to inspect and often the culprit behind a check engine light. You’ll practice basic gas cap maintenance to restore sealing effectiveness and clear common EVAP codes. Inspect for cracks, worn threads, or damaged seals. Tighten until you hear at least three clicks after refueling; that confirms a secure seal.
- Check for visible cracks or degraded rubber.
- Confirm three clicks when tightening to verify sealing effectiveness.
- Note any loose fit or cross-threading that could allow vapor escape.
If the cap looks good and clicks properly, move on to hoses and valves. A faulty cap often causes P0456 codes; replacing it is a quick, liberating fix.
Charcoal Canister Check
Although it sits out of sight, the charcoal canister is central to EVAP function, so inspect it for cracks, dents, or fuel saturation that would impair vapor adsorption. You’ll confirm charcoal canister functionality by looking for physical damage and signs of liquid fuel: saturated or heavy canisters won’t adsorb vapors and can fail emissions checks. Follow a methodical charcoal canister maintenance routine—visually inspect connections, wiggle hoses to reveal hidden breaks, and smell for strong fuel odor. Test purge and vent valves separately; valve faults often mimic canister problems. Replace the canister if damaged or saturated; repairs aren’t reliable. This focused approach frees you from guesswork, restores proper vapor control, and prevents recurring EVAP trouble codes.
What Triggers EVAP Codes : P0440, P0442, P0455, and P0456 Explained
When your check engine light comes on for EVAP-related faults, the car’s onboard diagnostics has detected that the sealed fuel‑vapor system isn’t holding pressure or communicating correctly. You’ll see specific codes that guide repair: P0440 flags a general evap system malfunction, meaning the system’s ability to capture vapors is compromised. P0442 and P0456 both signal small leaks; P0442 is common with a loose or damaged gas cap or minor hose cracks, while P0456 often needs targeted leak detection to find elusive sources. P0455 reports a large leak — think a missing cap or major tank damage.
- P0440: general evap system fault, start systematic diagnostics.
- P0442: small leak, check cap and visible hoses first.
- P0455/P0456: large vs. small leaks; escalate to pressure and smoke testing as needed.
You’ll act deliberately, pursue freedom from repeat alerts, and restore emissions integrity efficiently.
Top Causes of EVAP Codes: Leaks, Valves, Canister, Sensors
If your check engine light flags an EVAP fault, start by checking the obvious: a loose or damaged gas cap is the most common cause and can let vapors escape, triggering codes. Beyond the cap, inspect hoses and fittings—cracked or disconnected lines in the evap system let vapor escape and undermine vapor recovery, harming fuel efficiency and engine performance. Faulty purge or vent valves disrupt controlled flow, produce improper pressure readings, and set diagnostic trouble codes. A saturated or failing charcoal canister won’t store vapors, so it trips sensors and violates emission regulations, especially on high‑mileage cars. Finally, sensors themselves can fail or report incorrect pressures; a bad sensor will mislead diagnostics tools and prolong symptoms. For liberation from needless repairs, follow disciplined troubleshooting tips: prioritize vehicle maintenance, replace worn hoses, test and swap suspect valves or canisters, and verify sensor outputs with diagnostics tools. That focused approach restores compliance and performance without surrendering control.
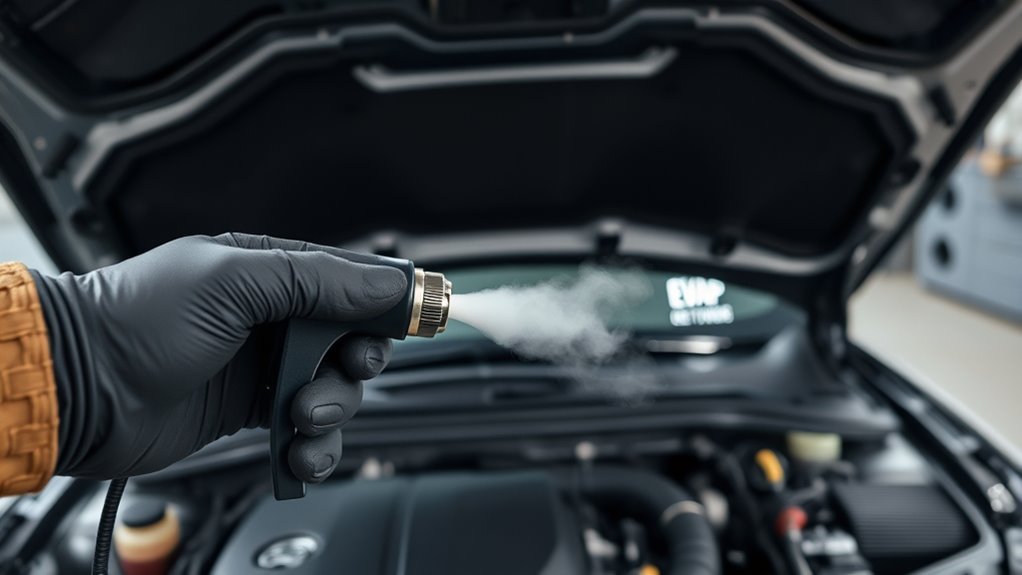
How to Detect EVAP Leaks: OBD‑II Scans, Smoke Tests, Visual Checks
To find EVAP leaks efficiently, start with an OBD‑II scan to pull trouble codes (like P0440 or P0456) that narrow the search, then combine targeted visual checks, smoke testing, and pressure/vacuum diagnostics to confirm and locate the leak. You’ll use leak detection methods that let you act decisively and reclaim control over your vehicle.
- Use OBD‑II diagnostic tools to read DTCs and map probable failure areas.
- Perform visual checks of hoses, valves, and connections for cracks, wear, or loose fittings.
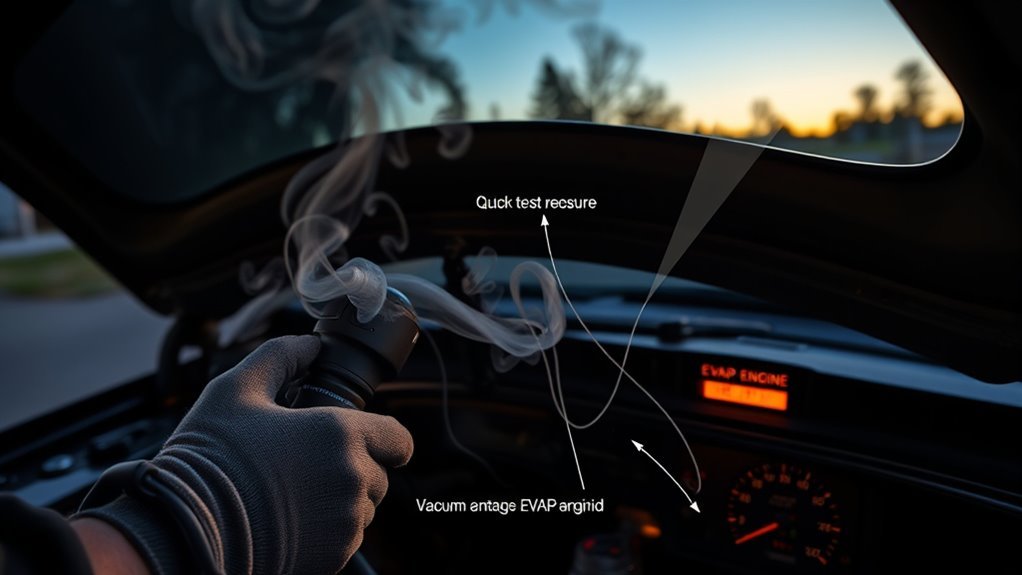
- Run a smoke test and watch for escaping vapor; follow with pressure/vacuum tests for subtle leaks.
Start with the code to avoid wasted effort. Visual inspection catches obvious faults; smoke testing reveals hidden breaches; pressure/vacuum testing quantifies integrity. Include a fuel cap tester to rule out a faulty cap early. Together these diagnostic tools form a cohesive workflow: identify, inspect, verify, then decide your next move with confidence.
DIY Fixes vs. When to Call a Pro for EVAP Problems
Although many EVAP issues start with simple causes you can handle, you should prioritize quick checks—tighten or replace a loose gas cap and inspect visible hoses and connections for cracks or disconnections—since these fixes often clear a P0440/P0456 light. Use these DIY tips first: tighten cap, swap a worn cap, visually trace hoses, and secure loose clamps. If the light stays on or codes like P0440/P0455 appear, seek professional help.
| Task | When to act |
|---|---|
| Tighten/replace gas cap | Immediate, DIY |
| Inspect hoses/connections | DIY if visible |
| Replace visible cracked hose | DIY if competent |
| Persistent light/codes P0440/P0455/P0456 | Call pro |
| Hidden leaks/complex diagnosis | Call pro |
A pro uses smoke machines and scanners to find elusive leaks and guarantees emission compliance. Don’t delay: persistent EVAP faults increase emissions and risk failed tests. Choose autonomy for simple fixes, but liberate yourself by delegating complex diagnostics.
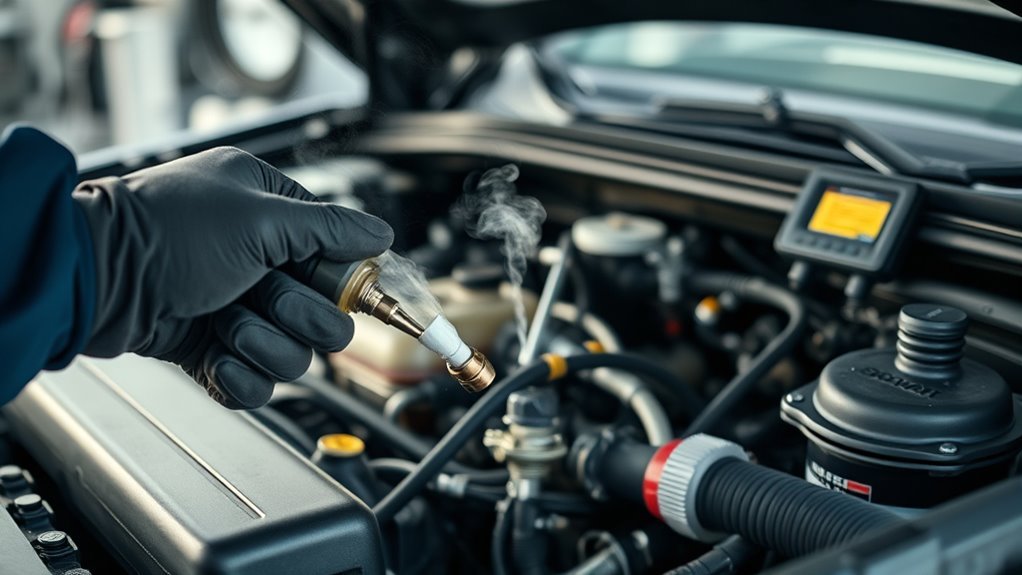
Diagnosis and Repair: Typical Process, Time, and Cost Estimates
When your EVAP light comes on, start by plugging an OBD-II scanner into the diagnostic port to pull codes that narrow the fault to leaks, valves, or sensors; technicians then follow with a visual inspection and low-pressure smoke test to locate leaks and check components like the fuel cap, hoses, purge and vent valves. You’ll use diagnostic tools to confirm DTCs, verify vacuum integrity, and test electrical operation of valves and sensors. Repairs follow proven repair techniques: replace a faulty purge valve, mend or replace cracked hoses, or tighten/replace the fuel cap.
Plug an OBD‑II scanner, read EVAP codes, smoke‑test for leaks, then repair valves, hoses, or the fuel cap.
- Expect 1–3 hours for common fixes, longer for hard-to-reach leaks.
- Typical cost ranges $100–$500 depending on parts and labor.
- Prompt diagnosis avoids failed emissions tests and registration delays.
You’ll act deliberately: pull codes, perform targeted tests, and apply the minimal, effective repair. This frees you from uncertainty and keeps emissions compliance within reach.
Frequently Asked Questions
Why Is My Check Engine Light on Due to EVAP?
Your check engine light’s on because the fuel system detected a leak or malfunction in the EVAP circuit; you’ll want diagnostic tools like an OBD-II scanner or smoke machine to find and fix the leak so you’re free.
What Is the Most Common Reason for the EVAP Code?
The most common reason is a loose or damaged gas cap. You’ll address common causes methodically: check the cap first, inspect hoses and valves, and use diagnostic tips like smoke testing and OBD-II scans to reclaim control.
Conclusion
When your EVAP light alerts, act swiftly: start with simple steps like checking the gas cap, then scan codes and inspect hoses. Knowing how the system seals fuel vapors helps you spot sneaky leaks, save money, and steer clear of bigger repairs. If diagnostics or smoke tests seem challenging, seek skilled service. Stay systematic, stay safe — sensible, steady scrutiny stops small seals from spawning severe soot and spendy setbacks.