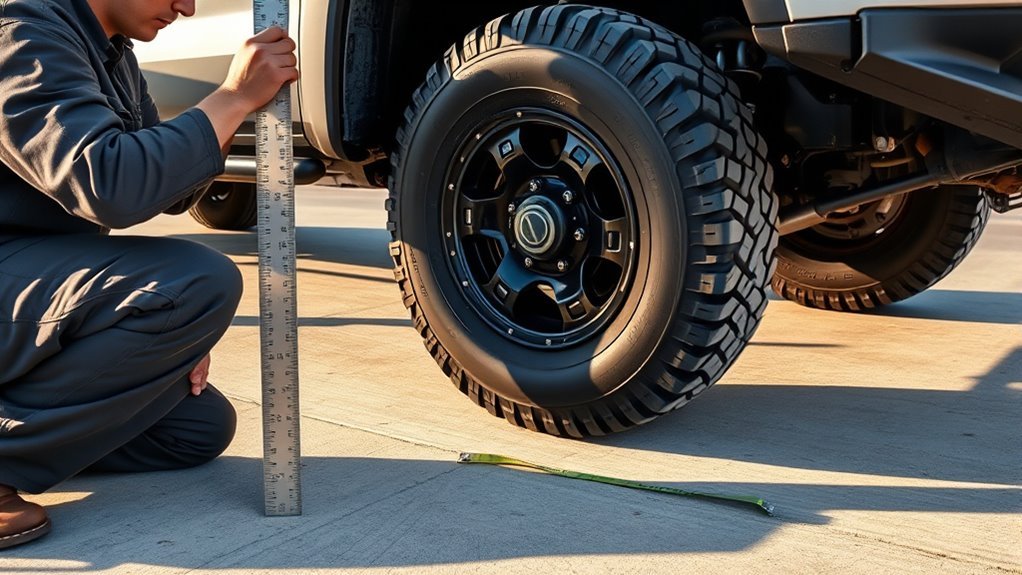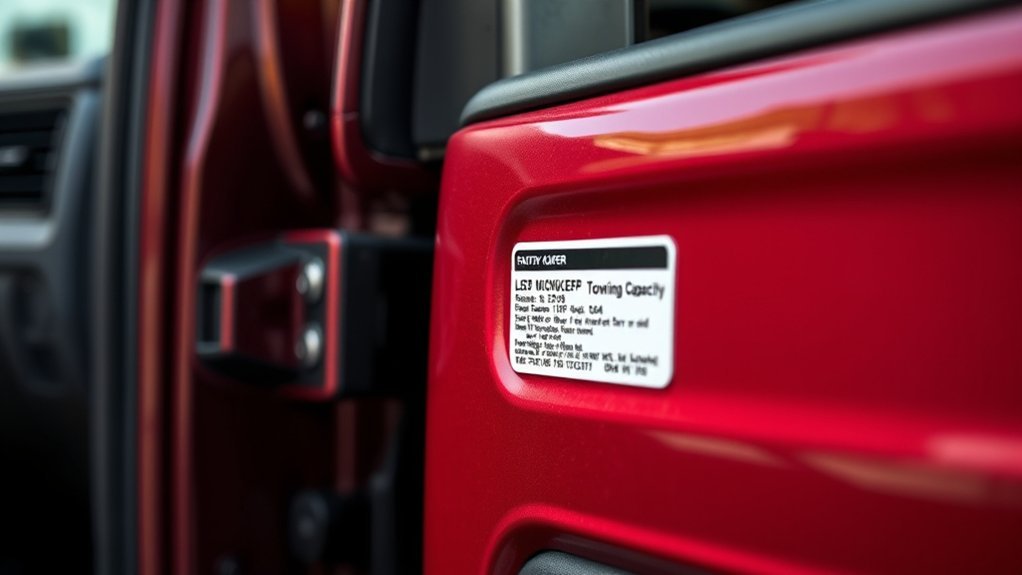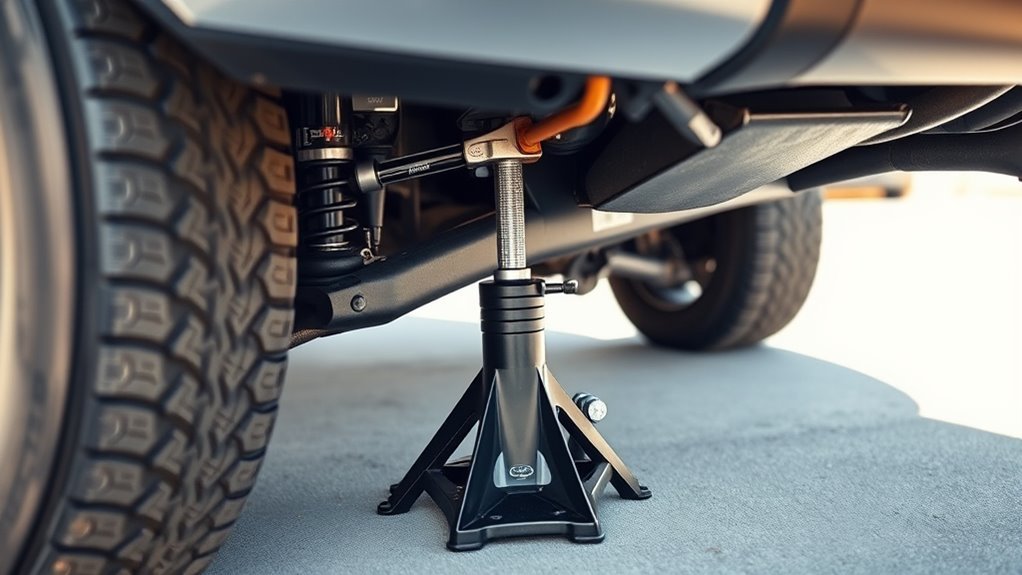
Choosing the right Toyota Tundra jacking point is not a guess. A bad contact point can bend metal, damage suspension parts, or let the truck shift while you work. Use your model-year owner’s manual, a hard level surface, wheel chocks, and rated support stands before you place any part of your body near or under a raised truck.
Quick Answer
Use only the Toyota Tundra jacking points shown in your owner’s manual. Park on hard, level ground, set the parking brake, chock the wheels that stay down, and lift only high enough for the job. Never work under the truck until rated jack stands support it.
Key Takeaways
- Use the lift points shown in your exact Toyota Tundra owner’s manual, not a guessed frame spot.
- The stock jack is mainly for a roadside wheel change, not repair work under the truck.
- Chock the wheels, keep people and pets out of the truck, and lift on hard, level ground.
- Support the Tundra with rated jack stands before you work near or under it.
- Stop if the jack leans, the saddle slips, the ground sinks, or the lift point starts to deform.
At a Glance
| Time Required | About 15 to 30 minutes for a careful roadside tire lift, plus extra time for inspection or jack stands. |
| Difficulty | Moderate. The steps are simple, but the safety margin is small if the jack point or ground surface is wrong. |
| Tools Needed | Toyota Tundra stock jack or rated floor jack, jack handle, lug wrench, wheel chocks, rated jack stands, and a stable jack pad if needed. |
| Cost | Usually no cost for a roadside tire change if your onboard tools are complete. Jack stands, wheel chocks, or a floor jack add cost if you need repair support. |
What’s in This Article
- How to Prepare Your Tundra and Use the Stock Jack
- Before You Begin: Tools and Safety Checks
- Locate Toyota Tundra Factory Jacking Points
- Confirm a Safe Jacking Point by Sight and Touch
- Use the Stock Jack: Step-by-Step Lifting Procedure
- Use Jack Stands and Base Pads for Stable Lifting
- Common Mistakes That Damage the Frame or Jacking Points
- Troubleshooting: Jack Won’t Lift, Won’t Seat, or Tools Won’t Store
- Caring for the Jack and Onboard Tools After Use
- When to Get Professional Help
- Frequently Asked Questions
- Conclusion
How to Prepare Your Tundra and Use the Stock Jack
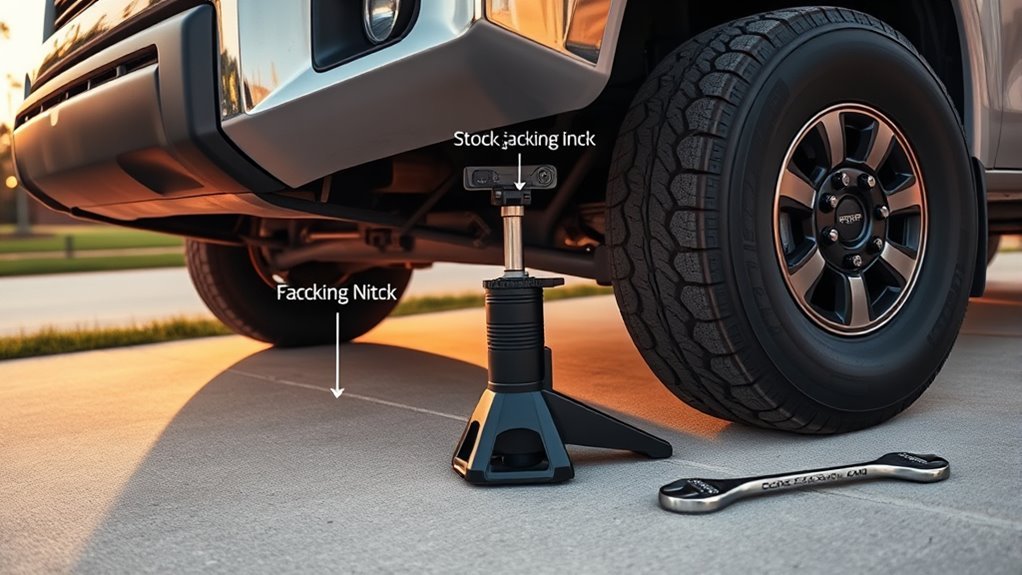
Park your Tundra on a hard, flat surface before you touch the jack. Shift into Park, set the parking brake, turn off the truck, and place wheel chocks at the wheels that will stay on the ground. Ask passengers to step out, and keep pets away from the vehicle.
The stock jack is a compact roadside tool for changing a flat tire. It does not replace a rated floor jack and support stands for service work. RACQ safety guidance says an original equipment jack is mainly designed to raise a vehicle for wheel changing, and you should follow the owner’s manual and use the designed jacking points.
Tool storage varies by model year, cab, trim, and equipment package. Check your Toyota Tundra owner’s manual for the exact jack, handle, wrench, and tool storage location. Confirm that every tool is present before you start lifting.
Warning: Never work under a Toyota Tundra that only a jack supports. A jack can shift, tip, sink, or fail under load.
Before You Begin: Tools and Safety Checks
Gather the tools and support gear before you lift. You need the stock jack or a rated floor jack, the jack handle, the lug wrench, wheel chocks, a stable jack pad if the surface needs it, and rated jack stands if you plan to work near or under the truck.
- Confirm the jack’s load rating before you use it.
- Check the owner’s manual for the exact lift point on your model year.
- Use wheel chocks on the wheels that remain on the ground.
- Inspect the ground for slope, gravel, mud, ice, soft soil, or oil.
- Remove or secure loose cargo that could shift while the truck rises.
- Keep people and pets out of the vehicle while the jack is in use.
The Australian Competition and Consumer Commission safety alert advises drivers to chock the wheels that remain on the ground and not get under a vehicle until support stands hold it. That advice applies even when you only expect the lift to take a few minutes.
Note: If your Tundra has a lift kit, larger tires, rock sliders, skid plates, or aftermarket bumpers, the factory lift area may be harder to reach. Check both Toyota’s manual and the aftermarket part maker’s instructions.
[Products Worth Considering]

This replacement bed cleat tie down anchor kit restores secure cargo management for compatible Toyota truck bed rail systems. Designed to match OEM dimensions and fit, these anchors help keep gear, tools, and luggage firmly in place during daily hauling. Built for dependable use in demanding pickup truck conditions, the kit offers a practical replacement for worn factory tie-downs.

These low profile jack stands provide secure vehicle support for routine garage and repair work on most cars and small vehicles. Built with a welded steel frame, adjustable ratchet design, and wide base for stability, they offer dependable lifting support with a concave saddle for safer contact. The low minimum height and compact design make them a practical choice for many automotive maintenance tasks.

This cabin air filter combines MERV 13 filtration with activated carbon to help trap fine particles and reduce unwanted odors inside your vehicle. Built with four-layer filtration and OEM-sized fitment, it supports cleaner airflow and straightforward installation for a wide range of compatible Hyundai, Kia, GMC, Chevy, and Saturn models. Replace it on schedule to help maintain fresh, comfortable air for everyday driving.
Locate Toyota Tundra Factory Jacking Points
With the truck secured and the jack ready, look under the frame near the wheel you need to raise. Your Tundra may use reinforced frame sections, marked notches, axle contact areas, or other points shown in the owner’s manual. Treat the manual as the final authority because lift points can vary by model year, cab, drivetrain, trim, and installed equipment.
| Area to Check | What a Safe Point Looks Like | Avoid |
|---|---|---|
| Front left or front right corner | A manual-approved reinforced frame or lift area that lets the saddle sit flat and centered. | Thin body panels, steering parts, suspension arms, skid plates, running boards, or brackets. |
| Rear left or rear right corner | A manual-approved frame or axle contact area with solid metal and full saddle contact. | Fuel tank shields, exhaust parts, shock mounts, leaf spring hardware, or rusty frame sections. |
| Center lift point | Use only when Toyota service data or the owner’s manual confirms the point and your jack is rated for the load. | Any crossmember, differential area, or plate that the manual does not identify for lifting. |
Do not rely on a guess, a painted panel, or a nearby bracket. A safe jacking point must carry load through strong metal, not plastic trim, a thin stamped panel, a fuel tank shield, a suspension link, or a loose accessory.
[Products Worth Considering]

This complete tire repair kit is designed to help you quickly fix punctures and get back on the road with confidence. It includes essential tools and supplies for repairing tubeless tires on cars, trucks, motorcycles, ATVs, UTVs, Jeeps, and commercial vehicles. The compact case keeps everything organized for emergency storage at home, in a vehicle, or on the trail.

This heavy-duty tire repair kit provides a convenient way to fix tubeless punctures on the road or in the garage. It includes durable T-handle tools, two plug sizes, and a compact storage bag for easy carrying and quick access. Designed for a wide range of vehicles, it helps make emergency tire repairs simpler and more reliable.

Function:Our floor jack mat can protect the jack support point track under the car, which not only stably supports the lifting point but also prevents the longitudinal beams of the frame and the spot welding points from bending and deforming. Its soft surface does not scratch the chassis components
Confirm a Safe Jacking Point by Sight and Touch
Before lifting, confirm the jacking point by sight and touch. Look for reinforced frame sections, manufacturer-marked notches, or the exact contact area shown in the manual. Run your hand along the area and feel for flat, solid metal that matches the jack saddle.
Check the undercarriage for rust, dents, loose parts, road debris, mud, ice, or bent metal. Clean the small contact area if dirt hides the metal shape. Stop if you find rust flakes, deformation, flex, or any contact point that does not seat the saddle fully.
A firm, flat contact patch transfers load more safely than a rough, angled, or rounded surface. If you cannot confirm the load path, lower the jack, recheck the owner’s manual, or contact a technician before you continue.
Pro Tip: Test-fit the jack saddle against the lift point before the tire leaves the ground. It is easier to correct poor alignment while the suspension still carries the truck’s weight.
Use the Stock Jack: Step-by-Step Lifting Procedure
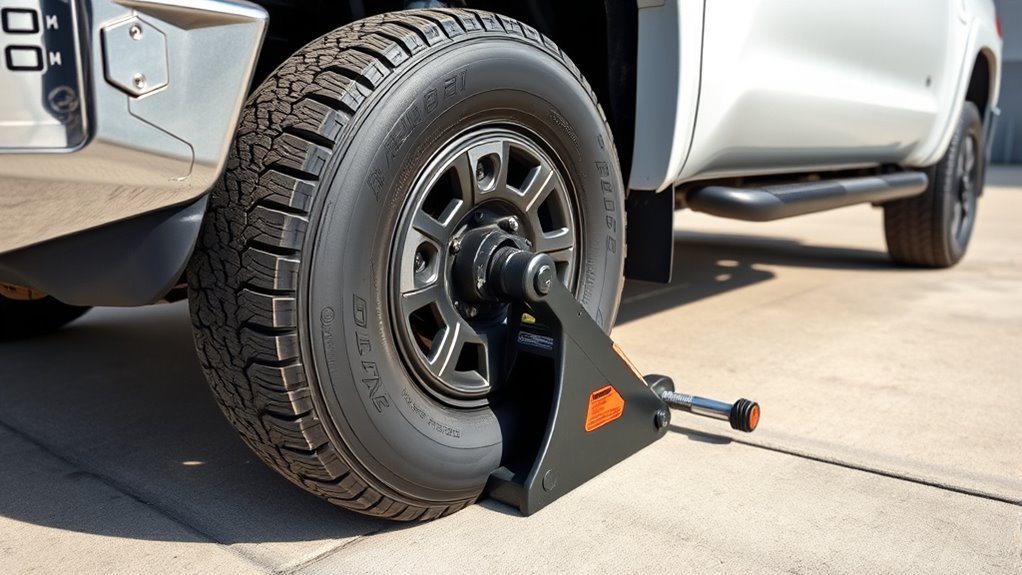
After you confirm a solid jacking point, use the stock jack with slow, controlled movements. Keep your hands away from pinch points and watch the truck from the side, not from under the body.
- Park the Tundra on hard, level ground and set the parking brake.
- Chock the wheels that will remain on the ground.
- Loosen the lug nuts slightly if you plan to remove a wheel, but do not remove them yet.
- Retrieve the stock jack, handle, lug wrench, pads, and related tools from the correct storage area.
- Position the jack saddle directly under the lift point shown in your owner’s manual.
- Align the jack so the saddle sits squarely against the contact point.
- Crank the handle slowly until the jack touches the truck and holds steady.
- Lift the truck only until the tire clears the ground by enough space for the job.
- Check for tilt, slipping, creaking, sinking, or movement as the truck rises.
- Support the truck with rated jack stands before you work near or under it.
- Lower the truck slowly after the work ends and the area stays clear.
- Tighten wheel nuts with a torque wrench to the specification in your owner’s manual if you removed a wheel.
- Stow the jack and tools in their assigned slots so they do not rattle or shift.
For descent, keep one hand on the handle and lower the truck in small, steady turns. Stop if the truck shifts, if the jack leans, or if the saddle leaves the lift point.
Use Jack Stands and Base Pads for Stable Lifting
When you raise your Tundra for more than a quick roadside wheel change, set properly rated jack stands under approved support points. Lower the truck onto the stands so the stands carry the weight. Keep the jack nearby as a backup, but do not treat it as the main support.
Choose stands that meet or exceed the load you need to support. Seat each stand on hard, flat ground, lock the height mechanism, and place the saddle under a manual-approved support point. Shake the truck gently from outside the danger area to confirm stable support before you start work.
Use a jack pad or wide base pad only when it improves contact on a hard surface. Place it flat, center the load, and avoid soft wood, bricks, concrete blocks, or stacked objects. Replace any pad, stand, or jack part that shows cracks, bends, rust, stripped threads, or poor locking action.
A jack lifts the truck. Jack stands support it. Do not confuse those two jobs.
[Products Worth Considering]

PINCH WELD PROTECTION: These jack stand pads feature a center slot that helps position compatible pinch welds and cushion contact during vehicle lifting

【PRODUCT PARAMETERS】Size: 2.5 *1.97*1.73 inches; Net weight: 0.26 lbs; Capacity: 2-3 tonnes; Set includes 4 PCS. The jack pad is an indispensable helper for you to maintain your car, buy it if you like it!

PINCH WELD PROTECTION: The slotted cross-groove design helps align the pad with vehicle pinch welds, reducing the risk of bending, scratching or damaging the frame rail during lifting
Common Mistakes That Damage the Frame or Jacking Points
Even careful owners can damage a Tundra by lifting from the wrong spot. Avoid improper jacking on thin body panels, skid plates, brackets, suspension arms, running boards, rusted frame areas, or any point that the manual does not approve.
- Placing the jack on a non-reinforced panel can bend metal and damage paint.
- Using a skid plate, step bar, or bracket as a lift point can make the truck slip.
- Raising the jack beyond its safe height can reduce stability.
- Skipping wheel chocks can let the truck roll as the suspension unloads.
- Using a crooked jack saddle can twist brackets or pull the jack sideways.
- Ignoring the owner’s manual can lead you to the wrong lift point.
- Leaving cargo loose in the bed can shift weight while the truck rises.
- Lifting on gravel, mud, ice, or soft soil can let the jack base sink or slide.
Work slowly and treat any movement as a stop signal. Lower the truck, reset the jack, and confirm the lift point before you try again.
Troubleshooting: Jack Won’t Lift, Won’t Seat, or Tools Won’t Store
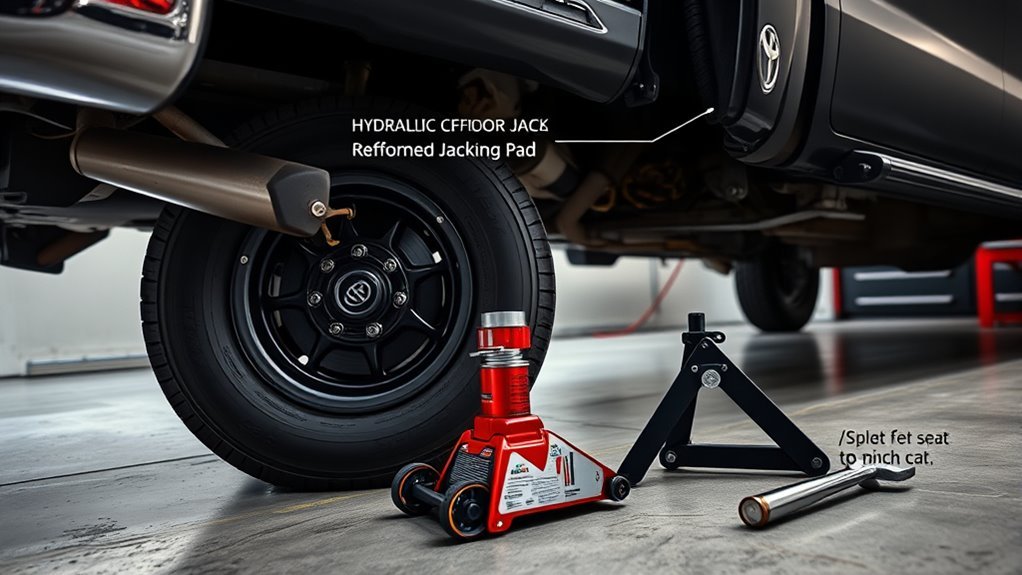
If the jack will not lift, will not seat, or the tools will not store, start with alignment. Confirm that the jack head sits fully on the reinforced lift point and that no dirt, ice, bent metal, or accessory blocks contact. Turn the hand crank without load first to feel for binding.
Check the lifting saddle, screw, height-adjustment sleeve, handle connection, and protective cap. Do not force a jack with bent parts, stripped threads, leaking fluid, or a saddle that does not sit squarely. Replace damaged parts before you rely on them.
If the tools will not store, match each tool to its assigned slot and clear foreign objects from the tray or pouch. Rehook the elastic strap, tighten the retaining mechanism, and confirm the jack cannot move while you drive.
Caring for the Jack and Onboard Tools After Use
After you finish using the jack, clean dirt and debris from the saddle, screw, sleeves, handle, pads, and storage area. Wipe moving surfaces dry so grit and moisture do not shorten tool life. Check the protective cap and storage hardware before you put the kit away.
Inspect the jack for bent or stripped threads, cracked welds, damaged teeth, rust, or poor crank action. Keep damaged items out of service until you replace them. A clean kit helps you respond faster during a roadside tire problem.
Organize tools with discipline. Seat sockets, handles, pads, hooks, and clips in their designated slots. Test elastic hooks and snap clips from time to time, because loose storage can cause rattles and missing parts.
When to Get Professional Help
Get professional help if you cannot confirm the correct jacking point, if the truck has heavy rust, or if aftermarket parts block the factory lift area. A shop can use service data, a lift, and the right adapters to support the truck without guesswork.
You should also stop if the truck shifts, the jack leans, the ground sinks, or the lift point starts to deform. These signs point to an unsafe setup, not a small adjustment.
Safety Disclaimer: This article gives general safety information for Toyota Tundra owners and does not replace your owner’s manual, Toyota service information, or advice from a qualified technician. Use properly rated equipment and get professional help when you cannot confirm a safe lift point.
Frequently Asked Questions
Can I use a bottle jack instead of the stock jack on my Tundra?
You can use a bottle jack only if it has enough rated capacity, a stable base, enough lift height, and a saddle or adapter that fits the approved lift point. Do not use a bottle jack on soft ground or under a point that Toyota does not approve.
Are jacking points different for TRD or lifted Tundra models?
The main factory support areas often remain the reference points, but TRD parts, lift kits, sliders, skid plates, and larger tires can change jack height and access. Check your owner’s manual and the lift-kit maker’s instructions before you raise the truck.
Can snow or ice affect where it is safe to jack my truck?
Yes. Snow and ice can hide the lift point and let the jack or truck slide. Clear the ground and frame area first, use wheel chocks, and move to a safer surface if the jack base cannot stay flat.
Is it safe to jack the truck with a full fuel tank or bed load?
A full fuel tank or loaded bed adds weight and can change balance. Remove loose cargo when you can, secure any load that must stay in the bed, and use support equipment rated for the weight you need to lift.
Do aftermarket bumpers change recommended front jacking points?
Aftermarket bumpers can add weight and may block access to factory lift areas, but they do not automatically create a safe jack point. Use a frame or lift point confirmed by the manual, a service guide, or the bumper maker’s instructions.
Can I use ramps instead of a jack?
Ramps can work for some inspection or service jobs when the wheels do not need to come off. Use ramps only on a hard, level surface, use them in pairs, and place wheel chocks under the wheels that stay on the ground.
Conclusion
The safest Toyota Tundra lift starts with the correct jacking point and ends with stable support from rated jack stands. Confirm the lift point by sight, touch, and your model-year owner’s manual before you apply force. Use the stock jack slowly, stop at any sign of movement, and keep your tools clean and organized after the job. A careful setup protects your truck, your tools, and your safety every time you lift.
Sources
- Toyota Tundra Owner’s Manual Library — model-year manual access and Toyota-specific owner instructions.
- RACQ: Keep Safe While Using a Car Jack — jack use, hard level ground, designated lift points, and support-stand guidance.
- Australian Competition and Consumer Commission Safety Alert: Working Under a Vehicle — wheel chocks, support stands, jack capacity, and under-vehicle safety warnings.