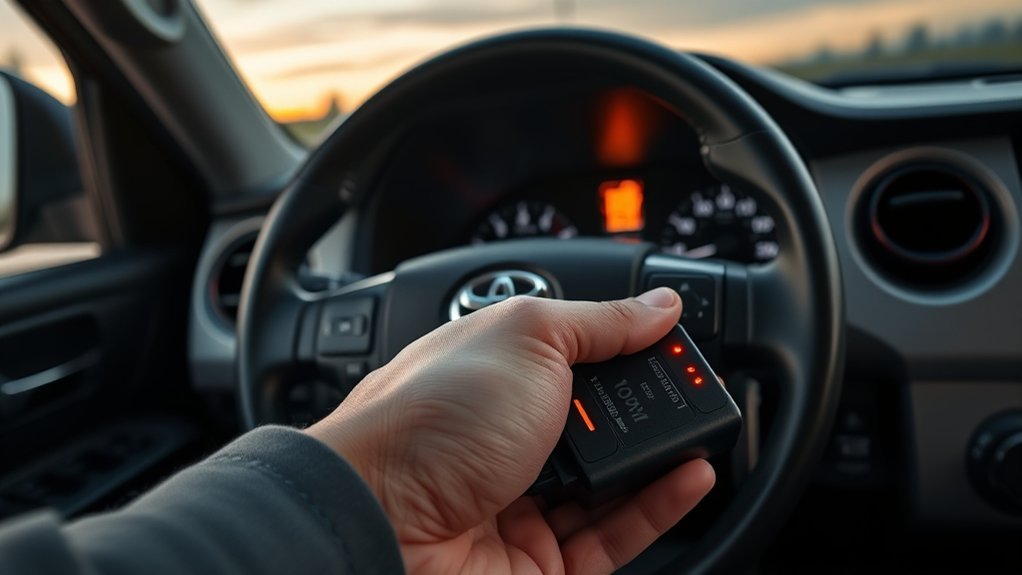
If your Tundra’s power window won’t move, start by disconnecting the negative battery, confirming the lockout is off, and visually checking fuses in the under‑hood and driver kick panels—replace any 30A fuse blown. Test the window relay (swap with a similar relay), verify voltage at the master and passenger switch connectors, and jumper the motor to confirm it runs. Inspect the door harness/A‑pillar for shorts or corrosion; continue for step‑by‑step tests and parts advice.
Quick Checklist: Symptoms That Mean Your Tundra’s Power Windows Have an Issue
When your Tundra’s windows act up, start with a quick checklist of telltale symptoms so you can zero in on the cause: if all doors except the driver’s window are dead, suspect the master control switch or a blown fuse. Check for window noise—grinding or nothing at all—then move to electrical diagnostics. A door lock button that doesn’t light at night often signals an electrical fault in the power-window circuit. Inspect under-hood and kick-panel fuses, prioritizing 30A circuits tied to the windows; blown fuses are a frequent, fixable culprit. If connectors spark during inspection, treat that as a short circuit warning and stop to prevent wider failure. If fuses and relays test good but the passenger windows still don’t respond, replace the master window switch. This checklist keeps you methodical and empowered: you’ll isolate the issue fast and choose the targeted repair that restores control and mobility.
Safety First: Disconnect Battery, Set Locks, and Do Quick Visual Checks
Now that you’ve narrowed possible causes with the quick checklist, start by putting safety first: disconnect the negative battery terminal to eliminate shock and short risks, then confirm the window lockout isn’t engaged so you don’t waste time troubleshooting a disabled circuit. Perform battery disconnection as your primary safety precautions; use insulated tools, wear gloves, and keep metal away from the terminal to avoid arcs. With power isolated, do a quick visual inspection: check the master switch connector is seated, inspect wiring harnesses for frays or corrosion, and glance at related fuses for obvious damage. Don’t spend time on complex diagnostics until connections and basic components are verified. Consult the wiring diagram to trace the window circuit logically and mark suspicious sections for further testing. This approach frees you from needless procedures, keeps you safe, and narrows the fault to connectors, wiring, or controls before you move into targeted troubleshooting steps.
Check Toyota Tundra Power-Window Fuses (Under-Hood and Driver Kick Panel)
Check both the under-hood fuse box and the driver kick panel for the Tundra’s power-window fuses, since they’re often split between those locations. You’ll usually find 30A fuses for the windows—disconnect the negative battery terminal first, then use needle-nose pliers to pull and inspect each fuse for a broken filament. Replace any blown fuse with the same 30A spec and test the windows to confirm the repair.
Under-Hood Fuse Box
Start by popping the hood and locating the under-hood fuse box on the driver side; it contains the 30A mini low-profile fuses that protect the power-window circuit and should be inspected for continuity if your windows fail. You’ll find specific fuse types labeled for accessory and power-window protection. Use needle-nose pliers to extract each mini fuse safely, avoiding damage. Visually check for a blown element, then perform continuity testing with a multimeter to confirm integrity. Replace any blown 30A fuses with exact-spec replacements to maintain circuit protection and prevent hazards. The relay diagram on the box can guide you, but don’t rely solely on unlabeled relays—focus on fuses first to restore control and reclaim mobility.
Driver Kick Panel
Open the driver’s door and remove the kick panel to access the interior fuse block and master window switch, since the Tundra’s power-window protection can be split between the under-hood box and this panel. You’ll gain driver kick panel access to the 30A power-window fuses and the master control; if the driver’s window works while others don’t, suspect these components. Disconnect the negative battery terminal first to avoid shorts, then use needle-nose pliers to extract fuses for inspection. Check fuse ratings against OEM specs and replace only with identical 30A fuses to maintain circuit protection. If fuses test good but the master switch looks worn or intermittent, plan to test or replace it. Regular, disciplined checks keep your controls reliable and independent.
Fuse Inspection Tips
A quick fuse inspection can pinpoint many Tundra window problems, so disconnect the negative battery terminal first and remove the under‑hood box cover and the driver’s kick panel to access both fuse locations. You’ll use needle‑nose pliers to extract and inspect fuses; focus on the 30A circuits tied to power windows. Visually check for a broken element or discoloration and compare markings to the original fuse types. If a fuse is blown, replace it with an identical spec to preserve circuit protection. Establish an inspection frequency—every 6–12 months or after any electrical fault—to prevent failure and reclaim control of your vehicle’s systems. Keep spare 30A fuses and a basic fuse puller in the truck for immediate fixes.
Find and Test the Window Relay (Swapped-Relay Trick)
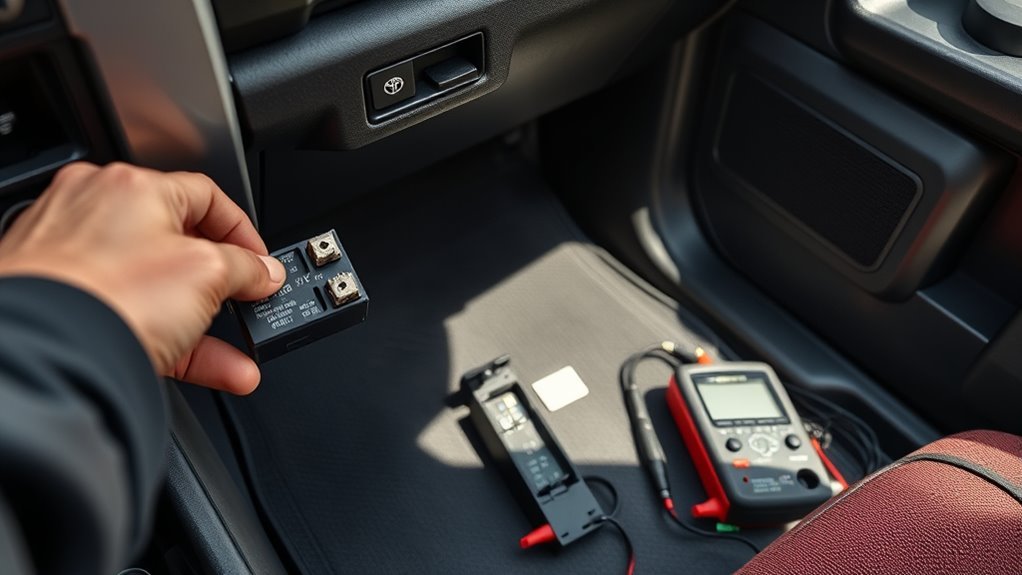
Locate the window relay in the under-hood relay box using the diagram on the cover or fuse chart. With the battery disconnected, pull the identified relay and swap it with a similar one (for example the horn relay) to see if the windows regain function. If the swap works, replace the faulty relay with a matching new unit and re-secure the box.
Locate The Window Relay
When you suspect a failed power-window relay, start by checking the vehicle’s fuse boxes—either under the hood or in the driver’s kick panel depending on your Tundra’s year—and identify the window relay using the fuse-box cover or wiring diagram. You’ll disconnect the battery before touching relays to avoid shorts. Use relay troubleshooting and basic electrical diagnostics: listen for a click when operating the switch; no click suggests relay failure. Confirm relay identity against the wiring diagram so you don’t mis-test circuits. Physically inspect relay pins and socket for corrosion or heat damage. If you’re set on liberation from dependence on shops, document the relay part number and spec before removal. Replace only with the correct-spec relay to preserve vehicle integrity.
Swap With Similar Relay
If you suspect the power-window relay is dead, try swapping it with a known-good, electrically compatible relay from the same fuse box to quickly confirm the fault. You’ll act fast, free yourself from uncertainty, and perform focused relay troubleshooting.
- Locate the relay using the manual, disconnect the negative battery terminal, and identify a candidate relay with matching pin configuration for relay compatibility.
- Remove the suspected relay and plug in the known-good relay; secure seating matters—avoid loose connections.
- Test the windows; if they operate, the original relay is faulty and needs replacement with identical specs.
- Reinstall the new relay, reconnect the battery, and verify all related fuses are intact for reliable operation.
Test Master and Passenger Switches Without Removing Door Panels
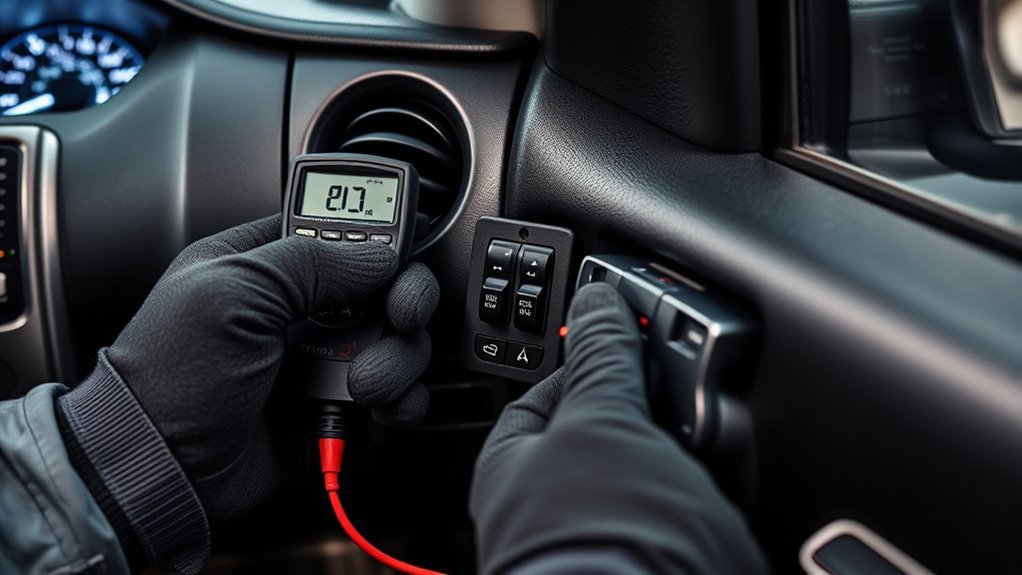
Start by verifying the switches get proper voltage—use a multimeter at the master and passenger switch connectors to check for battery voltage and ground while operating the ignition and the switch; this confirms whether power is reaching the switches before you remove any door panels. Check window lockout first so you don’t chase a disabled circuit. Perform a wiring inspection at accessible connector pins for corrosion or loose contacts. Use a jumper wire to perform switch bypassing: momentarily bridge power to the motor output terminal at the connector to see if the motor runs. If the motor responds, the switch is the culprit; if not, the fault is upstream.
| Step | Tool | Result |
|---|---|---|
| Voltage check | Multimeter | Power present/absent |
| Lockout check | Visual | Enabled/disabled |
| Pin inspection | Probe/light | Corrosion/clean |
| Bypass test | Jumper wire | Motor runs/idle |
| Diagram consult | Wiring schematic | Trace fault |
Document findings for liberated, decisive repair choices.
Inspect the Door Harness and A-Pillar Connector for Damage or Corrosion
Having confirmed power and isolated the switch, inspect the door harness and A-pillar connector for physical damage or corrosion that can interrupt window circuits. You want to liberate yourself from recurring failures by being methodical: door harness inspection and addressing A pillar corrosion are key.
- Visually scan the door harness for wear, fraying, pinches, or disconnected wires; any compromise can break the circuit.
- Unplug the A-pillar connector and look for green/white buildup or pitted pins; corrosion there disrupts continuity.
- Use a multimeter to test continuity between harness terminals and the A-pillar connector; identify open wires or high resistance.
- Clean contacts, reseat pins securely, and apply dielectric grease to prevent future corrosion and guarantee reliable contact.
Follow these steps precisely. Tight pins and clean connectors restore electrical freedom to the window system and cut down intermittent faults without unnecessary part replacement.
Diagnose Shorts and Sparks After Repairs or Aftermarket Mods
When you see sparks or suspect a short after repairs or aftermarket work, cut battery power and methodically trace the window circuit with a multimeter to locate faults. You’ll prevent damage and reclaim control by isolating the fault path: check continuity across switches, motor leads, and ground points. Prioritize wiring inspections in the door harness and A-pillar, looking for pinched insulation, exposed conductors, or melt marks that cause intermittent shorts. Consider aftermarket impacts: added accessories, alarm or audio installs often splice into existing circuits and can introduce improper taps or undersized fuses. Verify fuse ratings and replace any non‑OEM fuses with correct values to avoid overloading. Use back-probing and resistance checks to confirm connectors seat properly; wiggle harnesses while observing readings to reproduce faults. If you find a shorted segment, cut back to clean insulation and repair with heat‑shrink butt connectors or soldered joints; restore battery only after confirming circuit integrity to avoid further sparks.
Test Window Motors and Regulators: Sounds, Power Taps, and Bench Tests
Listen for motor noise as you operate the switch—if you hear humming or clicking, the motor is getting power but may be stalled or weak; if it’s silent, verify voltage at the motor connector with a multimeter (about 12 V with the switch engaged) before concluding the motor is dead. You’ll apply methodical motor troubleshooting and regulator inspection to isolate the fault and reclaim control.
- Use a multimeter at the connector: 12 V on activation confirms power; no voltage points to switch or wiring.
- Power tap the motor: apply 12 V directly to the motor harness to see if it runs independent of vehicle circuits — success indicates control-side failure.
- Bench test the removed motor by wiring it to a battery; consistent operation clears motor as the issue.
- Visually inspect the regulator for bent tracks, broken cables, or obstructions; a seized regulator can mask a good motor.
Work deliberately, document results, and free yourself from guesswork.
Parts and Costs: Switches, Relays, Fuses-OEM vs Aftermarket Buying Guide
Parts and costs matter more than you think when fixing Tundra power windows, because choosing OEM vs aftermarket and the right fuses or relays can determine reliability and long-term expense. You’ll see aftermarket advantages in price—switches often cost $35–$40 versus OEM over $100—so you can reclaim functionality without breaking free from budget constraints. But OEM benefits include fit, verified specifications, and fewer surprises; match visual design and OEM specs when you buy.
Confirm replacement fuses match original ratings (typically 30A) to keep wiring and motors safe. Use basic Phillips and flathead screwdrivers for switch swaps; compatibility checks prevent wasted time. Relays can matter, but start with fuses and switches since they fail more detectably. Choose aftermarket when cost and rapid replacement empower you; choose OEM when long-term reliability and exact fit protect your investment. Make deliberate choices—liberate yourself from repeat repairs.
When to Call a Pro: Wiring-Harness Repair, Modules, and Expected Shop Diagnostics
If replacing switches, relays, and fuses didn’t restore window function, you’ll want a pro to inspect wiring harnesses and control modules. You’ll avoid guesswork and protect yourself from unsafe splices or overlooked module malfunction. A technician runs targeted wiring diagnosis with scan tools, visual harness checks, and voltage tests at the switches to pinpoint faults quickly.
- Thorough scan for error codes — reveals BCM or related module malfunction.
- Visual and physical inspection of the wiring harness — locates chafed, corroded, or broken wires.
- Voltage and continuity testing at switch connectors — verifies power and ground integrity.
- Repair plan and estimate — splice/replace wiring, reprogram or replace modules as needed.
Let a shop handle complex wiring-harness repairs and module replacements; they have the tools, training, and procedures to restore reliable operation while you reclaim control and freedom from recurring electrical failures.
Frequently Asked Questions
Can Cold Weather Permanently Damage Tundra Power-Window Motors?
Yes—you can get permanent damage: prolonged cold weather effects can stiffen seals, thicken grease, and strain the motor, causing burnout. You’ll need proactive window motor maintenance to prevent seizure and preserve freedom to operate windows.
Will Using Dielectric Grease on Connectors Void Warranties?
Absolutely not—unless you’re intentionally sabotaging connectors. You’ll usually keep warranty implications minimal by using dielectric grease usage properly; manufacturers accept corrosion prevention, but document application and check service terms so you won’t accidentally void coverage.
How Long Do OEM Master Switches Typically Last in Tundras?
OEM master switches typically last 8–15 years depending on use and environment; you’ll find aftermarket switches vary more. Prioritize quality switch replacement, regular cleaning, and corrosion prevention to maintain control and preserve your vehicle autonomy.
Can a Bad Door Lock Actuator Mimic a Window Failure?
Yes — a failing door lock actuator can mimic window failure; you’ll see door lock issues, intermittent power, or blown fuses. Use actuator troubleshooting: probe harness voltage, test ground continuity, and isolate the switch to pinpoint the faulty component.
Are There Recall Campaigns for Tundra Power-Window Systems?
Yes — you can check. Picture a grounded circuit beside a flashing recall light: you’ll find documented power window issues in Toyota’s recall history; search NHTSA or Toyota VIN lookup, and you’ll act to reclaim safety.
Conclusion
You’ve covered the checklist, safety steps, fuse and relay checks, switch and motor tests, and when to call a pro. One theory people swear by is that aftermarket audio or alarm installs cause window shorts—it’s true often enough to check: undo recent mods first. If basic fuse/relay/switch tests don’t fix it, the problem’s likely wiring, regulator, or module. Save time: document symptoms, try the simple fixes, then hand it to a shop for harness or module diagnostics.