Your 2024 Toyota Tundra takes 7.7 quarts of 0W‑20 with a filter, so buy an 8‑quart jug to be safe; 5W‑20 is an acceptable temporary substitute but stick with 0W‑20 for longevity and warranty compliance. Replace the oil filter at every change (use OEM or equivalent) and check levels after briefly running the engine to get an accurate dipstick reading. Follow the gradual fill procedure and monitoring tips below for precise results and troubleshooting.
Tundra Oil Capacity: How Much 0W‑20 Does a 2024 Tundra Take?
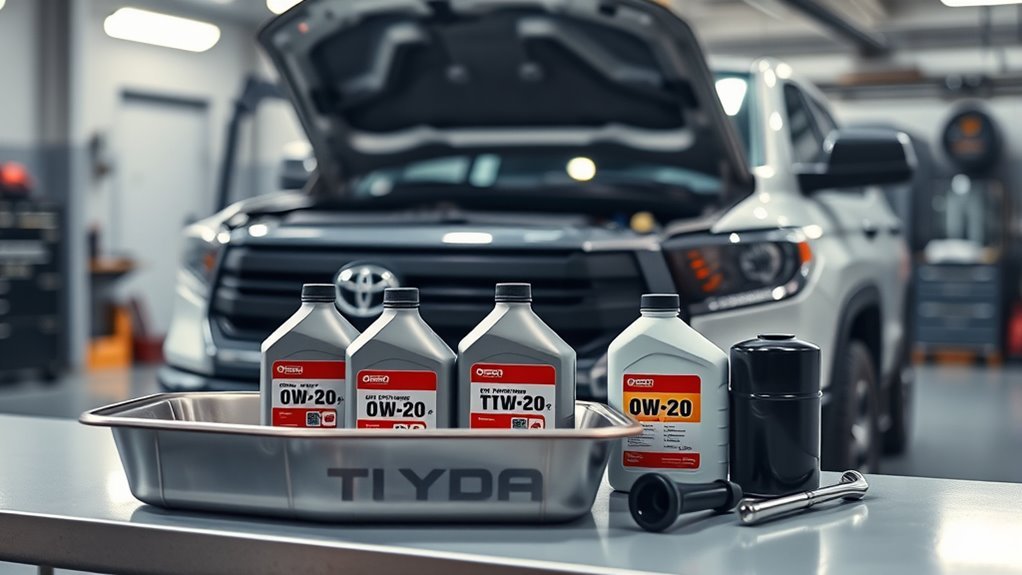
Wondering how much 0W‑20 your 2024 Toyota Tundra needs? You’ll fill the sump to 7.7 quarts with a filter installed, so plan to buy eight quarts to guarantee you’ve got enough on hand. Both the I‑Force Max Hybrid and the regular gas engine call for 0W‑20 (5W‑20 is an acceptable alternative), so you won’t need different viscosities across trims. Stick to this specification to protect engine performance and to keep oil pressure and clearances within design tolerances.
Check oil level regularly, especially if you extend drain intervals using premium oils; that vigilance preserves reliability and supports your maintenance schedule. Filter specs aren’t published yet, so verify the correct part number before you buy one — an incorrect filter can compromise flow and contaminate the system. By following these precise measures you maintain autonomy over your vehicle’s care and avoid unnecessary dealer dependence.
Quick Answer: Fill Amount and How Many Quarts to Buy
Now that you know the 2024 Tundra takes 0W‑20 (5W‑20 acceptable) and the sump holds 7.7 quarts with a filter, here’s the quick answer: fill to the dipstick full mark and buy eight quarts to guarantee you have enough on hand. You’ll top off to the dipstick; slight overfill reported by users rarely causes issues, but don’t go excessive. Check levels after running the engine and settling.
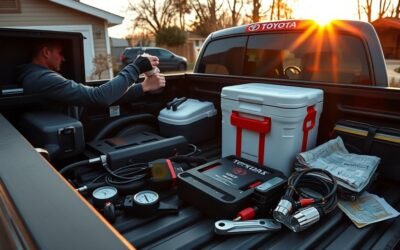
- Buy 8 quarts of high‑quality 0W‑20 (or 5W‑20 if necessary) to avoid mid‑change shortages.
- Use a top‑grade filter and proper filter selection technique—MOX‑compatible filters and wrenches simplify removal and sealing.
- Verify level after a short drive; monitor oil change frequency based on use and consider extended‑interval oils only with frequent checks.
Be decisive: carry spare oil, choose a quality filter, and watch the level. That practical routine keeps your Tundra free and mobile.
0W‑20 vs 5W‑20: Which Oil for the Tundra?
Which oil should you reach for when topping off your 2024 Tundra: 0W‑20 or 5W‑20? Choose 0W‑20 as your primary oil — Toyota specifies it for peak oil performance and engine longevity. 0W‑20 offers lower cold‑start viscosity, reducing friction on startup, improving fuel efficiency, and decreasing wear versus 5W‑20. If you can’t source 0W‑20, 5W‑20 is an acceptable temporary alternative; both provide adequate protection across temperature ranges, but the viscosity impact favors 0W‑20 for modern Tundra engines.
You should follow the manufacturer’s recommendation to protect warranty and maximize service intervals. Regularly check oil levels and stick to the specified viscosity to prevent problems that limit your vehicle’s freedom on the road. In short: use 0W‑20 for best results, use 5W‑20 only when necessary, and prioritize consistent monitoring to maintain liberated, reliable performance.
Tundra Oil Filter: Part Numbers and Change Best Practices
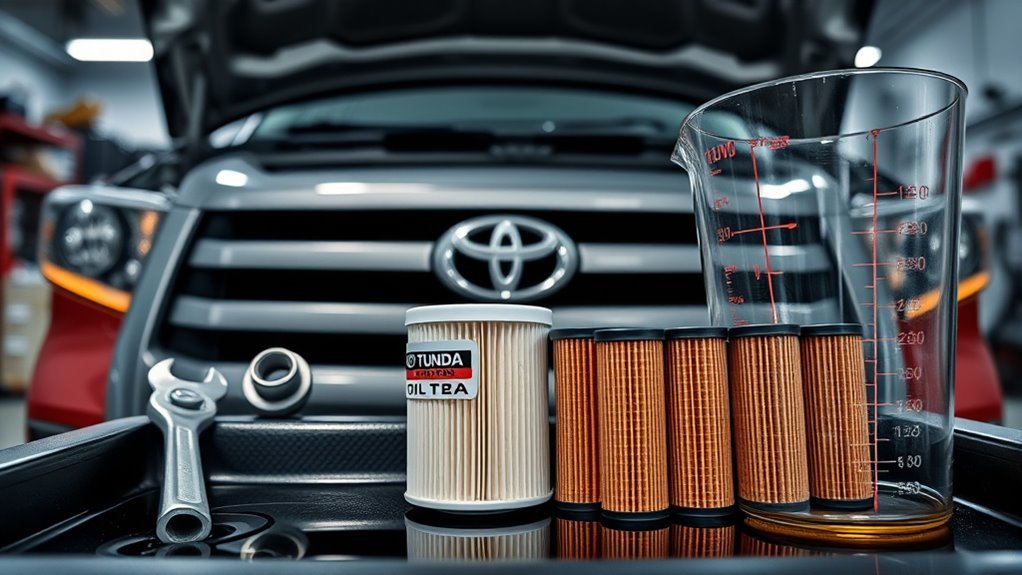
Choosing the correct viscosity was step one; next you need the right oil filter and a solid change routine to keep the 2024 Tundra running clean. You should consult your manual or a parts database for exact 2024 Tundra filter part numbers—they vary by engine and region. Replace the filter at every oil change, typically every 5,000–7,500 miles, to prevent debris buildup and preserve oil quality.
Use high-quality, OEM or equivalent filters from reputable brands to reduce contamination risk. For efficient filter maintenance and oil change work, have these basics on hand:
- oil filter wrench for secure removal and installation
- correct replacement filter (confirm part number before purchase)
- lint-free rag and new gasket or O‑ring as needed
You’ll liberate yourself from premature wear by following this regimen: verify part numbers, use proven filters, and sync filter replacement with scheduled oil changes. That discipline protects engine longevity and keeps service simple and predictable.
Step‑By‑Step: Filling for an Accurate Oil Level
Because accurate oil level matters more than guessing, start by pouring 5 quarts from the jug, then insert the dipstick to get an initial reading before you add the remainder. You’ll then top to about 7.5 quarts (manual says 7.7 with filter). Add slowly in small increments, checking after each pour. Run the engine briefly to circulate oil, shut it down, wait a few minutes, then verify the level again. This process frees you from uncertainty and protects the engine.
| Step | Action |
|---|---|
| 1 | Pour 5 quarts, check dipstick |
| 2 | Add small increments toward 7.5 qts |
| 3 | Run engine briefly, recheck |
For maintenance tips, always confirm the final level after every oil change. If dipstick visibility hampers accurate reads, consider improving its contrast (see next section). Stay methodical: measure, circulate, remeasure. That disciplined routine gives you reliable results and the liberation of knowing your Tundra’s oil is correct.
Using the Dipstick: Reading Tips and Visibility Fixes
When you check the Tundra dipstick, wipe it clean, reinsert, then pull it again to get a true reading and account for fill-settling. If the markings are hard to see, scuff the indicator lightly with fine sandpaper or a scouring pad to create a contrast line. Repeat checks after small additions of oil so you can stop at the correct mark without overfilling.
Dipstick Visibility Fixes
If you’re having trouble reading the dipstick on a 3rd‑gen Tundra, a few targeted fixes will make level checks faster and more reliable. Understand the dipstick design, combine proven reading techniques, and learn from user experiences to free yourself from guesswork. Wipe the stick clean, reinsert fully, then withdraw for a clear wet line; always check on level ground after the engine runs briefly post‑change for proper circulation. For visibility solutions, consider these practical maintenance tips:
- Lightly scuff the dipstick with fine sandpaper or a scratch pad to create a matte surface that shows oil contrast.
- Apply a thin paint stripe or high‑contrast tape at the markers for quick visual cues.
- Use a portable LED inspection light to eliminate shadow and glare.
These fixes reclaim control over accurate oil level checks.
Accurate Level Checking
Although the dipstick seems simple, getting an accurate oil reading on your Tundra takes a few precise steps: park on level ground, shut the engine, and wait several minutes for oil to settle. Pull the dipstick, wipe, reinsert fully, then remove and read between the min/max marks. If visibility is poor, scuff the dipstick lightly with a scratch pad or fine sandpaper so fresh oil shows clearly. After adding oil, always recheck to confirm the level sits near the full mark—slightly over is common but keep it close to avoid oil breakdown and excess crankcase pressure. Check regularly after changes to prevent low-oil conditions that accelerate engine wear. These actions give you control and protect your freedom on the road.
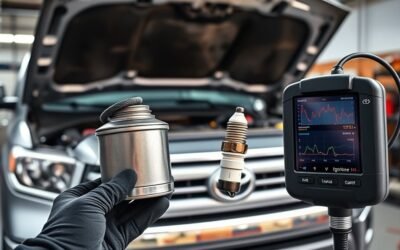
How Oil Circulation and the Cooler Can Skew Dipstick Readings
Because oil keeps moving through passages and coolers after you shut the engine off, dipstick readings can swing unexpectedly right after an oil change. You need to understand oil flow and cooler impact to get a reliable measure. Oil trapped in passages and the cooler will continue draining back or holding volume, so an immediate check can overstate the reservoir level.
Wait a few minutes after running the engine so circulation stabilizes, then check. Scuff the dipstick wipe to improve visibility; residual oil film and cooler-held oil can blur the mark.
- Oil flow continues through galleries and the cooler, altering dipstick readings as oil redistributes.
- The cooler impact can hide several tenths of a quart; trapped oil returns slowly.
- Waiting and a clean scuff on the dipstick produce repeatable, defensible readings.
Act deliberately: let systems settle, use consistent technique, and you’ll liberate yourself from guessing based on transient readings.
When Overfill or Underfill Matters : Symptoms to Watch For
When you run the Tundra with too much or too little oil, you’ll see clear, actionable signs—overfill often causes frothing and oil seeping from seals, and the dipstick reading above the full mark signals you should drain some, while underfill shows as knocking, overheating, or low-oil-pressure warnings that demand immediate attention. You’ll spot overfilling consequences as aerated oil that reduces film strength and triggers oil pressure issues; look for leaks at seals and excess on the oil pan. Underfilling symptoms include metal-on-metal noise, rising operating temperature, and dashboard warnings—these point to accelerated engine wear and immediate risk. Regular dipstick checks after service guard performance impact and help with early leak detection or identifying consumption. If levels run low repeatedly, you need to investigate seals, gaskets, or burning oil. Act quickly: correct levels protect bearings, camshafts, and pistons, preserve liberty from avoidable breakdowns, and maintain the Tundra’s reliable performance.
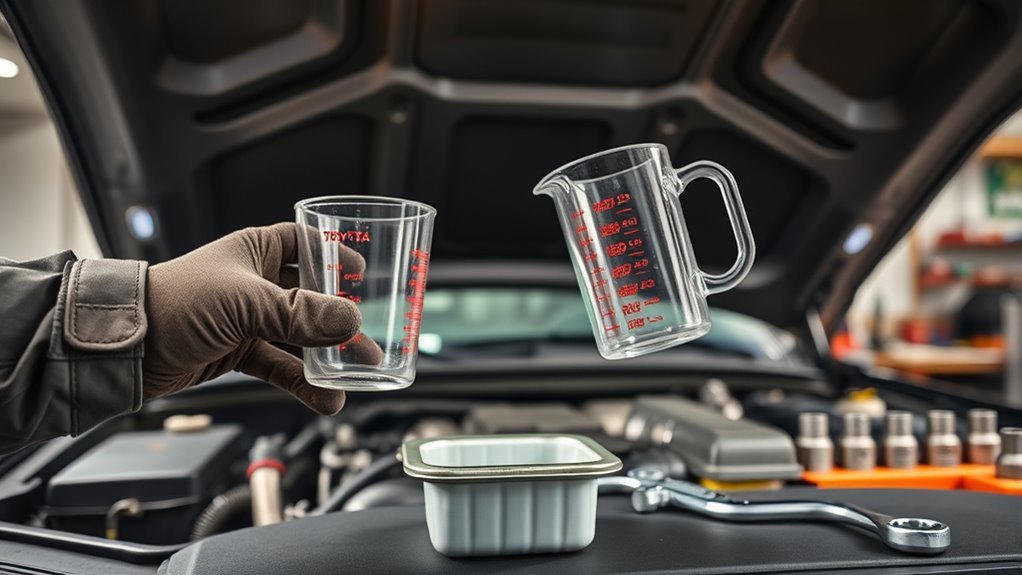
Tools and Measuring Tricks (Pitchers, Measuring Cups, Jugs)
After you correct oil level issues, use simple measuring tools to get the final fill accurate. You want measuring accuracy during oil filling to hit the Toyota Tundra’s 7.7-quart target with filter without guessing. Pour a full 5-quart jug first for convenience, then switch to a measuring bottle or clear pitcher to add the remaining volume precisely. Run the engine briefly, then check the dipstick; circulation gives a truer reading. If the stick is hard to read, lightly scuff it to improve visibility before measuring. Keep the process deliberate — freedom comes from mastering the small steps.
- Fill one full 5-quart jug, then measure the remainder with a marked pitcher.
- Use a calibrated measuring bottle for precise fractional quarts during final oil filling.
- Run engine briefly, park level, then verify with a clear dipstick read.
These tools and tricks let you control oil quantity reliably, reduce waste, and free yourself from uncertainty.
Real Owner Tips: Typical Fills, Tolerances, and FAQs
You’ll usually start with a full 5-quart jug, then add about 2.7 quarts from a second jug to reach the 7.7-quart capacity, with many owners keeping an extra quart on hand. Expect to see the dipstick slightly above the full mark—minor overfills within a few tenths of a quart typically don’t harm the engine, and scuffing the dipstick can improve readability. After filling, run the engine briefly to circulate oil and recheck the level, adjusting in small increments for accuracy.
Typical Fill Practices
Although the factory spec lists 7.7 quarts with filter, most owners top off to about 8 quarts for convenience while targeting roughly 7.5 quarts on the dipstick to avoid overfill. You’ll adopt oil change habits that favor a conservative final level and use repeatable measurement techniques to stay precise. Use a measured pour and confirm level rather than guessing.
- Use a marked pitcher or measuring tool for the last quart to avoid overshoot.
- Aim for ~7.5 quarts by volume, then verify with the dipstick once settled.
- If dipstick visibility is poor, lightly scuff it or use a clean rag to improve reading consistency.
These practical steps free you from anxiety about overfill and protect the engine without ritual.
Dipstick Reading Tips
1 clear technique owners swear by is to pour measured amounts and check the dipstick after the oil has settled: add about 7.5 quarts by volume, run the engine briefly to circulate oil, let it sit a few minutes, then retract and read the dipstick straight on. You’ll often add a full 5-quart jug, then estimate the remainder from a second jug to hit roughly 7.5–8 quarts. If the dipstick is hard to read, a light scuff with fine sandpaper improves contrast—part of simple dipstick maintenance to reduce reading errors. Small traces above the full mark rarely harm performance, but avoid overfill. Use a flat, level surface and consistent timing after shutoff to standardize readings and build confidence.
Oil Change Shortcuts
When topping your Tundra, many owners save time by pouring 8 quarts up front—one full 5‑quart jug plus roughly 3 quarts from a second—to avoid repeated trips to the store, then verify with the dipstick after a brief run to circulate oil. You can adopt that shortcut safely if you follow simple checks: the factory capacity with filter is about 7.7 quarts, and slight overfill just above full is usually tolerated. Practice maintenance tips to confirm levels and longevity without bondage to exact pours.
- Add 5 quarts, then measure ~3 quarts from a second container for convenience.
- Run engine briefly to circulate oil, then recheck dipstick.
- Scuff the dipstick for clearer readings on 3rd‑gen trucks.
Monitor oil change frequency and check levels regularly.
Frequently Asked Questions
What Oil Filter for 5.7 Tundra?
Use OEM oil filter 90915-YZZD1 for the 5.7 Tundra; you can also choose Fram PH3614 or Mobil 1 M1-110. You’ll perform maintenance tips like replacing filter each oil change to preserve your vehicle’s freedom.
What Oil Does Toyota Recommend for Tundra?
A stitch in time saves nine: you’re best using 0W-20 as Toyota recommends for the Tundra; 5W-20’s an alternative. Pick the best oil and oil types meeting specs, synthetic preferred for longevity.
Conclusion
You’ve got the numbers and parts to keep your Tundra happy: pour the specified 0W‑20, change the correct filter, and check levels precisely with the engine warm, on level ground. Don’t overfill — it’ll cause foaming — and don’t underfill — you’ll starve the pump. Use a marked jug or graduated pitcher for accuracy, let the oil circulate before rechecking, and consult torque specs. Keep records like it’s 1965.