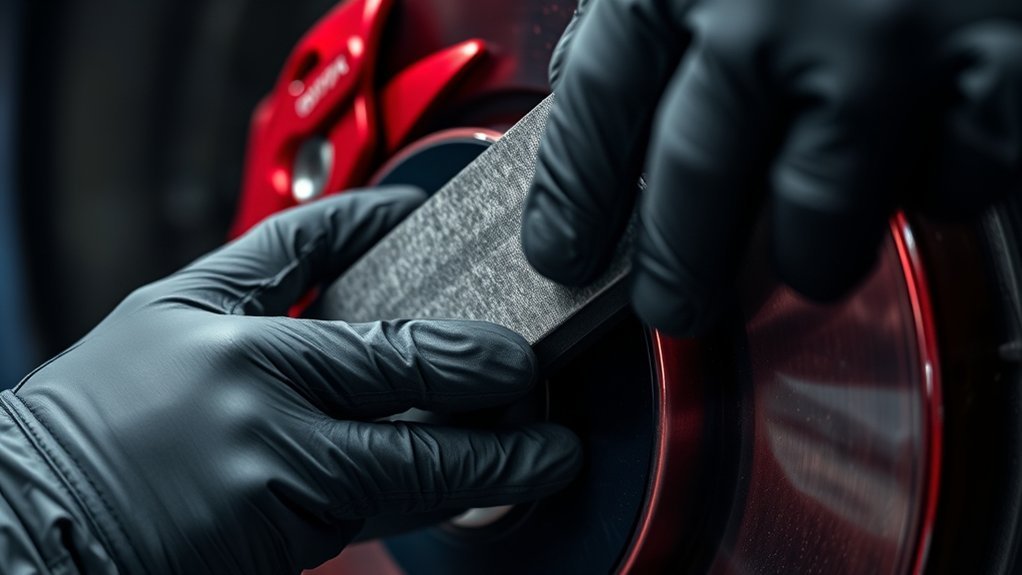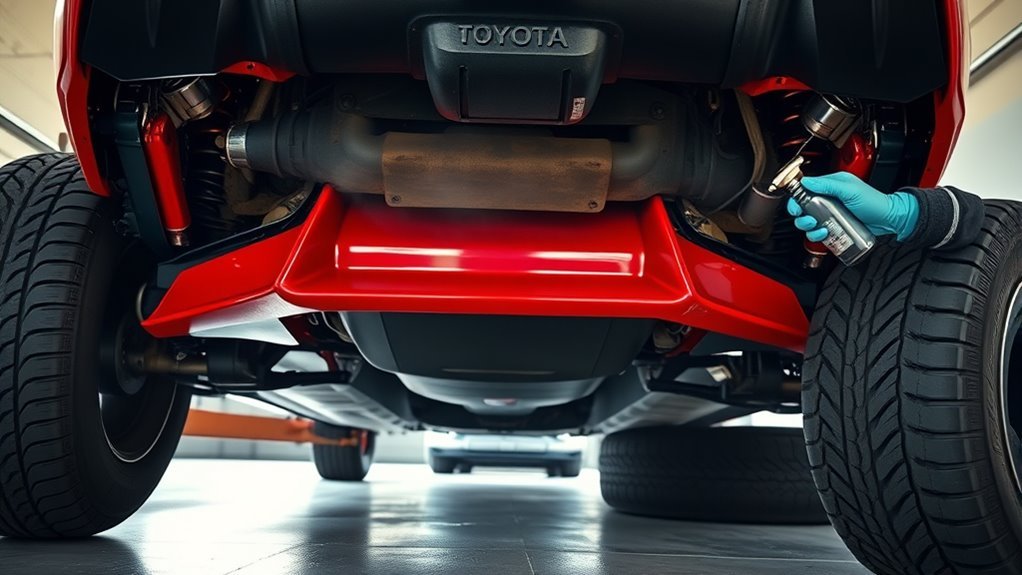
Road salt is one of the fastest ways to start hidden corrosion on a Toyota Supra, especially around wheel wells, seams, suspension hardware, rocker panels, and paint chips. The best defense is not one product; it is a repeatable winter routine: remove salt quickly, keep water draining, seal exposed metal, and inspect the underside before and after the season.
Quick Answer
To keep a Toyota Supra from rusting from salt, rinse the undercarriage and wheel wells often, repair paint chips immediately, keep drain holes clear, protect exposed metal with wax, sealant, cavity wax, or rust inhibitor, and store the car in a dry, ventilated space. Never coat over active rust or trapped moisture.
Key Takeaways
- Salt becomes most damaging when moisture turns it into brine that sits in seams, chips, and underbody pockets.
- Wash the underside every 1 to 2 weeks in salty weather and again after major storms when temperatures are safely above freezing.
- Touch up chips quickly because exposed metal gives salt a direct path under the paint.
- Use cavity wax or fluid-film-style inhibitors inside hidden voids; use rubberized coatings only on clean, dry, rust-free surfaces.
- A dry, ventilated garage is better than a warm, humid garage where salty slush melts and stays wet.
At a Glance
| Time Required | 15 to 45 minutes per wash; 2 to 4 hours for a detailed inspection and touch-up session |
| Difficulty | Easy for washing and inspections; moderate for coating and chip repair |
| Tools Needed | Hose or pressure washer, undercarriage sprayer, pH-balanced car shampoo, microfiber towels, flashlight, flexible pick, touch-up paint, clear coat, rust inhibitor, cavity-wax wand |
| Cost | Low for routine washing; moderate for coatings; higher for professional rustproofing or corrosion repair |
Quick Winter Checklist to Protect Your Toyota Supra
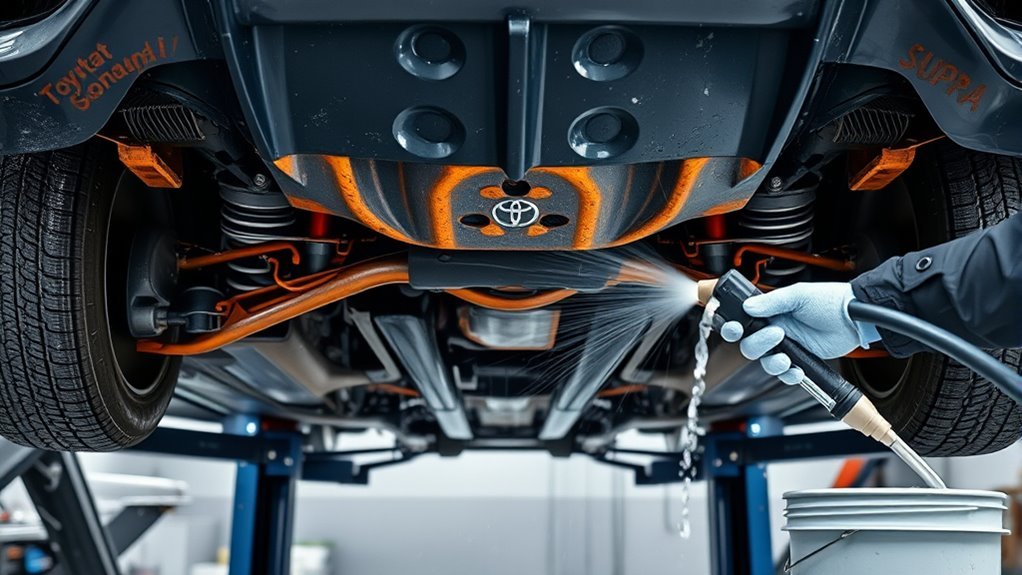
Use this checklist before the first freeze, during salt season, and after the final thaw. It works for modern GR Supra models and older Supras, but older cars need extra attention because seams, previous repairs, and aging paint can hide corrosion.
- Before winter: wash thoroughly, decontaminate the lower panels, apply wax or paint sealant, inspect chips, clear drains, and protect exposed underbody metal.
- During winter: rinse the undercarriage, wheel wells, rocker areas, and suspension parts every 1 to 2 weeks when roads are salty.
- After storms: wash again once temperatures are above freezing and the wash water will not freeze on the car or driveway.
- After each wash: drive gently for a few minutes to dry the brakes, then park in a dry, ventilated area.
- After winter: deep clean, inspect seams and suspension mounts, repair chips, and refresh worn coatings.
Warning: Do not spray rubberized undercoating over rust, damp metal, loose factory coating, dirt, or salt residue. That can trap moisture and make corrosion worse. Clean, dry, inspect, and treat any rust first.
Why Road Salt Makes Supras Rust Faster
Road salt works because dissolved salt lowers the freezing point of water and helps form brine. That same brine is bad for cars because it stays wet, clings to metal, and carries ions that speed up corrosion. The Federal Highway Administration explains that sodium chloride brine can remain liquid below 32°F, depending on concentration, which is why it keeps working on roads and keeps attacking exposed metal on your Supra.
Salt does the most damage in places where water sits instead of draining. On a Supra, that means wheel wells, lower rocker areas, seams, hatch and trunk edges, frame rails, suspension mounts, brake and fuel-line brackets, and chips in the paint.
- Brine gets into seams: capillary action pulls salty moisture into tight gaps and welded joints.
- Freeze-thaw cycles widen damage: water expands, coatings crack, and more bare metal becomes exposed.
- Chips start rust early: once salt reaches steel under the paint, corrosion can spread beneath the finish.
- Hidden areas rust first: the underside can look fine from a distance while brackets, seams, and inner cavities are already deteriorating.
Road salt damage is usually not a one-time event. It is repeated wet salt exposure, poor drainage, and delayed cleaning that turn small chips and seams into serious corrosion.
Weekly and After-Storm Undercarriage Wash for Supras
When winter roads coat your Supra with salt and slush, focus on the underside first. A clean exterior is nice, but corrosion usually starts where you cannot see it: under rocker panels, behind wheel liners, around suspension hardware, and inside seams.
Use warm water when available, a pH-balanced car shampoo, and an undercarriage sprayer or wash bay with a proper underside rinse. If you use a pressure washer, keep the nozzle moving and avoid blasting seals, bearings, electrical connectors, parking sensors, brake components, or damaged coatings at point-blank range.
- Pre-rinse the lower body: start with wheel wells, lower doors, rocker panels, and rear bumper pockets.
- Rinse the undercarriage: move slowly from front to rear so water pushes salt out instead of deeper into cavities.
- Use a salt-removal wash when needed: a chloride-removing or salt-neutralizing wash can help loosen residue, but it still must be rinsed away fully.
- Check drains after washing: make sure water flows out of rocker, door, hatch, trunk, and sunroof drains if equipped.
- Dry the car: drive gently to clear standing water from brakes and low pockets before storage.
Pro Tip: Wash on warmer winter days when the temperature is above freezing. If water freezes immediately after washing, it can trap moisture in the same places you are trying to protect.
[Products Worth Considering]

Meguiar's Gold Class Car Wash combines cleaning and conditioning in one easy step for a smooth, high-gloss finish. Its advanced, biodegradable formula creates rich suds that lift away dirt and road grime while helping preserve existing wax protection. Versatile for bucket washing or foam cannon use, it leaves paint looking radiant, renewed, and ready for a professional-level detail.

Rain-X Foaming Car Wash is a concentrated cleaner designed to lift dirt, grime, and road residue while helping reduce spots and streaks for a glossy finish. Its biodegradable formula is safe for waxed surfaces and delivers high-foaming cleaning action for an exceptional wash. Ideal for routine vehicle care, it helps leave your car looking clean and bright after every wash.

Chemical Guys Swift Wipe Waterless Car Wash Spray lets you clean, shine, and protect your vehicle without a hose or bucket. Its high-lubrication formula lifts dirt and grime while helping reduce scratches and swirl marks, leaving a glossy, streak-free finish on paint, glass, wheels, chrome, and plastic. Ideal for quick detailing anywhere, it adds a protective layer that helps repel dust and keep your vehicle looking freshly washed longer.
Protective Coatings That Actually Help Stop Salt Corrosion
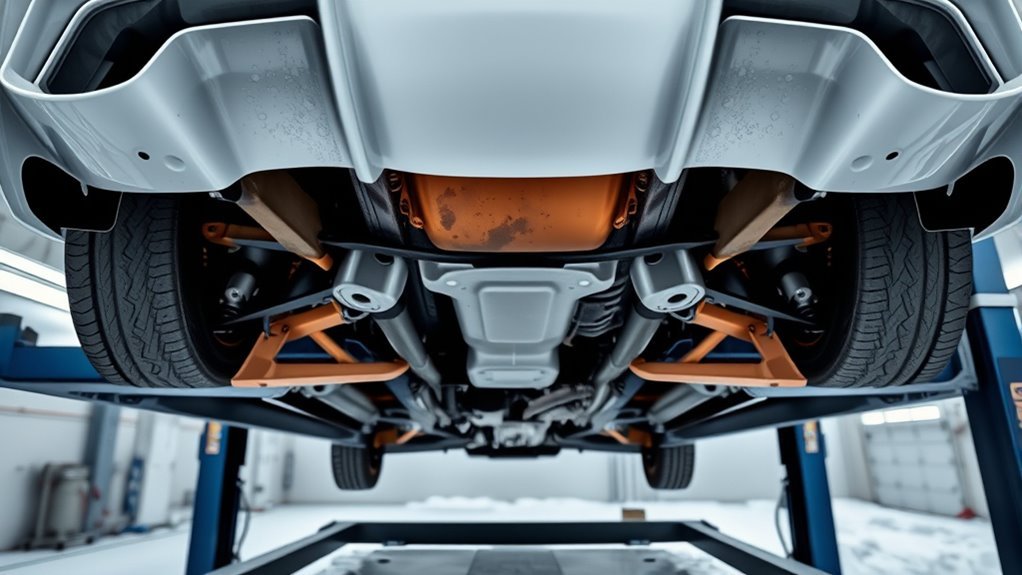
The best protection is layered. Paint wax or sealant protects visible panels. Touch-up paint seals chips. Rust inhibitors protect exposed hardware. Cavity wax protects hidden seams and voids. Rubberized undercoating can help in impact zones, but only when applied correctly.
[Products Worth Considering]

EcoNour’s foldable windshield sun shade helps keep your vehicle cooler by reflecting heat and blocking harmful UV rays. Its multi-layer construction and reinforced design protect your dashboard, seats, and electronics while fitting most sedans, SUVs, and pickup trucks. It opens quickly, folds down compactly, and stores easily for everyday driving or travel.

Meguiar's Keep Clear Headlight Coating helps maintain crystal-clear headlights on both new and restored lenses for improved nighttime visibility and a cleaner look. Its durable UV-protective formula helps resist hazing, yellowing, and discoloration while delivering lasting clarity for up to a year. The easy aerosol spray application makes it simple to protect and refresh your headlights with minimal effort.

CORROSION PROTECTION: Protects internal body panels, frame rails and structural enclosures
Wax, Sealants, and Ceramic Coatings
Apply wax, synthetic sealant, or a ceramic coating before winter. These products do not rustproof the car by themselves, but they make it harder for salt film to stick to paint and easier to wash off. Give extra attention to the lower doors, rear quarter panels, rocker panels, bumper edges, and the area behind the front wheels.
- Wax: affordable and easy to refresh, but shorter lasting.
- Paint sealant: longer lasting than most waxes and good for winter use.
- Ceramic coating: durable and easier to clean, but it still needs maintenance washes and does not protect bare metal chips.
Rubberized Undercoating
Rubberized undercoating can protect clean underside metal from stone chips and salt spray. It is most useful on exposed sheet metal, wheel-well areas, and lower underbody sections that are already clean, dry, and solid.
Its weakness is moisture trapping. If it is sprayed over rust, scale, salt, or damp seams, it can hide corrosion until the damage becomes serious. Do not cover factory drains, weep holes, fasteners that need inspection, exhaust components, brakes, or moving suspension parts.
Cavity Wax Injection
Cavity wax is one of the best choices for hidden areas because it creeps into seams and stays flexible. Use it inside rocker cavities, door bottoms, hatch seams, frame-rail openings, and other enclosed sections where road spray can enter but a brush or spray gun cannot reach.
Use access holes and a proper wand, apply a thin even film, and keep drains open. Recheck treated areas after the first winter because wax can thin out where water and road grit hit repeatedly.
Oil-Based or Lanolin-Style Rust Inhibitors
Fluid-film-style rust inhibitors are useful on hardware, seams, brackets, fasteners, and suspension areas because they remain soft and can displace moisture. They are easier to inspect and refresh than hard coatings, but they also attract dirt and usually need seasonal reapplication.
Note: Before using any coating, check your owner’s manual and product label. Avoid applying products to brake rotors, brake pads, tires, belts, exhaust parts, sensors, or electrical connectors.
Fix Paint Chips Fast: Step-by-Step for Supras
Paint chips are small, but they are one of the easiest ways for salt to reach bare metal. Inspect the front bumper edge, hood, lower doors, rocker panels, wheel arches, rear quarters, hatch/trunk edges, and mirror caps during winter.
- Wash the area: remove salt, grit, wax, and road film.
- Dry completely: touch-up paint should not be applied to wet seams or damp chips.
- Remove loose material: use a clean plastic pick or fine touch-up prep tool if needed; do not enlarge the chip unnecessarily.
- Apply primer if bare metal is visible: use an automotive primer compatible with your touch-up system.
- Add thin paint layers: build color slowly instead of globbing on one thick coat.
- Seal with clear coat: once the color layer has cured enough, clear coat restores a moisture barrier.
- Log the repair: note the date and location so you can recheck it after winter.
Rust Inhibitors for Seams, Drains, and Hidden Cavities
Salt corrosion often starts where panels overlap. Treat those areas as a system: seal open gaps, keep drains clear, and protect cavities without blocking water exits.
[Products Worth Considering]

Rapid Paint & Superior Bond: Our seam sealer automotive Securely bonds bare, primed, or painted metalwith zero shrinkage. Ready for paint in just 30 minutes-no sanding or extra prep. Saves hours of shop time.Perfect as a RV roof sealant and polyurethane auto body filler
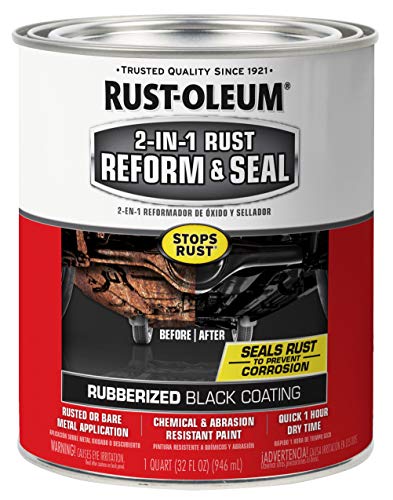
Easy to use spray seals and protects metal surfaces from corrosion and moisture
![[Black] Seam Sealer Automotive-Professional Grade High Strength Waterproof Adhesive for Auto Body Repair, Rust & Leak Prevention-Quick Paintable Sealant for Metal, Plastic -10.5Oz (2Pack)](https://m.media-amazon.com/images/I/51RIFehCcIL._SL500_.jpg)
🔧 Bonds to All Surfaces: Tylove Seam Sealer Automotive forms a strong bond with primed, painted, or bare metal surfaces. With a fast curing time, it’s ready for paint in just 30 minutes—no sanding required! Perfect as an RV roof sealant or polyurethane auto body filler.
Seam Sealer Selection
Use automotive seam sealer only where a seam is clean, dry, and ready for sealing. Rubberized, urethane, or brushable automotive seam sealers can work well when they are compatible with the existing paint and coating system. Do not smear seam sealer over rust bubbles or loose factory material; repair the damaged area first.
- Brushable seam sealer: best for visible panel edges and controlled application.
- Gun-applied seam sealer: useful for thicker beads on structural seams.
- Sprayable seam sealer: useful for matching factory texture after proper prep.
Drain Hole Maintenance
Blocked drains trap salty water. Check door bottoms, rocker drains, trunk or hatch channels, cowl drains, and sunroof drains if your car has them. Use a flexible plastic pick, compressed air at low pressure, or a small borescope to confirm water can escape.
After clearing a drain, pour a small amount of clean water into the channel and confirm it exits quickly. If water sits, the drain is still blocked or the cavity needs a closer inspection.
Hidden Cavity Protection
For hidden cavities, use a cavity wax or soft rust inhibitor with an extension wand. The goal is a thin protective film, not a heavy coating that blocks drainage. Work slowly and treat one area at a time: door bottoms, rocker cavities, hatch seams, rear quarter pockets, and accessible frame sections.
Garage, Parking, and Moisture Tips for Winter Storage

A garage helps only if it stays dry and ventilated. A warm, sealed garage can actually speed corrosion if you park a salty, wet Supra inside and the slush melts into seams. The goal is to remove salt first, then control moisture.
| Storage Element | Best Action | Why It Matters |
|---|---|---|
| Garage ventilation | Use airflow, fans, or vents | Reduces lingering humidity around the underbody |
| Moisture control | Use a dehumidifier when needed | Keeps condensation from forming on cold metal |
| Floor contact | Use dry parking mats, sealed flooring, or dry insulating boards | Limits moisture rising from concrete |
| Car cover | Use breathable covers only | Prevents trapped condensation against paint |
Warning: Do not put a non-breathable cover over a wet or salty car. It can trap moisture against the paint and create the exact corrosion conditions you are trying to avoid.
Supra-Specific Inspection Checklist: What to Look For
Inspect the Supra on a lift when possible, or use safe ramps and wheel chocks if you are doing a basic driveway check. Never crawl under a car supported only by a jack.
Undercarriage and Frame
Check the underbody with a bright flashlight. Look for bubbling coating, rust staining, missing underbody clips, loose splash shields, crushed jack points, and exposed metal around seams or mounting points.
- Frame rails and underbody seams
- Front and rear subframe hardware
- Suspension arms, mounts, and brackets
- Brake and fuel-line brackets
- Wheel wells and inner fender edges
- Exhaust hangers, heat-shield fasteners, and underbody shields
- Rocker panel seams and drain openings
Body Panels and Seams
On the body, watch for bubbling paint, staining from seams, rough edges, and soft spots. Older Supras should receive extra attention around the rear quarters, hatch area, wheel arches, rocker panels, and any previously repaired panels. Modern GR Supra owners should still inspect lower doors, rocker areas, wheel wells, jack points, and underbody hardware.
Brakes, Wheels, and Suspension
Salt also attacks brake hardware, wheel finishes, and suspension components. Rinse wheels thoroughly, including the barrels and calipers, but avoid spraying brake parts with oily rust inhibitors. If you notice brake grinding, seized fasteners, torn boots, or flaking corrosion on structural parts, schedule a professional inspection.
DIY vs. Professional Rust Protection: Costs and When to Hire
DIY rust prevention is practical for washing, inspections, touch-up paint, wax, sealant, and light rust-inhibitor application. Professional help is better when you need lift access, rust repair, cavity-wax equipment, seam repair, coating removal, or documentation for a valuable Supra.
- DIY is best for: routine washes, paint protection, drain cleaning, chip repair, and simple seasonal inhibitor touch-ups.
- Professional service is best for: hidden cavity treatment, coating removal, seam sealing, structural rust, and full underbody inspection.
- A hybrid plan works well: handle frequent cleaning yourself, then hire a specialist once a year for lift inspection and targeted treatment.
Hire a professional immediately if rust is flaking, spreading under seams, affecting suspension mounting points, or appearing near brake or fuel lines. Cosmetic rust can become a safety problem when it reaches structural or braking components.
Post-Winter Recovery: Deep Clean, Assess, and Repair
Once salt season ends, give the Supra a full reset. This is when hidden corrosion is easiest to catch before it becomes expensive.
- Deep wash: clean the paint, undercarriage, wheel wells, wheels, door jambs, hatch channels, and rocker areas.
- Remove residue: use a dedicated salt-removal wash where needed, then rinse thoroughly.
- Inspect: check seams, paint chips, suspension hardware, underbody coating, brake-line brackets, and drains.
- Repair chips: touch up bare metal and seal with clear coat.
- Refresh protection: reapply wax, sealant, cavity wax, or soft inhibitor where winter wear removed protection.
- Document: take photos of vulnerable areas so you can compare them before next winter.
Frequently Asked Questions
How do you keep a car from rusting from salt?
Wash the undercarriage often, repair paint chips quickly, keep drain holes open, protect exposed metal with wax or rust inhibitor, and park in a dry, ventilated space. The key is removing salt before it sits in wet seams and cavities.
Do Toyota cars need rustproofing?
Toyota vehicles have factory corrosion protection, but rustproofing can still be useful in regions with heavy road salt, coastal air, or long winters. For a Supra, targeted protection on seams, cavities, chips, and underbody hardware is more valuable than blindly spraying everything.
At what temperature does salt rust cars?
Salt can accelerate corrosion whenever moisture is present and liquid brine can remain on the car. It does not need warm weather to start damage. Corrosion risk remains high during freeze-thaw cycles because salty slush melts, flows into seams, and stays wet.
Does road salt rust vehicles?
Yes. Road salt forms conductive brine that speeds electrochemical corrosion on exposed metal. It is especially harmful in paint chips, seams, underbody brackets, suspension areas, and places where water cannot drain.
Should I wash my Supra after every snowstorm?
Wash it after major storms or heavy salt exposure when temperatures are safely above freezing. If you cannot wash immediately, rinse the undercarriage and wheel wells as soon as practical.
Is rubberized undercoating good for a Supra?
It can be good on clean, dry, rust-free surfaces that need chip protection. It is a bad idea over active rust, dirt, salt, or damp seams because it can trap moisture and hide corrosion.
Is cavity wax better than undercoating?
Cavity wax is better for hidden seams, rocker cavities, doors, and enclosed panels. Undercoating is better for exposed underside areas that take road spray and stone impacts. Many cars benefit from both, but only when each product is used in the correct place.
Conclusion
Salt does not ruin a Toyota Supra overnight. It wins when brine is allowed to sit in chips, seams, drains, and underbody pockets for weeks at a time. The fix is simple but disciplined: wash the underside often, keep drains clear, repair chips fast, use the right coating in the right place, and inspect the car before and after winter. That routine protects the Supra’s structure, appearance, resale value, and long-term drivability.
Sources
- Federal Highway Administration: Manual of Practice for an Effective Anti-Icing Program — brine behavior, freezing-point depression, and winter road-treatment chemistry
- Transportation Research Board: Effects of Road Salt on Motor Vehicles and Infrastructure — vehicle corrosion effects from road salt exposure
- U.S. Environmental Protection Agency: Salt Research — chloride, salt runoff, and corrosion-related environmental research
- Toyota Owners: 2026 Supra Vehicle Care — official Supra vehicle-care guidance
- Toyota 2026 Supra Owner’s Manual PDF — owner’s manual reference for care, warnings, and maintenance context