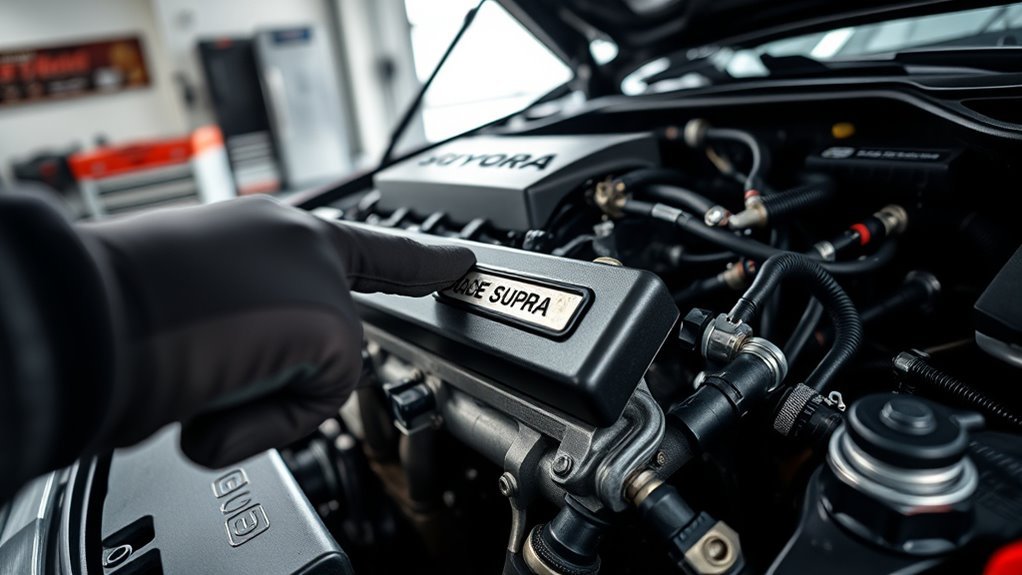
MKIV Supra engine codes are useful only when you read them with the right procedure for the car’s year, engine, and market. Early A80 Supras can flash Toyota diagnostic codes through the malfunction indicator lamp, while many 1996-and-newer cars also use an OBD-II scan tool. The key is to record the code first, match it to the correct 2JZ-GE or 2JZ-GTE chart, then test the circuit instead of replacing parts by guesswork.
Quick Answer
To read early MKIV Supra blink codes, turn the ignition ON, bridge TE1 and E1 in the Toyota diagnostic connector, and count the check-engine-light flashes. Code 31 is a mass air flow meter circuit fault on the 2JZ-GTE, code 42 is the No.1 vehicle speed sensor signal, and G/NE signal faults are usually codes 12 or 13.
Key Takeaways
- Use TE1–E1 blink-code reading for early Toyota diagnostic systems, but use an OBD-II scanner on 1996-and-newer U.S.-market Supras.
- Do not confuse G/NE signal codes with code 31. On the MKIV 2JZ-GTE chart, G/NE faults are codes 12 and 13; code 31 is the mass air flow meter circuit.
- Turbo-related faults are usually code 34 for turbo pressure malfunction or code 35 for turbo pressure sensor/BARO sensor circuit, not proof that a turbocharger has failed.
- Always diagnose the circuit, connector, sensor signal, power, and ground before replacing expensive parts.
At a Glance
| Time Required | 10–20 minutes to read and record codes; longer for testing |
| Difficulty | Beginner for code reading; intermediate for electrical diagnosis |
| Tools Needed | Jumper wire or SST, notebook, multimeter, service manual, and an OBD-II scanner for 1996+ cars |
| Cost | Usually free for blink-code reading; scan tools and shop testing vary |
Warning: Bridge only the specified diagnostic terminals. Shorting the wrong pins can create electrical faults. If the diagnostic cap is missing, the terminals are damaged, or the car has aftermarket ECU wiring, stop and verify the wiring diagram first.
Read OBD-I Codes on a MKIV Supra With the TE1–E1 Jumper

On early MKIV Supras, Toyota’s diagnostic system can output trouble codes through the malfunction indicator lamp, also called the MIL or check engine light. The basic method is simple: turn the ignition switch ON, connect terminals TE1 and E1 in the diagnostic connector, and count the light flashes. Toyota’s MK4 2JZ-GTE troubleshooting manual describes this TE1–E1 procedure for reading codes from the MIL.
- Park safely, set the parking brake, and make sure the engine is off.
- Open the diagnostic connector. On many MKIV cars, the terminal names are printed under the connector cap.
- Use a short jumper wire or the Toyota SST to connect TE1 to E1.
- Turn the ignition switch to ON without starting the engine.
- Watch the check engine light and write down every flash group before removing the jumper.
- Turn the ignition OFF and remove the jumper when finished.
A normal no-code pattern is a steady, even flash. A stored fault appears as grouped flashes. For example, three flashes, a pause, then one flash is code 31. If more than one code is stored, Toyota’s procedure outputs the codes in numerical order, from the lowest code to the highest.
Pro Tip: Record the sequence twice before clearing anything. Many wrong repairs happen because a single blink group was miscounted or because old and current codes were mixed together.
OBD-I vs. OBD-II: Know Which Supra You Have
The MKIV Supra spans several model years and markets, so the diagnostic method is not the same for every car. As a practical rule, many early A80 Supras use Toyota blink codes, while 1996-and-newer U.S.-market cars use the federal OBD-II system with a 16-pin diagnostic port and standardized P-codes. Toyota’s official Technical Information System is the best source for model-year-specific procedures.
| Supra Type | Typical Diagnostic Method | Code Format |
|---|---|---|
| Early MKIV / Toyota OBD-I style | TE1–E1 jumper and MIL flashes | Two-digit Toyota codes such as 12, 31, 42 |
| 1996+ U.S.-market OBD-II | OBD-II scan tool through DLC3 | P-codes such as P0171, P0172, P0300 |
| Late/JDM/VVT-i or swapped cars | Use the ECU, harness, and service manual that match the car | Varies by ECU and market |
Note: P0171, P0172, and P0300 are OBD-II-style codes. On an early blink-code Supra, lean/rich mixture faults are typically Toyota two-digit codes, such as 25 and 26, rather than P-codes.
How Supra Engine Codes Work and Where the ECU Stores Them
The Supra’s engine control module watches sensor inputs and actuator feedback while the engine runs. When a signal falls outside the expected range, the ECU stores a diagnostic trouble code and turns on the MIL when the detection conditions are met. Some faults appear immediately. Others require a driving pattern, repeat detection, or specific coolant temperature and rpm conditions.
Older Toyota systems store codes in ECU keep-alive memory. That means a code can remain available after the fault is no longer happening, but it can also be erased if ECU backup power is removed. This is why you should always read and document the codes before pulling fuses, disconnecting the battery, or clearing memory with a scan tool.
| Item | Purpose | Access |
|---|---|---|
| DTCs | Fault records | ECU memory |
| MIL | Visual output | Blink patterns or scan-tool request |
| DLC1/DLC2 | Toyota diagnostic interface | TE1–E1 jumper on applicable cars |
| DLC3 | OBD-II interface | 16-pin scan-tool port on OBD-II cars |
| Service manual | Correct code meaning | Match by engine, year, and market |
Common MKIV Supra Engine Codes and What They Mean
The biggest fix to make when discussing Supra codes is this: code 31 is not the G/NE crank or cam signal code on the MKIV 2JZ-GTE chart. The MK4 2JZ-GTE troubleshooting section lists DTC 31 as the mass air flow meter circuit. G/NE signal faults are listed separately as DTC 12 and DTC 13.
| Code | System | What to Check First |
|---|---|---|
| 12 | G/NE signal circuit No.1 | Crank/cam position sensor signals, wiring, connectors, air gap, ECU input |
| 13 | G/NE signal circuit No.2 | Intermittent rpm signal, oscilloscope waveform, harness continuity |
| 14 | Ignition signal circuit | Igniter, IGT/IGF signals, ignition wiring, ECU input/output |
| 25 / 26 | Air-fuel ratio lean/rich malfunction | Vacuum leaks, fuel pressure, oxygen sensor feedback, injectors, exhaust leaks |
| 31 | Mass air flow meter circuit on 2JZ-GTE | MAF connector, power, ground, signal voltage, wiring to ECU |
| 34 | Turbo pressure malfunction | Boost pressure, hoses, wastegate control, turbo control VSVs, pressure sensor data |
| 35 | Turbo pressure sensor / BARO sensor circuit | Turbo pressure sensor, BARO sensor input, PM1/E2 voltage, harness faults |
| 42 | No.1 vehicle speed sensor signal circuit | Speed sensor, combination meter signal path, wiring, ECU speed input |
Blink Code 31
On the MKIV 2JZ-GTE troubleshooting chart, blink code 31 points to the mass air flow meter circuit. A bad MAF signal can cause poor throttle response, rich or lean running, hesitation, and incorrect load calculation. Before replacing the sensor, check the connector, intake tract, sensor power supply, ground, and signal wire back to the ECU.
On the non-turbo 2JZ-GE chart, code 31 is listed as a volume air flow meter circuit fault. The diagnostic approach is similar: verify the meter, circuit power, ground, signal, and harness integrity.
Speed Sensor Code 42
Code 42 identifies a No.1 vehicle speed sensor signal circuit fault. This signal matters because the ECU uses vehicle speed for engine control, idle behavior, transmission-related logic on automatic cars, and diagnostic decisions. Symptoms can include an erratic or dead speedometer, odd shifting on automatic cars, or a check engine light.
- Inspect the speed sensor connector and wiring for corrosion, oil contamination, or broken pins.
- Check harness continuity before replacing the sensor.
- Verify the speed signal path through the combination meter where applicable.
- Road-test after repair and confirm the code does not return.
G/NE Signal Issues
G and NE are crankshaft and camshaft position-related signals used by the ECU to identify engine speed and position. On the MKIV 2JZ-GTE diagnostic chart, these are covered under codes 12 and 13, not code 31. If a G/NE fault appears, the engine may crank without starting, misfire, cut out, or lose stable rpm information.
| Item | Action |
|---|---|
| Code 12 | Inspect G/NE signal circuit No.1 |
| Code 13 | Inspect G/NE signal circuit No.2 |
| Sensors | Check crank and cam position sensor signals |
| Scope | Verify waveform and dropouts under crank/run conditions |
Turbo/Boost Codes vs. Actuator and Boost-Control Symptoms
A turbo-related Supra code does not automatically mean the turbocharger itself is bad. On a 2JZ-GTE, the important codes to separate are 34 for turbo pressure malfunction and 35 for turbo pressure sensor or BARO sensor circuit faults. A boost-control hose, pressure sensor, VSV, exhaust gas control valve, wastegate issue, or wiring fault can trigger similar symptoms.
Turbo Failure Symptoms
Actual turbocharger failure is usually diagnosed by physical inspection and boost testing, not by one code alone. Watch for shaft play, oil in the compressor or turbine housing, heavy smoke, abnormal turbo noise, slow spool, and boost pressure that does not match commanded or expected operation.
- Inspect for oil and smoke: Blue smoke can point toward oil seal or engine oil-control problems; black smoke can point toward rich running.
- Log boost versus rpm: A boost gauge or data log helps separate low boost, overboost, and boost cut.
- Check the control system: Inspect vacuum hoses, VSVs, actuators, and pressure sensor wiring before replacing turbochargers.
- Confirm mechanical condition: Check compressor wheel damage, shaft play, exhaust leaks, and intake restrictions.
Actuator Malfunction Signs
Actuator and wastegate-control problems can mimic a turbo failure. A stuck actuator, cracked hose, leaking pressure line, or failed VSV can cause low boost, overboost, or inconsistent sequential-turbo behavior. If code 34 appears, compare actual boost pressure with the control system’s expected behavior instead of assuming the turbocharger is damaged.
Warning: Do not repeatedly drive into overboost or boost cut while testing. Excessive boost on an unverified fuel and ignition setup can cause detonation and engine damage.
Boost Control Behavior
Boost-control diagnosis should connect three pieces of evidence: the stored code, the measured boost curve, and the control hardware response. If code 35 appears, test the turbo pressure sensor circuit and BARO-related signal first. Toyota’s MK4 troubleshooting page for this circuit includes checking voltage between PM1 and E2 at the engine control module, then checking for open or short circuits before replacing the pressure sensor.
- Match the code to the correct system: pressure malfunction, sensor circuit, or turbo control circuit.
- Pressure-test vacuum and boost hoses before replacing electronics.
- Use a multimeter or oscilloscope to verify sensor signal behavior.
- Repair wiring, connectors, and hose routing problems before condemning major hardware.
Reading Intermittent Flashes, Super Monitor Quirks, and VVT-i Tips
Intermittent codes are often the hardest Supra codes to diagnose because the car may behave normally by the time you test it. Do not clear intermittent faults immediately. Write down the code, note the conditions, and try to reproduce the symptom safely: cold start, hot idle, light throttle, high load, wet weather, or vibration over bumps.
Some Japanese-market A80 Supras were equipped with additional display or monitor features, but those should be treated as a supplement, not a replacement for the correct service-manual diagnostic process. Likewise, late VVT-i cars and engine-swapped Supras may not match the early U.S. 2JZ-GTE blink-code chart. Use the service information for the actual ECU, harness, and engine in the car.
Note: Modified Supras with standalone ECUs, piggyback fuel controllers, MAP conversions, single-turbo conversions, or deleted emissions equipment may store factory codes that reflect the modification rather than a failed factory part.
Stepwise Troubleshooting: Diagnose, Verify, and Clear Codes Safely
Reading the code is only the first step. The code tells you which circuit or system the ECU is unhappy with; it does not always identify the failed part. A clean diagnostic process protects your wallet and the engine.
- Record the code: Write down every blink code or scan-tool code before touching anything.
- Match the right chart: Use the 2JZ-GE chart for non-turbo cars and the 2JZ-GTE chart for turbo cars.
- Inspect basics first: Check connectors, damaged harnesses, vacuum hoses, grounds, fuses, and obvious intake or exhaust leaks.
- Test the circuit: Use a multimeter, oscilloscope, or scan data to verify power, ground, continuity, and signal.
- Repair the fault: Fix wiring, hoses, sensor faults, or mechanical causes found during testing.
- Clear the code only after repair: Use the proper scan tool or service-manual clearing method.
- Confirm the fix: Recheck for codes and road-test under the same conditions that caused the fault.
A Supra code identifies the circuit to test, not the part to throw at the car.
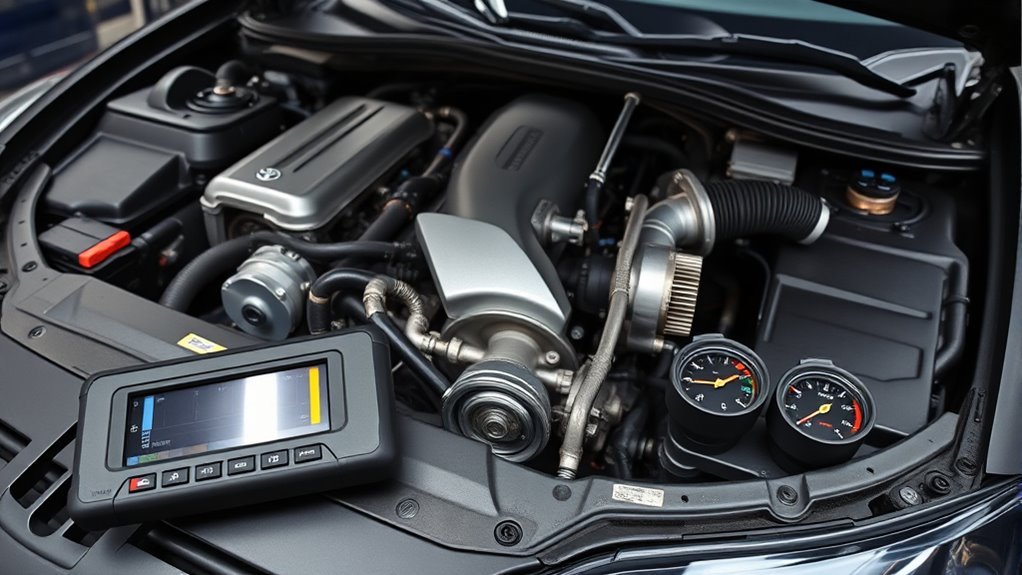
Tools, Tests, and Parts to Request When You Take It to a Shop
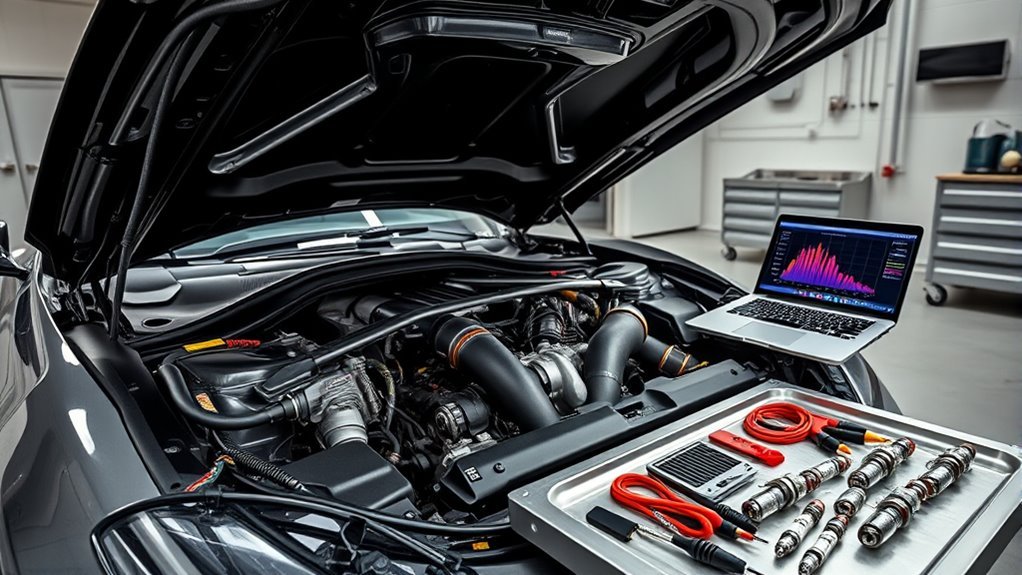
Before handing the car to a shop, ask for documented diagnostic results, not just a parts estimate. A good Supra technician should be able to tell you which code was found, which service-manual chart was used, what values were measured, and why a part is being recommended.
| Item | Purpose |
|---|---|
| Toyota service manual or TIS access | Correct code definitions and procedures |
| OBD-I blink-code process | Early Toyota diagnostic code readout |
| OBD-II scanner | 1996+ P-code and freeze-frame diagnosis |
| Digital multimeter | Power, ground, resistance, and signal checks |
| Oscilloscope | G/NE, ignition, speed, and sensor waveform checks |
| Smoke/pressure tester | Intake, vacuum, and boost leak diagnosis |
Ask the shop to save the old part if anything is replaced. For costly items such as turbochargers, ECUs, wiring harnesses, and sequential-turbo control parts, ask for the failed test result in writing before approving the repair.
When to Seek Professional Help and Expected Repair Options
Seek professional help if the check engine light returns after clearing, the car has multiple codes, the engine misfires under boost, the car overboosts, the wiring has been modified, or the diagnostic connector is damaged. Professional diagnosis is also smart when an oscilloscope is needed for G/NE, ignition, or speed-signal testing.
- Sensor or circuit repair: MAF, pressure sensor, oxygen sensor, speed sensor, coolant sensor, or related wiring.
- Ignition repair: Coils, igniter wiring, crank/cam signal faults, or ECU signal faults.
- Fuel and air repair: Vacuum leaks, injector issues, fuel pressure problems, or intake metering faults.
- Turbo-system repair: Hoses, VSVs, actuators, pressure sensors, wastegate control, or turbocharger hardware.
- Modified-car correction: ECU calibration, deleted factory components, incorrect sensor scaling, or wiring cleanup.
Frequently Asked Questions
What engine code does the MKIV Supra have?
If you mean engine model, the MKIV Supra uses the 2JZ-GE non-turbo inline-six or the 2JZ-GTE twin-turbo inline-six. If you mean diagnostic trouble codes, the code format depends on year and market: early cars can use Toyota two-digit blink codes, while many 1996-and-newer cars use OBD-II P-codes.
What does Supra code 31 mean?
On the MKIV 2JZ-GTE troubleshooting chart, code 31 is the mass air flow meter circuit. On the 2JZ-GE chart, code 31 is the volume air flow meter circuit. It should not be diagnosed as a crank or cam signal fault unless the correct service manual for your specific ECU says otherwise.
Which codes are related to crank and cam position signals?
On the MKIV 2JZ-GTE chart, G/NE signal circuit faults are codes 12 and 13. These relate to the crankshaft and camshaft position signal inputs used by the ECU for rpm and engine position.
Does a turbo pressure code mean my Supra needs new turbos?
No. Code 34 or 35 can be caused by boost-control faults, pressure sensor circuit problems, hose leaks, wiring issues, or actuator problems. Test the system before replacing turbochargers.
How do I clear MKIV Supra codes?
Clear codes only after recording and repairing them. Depending on the year and ECU, codes may be cleared with a scan tool or by removing ECU keep-alive power using the service-manual method. Disconnecting battery power can also erase radio presets and other learned settings, so use the correct procedure for the car.
Conclusion
Supra engine codes are most valuable when they are read carefully and matched to the correct chart. Bridge TE1–E1 only on cars that use that Toyota diagnostic procedure, use an OBD-II scanner where required, and remember that a code identifies the system to test. For the MKIV 2JZ-GTE, code 31 is a mass air flow meter circuit fault, code 42 is the No.1 vehicle speed sensor signal, and G/NE signal faults are codes 12 and 13. Diagnose, verify, repair, clear, and retest before calling the job done.
Sources
- Toyota Technical Information System — official Toyota service-information portal for repair, diagnostic, and technical publications.
- Toyota TIS subscription details — confirms model/year-specific Toyota publication searches and service information access.
- MK4 Supra 2JZ-GTE Troubleshooting Manual — diagnostic trouble code chart, G/NE codes, MAF code 31, turbo pressure codes, and speed sensor code 42.
- MK4 Supra 2JZ-GTE Diagnosis Inspection — TE1–E1 MIL blink-code reading procedure.
- MK4 Supra Turbo Pressure Sensor Circuit Test — PM1/E2 voltage and harness test guidance for turbo pressure sensor diagnosis.
- 1997 Toyota Supra OBD-II System Operation — freeze-frame, two-trip detection, and P-code troubleshooting context for OBD-II Supras.