If your Toyota Supra check engine light comes on, the right response depends on whether the warning is steady or flashing and which Supra generation you own. Start by noting any drivability symptoms, then read the stored diagnostic trouble code before replacing parts. Older Supras and modern GR Supra models do not all use the same diagnostic procedure.
Quick Answer
If your Toyota Supra check engine light is steady, scan the car and diagnose the stored code before replacing parts. If it is flashing, reduce speed and arrange immediate service because current GR Supra manuals associate flashing with excessive misfire that can damage the catalytic converter. Older Supras require the diagnostic method specified for that generation.
Last checked: October 5, 2026. Dates and figures were verified against official and authoritative sources.
At a Glance
| Difficulty | Easy to read a basic code; moderate to advanced to diagnose the actual cause |
| Tools Needed | OBD-II scanner for compatible models; exact factory diagnostic procedure for earlier Supras |
| Cost | Varies by fault; code reading and diagnosis are separate from the repair itself |
Understanding the Toyota Supra Check Engine Light
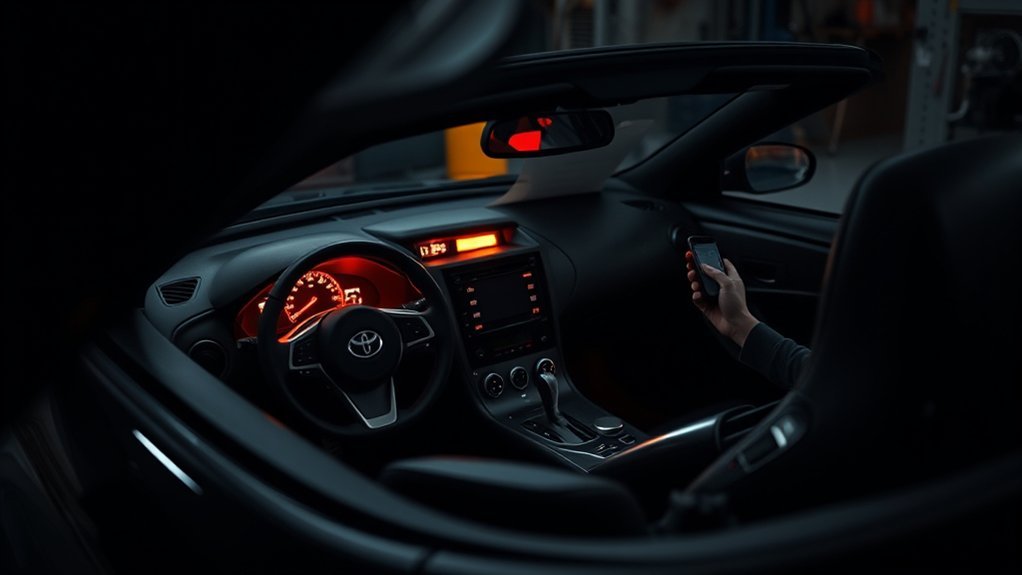
The check engine light, also called the malfunction indicator light or emissions warning light, tells you that the engine-management system has detected a fault. A stored diagnostic trouble code, or DTC, identifies the system in which the fault was detected, but it does not automatically identify the part that must be replaced.
On the current GR Supra, Toyota states that an illuminated emissions warning means emissions are deteriorating and the vehicle should be checked as soon as possible. A flashing warning indicates excessive engine misfiring; Toyota says to reduce speed and have the vehicle checked immediately because continued misfiring can damage emissions components, especially the catalytic converter. See the Toyota Supra Owner’s Manual guidance for warning lights and onboard diagnosis.
A steady light therefore deserves prompt diagnosis, even when the car appears to run normally. A flashing light is more urgent, particularly if you also feel shaking, hesitation, loss of power, or rough running.
Warning: If the check engine light is flashing, the engine is running very roughly, or an oil-pressure or overheating warning also appears, reduce load and speed and stop in a safe place when necessary. Continuing to drive a severe misfire can damage the catalytic converter.
Common Causes of Check Engine Light Activation in the Supra
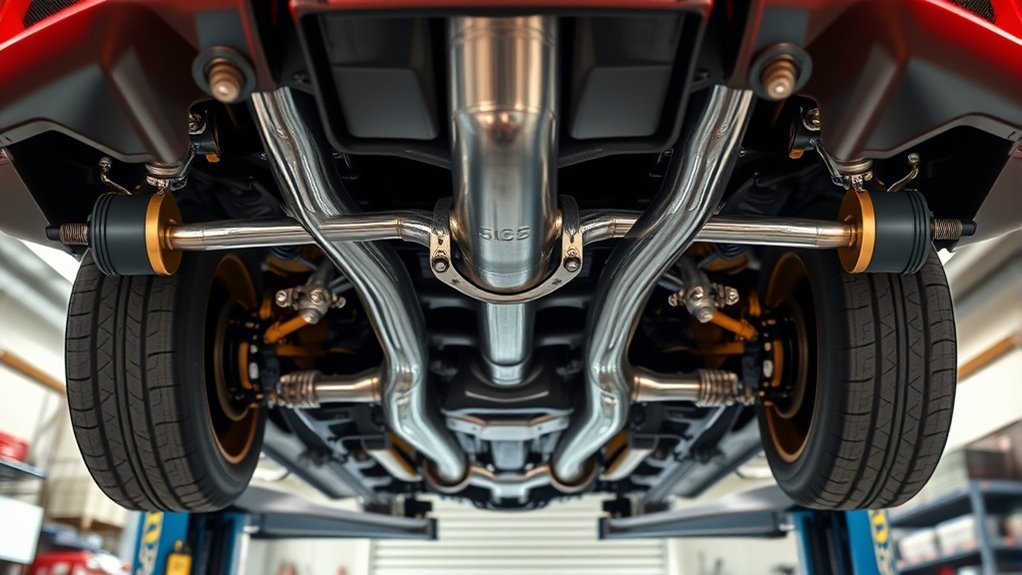
A Supra check engine light can be triggered by ignition, air-intake, fuel, emissions, sensor, wiring, or exhaust faults. The code and symptoms should determine what you inspect next rather than assuming that one particular part is bad.
| Common Causes | Symptoms | Recommended Action |
|---|---|---|
| Faulty Sensors | Reduced performance, poor fuel economy, incorrect readings | Read the DTC and test the affected circuit before replacement |
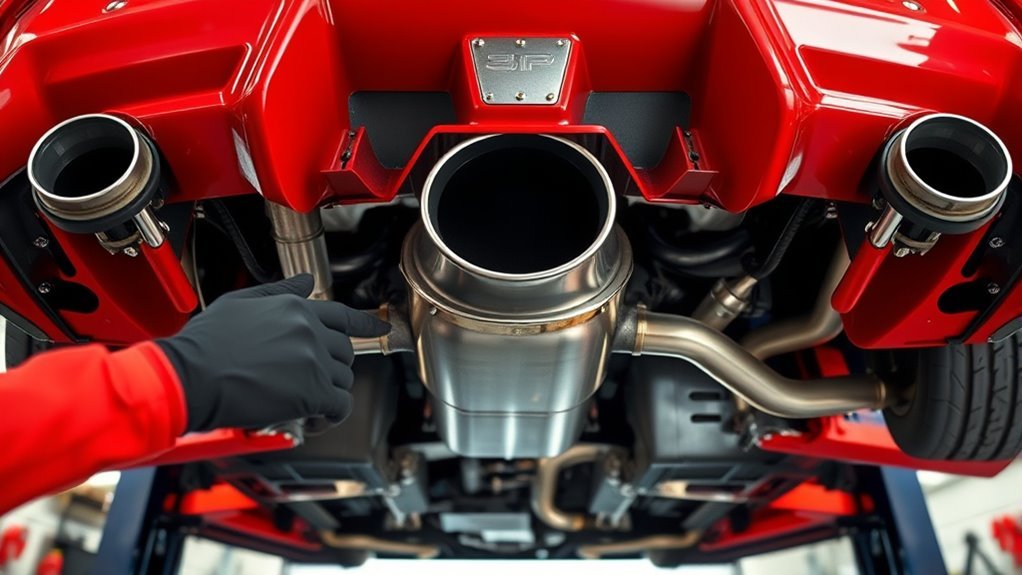
| Exhaust Issues | Emissions warning, unusual exhaust behavior, catalyst-related code | Inspect for leaks and diagnose the catalyst and related sensors |
| Fuel System Problems | Stalling, hesitation, hard starting, or poor acceleration | Check fuel delivery, pressure, injectors, wiring, and related codes |
Other likely fault categories include ignition misfires from spark plugs or coils, air or boost leaks, oxygen or air-fuel sensor faults, incorrect airflow or pressure readings, evaporative-emissions leaks, and wiring or connector problems. A loose or incorrectly sealed fuel cap can also trigger an evaporative-emissions fault on vehicles whose OBD system monitors that leak.
The U.S. Environmental Protection Agency explains that OBD systems can detect conditions ranging from a loose fuel cap to engine misfire. It also notes that the warning may eventually switch off after a temporary problem is no longer detected. See the EPA’s OBD consumer guidance.
Aftermarket intakes, downpipes, exhaust parts, tuning, piggyback modules, or other modifications can also affect sensor readings or emissions monitoring. If the light appeared soon after a modification, inspect that work and its connections before assuming an unrelated component failed.
How to Read Diagnostic Codes on Different Supra Generations
The correct way to retrieve a Supra diagnostic code depends on the model year and market. Modern GR Supra models use an onboard diagnostic socket and electronic scan equipment, while some older Supras can display diagnostic codes through warning-light flash patterns when the correct factory-specified terminals are connected.
2020–2026 GR Supra
For a current GR Supra, use a compatible diagnostic scanner rather than bridging terminals. Toyota identifies an OBD socket on the driver’s side and warns that improper use of the socket can cause vehicle malfunctions or damage.
On supported GR Supra versions, stored vehicle messages can also provide useful context before scanning. However, a dashboard message does not replace reading the diagnostic fault memory when the emissions light is on.
OBD-II-Era Mk4 Supra
U.S.-market Supras from the OBD-II era can be diagnosed with an OBD-II scan tool. Toyota’s 1997 repair procedure, for example, instructs technicians to connect an OBD-II scan tool or Toyota hand-held tester to DLC3 for engine troubleshooting.
Model year and country matter. Do not assume that a procedure written for one U.S., Japanese, or European Supra applies unchanged to another market.
Older Supra Blink-Code Procedures
Some pre-OBD-II Supra systems can output diagnostic codes through flashing warning lights, but the terminal combination depends on the system being diagnosed. Follow the factory procedure for your exact year and engine rather than using a generic jumper method.
For example, Toyota’s JZA80 diagnostic information assigns TE1 connected to E1 to engine and automatic-transmission normal diagnosis, while TC connected to E1 is used for systems including ABS, air conditioning, airbags, traction control, and cruise control. The distinction is shown in the archived Toyota Supra factory repair manual diagnostic-connector information.
Note: Do not randomly bridge pins in a diagnostic connector. The correct terminals and procedure vary by generation, market, engine, and the vehicle system being tested.
Step-by-Step Guide to Troubleshooting Check Engine Light Problems
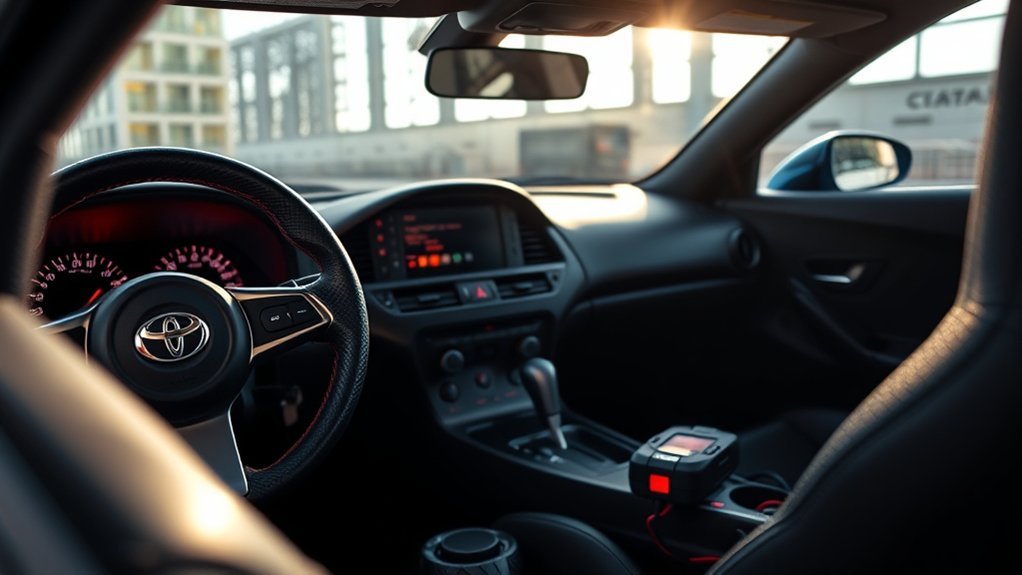
Troubleshoot the light from the easiest checks toward deeper testing. The main goal is to preserve the diagnostic information, identify the affected system, and confirm the root cause before buying parts.
- Check how the light behaves. Note whether it is steady or flashing and whether the engine is shaking, stalling, overheating, losing power, or making unusual noises.
- Look for an obvious recent cause. Confirm the fuel cap is properly secured where applicable, then inspect anything recently serviced or modified.
- Read and record every stored code. Save confirmed, pending, and manufacturer-specific codes your scanner can access. Also save freeze-frame data when available because it records operating conditions when the fault was detected.
- Diagnose the system named by the code. Inspect related wiring, connectors, hoses, ignition parts, sensors, fuel delivery, and exhaust components as appropriate. A code is evidence, not an instruction to replace the component named in its description.
- Repair the confirmed fault. Correct the cause rather than repeatedly erasing the warning.
- Clear codes only after recording the information and completing the repair. Then operate the vehicle normally and rescan it to see whether the fault returns.
Clearing fault memory too early can remove information that helps diagnosis. It can also reset emissions readiness monitors, which may matter if the car is due for an OBD-based emissions inspection.
[Products Worth Considering]

This plug-and-play OBD2 scanner helps drivers quickly read and clear engine error codes while providing live data, freeze frame information, I/M readiness, and MIL status for more confident troubleshooting. It adds a built-in voltage test and clear status indicators to support electrical checks and faster diagnostics, making it a practical choice for home users, car enthusiasts, and repair professionals. Compatible with most OBDII vehicles since 1996 and designed with an easy-to-use interface, it offers broad coverage and simple operation in one compact tool.

This 2-piece oil control variable valve timing solenoid set is designed to help restore proper VVT operation and engine performance across a wide range of Toyota, Lexus, Scion, and Pontiac applications. Built to meet or exceed OE performance, it uses quality seals for reliable oil control and helps reduce issues caused by improper oil flow. It is a practical replacement choice for maintaining smooth engine timing and dependable drivability.

This replacement fuel gas cap is designed to fit a wide range of Toyota and Lexus vehicles, making it a practical solution for a lost, worn, or damaged original cap. It helps restore a secure fuel tank seal and supports proper vehicle operation while offering broad compatibility across many popular model years. The package includes one gas cap, and buyers should confirm fitment before ordering.
Use the Code to Narrow the Cause
A sensor-related code does not always mean the sensor itself has failed. A wiring fault, air leak, exhaust leak, low voltage, contaminated connector, or another engine problem can cause a sensor to report an abnormal value.
The same principle applies to catalyst, lean-mixture, and misfire faults. For example, a misfire can originate in ignition, fueling, compression, wiring, or air management. A catalyst-efficiency fault can also require checking upstream problems before condemning the converter.
Pro Tip: Write down the exact code, whether it is pending or confirmed, the engine symptoms, and what happened immediately before the light appeared. That information makes both DIY diagnosis and professional diagnosis much faster.
Diagnostic Tools Recommended
For an OBD-II Supra, even a basic code reader can retrieve engine-related diagnostic information. More advanced tools may add live data, manufacturer-specific modules, bidirectional tests, ABS/SRS access, and other functions, but feature coverage varies by model and year.
As checked on October 5, 2026, Innova lists its 5110 check-engine OBD-II scanner at $65.99 and shows the more advanced 5610 at $349.99 on the same official scanner comparison page. These are examples rather than requirements; you do not need a $349.99 tool simply to retrieve a basic engine code.
The original article also mentioned RepairSolutions2. Innova currently describes RepairSolutions2 as a free companion app for compatible Innova tools, with saved scans, code information, reports, and repair guidance. Always confirm tool coverage for your exact Supra before buying.
When to Call a Mechanic for Check Engine Light Issues?
Get professional help promptly when the warning is flashing, the car runs badly, the same code returns after a repair, or the diagnosis requires tests you cannot perform safely. Persistent faults usually need more than simply clearing the code.
Professional diagnosis is also sensible when the Supra stalls, enters reduced-power operation, has poor acceleration, smells strongly of fuel, overheats, or shows other critical warnings. A qualified technician can combine fault codes with live data, electrical testing, smoke testing, fuel-pressure testing, mechanical checks, and manufacturer procedures.
If you have a modified GR Supra, tell the technician what has changed and when. That history can prevent wasted diagnostic time and helps separate a hardware failure from a calibration or installation issue.
Cost Estimates for Supra Check Engine Light Diagnosis and Repairs
There is no single cost to fix a Supra check engine light because the warning can represent anything from a simple sealing problem to a major emissions-system repair. Diagnosis should come before the repair estimate.
- Diagnosis: RepairPal’s January 2026 estimate for GR Supra check-engine-light diagnosis is $122 to $179, excluding taxes, fees, location differences, and any repair that follows.
- Sensor, ignition, wiring, or fuel faults: Cost depends heavily on which component failed and whether additional testing or related repairs are required. A trouble code alone is not enough to price the repair accurately.
- Catalytic converter: This can be one of the more expensive outcomes. RepairPal’s July 2026 GR Supra catalytic-converter estimate is $3,373 to $3,515, excluding taxes, fees, location differences, and related repairs.
Those figures are estimates, not guaranteed quotes. Generation, engine, market, labor rate, parts choice, and the actual fault can change the total substantially.
Preventative Maintenance: Keeping Your Supra’s Engine Healthy
Maintenance will not prevent every check engine light, but it reduces avoidable problems and gives you a better baseline when troubleshooting. Use the maintenance schedule for your exact Supra model year rather than applying one generic interval to every generation.
Focus on the items that directly affect engine operation: correct engine oil, cooling-system condition, ignition parts, clean air filtration, correct fuel, sound intake and vacuum connections, and prompt attention to leaks or warning messages.
Regular Oil Changes
Regular oil and filter service protects lubrication, temperature control, and engine durability. The correct interval and oil specification depend on the Supra generation and model year.
- Use the specified oil. Follow the viscosity and specification listed for your exact engine.
- Do not rely on a universal mileage rule. Driving conditions and the factory schedule matter.
- Respond to maintenance reminders. A reminder is separate from the check engine light, but overdue maintenance can make troubleshooting harder.
As one verified example, Toyota’s U.S. 2023 GR Supra Warranty & Maintenance Guide calls for engine oil and filter replacement every 12 months or 10,000 miles, or when the oil-maintenance reminder appears, whichever comes first. Owners of other model years should use the schedule issued for their own car.
Monitor Fluid Levels
Correct fluid levels help prevent overheating, lubrication problems, braking issues, and other faults that can complicate diagnosis. The exact fluids and service procedures vary across Supra generations.
| Fluid Type | Importance |
|---|---|
| Engine Oil | Provides engine lubrication and heat control |
| Coolant | Controls engine temperature and protects the cooling system |
| Transmission Fluid | Supports correct transmission operation where service applies |
| Brake Fluid | Maintains hydraulic braking performance |
| Power Steering Fluid | Applies to older hydraulic steering systems; modern GR Supra uses electric steering |
Inspect Air Filters
A dirty, damaged, or incorrectly installed engine air filter can restrict airflow or allow contamination into the intake system. Inspect the filter at the interval specified for your model and replace it when required.
During air-filter service, also look for loose intake clamps, cracked hoses, disconnected fittings, damaged wiring, or leaks around modified intake hardware. These faults can produce abnormal airflow or pressure readings and may trigger engine-management codes.
Use an OEM filter or a quality replacement designed for the exact engine and airbox. Fit matters more than choosing a filter based only on advertising claims.
Key Takeaways
- A flashing GR Supra emissions/check-engine warning points to excessive misfire and needs immediate attention.
- Read and save the diagnostic codes before clearing them; clearing fault memory can also reset emissions readiness monitors.
- Do not replace a sensor, catalyst, coil, or other part solely because its name appears in a code description.
- Diagnostic procedures differ substantially between modern GR Supra, OBD-II Mk4, and earlier blink-code systems.
- Use the maintenance schedule and diagnostic information for your exact year, engine, and market.
Frequently Asked Questions
What Is the Check Engine Light on a Toyota Supra?
The check engine light means the engine-management or emissions system has detected a fault. The computer normally stores diagnostic information that helps identify the affected system, but the code is a starting point for diagnosis rather than proof that a specific part has failed.
How Do You Diagnose a Toyota Supra Check Engine Light?
Start by checking whether the light is steady or flashing, note any symptoms, and retrieve the stored diagnostic codes with the correct method for your Supra generation. Record the codes and freeze-frame data, inspect the related system, confirm the fault with testing, and clear the code only after the repair.
Can I Drive My Toyota Supra With a Check Engine Light?
A steady light may allow limited driving if the car otherwise behaves normally, but it still needs prompt diagnosis. If the light flashes, the engine runs roughly, power drops sharply, or another critical warning appears, reduce speed and arrange immediate inspection rather than continuing normal driving.
Can a Loose Gas Cap Cause a Supra Check Engine Light?
Yes, an improperly sealed fuel cap can cause an evaporative-emissions fault on vehicles that monitor the fuel-vapor system for leaks. Secure the cap correctly, but scan the car if the warning remains because many unrelated faults can produce the same dashboard light.
Should I Clear the Check Engine Code Before Diagnosing It?
No, record the code and available freeze-frame information before clearing it. Erasing the code too early can remove useful diagnostic evidence and reset emissions readiness monitors, making the original problem harder to reproduce or confirm.
Do All Toyota Supras Use the Same Diagnostic Procedure?
No, Supra diagnostic procedures vary by generation, model year, engine, and market. Modern GR Supra models use electronic scan equipment through the OBD socket, while some older cars support factory blink-code procedures using specific diagnostic terminals.
Conclusion
A Toyota Supra check engine light is most useful when you treat it as diagnostic evidence instead of a parts-replacement instruction. Identify whether the warning is steady or flashing, save the codes and operating data, use the correct procedure for your Supra generation, and test the affected system before repairing it. Seek professional diagnosis when the warning is urgent, the car runs poorly, or the fault keeps returning.
Sources
- Toyota Supra Owner’s Manual: Current GR Supra emissions-warning behavior, OBD socket, and diagnostic safety guidance.
- U.S. Environmental Protection Agency OBD guidance: OBD warning-light behavior, fuel-cap faults, and diagnostic-system basics.
- Toyota Supra factory repair manual archive: JZA80 DLC2 terminal functions, including TE1, TE2, TC, and E1.
- Innova 5110 scanner page: Current scanner pricing and comparison with higher-level diagnostic tools.
- Innova RepairSolutions2: Current app features, compatibility, and subscription information.
- RepairPal GR Supra check-engine diagnosis estimate: 2026 diagnosis cost range.
- RepairPal GR Supra catalytic-converter estimate: July 2026 replacement cost range.
- Toyota 2023 GR Supra Warranty & Maintenance Guide: Oil, oil-filter, and scheduled-maintenance guidance.