If your RAV4’s USB won’t work, start simple: try a known-good high-quality cable and another device, set your phone to File Transfer (not charge-only), and blast the port with compressed air. If that fails, check ECU-IGR2 and ECU-DCC2 fuses visually or with a multimeter, soft-reset the head unit, and try a firmware update from Toyota on a FAT32 USB. If hardware’s at fault, inspect the harness, pins, and plan port or head-unit replacement—scroll on for step-by-step fixes and costs.
Is It the USB, Radio, or Whole Infotainment System? (Symptoms to Spot)
Wondering whether it’s the USB port, the radio, or the whole infotainment system? You’ll run focused USB diagnostics: if the port fails to recognize multiple devices consistently, that points to the port or its power supply rather than the entire system. Repeated screen resets or intermittent functionality indicate software conflicts inside the infotainment system—log those events for deeper analysis. A blown fuse tied to USB power will kill the port while other components stay live, so check fuses before assuming hardware failures elsewhere. If only the radio or dash screen is dead, suspect a localized audio unit fault instead of a system-wide failure. Use device compatibility tests with known-good cables and phones to separate device issues from system faults. Apply targeted troubleshooting methods: isolate the failed element, verify power and fuses, scan for software errors, then weigh repair options—port repair, module replacement, or software reflash—so you reclaim control without unnecessary overhaul.
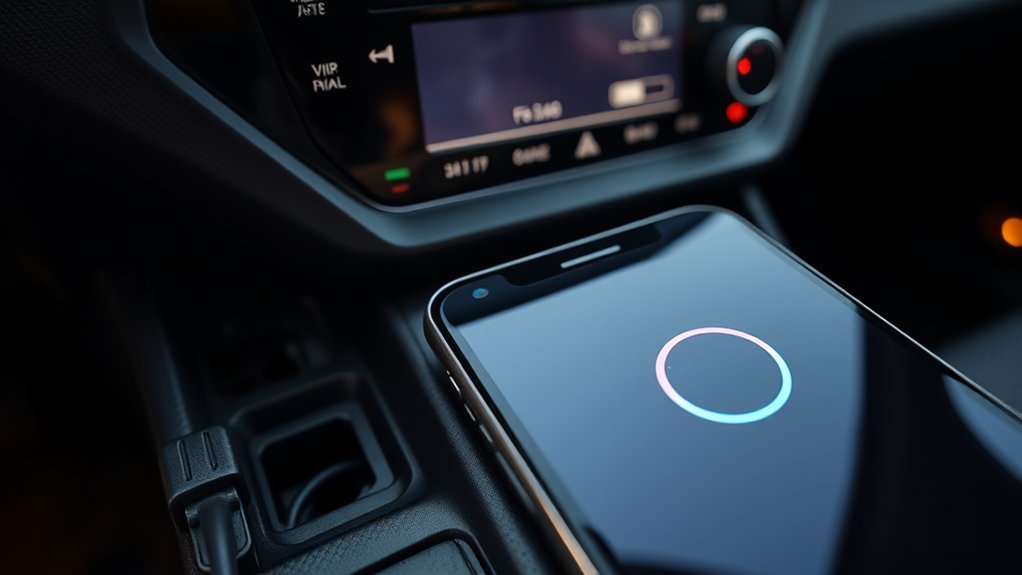
Quick Fixes to Try Now: Cables, Phone Settings, and the Port
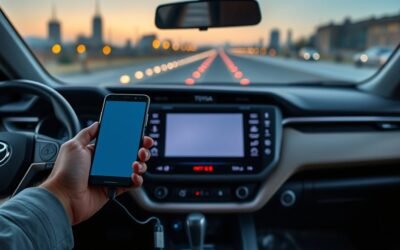
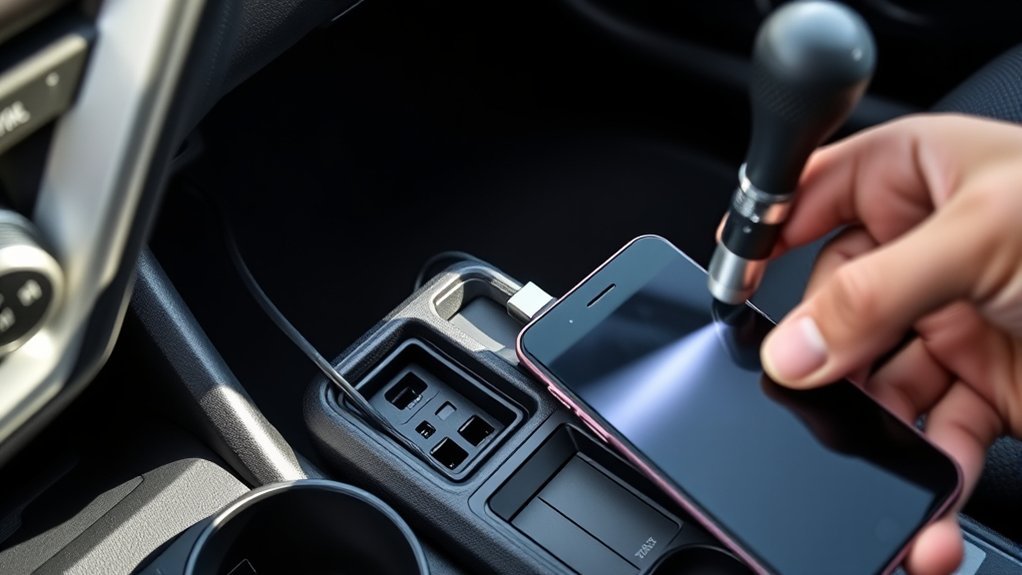
Start by swapping to a known-good, high-quality USB cable and a different phone or media device to isolate the fault—worn or damaged cables and incompatible devices are the most common causes of non-recognition. Test multiple cables and devices systematically: if a second device connects, the first device or its settings caused the failure. Cable quality importance isn’t optional—use cables rated for data transfer, not just charging.
Check your phone’s data transfer settings when you plug in; many phones default to charge-only and require you to select MTP, File Transfer, or similar. That resolves most USB compatibility issues without parts or tools. Inspect the port for debris and blow it out with compressed air or a soft brush; corrosion or lint breaks contact. If nothing responds after these troubleshooting techniques, document which combinations failed before moving to electrical checks or dealer diagnostics. This method frees you from guesswork and gets the port working sooner.
Which RAV4 Fuses Control the USB and How to Test Them
If your RAV4’s USB stops working, check the ECU-IGR2 and ECU-DCC2 fuses first, since those typically supply power to the ports; visually inspect them for breakage and then use a multimeter to confirm continuity. Locate the fuse box (fuse location varies by model year) and remove the specified fuses. Replace any blown fuse with the same amperage.
| Checkpoint | Action |
|---|---|
| Fuse location | Identify under-dash or engine bay fuse box |
| Visual inspection | Look for broken filament or discoloration |
| Continuity testing | Set multimeter to continuity, probe both ends |
| Replacement | Use identical amp rating fuse |
| Further faults | Inspect accessory relay and wiring harness |
Perform continuity testing across each fuse; a beep or zero ohms confirms good continuity. If fuses pass but USB still fails, the issue may be the accessory power relay or wiring—inspect harness connections. Regular fuse maintenance preserves your connectivity and your freedom to use devices without restriction.
Reset or Update the RAV4 Infotainment: Software Steps That Help
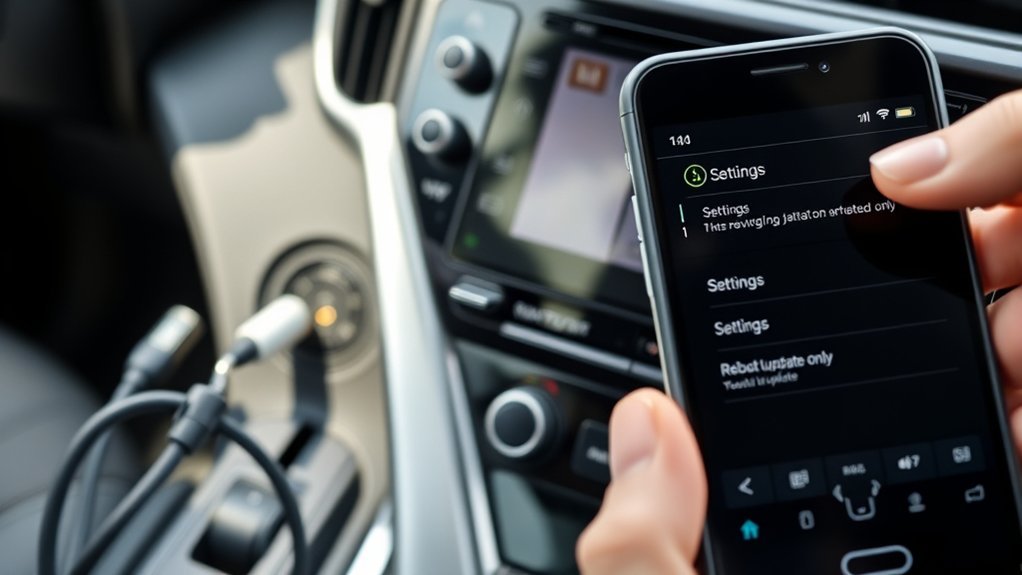
Start with a soft reset by pressing and holding the infotainment power button for at least 10 seconds until the unit reboots to clear transient USB connectivity faults. Then check the system settings or Toyota’s website for firmware updates and follow the on-screen or manufacturer instructions to install any available patches. If issues persist, try a hard reset by disconnecting the vehicle battery for a few minutes and verify Android phones are set to File Transfer mode when connected.
Soft Reset Procedure
When your RAV4’s infotainment acts up, perform a soft reset by pressing and holding the power button for about 10 seconds until the screen goes black and the system restarts; make sure the vehicle is in Accessory mode and that any USB devices are disconnected before you begin. This clears temporary faults, addresses common infotainment glitches, and delivers reset benefits like restored device recognition and smoother operation. You’ll reboot without starting the engine, minimizing electrical load. After the restart, check settings for available updates to improve compatibility. If problems persist, contact your dealership for diagnostics. Use this quick, empowered step before escalating—it’s the simplest move toward control.
| Step | Action |
|---|---|
| 1 | Accessory mode |
| 2 | Disconnect USB |
| 3 | Hold power ~10s |
| 4 | Wait for reboot |
| 5 | Verify function |
Software Update Steps
Although you can try a soft reset first, updating the infotainment software is the most reliable way to fix persistent USB recognition problems. You’ll need to park the vehicle and keep the engine running so the battery won’t drain during the update. Check Toyota’s website or the Toyota app for the latest firmware—this step highlights update importance and gives clear troubleshooting benefits by addressing known USB bugs.
Download the update onto a FAT32-formatted USB drive and match the file structure to the instructions. Insert the drive into the designated port and follow on-screen prompts; the process can take several minutes. After completion, restart the infotainment system and recheck USB functionality with your devices to confirm the fix.
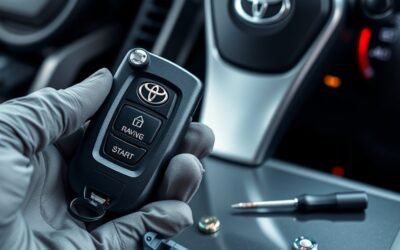
When It’s Hardware: Diagnosing the USB Harness, Port, and Head Unit
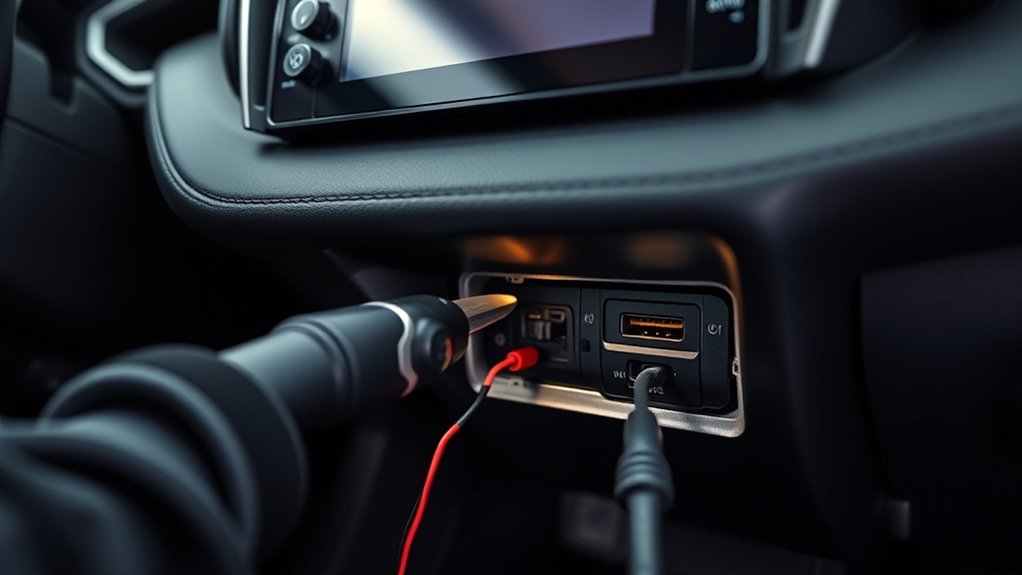
If you’re facing persistent USB failures after checking cables and settings, it’s time to treat the issue as a hardware problem and methodically diagnose the USB harness, port, and head unit. Start with USB harness inspection: visually trace the harness from the port to the head unit, looking for frays, corrosion, or loose connectors that cause power and data loss. Check for debris or bent pins inside the port; clean gently with compressed air and a nonconductive brush. Test fuses tied to the USB circuit (ECU-IGR2, ECU-DCC2) and replace any blown units to restore power. If the port shows physical damage, plan a port replacement—disconnect the battery, remove trim, detach the harness, and install the new port securely. Finally, verify head unit firmware is current; reprogramming can resolve data-handling faults. Work systematically, document findings, and proceed only when you’ve isolated the defective component.
Dealer vs DIY Repairs: What to Ask, Likely Fixes, and Expected Costs
Decide whether you need the dealer when issues persist after basic DIY checks like cleaning the port, swapping cables, and verifying power at the connector. At the dealer, ask them to check ECU-IGR2 and ECU-DCC2 fuses, run infotainment firmware updates, and quote harness replacement costs (typically $100–$300 installed). Document symptoms, get a second opinion from forums if uncertain, and weigh warranty coverage against out-of-pocket repair estimates.
When To See Dealer
When your RAV4’s USB port still won’t work after you’ve checked cables and fuses, it’s usually time to see a dealer—especially if the vehicle’s under warranty—so they can run professional diagnostics. You should request dealer diagnostics and confirm warranty coverage before authorizing work. Ask about software updates or infotainment reprogramming first; those fixes often restore connectivity without parts. Next, inquire specifically about the USB harness and related components—replacement of those parts has solved similar cases. Expect a diagnostic fee typically $100–$200, with extra charges for parts and labor if replacements are needed. Bring a concise log of what you’ve already tried (cables, cleaning, fuse checks) to accelerate diagnosis and avoid redundant charges. Be firm, informed, and ready to reject unnecessary repairs.
DIY Troubleshooting Steps
Although some fixes are simple, you’ll want a clear plan comparing DIY steps versus dealer service before you start, so you don’t waste time or void warranties. Check fuses first (ECU-IGR2, ECU-DCC2), then swap to a high-quality cable to rule out USB compatibility issues. Try infotainment software updates and community forums for model-specific tips. If DIY, disconnect the battery, remove the port, and replace it cleanly; follow Charging performance tips to guarantee secure pins and proper amperage. Ask the dealer about diagnosis scope and whether software flashes affect warranty.
| Action | DIY complexity | When to go dealer |
|---|---|---|
| Fuse check | Low | If recurrent |
| Cable/port swap | Medium | If board damage |
| Software update | Low–Medium | If update fails |
Repair Costs And Warranty
If you want to weigh dealer versus DIY repairs for a RAV4 USB issue, start by budgeting diagnostic and labor fees—dealerships commonly charge $100–$200 just to diagnose, and simple fixes like replacing a fuse or repairing a short can stay under $50, while harness or head‑unit replacements can run $500+ depending on parts and labor. Ask the dealer for itemized repair estimates and whether warranty coverage applies before authorizing work. If you’re resourceful, DIY saves labor: replacement ports cost $10–$100; add tools if needed. Diagnose precisely, document failures, and negotiate parts pricing. Prioritize claims under warranty coverage to avoid costs. Choose DIY when confident; choose dealer when diagnostics, warranty validation, or complex harness/head‑unit work exceed your skills.
Temporary Workarounds: Quality Cables, Adapters, and Bluetooth Options
Because poor cables and dirty ports are frequent culprits, start with high-quality USB cables and adapters to reduce dropouts and improve data transfer reliability. Prioritize cable compatibility—test multiple brands and models to find one that consistently negotiates data and power with your RAV4. Magnetic USB cables reduce wear on the port and make frequent connects/disconnects less damaging. Carry a short, shielded cable and a known-good adapter as a bench test to isolate vehicle vs. cable faults.
If USB still fails, leverage Bluetooth advantages for liberated, cable-free audio and hands-free calls. Pair your device to the RAV4 to stream music and use phone functions without hardware repair. Clean ports regularly with compressed air or a soft cloth to remove debris that disrupts contacts; this simple maintenance often restores functionality. These steps buy you time and control while you arrange permanent repair or parts replacement.
Frequently Asked Questions
How Do I Fix the USB Port in My Car?
Check fuses, swap cables, update firmware, and disconnect the battery before replacing the port; those USB troubleshooting tips target common issues. If problems persist, get a dealership diagnosis so you reclaim reliable, safe connectivity.
Conclusion
Check the basics first: 80% of infotainment issues trace to faulty cables, settings, or dirty ports, not the head unit. If a different cable/phone and cleaning don’t fix it, test fuses and try a reset/update before opening harnesses. Hardware faults usually mean a new port or head unit—expect higher costs at a dealer. Use temporary fixes (high-quality cables, adapters, Bluetooth) to keep functionality until you repair or replace the faulty component.