How to Diagnose RAV4 Alternator Problems
What’s in This Article
- Quick Answer
- Key Takeaways
- RAV4 Alternator Symptoms: Quick Triage Checklist
- Quick Checks: Belts, Fuses, Harnesses, and Connections
- Measure Battery Resting Voltage and Interpret Results
- Test Charging With a Voltmeter While the Engine Runs
- Cranking Tests: Distinguish Starter vs. Alternator Problems
- Listen and Look: Noise, Smell, and Overheating Signs
- Isolate Alternator Faults: Diodes, Regulator, and Bearings
- Replace Alternator or Fix Battery and Wiring: Make the Call
- Parts, OEM Options, and When to Get Professional Help
- Frequently Asked Questions
You can mistake RAV4 alternator trouble for a weak battery, a bad starter, or loose wiring. That mistake can leave you replacing good parts while the real charging fault gets worse.
Start with the symptoms, then use a multimeter to check the battery at rest and while the engine runs. You’ll also inspect the drive belt, fuses, relays, terminals, and wiring before you replace the alternator.
Quick Answer
You can quickly check for alternator trouble in your RAV4 with a few basic steps. Watch for dimming lights, hard starts, stalling, battery warning messages, or odd noises from the engine bay. Test battery voltage at rest, then test charging voltage while the engine runs. Start with the drive belt, fuses, relays, terminals, and wiring before you remove the alternator.
Key Takeaways
Key Takeaways
- Check resting battery voltage first so you do not blame the alternator for a weak battery.
- Look for a clear voltage rise after starting the engine, since charging voltage should sit above resting voltage.
- Inspect the belt, fuses, relays, connectors, and grounds before you replace major parts.
- Treat burning smells, melted wiring, or loud bearing noise as safety signs that need fast attention.
- Use model-specific Toyota service data when generic voltage ranges and your readings do not match.
RAV4 Alternator Symptoms: Quick Triage Checklist
When your RAV4 shows dim headlights, flickering interior lights, hard starts, or stalling after startup, check the charging system early. The alternator keeps the 12-volt battery charged while the engine runs. It also supports many electrical loads while you drive.
Listen for whining, grinding, or belt squeal from under the hood. Note whether the noise changes with engine speed. Also watch for a battery warning light or a charging-system warning message.
Start with simple clues before you test parts. A weak battery can mimic alternator failure, and a loose belt can mimic a bad alternator. Your goal is to separate symptoms from proof.
- Check for dimming lights or flickering dash lights.
- Listen for belt squeal, whining, grinding, or howling.
- Note hard starts, slow cranking, or stalling after startup.
- Watch for a battery warning light or charging-system message.
- Smell for burning rubber or hot electrical insulation.
Compare the alternator’s age with your service records. Old units, weak belts, corrosion, and heavy electrical loads can shorten charging-system life. Good notes help you avoid repeated roadside trouble.
Quick Checks: Belts, Fuses, Harnesses, and Connections
Start with a visual and manual check of the drive belt. Look for cracks, glazing, fraying, looseness, or poor pulley alignment. A damaged or slipping belt can stop the alternator from charging well.
Then test the alternator fuse and related relay for continuity and heat damage. Replace any blown fuse only after you check for shorts or wiring damage. A new fuse may fail again if the circuit still has a fault.
Inspect the wiring harness, battery terminals, alternator output lead, and ground points. Loose or corroded connections raise resistance and reduce charging current. Clean and tighten these points before you judge the alternator.
Drive Belt Condition
Inspect the drive belt and nearby electrical connections at every service interval. This catches wear that can reduce alternator output. Scan for cracks, fraying, glazing, missing ribs, or uneven wear.
Confirm that the belt sits straight on each pulley. With the engine running, listen for squeal or screech that suggests belt slip, misalignment, or weak tension. Fix tension or pulley alignment before the belt damages other parts.
If the belt shows damage or the noise continues after adjustment, replace the belt. Then retest charging voltage under light and heavy electrical loads.
Fuse and Relay Check
Belts and wiring look obvious, but fuses and relays can also stop charging. Check the alternator fuse for continuity. Then check related charging-system relays for proper switching.
Use a multimeter to test the fuse. No continuity means the fuse has opened and the circuit cannot carry current. Before you replace it, inspect the harness for rubbed insulation, melted connectors, or shorted wiring.
For relay testing, swap in a known-good relay with the same rating or use a bench tester. If the relay clicks but fails to pass current, replace it. Record your readings so you can compare them with Toyota service specs.
Wiring and Terminal Inspection
After you check fuses and relays, inspect the wiring paths that carry charging current. A good alternator cannot charge the battery through loose, dirty, or broken wiring.
Probe the harness for frayed insulation, broken conductors, pinched sections, and heat damage. Check the alternator output lead, battery positive cable, engine ground, and body ground. Corrosion at these points can cause voltage drop.
Confirm that the voltage regulator connector seats tightly and shows no melted plastic. Repair damaged wiring or terminals, then retest charging voltage with the engine running.
Warning: Disconnect the negative battery cable before you repair charging-system wiring, and avoid jewelry near battery terminals.
Measure Battery Resting Voltage and Interpret Results
Let the vehicle sit off for several hours with all accessories shut off. Then use a multimeter to measure the battery’s resting voltage. Put the red probe on the positive terminal and the black probe on the negative terminal.
A healthy 12-volt battery often reads about 12.6 to 12.8 volts after rest. A reading below 12.4 volts suggests a partial discharge. A reading near or below 12.0 volts means the battery needs charging and further testing.
This step gives you a baseline before you diagnose alternator issues. A weak battery can make the alternator look bad. Charge and retest a low battery before you make repair decisions.
Let the vehicle sit, measure resting battery voltage with a multimeter, and record the reading before you run charging tests.
- 12.6 to 12.8 V: battery appears fully charged at rest.
- 12.4 to 12.5 V: battery may have partial discharge, so recharge and retest.
- 12.0 to 12.3 V: battery has low charge and needs deeper testing.
- Below 12.0 V: battery may be deeply discharged or damaged.
- Document voltage, temperature, and recent driving conditions.
Do not move to engine-run charging tests until you have the resting baseline. This data helps you separate battery health from charging-system faults.
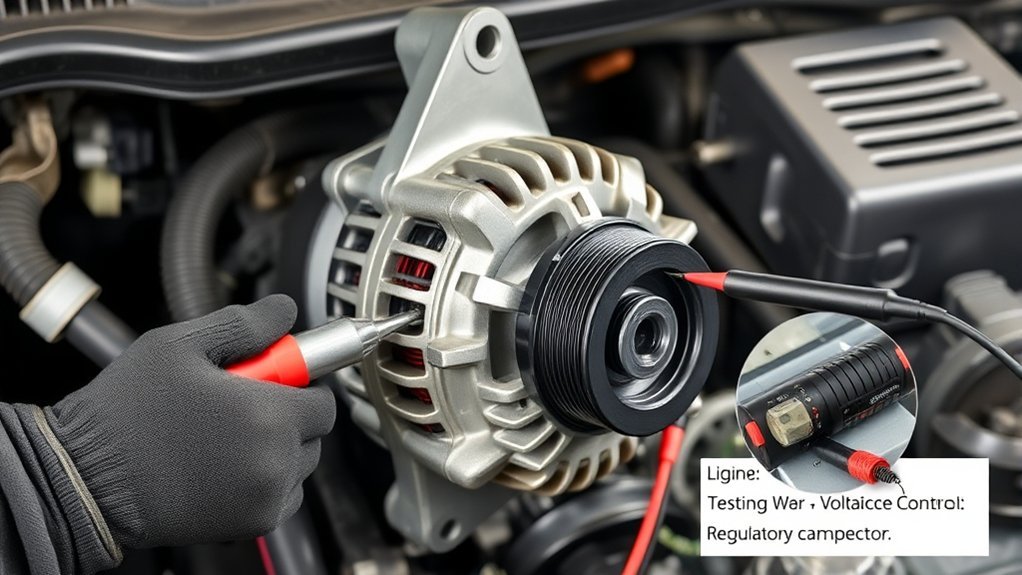
Test Charging With a Voltmeter While the Engine Runs
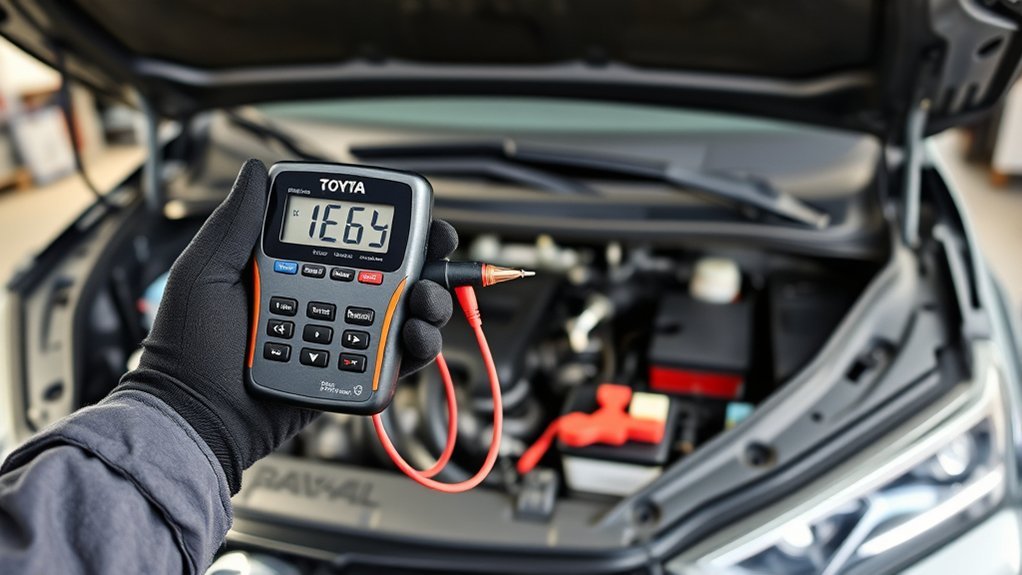
Start the engine and turn off major accessories. Connect your multimeter across the battery terminals. Use red on positive and black on negative.
A typical healthy charging system often shows about 14.0 to 14.5 volts with the engine running and accessories off. Some vehicles may vary, so compare your reading with Toyota service data for your RAV4 year and engine. The running voltage should rise clearly above the resting battery voltage.
If the reading stays near resting voltage, such as 12.4 to 12.6 volts, the alternator may not charge the battery. If the reading stays below about 13.5 to 13.7 volts under normal conditions, inspect the belt, wiring, fuse, regulator, and alternator.
Raise engine speed gently and watch for voltage fluctuations. A healthy system should stay fairly steady as revolutions per minute rise. Large dips or spikes can point to worn brushes, failing diodes, poor wiring, or a weak regulator.
Pro tip: Test once with accessories off, then test again with headlights, blower, and rear defroster on.
Record values at idle, at a light rev, and under electrical load. Trends matter more than one reading. If voltage climbs too high or acts erratically, stop testing and seek professional help.
Cranking Tests: Distinguish Starter vs. Alternator Problems
After you check charging voltage, run cranking tests to separate starter faults from charging-system problems. Watch the battery voltage while someone starts the engine. Use caution and keep hands, tools, and meter leads away from moving parts.
A healthy battery should usually stay above about 9.6 volts during a load test. A brief dip can happen during cranking, especially in cold weather. A drop far below that range can suggest a weak battery, bad connection, or starter circuit problem.
If cranking voltage stays acceptable but charging voltage stays low after startup, focus on the alternator and charging circuit. If cranking voltage plunges near 8.0 volts, inspect the battery, starter, terminals, and cables before you blame the alternator.
- Measure battery voltage with the ignition off.
- Watch voltage during cranking and note the lowest reading.
- Check cable ends and grounds if voltage drops hard.
- Inspect the starter circuit if the battery tests good but cranking stays weak.
- Return to charging tests after the engine starts.
These targeted diagnostics help you avoid the wrong repair. A starter that draws too much current can mimic a charging fault during startup.
Listen and Look: Noise, Smell, and Overheating Signs
Use your senses before you remove parts. A whining or howling noise from the engine bay can point to failing alternator bearings, pulley wear, or belt misalignment. A burning rubber smell can point to belt slip or excessive heat.
Watch for persistent dimming or flickering lights while the engine runs. Also look for melted insulation, discolored connectors, or oil contamination near the alternator. These signs call for careful testing and fast repair.
Whining or Howling Noise
A persistent whining or howling from the engine bay often signals failing alternator bearings or a misaligned drive belt. The sound may change pitch with engine speed. It may also grow louder when you accelerate.
Do not unplug the alternator while the engine runs. That old test can damage modern vehicle electronics. Use a mechanic’s stethoscope, visual belt checks, and voltage readings instead.
- Listen for pitch change with engine speed.
- Inspect pulley alignment and belt tracking.
- Check for bearing play with the engine off.
- Inspect belt tension and pulley runout.
- Replace the alternator or worn pulley parts if noise continues.
Act early. Persistent bearing noise can lead to friction, overheating, belt damage, and full alternator failure.
Burning Rubber Smell
A smell of burning rubber often points to a slipping belt, seized pulley, or overheated alternator. The smell may come with whining or screeching that rises with engine speed.
Treat that scent as a diagnostic warning. Inspect the alternator housing for heat, check belt glazing, and look for loose tension. Also check for oil leaks that may contaminate the belt.
Persistent odor plus poor charging often means the alternator, pulley, or belt needs service. Clean connections, verify belt tension, and test output under load before you replace parts.
Alternator Overheating Signs
When your RAV4’s alternator overheats, you may notice a burning odor, RPM-linked whining, and low charging voltage. You may also find melted plastic, discolored terminals, or brittle insulation near the alternator.
- Burning odor: belt slip, hot insulation, or internal alternator heat may cause it.
- RPM-linked whine: mechanical wear or pulley misalignment may harm bearings.
- Low charging voltage: weak output can lead to dim lights and erratic accessories.
- Heat damage: melted connectors or damaged insulation can create resistance.
Stop driving if you smell hot wiring, see smoke, or lose electrical power. A qualified technician can test the circuit safely.
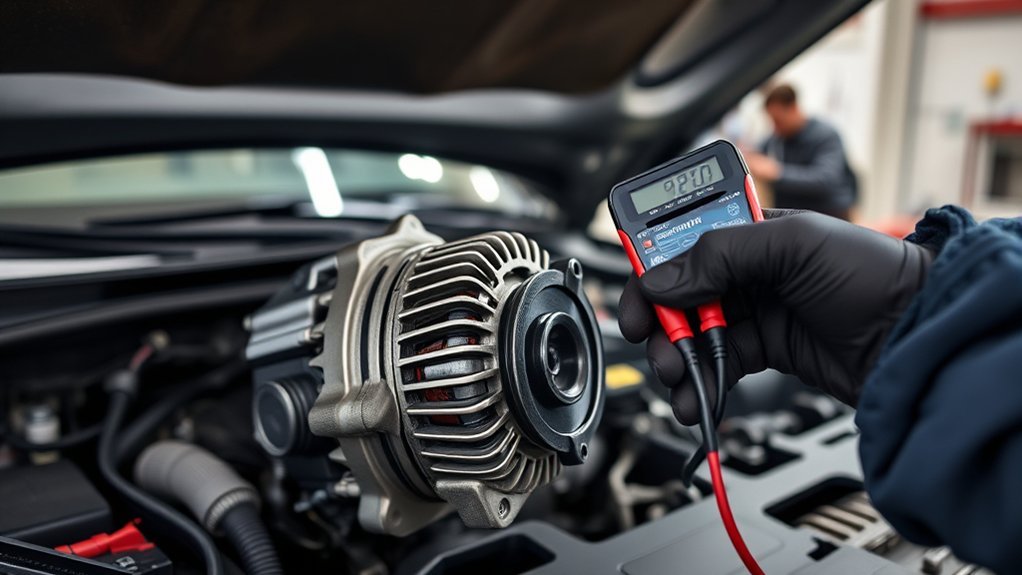
Isolate Alternator Faults: Diodes, Regulator, and Bearings
Start by checking charging voltage at the battery with the engine running. A normal system should show a clear rise above resting voltage. If the voltage stays low, inspect the belt and wiring before you blame internal alternator parts.
Next, check for diode or rectifier problems. A failing diode can reduce charging output and allow current ripple. Some multimeters can read alternating current ripple across the battery, but a bench test gives a better answer.
Inspect the voltage regulator by monitoring voltage under changing loads. Turn on headlights, blower, and the rear defroster. Unstable readings or overcharging spikes can point to regulator failure.
Listen for mechanical symptoms. Whining, growling, or grinding can point to bearing wear. With the engine off, inspect the pulley for wobble, rough rotation, or looseness.
Also check wiring and connectors for heat damage or corrosion. Bad leads can hide the real diagnosis. After these checks, you’ll know whether the alternator, regulator, wiring, or belt needs repair.
Replace Alternator or Fix Battery and Wiring: Make the Call
You can decide between alternator replacement and battery or wiring repair by following the data. Measure resting voltage, cranking voltage, and running voltage. Then inspect belt condition and circuit resistance.
Replace the alternator when charging voltage stays low after you confirm a good battery, good belt, clean terminals, and sound wiring. Do not replace it only because the vehicle starts poorly. A weak battery or starter can create similar symptoms.
If cranking voltage drops very low, inspect the starter circuit and battery cables before you condemn the alternator. If voltage drop appears between the alternator and battery, repair the wiring or ground path first.
- Use measured data instead of symptoms alone.
- Replace the alternator when output stays low with a verified good circuit.
- Repair wiring when tests show high resistance or heat damage.
- Charge or replace the battery when resting and load tests fail.
- Retest after each repair so you know the fix worked.
Follow a simple order: isolate, measure, verify, then act. This approach cuts guesswork and prevents wasted parts.
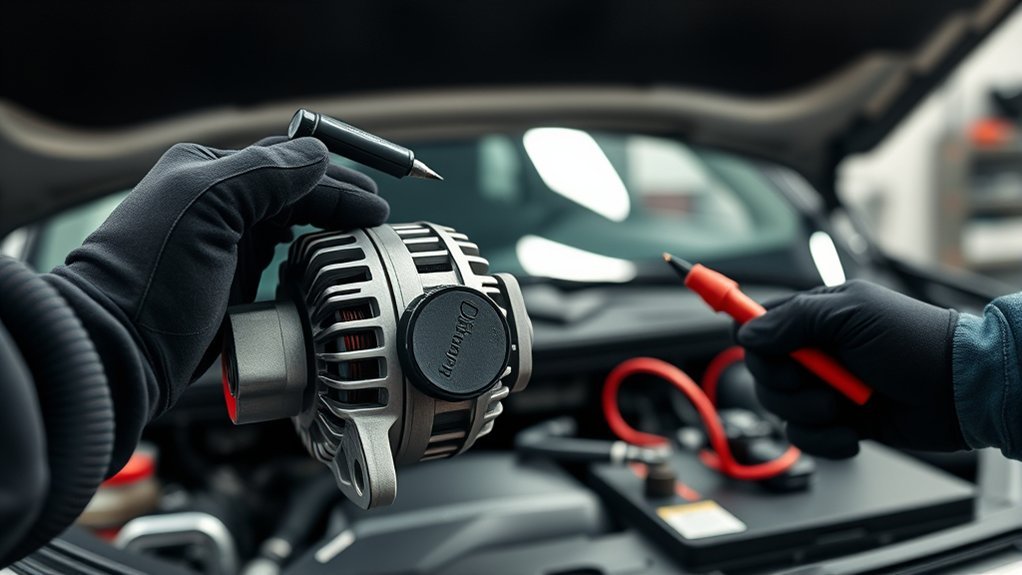
Parts, OEM Options, and When to Get Professional Help
Parts selection matters because your RAV4’s charging system must match the vehicle’s electrical design. An original equipment manufacturer (OEM) alternator or a high-quality direct-fit replacement helps protect fit, pulley alignment, and regulator behavior. Always match the part by year, engine, trim, and charging-system type.
Inspect the drive belt and wiring harness before you condemn the unit. A new alternator will not fix bad cables, weak grounds, or belt slip.
| Component | Action |
|---|---|
| OEM or direct-fit alternator | Match fit, pulley type, output rating, and regulator design |
| Drive belt | Check tension, glazing, cracks, and pulley alignment |
| Wiring harness | Inspect corrosion, loose terminals, heat damage, and broken insulation |
| Voltage reading | Get help when voltage stays low, spikes, or fluctuates after basic checks |
| Service records | Track battery age, belt replacement, and prior charging repairs |
Call a qualified technician when you see smoke, melted wiring, burning electrical smells, or unstable high voltage. Also get help if the battery warning light returns after you replace a battery or alternator. Professional load testing and voltage-drop testing can find faults that basic checks miss.
Frequently Asked Questions
What are common RAV4 alternator failure signs?
Common signs include dim lights, flickering dash lights, hard starts, warning lights, stalling after startup, and whining from the engine bay. You may also smell burning rubber or hot electrical insulation if the belt slips or the alternator overheats.
How do you diagnose a bad alternator in a RAV4?
Check the battery first, then measure charging voltage with the engine running. Inspect the belt, fuses, relays, terminals, grounds, and alternator wiring. If the battery and circuit pass but charging stays low, test or replace the alternator.
Will a code reader tell you if your alternator is bad?
No. A code reader may show low-voltage or charging-related diagnostic trouble codes, but it will not prove that the alternator has failed. You still need voltage tests, wiring checks, and sometimes a bench test.
Can a bad battery look like a bad alternator?
Yes. A weak or discharged battery can cause hard starts, warning lights, and low voltage readings. Charge and test the battery before you blame the alternator.
Should you drive with a RAV4 charging-system warning?
Limit driving and test the vehicle as soon as possible. If the alternator stops charging, the RAV4 may run only until the battery drains. Stop safely if lights dim badly, power steering changes, or the engine starts to stall.
Safety Disclaimer: This article gives general vehicle troubleshooting information only. Automotive electrical systems can cause burns, sparks, short circuits, and vehicle damage. Always follow your owner’s manual and consult a qualified technician when a test exceeds your skill level.
Conclusion
Your RAV4’s alternator diagnosis should start with simple checks and end with measured proof. Test resting voltage, charging voltage, belt condition, fuses, relays, wiring, and grounds before you replace parts.
If readings sit outside spec or noise, smell, heat, or warning lights continue, repair the fault or call a qualified technician. Do not guess. Let the readings guide your next move, and you’ll protect both the battery and the charging system.
References
- How to Test an Alternator with a Multimeter — AutoZone, accessed 2026
- Key Indicators of a Healthy Battery Test — Midtronics, 2025
- Tech Tip: Checking Voltage Drops — Delco Remy, 2013
- How Many Amps Is a Car Battery? — AutoZone, accessed 2026