If your Camry clicks and won’t start, check the battery, terminals, and starter wiring first because rapid clicking usually means inadequate electrical power or a sticking starter solenoid. Inspect for loose or corroded clamps, measure battery voltage (under 12.4 V is weak), and try a jump to isolate the battery. Tap the starter gently and test voltage at the starter during crank to find drops. If problems persist, replacement and cost guides follow if you want more details.
Quick Diagnosis: Camry Clicking – Battery, Starter, or Other?
How can you tell whether a rapid clicking when you turn the key points to the battery, the starter, or something else? You’ll listen and isolate: rapid, repeated clicks with no crank usually signal insufficient electrical power—start by evaluating battery health and terminal integrity without repeating full test steps. If the battery’s new or recently charged and you still get clicks, suspect starter issues: a bad solenoid or worn starter gear can click as it fails to engage. A successful jump-start that yields immediate crank confirms the battery as the weak link; failure after a reliable jump narrows it to the starter or wiring. Also consider poor terminal connections or corrosion that restrict current and mimic battery failure. Your diagnosis should be systematic: note sound pattern, prior battery condition, and results of a controlled external power application. That disciplined approach frees you to decide repair, replacement, or targeted wiring cleanup.
Check the Battery and Terminals : Fast Tests You Can Do
Start with a quick visual inspection of the battery and terminals for loose clamps or white, powdery corrosion and clean as needed. If the terminals look good, perform a voltage check with a multimeter—readings under 12.4 V indicate a weak battery. If the car won’t crank, try a jump-start; successful starting points to a faulty battery and you can confirm with free testing at many auto parts stores.
Quick Visual Inspection
Before you reach for a multimeter, do a quick visual inspection of the battery and terminals to catch common, easily fixed issues. Look for corrosion signs at posts and clamps; white or blue powder blocks current. Check clamps for tightness—loose connections stop power flow. Note battery aging: if it’s 3–4+ years, plan replacement. Inspect the case for swelling, cracks, or leakage that indicate internal failure. These observations free you from guesswork and speed targeted fixes.
| Item inspected | What to look for |
|---|---|
| Terminals | Corrosion signs, secure clamp |
| Cables | Frays, tightness |
| Battery case | Swelling, cracks, leaks |
| Age label | Manufacturing date, 3–4 year threshold |
Jump And Voltage Tests
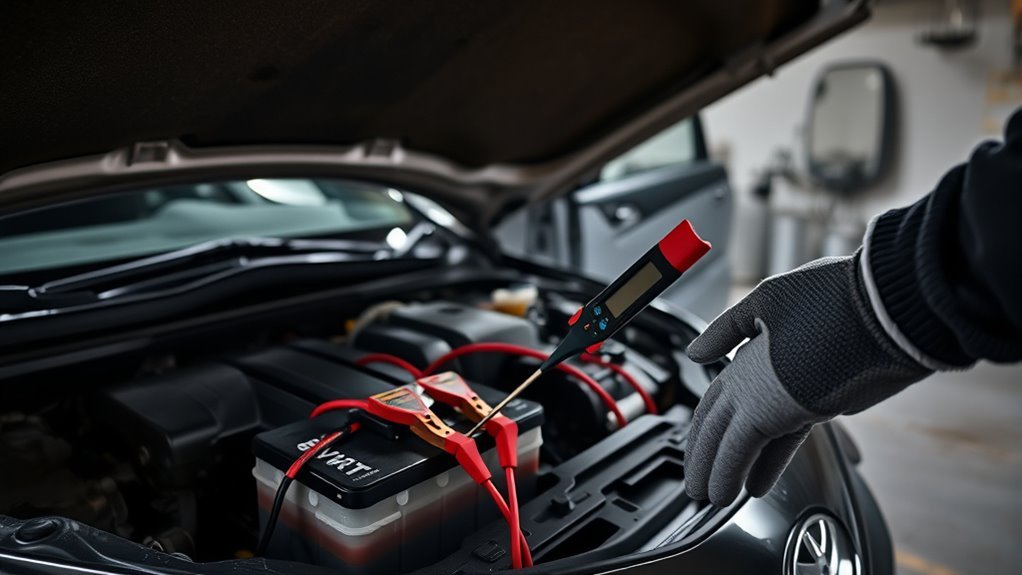
When your Camry won’t crank, use a multimeter and jump-start procedure to quickly distinguish a dead battery from charging or connection problems: measure battery voltage at rest; 12.4–12.7 V is healthy. Check terminals for corrosion and tightness—loose connections cause clicking and impede current. If voltage is low, perform a proper jump-start: connect positive clamps first, then negative to chassis ground to avoid shorts. After starting, remeasure voltage; 13.5–14.5 V confirms the alternator is charging. If voltage remains low post-jump, get a formal load test at an auto parts store to identify weak cells or parasitic drains. Prioritize battery maintenance and systematic electrical troubleshooting so you reclaim control and mobility without unnecessary parts replacement.
Test the Starter: 60‑Second Checks to Rule It In/Out
Next, you’ll rule the starter in or out with two 60‑second checks. First, use a multimeter at the starter terminals while someone turns the key — voltage below 12V under load points to battery or wiring problems. Then tap the starter solenoid lightly; if the engine cranks after a tap the starter is likely sticking and needs further inspection or replacement.
Quick Voltage Check
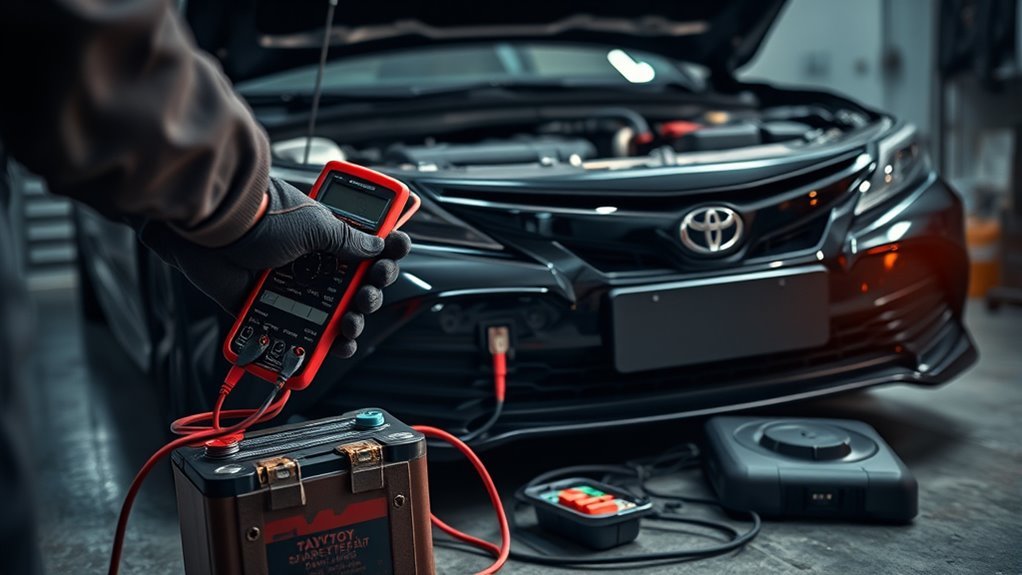
Start by checking the battery voltage with a multimeter; you should see at least 12.4 V at the battery terminals—anything lower suggests a weak battery that can’t reliably power the starter. Take steady voltage readings at rest to assess battery health; values below 12.4 V point to charging or battery replacement needs. Next, crank the engine while monitoring voltage: if the terminal voltage drops below ~10 V during cranking, the starter or battery can’t sustain load. Inspect starter wiring for corrosion or looseness that causes voltage loss and clicking. If you bypass the ignition with a jumper cable and the starter turns the engine, the starter is likely fine and the fault lies in control or wiring. Act decisively to restore reliable power and reclaim mobility.
Tap Starter Solenoid
Tap the starter solenoid gently while a helper turns the key to see if a stuck contact or pinion will free and allow engagement. You’ll use a rubber mallet or similar tool, confirmed battery charge, and secure connections before testing. If tapping produces cranking, the solenoid had a mechanical bind; plan replacement for long‑term reliability. A single click suggests solenoid or motor failure—verify voltage at the starter terminal during ignition. If no voltage, shift focus to ignition switch or wiring using basic troubleshooting techniques. This quick, liberating starter maintenance step lets you rule the starter in or out in 60 seconds and avoid needless replacements.
| Tool | Check | Action |
|---|---|---|
| Rubber mallet | Battery charged | Tap gently |
| Voltmeter | Voltage present | Replace if needed |
Immediate Fixes to Try Now: Jump, Clean, and Tap Safely
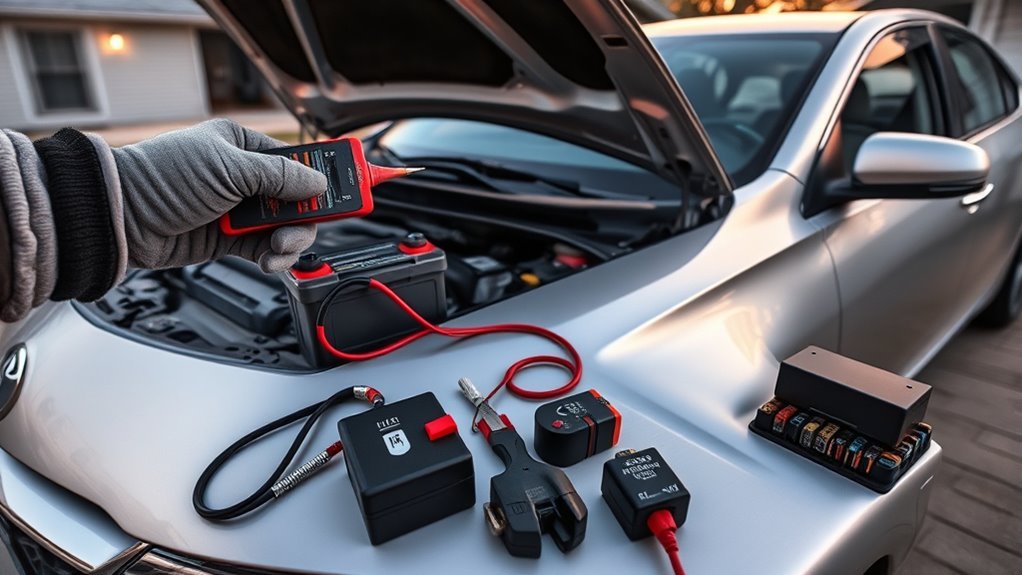
If your Camry won’t crank but only clicks, try a quick diagnostic sequence: jump-start the battery to confirm low voltage, inspect and clean any corroded terminals to restore solid contact, tighten loose clamps, and — only if the starter still clicks — gently tap the starter housing to free a sticking solenoid; always wear gloves and eye protection and keep the car in Park with the ignition off while you work. You’ll begin with battery maintenance: connect jumper cables correctly, observe polarity, and verify accessory lights brighten when charged. Next, unfasten terminals and remove corrosion with a brush and baking-soda solution; rinse, dry, and apply terminal protectant. Check cable integrity and torque clamps to manufacturer spec to eliminate voltage drop. For starter troubleshooting, have an assistant turn the key while you listen and, if clicking persists, deliver a single firm tap to the starter body to dislodge a stuck pinion—don’t hammer. If these steps free the system, drive to restore charge; if not, stop and seek professional diagnosis.
When to Replace: Battery vs Starter vs Alternator (Costs & Warranty)
When should you replace the battery, starter, or alternator? You’ll decide by matching symptoms to component limits and known costs. Battery lifespan typically runs 3–5 years; weak cranking, dim lights, or failed voltage tests point to replacement. Starter symptoms include single-click or grinding during crank; if starter tests fail, expect $300–$600 installed. Alternator signs are charging faults, dashboard warnings, or rapid battery drain; alternator swaps average $500–$1,000.
- Battery: test cold‑cranking amps, check warranty (3–5 years), DIY $100–$300, dealer $300–$600.
- Starter: isolate with bench or voltage drop tests; warranty often 1–3 years; labor raises cost to $300–$600.
- Alternator: confirm charging output under load; warranty 1–3 years; budget $500–$1,000 for replacement.
- Replacement tips: prioritize diagnostics, document age/warranty, and target the failed component to regain mobility and autonomy.
Next Steps and Low‑Cost Repair Options (DIY, Shops, Warranty Tips)
Although you can often fix simple no‑start problems yourself, start by ruling out the battery and terminals—check age (3–4 years), test cold‑cranking amps or voltage, and clean/tighten terminals—then pursue warranty replacement or cheap DIY battery swaps ($100–$300) before paying labor. If the battery tests weak but is under warranty, file warranty claims with the seller or manufacturer immediately; keep receipts and test logs. Use a diy battery installation if you’re comfortable: follow a service manual or video guide, isolate negative first, and torque terminals to spec.
If clicking persists after a confirmed good battery, diagnose the starter: bench or draw‑in tests reveal solenoid or motor faults. Starter replacement typically runs $200–$600 including parts and shop labor; weigh that against your time and skill. For liberation, prioritize learning tests that reduce shop dependence. When uncertain, get a shop estimate and ask for failed parts back to verify repairs and support any warranty claims.
Frequently Asked Questions
Why Is My Toyota Clicking and Not Starting?
Your Camry’s rapid clicking means battery issues or starter problems: the battery’s weak or terminals are corroded, denying power to the starter; test voltage, clean connections, try a jump or replace the battery or starter accordingly.
Does Clicking Mean a Bad Alternator?
No — clicking usually signals battery issues or starter problems, not direct alternator failure, though a weak alternator can cause a drained battery; you should test battery voltage and alternator output to diagnose and reclaim control.
Conclusion
You’ve narrowed it down: a rapid clicking usually means low battery, a failing starter, or poor connections. You’ll test battery voltage and terminals, try a jump, and tap the starter to isolate the fault. If voltage checks OK but clicks persist, plan starter replacement; if voltage’s low, replace or recharge battery and retest. For cost control, compare DIY, local shops, and warranty coverage—don’t call a blacksmith for this. Act fast to avoid tow fees.