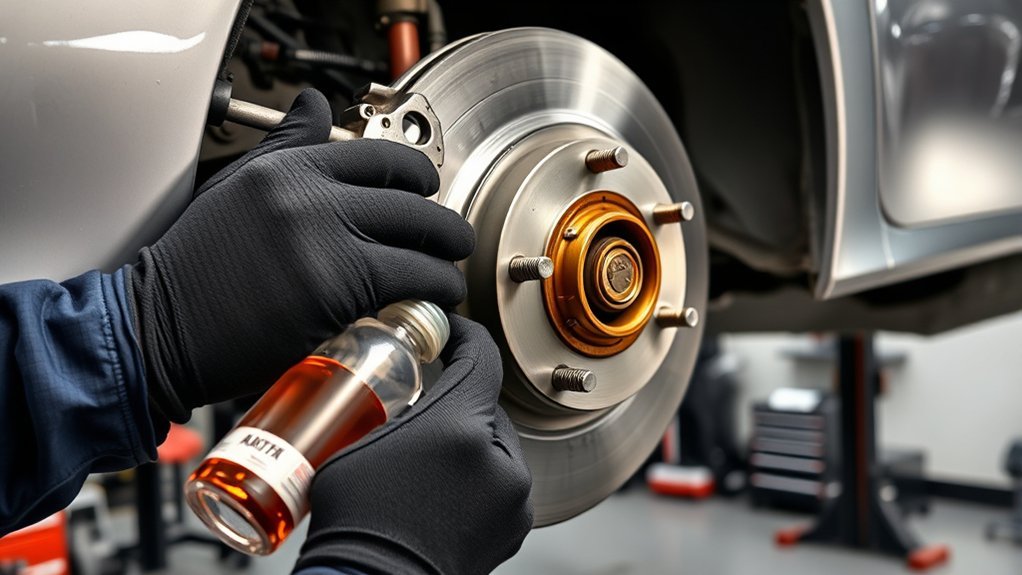
To bleed brakes on a Toyota Camry, keep the reservoir filled with fresh approved fluid, connect a clear tube to one bleeder screw at a time, have a helper press and hold the pedal, open the screw briefly, and close it before the pedal rises. Repeat until the fluid is clean and bubble-free. Use Toyota service information for your exact model year and brake system. Hybrid or electronically controlled brake systems, and any job involving the ABS actuator or master cylinder, may require scan-tool-guided bleeding.
Last updated: July 15, 2026
Quick Answer
To bleed Toyota Camry brakes, park safely, fill the reservoir with fresh approved fluid, attach a clear tube to one bleeder screw, have a helper press and hold the pedal, open the bleeder briefly, and close it before the pedal is released. Repeat until clean, bubble-free fluid exits each wheel, following the factory sequence and any scan-tool steps specified for your exact model year.
Key Takeaways
- Check the owner’s manual, reservoir cap, or Toyota service information for the exact fluid standard and bleeding procedure for your model year.
- Do not remove the brake-fluid reservoir filter. Keep dirt, oil, water, and old fluid out of the hydraulic system.
- Keep the fluid level between MIN and MAX while bleeding. Letting the reservoir run dry can introduce air into the master cylinder or ABS actuator.
- Do not assume every Camry uses the same wheel sequence. Verify the order before opening a bleeder screw.
- If the pedal stays soft, fluid leaks, or the ABS/brake warning light stays on, stop and have the system professionally bled or inspected.
At a Glance
| Time Required | Varies by model, brake system, and whether scan-tool bleeding is required |
| Difficulty | Moderate to advanced; safety-critical |
| Tools Needed | Fresh brake fluid, clear vinyl tube, catch bottle, box wrench, jack, jack stands, wheel chocks, gloves, safety glasses, rags, brake cleaner, torque wrench if available |
Warning: Brakes are a primary safety system. This guide does not replace the Toyota repair procedure for your exact model year. Never work under a Camry supported only by a jack, never reuse old brake fluid, and never drive if the pedal feels soft, sinks, warning lights stay on, or any brake-fluid leak is present.
Is This a Safe DIY Job?
A basic wheel-cylinder or caliper-line bleed can be suitable for an experienced home mechanic when the exact Toyota procedure allows a conventional pedal-and-bleeder method. Stop before starting if you cannot confirm the correct procedure for your model year.
| Situation | Recommended Approach |
|---|---|
| A hose or caliper was replaced, and the factory procedure allows a conventional line bleed | Experienced DIY may be reasonable with the correct fluid, wheel order, torque specification, and safe lifting equipment. |
| The reservoir ran dry, the master cylinder was opened, or the ABS actuator was replaced | Use the complete Toyota brake-system procedure. Scan-tool-guided bleeding or professional service may be required. |
| The Camry is a hybrid or uses an electronically controlled brake system | Confirm the model-specific procedure before touching a bleeder. Do not assume the conventional method applies. |
| The pedal sinks, fluid leaks, or a brake/ABS warning light remains on | Do not drive. Have the system diagnosed and bled by a qualified technician. |
Why Does Brake Fluid Condition Matter?
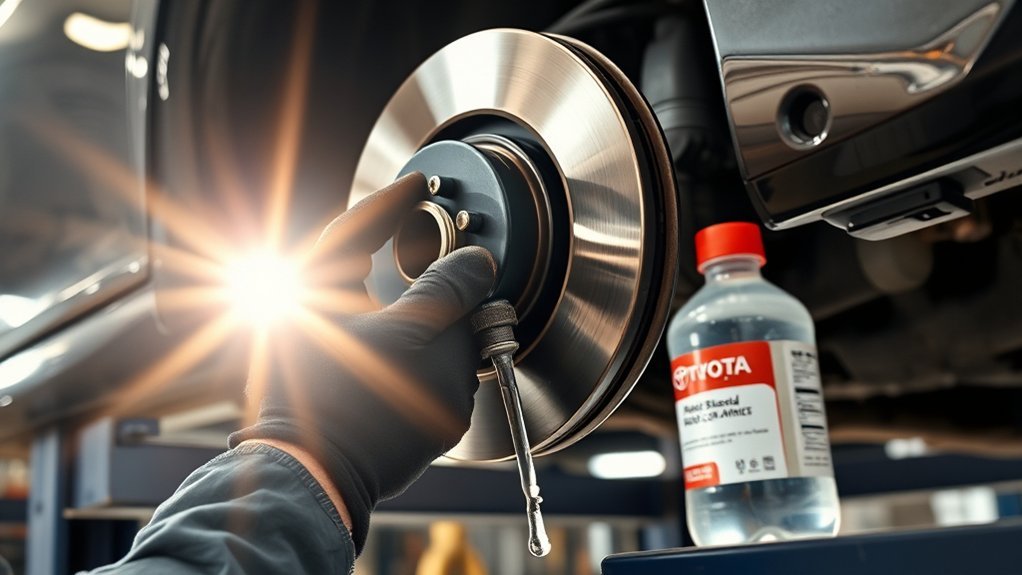
Brake fluid transfers the force from your foot at the brake pedal to the calipers at the wheels. It also lives in a harsh environment: heat, rubber seals, metal lines, moisture, and tiny passages inside the ABS system all affect how well it performs.
Most common automotive brake fluids are hygroscopic, meaning they can absorb moisture over time. The National Highway Traffic Safety Administration explains that moisture in brake fluid can lower the fluid’s boiling point and increase the possibility of vapor lock and corrosion. That is why fresh, clean fluid matters when you bleed the brakes.
Federal brake-fluid standards also matter. FMVSS No. 116 sets requirements for motor-vehicle brake fluids, including minimum boiling-point performance for DOT brake-fluid grades.
Choose the Right Brake Fluid for a Toyota Camry
Before opening the reservoir, check your Camry owner’s manual, the brake-fluid reservoir cap, or Toyota service information for your exact model year. Toyota’s 2025 Camry do-it-yourself service precautions list FMVSS No.116 DOT 3 or SAE J1703 brake fluid, and FMVSS No.116 DOT 4 or SAE J1704 brake fluid for brake-fluid service items. Toyota’s 2018–2024 Camry repair procedure also lists SAE J1703/DOT 3 and SAE J1704/DOT 4 fluid for the bleeding procedure.
If your manual or cap lists DOT 3, use fresh DOT 3 that meets the standard. If your manual or Toyota service information allows DOT 4, use fresh DOT 4 that meets the listed standard. Do not use DOT 5 silicone brake fluid unless the manufacturer specifically calls for it; it is not the normal fluid for a Toyota Camry hydraulic brake system.
Note: Brake fluid from an old opened bottle may already contain moisture. For bleeding, use a new sealed container and close it as soon as you are done pouring.
[Products Worth Considering]

This brake bleeder bottle is designed to make fluid bleeding easier for one-person use with a built-in check valve and magnetic mount. The flexible hose fits most bleeder valves and helps reduce the chance of air entering the system during service. With a practical fluid capacity and universal fit, it is a handy tool for brake maintenance and repair.

This universal brake bleeder kit makes one-person brake and clutch line bleeding simple by using compressed air to create stable vacuum-assisted fluid flow. Its extra-large 3L tank helps complete full-system flushes with fewer interruptions, while the included refill bottle, flexible hose, and universal adapter support clean, efficient use on standard and ABS brake systems.
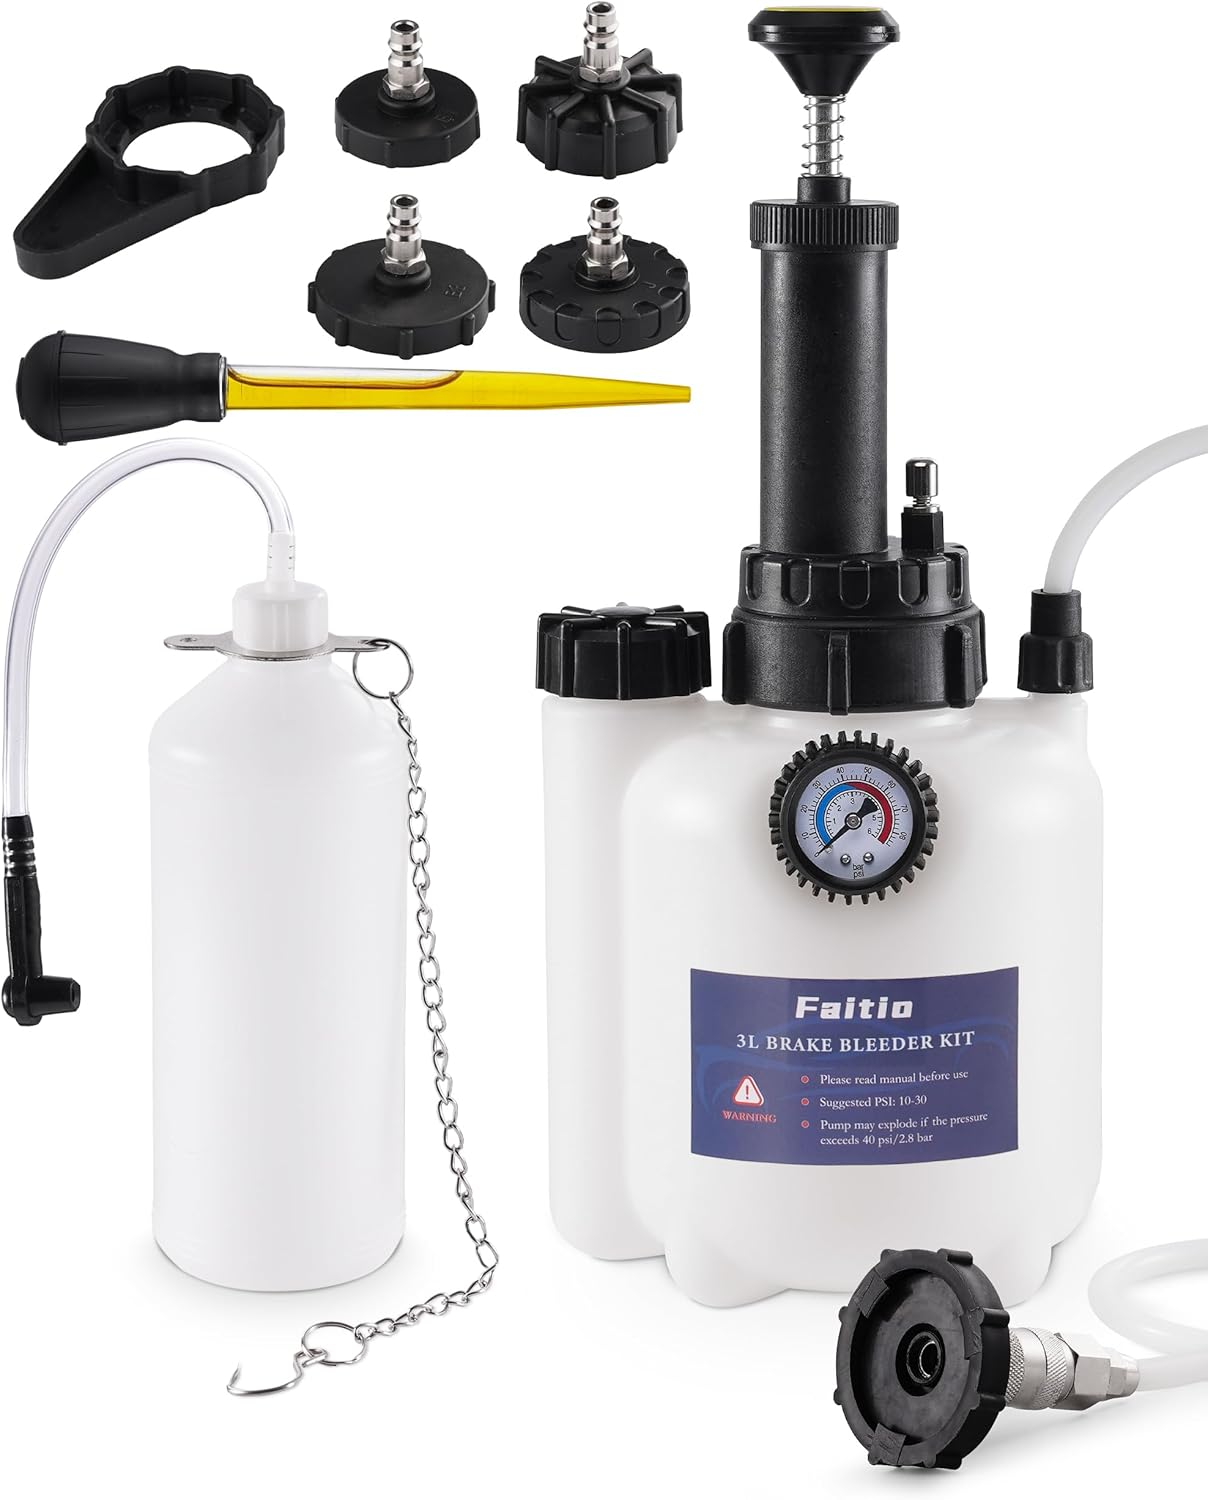
This one-man brake bleeding kit helps flush old brake fluid and remove trapped air for firmer, more responsive braking without the hassle of a second person. Its improved sealing and translucent catch bottle help prevent leaks while making fluid level checks easy during use. With multiple adapter sizes for many vehicle makes, it is a practical tool for clean, efficient brake system maintenance.
Brake Bleeding vs. a Brake Fluid Flush
Bleeding removes trapped air from part or all of the hydraulic system. A fluid flush replaces old fluid throughout the system, even when no air is present. The tools can look similar, but the reason for the service and the amount of fluid moved are different.
If a hose, caliper, master cylinder, or hydraulic line was opened, bleeding is required. If you are renewing aged fluid as maintenance, follow Toyota’s service guidance for your model year. Do not use a routine flush to mask a leak, sinking pedal, or warning light.
[Products Worth Considering]
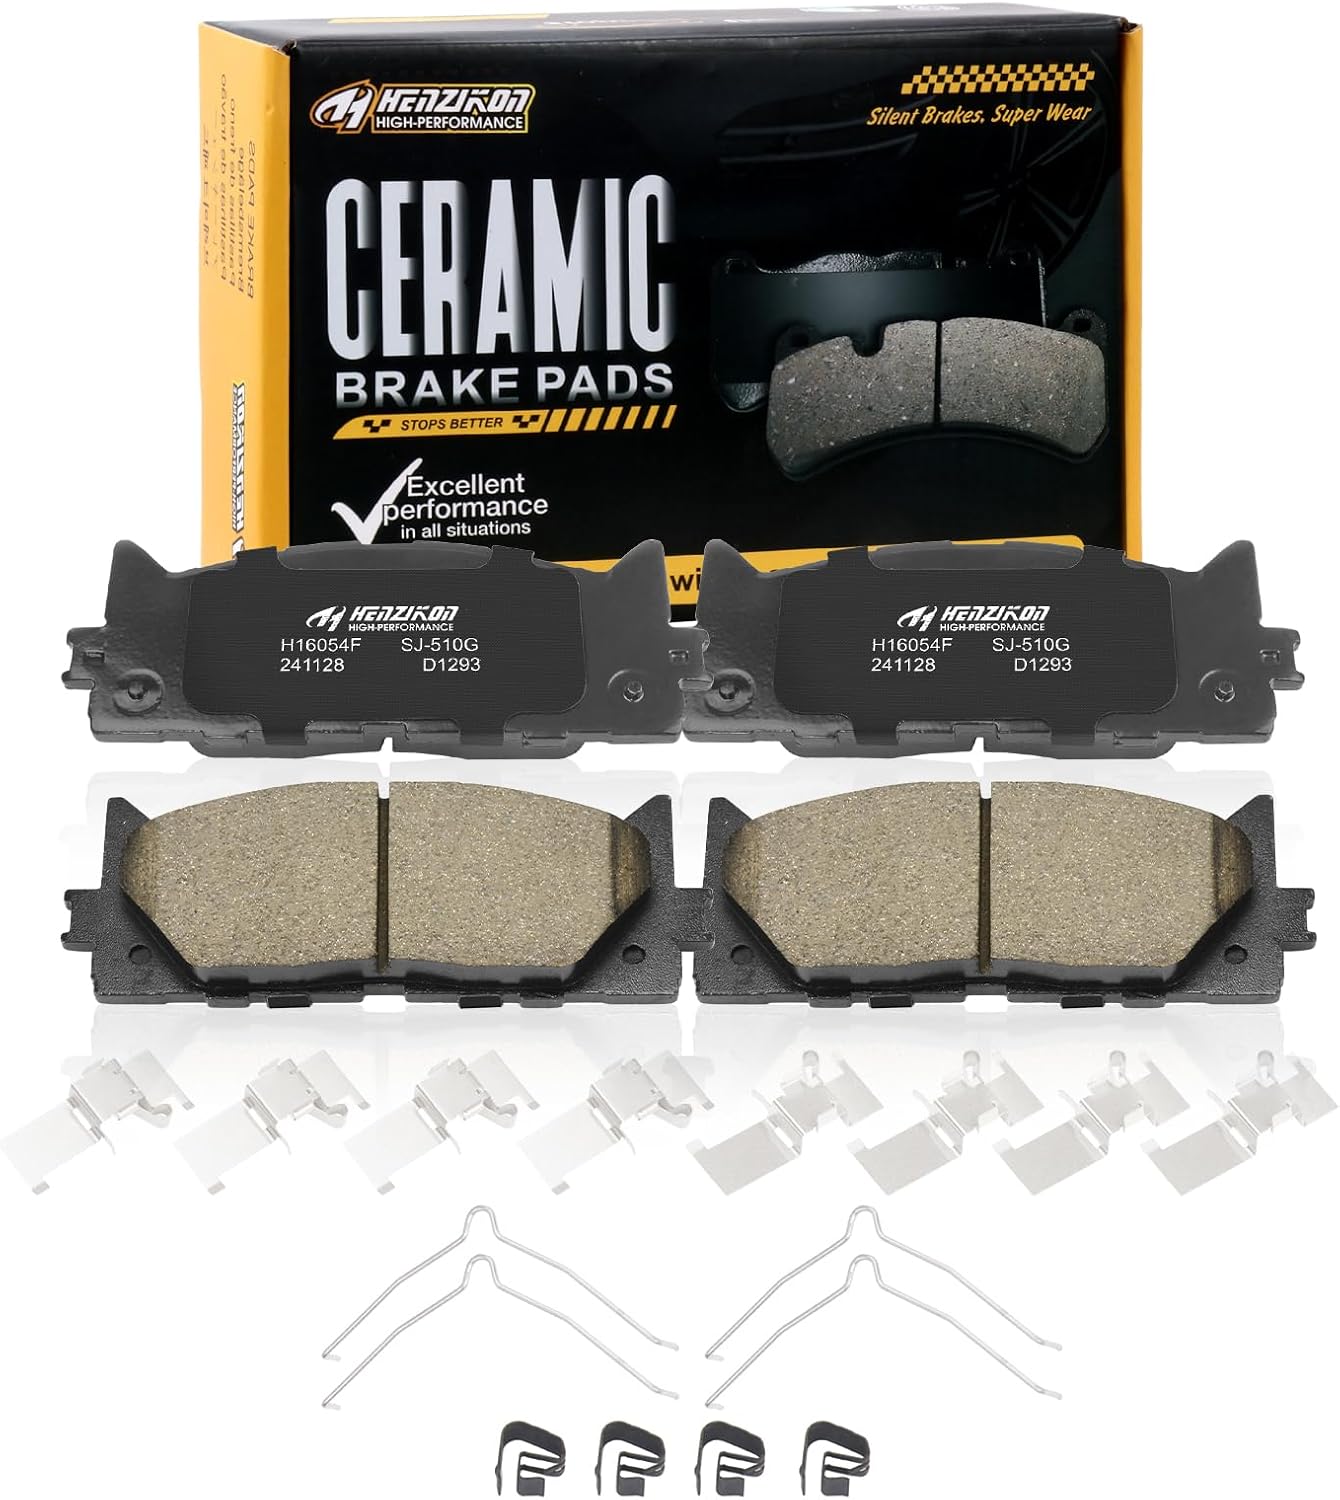
These ceramic front brake pads are designed for compatible Toyota Avalon, Camry, and Lexus ES-series vehicles, offering dependable stopping power and smooth, consistent braking performance. Built with included hardware for easier installation, they help reduce squealing and brake dust while supporting long-term durability for everyday driving.

This brake bleeder bottle helps simplify brake fluid replacement by draining old fluid while reducing air in the line. Its rubber connector fits most bleed screws, and the included hose and chain help keep the bottle securely in place during use. Built from durable, corrosion-resistant plastic, it is suitable for a wide range of vehicles including cars, motorcycles, ATVs, dirt bikes, and scooters.
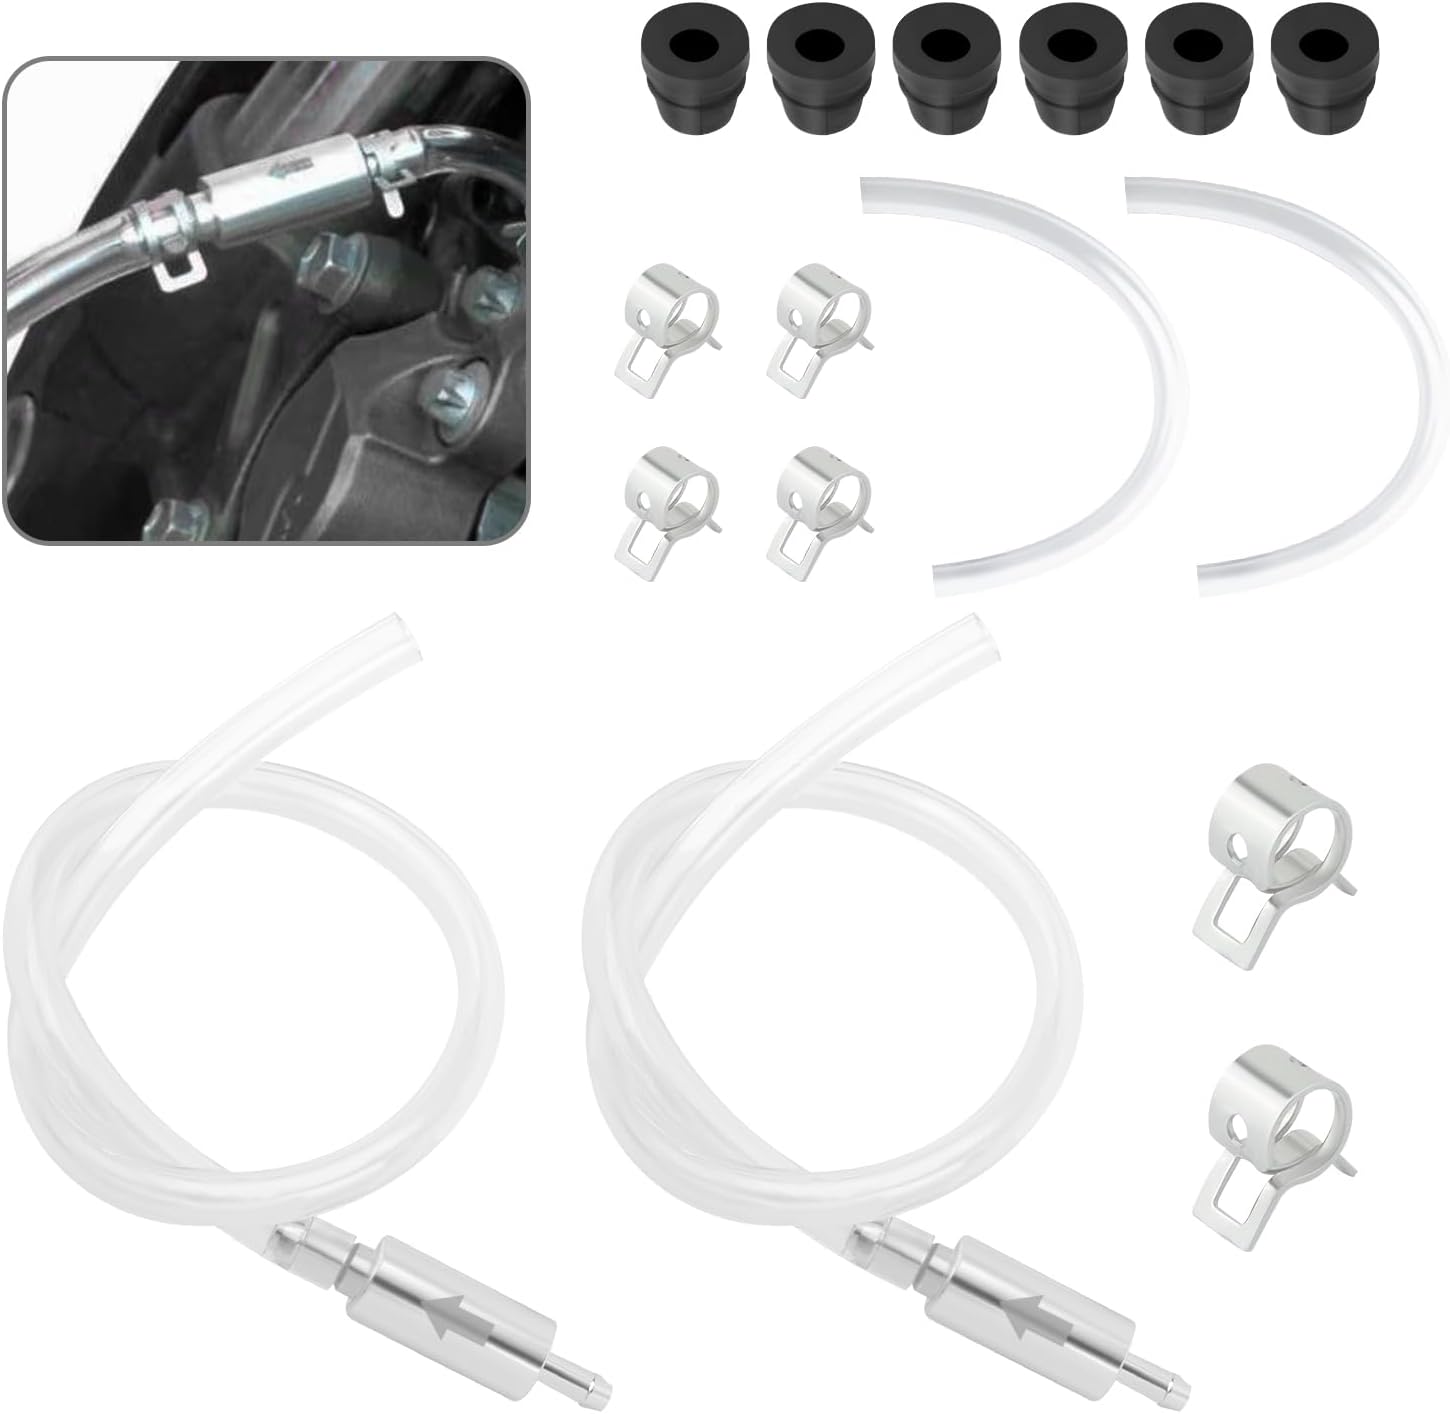
This brake bleeder kit helps make hydraulic brake bleeding easier on motorcycles, cars, and bikes with a simple one-way valve setup that helps prevent air and contamination from entering the system. It includes multiple hoses, clamps, and dust-proof screw caps for a cleaner, more controlled bleeding process. Durable rubber tubing and rust-resistant valves support repeated use and flexible installation around different brake layouts.
Essential Tools for Brake Bleeding
To bleed the brakes on a Toyota Camry effectively, gather everything before you lift the car. Brake fluid damages paint, and the reservoir must stay topped up during the job, so you do not want to stop halfway to look for a tool.
[Products Worth Considering]

This brake bleeder hose kit helps remove old brake fluid and air from motorcycle brake and clutch systems quickly and efficiently. Its one-way check valve prevents air from being drawn back into the system, while the easy-to-connect clips make bleeding simple for routine maintenance. Built for reliable use, it is a practical tool for keeping motorcycle braking performance responsive.

This universal brake bleeding kit lets you flush brake, clutch, and other hydraulic systems by yourself with fast, efficient vacuum-assisted operation. Built with a durable aluminum alloy pump, silicone tubing, and secure fittings, it helps maintain a tight seal for cleaner, easier service. The included blow-molded case keeps every part organized for convenient storage and transport between jobs.
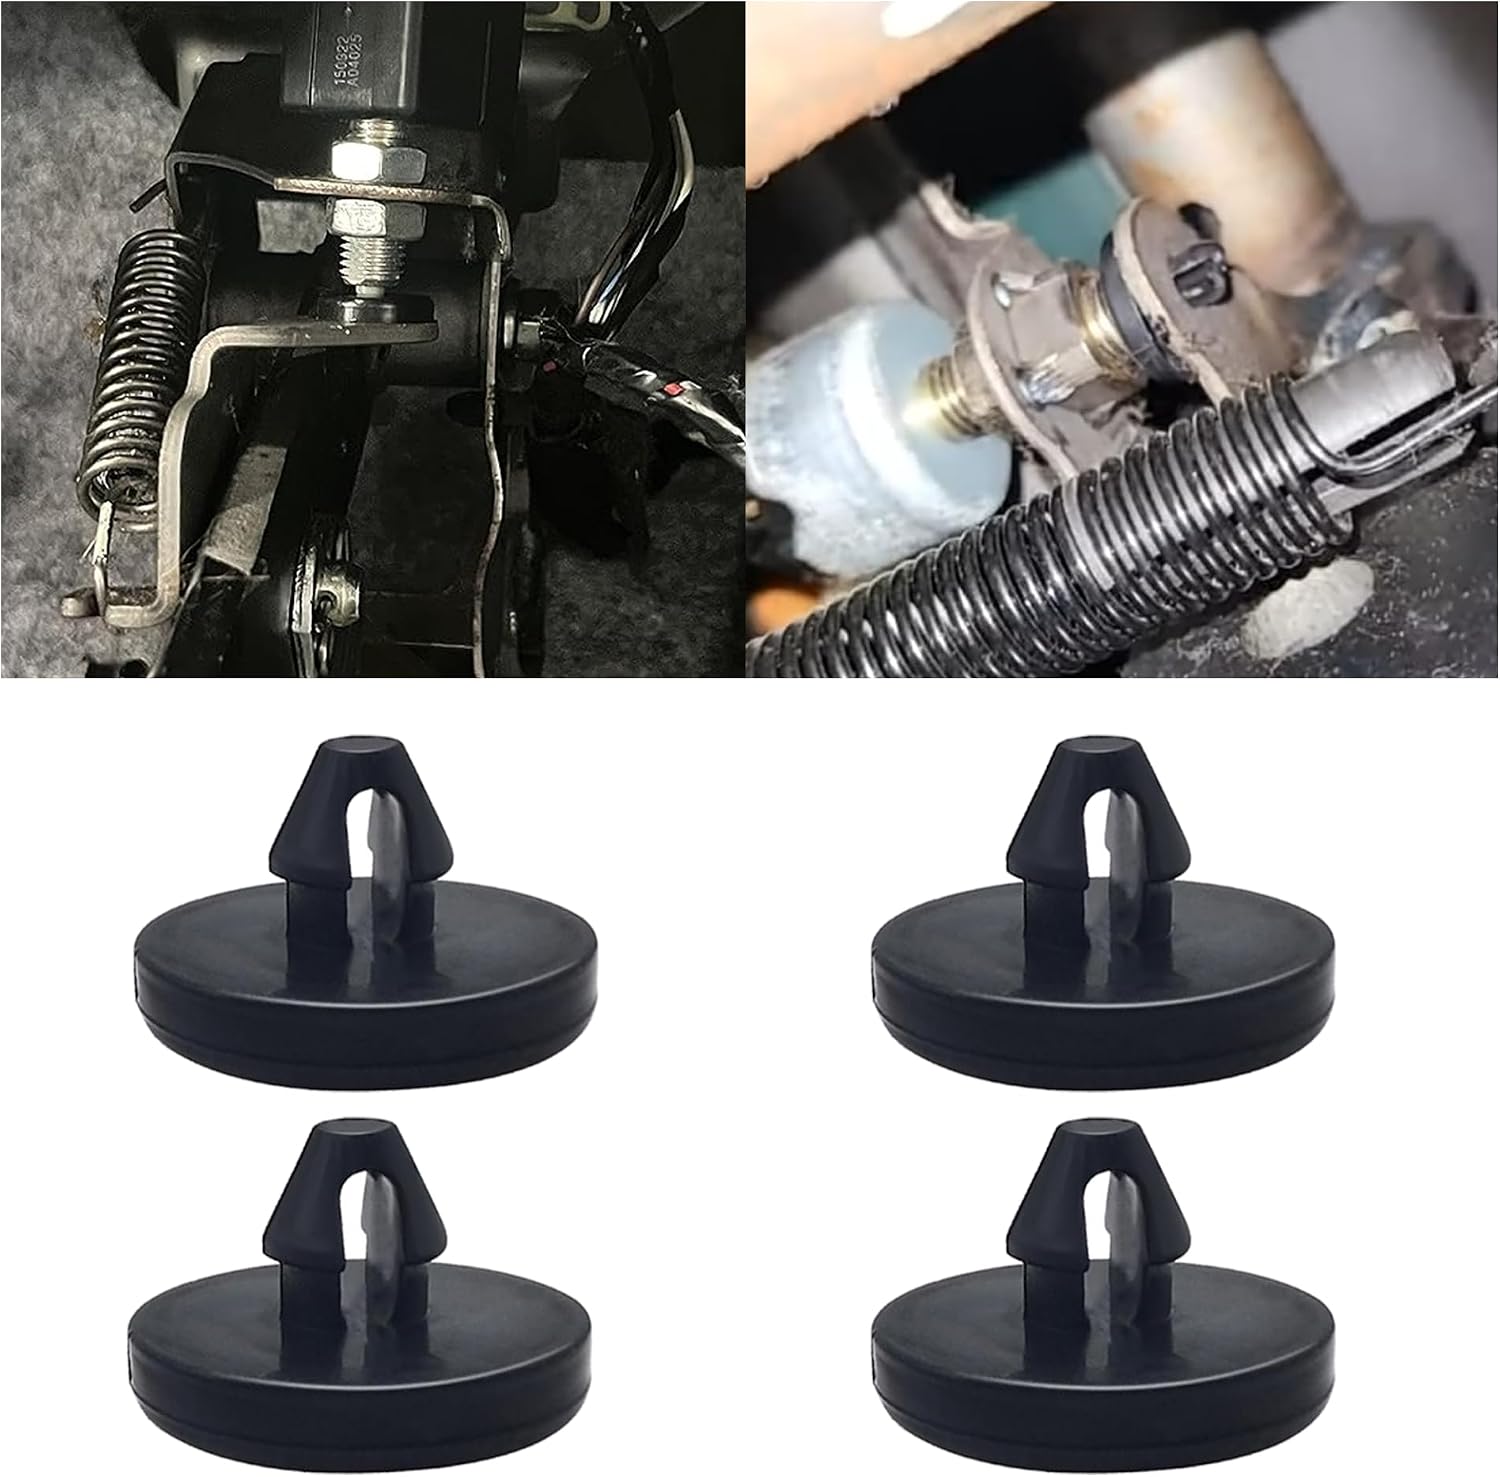
This brake pedal stop pad set is designed as an OEM replacement for compatible Toyota, Lexus, and Scion models, helping restore proper brake light switch function when the brake light stays on. Made from durable nylon, these compact stoppers are built for reliable long-term use and quick, tool-free installation. The set includes multiple pieces for convenient replacement and sharing.
Required Tools Overview
- Fresh approved brake fluid: DOT 3 or DOT 4 only if your Camry’s manual/service information allows it.
- Box-end wrench: Use the exact size that fits the bleeder screw snugly. The size can vary with model year or replacement calipers.
- Clear vinyl tube: Use tubing that fits tightly over the bleeder screw nipple.
- Catch bottle or jar: Add a small amount of clean brake fluid to the bottom so the tube end stays submerged.
- Jack, jack stands, and wheel chocks: Use jack stands on solid ground before removing wheels or reaching under the car.
- Gloves, safety glasses, and rags: Brake fluid can irritate skin and eyes and can damage painted surfaces.
- Brake cleaner: Use it to clean around bleeder screws and remove spilled fluid from metal brake parts.
- Torque wrench: Helpful for tightening bleeder screws correctly. The 2018–2024 Camry procedure lists 8.3 N·m / 73 in·lbf for the bleeder plug, but confirm the spec for your exact year.
Safety Equipment Essentials
Wear safety glasses before opening the system. Brake fluid can splash when a helper presses the pedal, and it should not get in your eyes. Use nitrile gloves, keep rags nearby, and cover painted panels around the reservoir. If brake fluid touches paint, rinse it off immediately with plenty of water.
Lift the Camry only at approved lift points and place it on jack stands before removing wheels. Follow the model-specific procedure for the parking brake and rear brakes. Keep the vehicle securely chocked whenever any parking-brake step changes how the car is restrained.
Preparing Your Toyota Camry for Brake Bleeding
Most brake-bleeding failures start with contamination, an empty reservoir, or the wrong procedure. Keep the work clean, confirm the service steps first, and never let the master-cylinder reservoir run dry.
- Park on a level surface, shift to Park, turn the ignition or power switch off, and chock the wheels.
- Open the hood and clean dirt from around the brake-fluid reservoir cap.
- Remove the reservoir cap. Do not remove the reservoir filter. Toyota repair information warns against removing it because dirt, mineral oil, or other contamination can cause brake-system problems.
- If you are flushing old fluid, use a clean suction tool to remove old fluid from the top of the reservoir only. Do not expose the bottom ports, and do not let the level fall below MIN.
- Fill the reservoir with fresh approved brake fluid to the MAX line.
- Loosen the wheel lug nuts slightly, lift the vehicle, place it securely on jack stands, and remove the wheels for access.
- Clean each bleeder screw before attaching the tube. If the screw is rusty, apply a small amount of penetrating oil to the threads only and keep oil away from brake pads, rotors, and fluid openings.
Pro Tip: Use a transparent tube and a clear bottle. You will see bubbles leaving the line, and you will also see when darker old fluid changes to fresh, clearer fluid.
What Is the Correct Brake Bleeding Order for a Toyota Camry?
The correct wheel order is the sequence in Toyota service information for your exact model year and brake configuration. The cited 2018–2024 Camry procedure says to bleed the brake line at each wheel while keeping the reservoir between MIN and MAX, but it does not state a universal right-rear, left-rear, right-front, left-front order.
Do not assume that the common “farthest wheel to nearest wheel” pattern is Toyota’s factory sequence for every Camry. Verify the order before starting. If the procedure calls for brake-actuator cycling, electronic brake-control steps, or a scan tool, follow those instructions instead of the conventional sequence below.
How Do You Bleed the Rear Brakes?
Bleed the rear wheels only when they come next in the verified factory sequence. Work slowly, keep the brake-fluid reservoir topped up, and use the same close-before-release technique at every bleeder.
- Place one end of the clear tube over the rear bleeder screw and place the other end below the fluid level in your catch bottle.
- Ask your helper to press the brake pedal slowly three to five times, then hold steady pressure on the pedal.
- While the pedal is held down, loosen the bleeder screw about a quarter turn. Fluid and air bubbles should move through the tube.
- Before your helper releases the pedal, tighten the bleeder screw. This prevents air from being pulled back into the caliper.
- Tell your helper to release the pedal slowly.
- Check the reservoir and add fresh brake fluid as needed. Keep the level between MIN and MAX.
- Repeat until fluid leaves the tube without bubbles and the fluid looks fresh.
- Install the bleeder cap and move to the opposite rear wheel.
How Do You Bleed the Front Brakes?
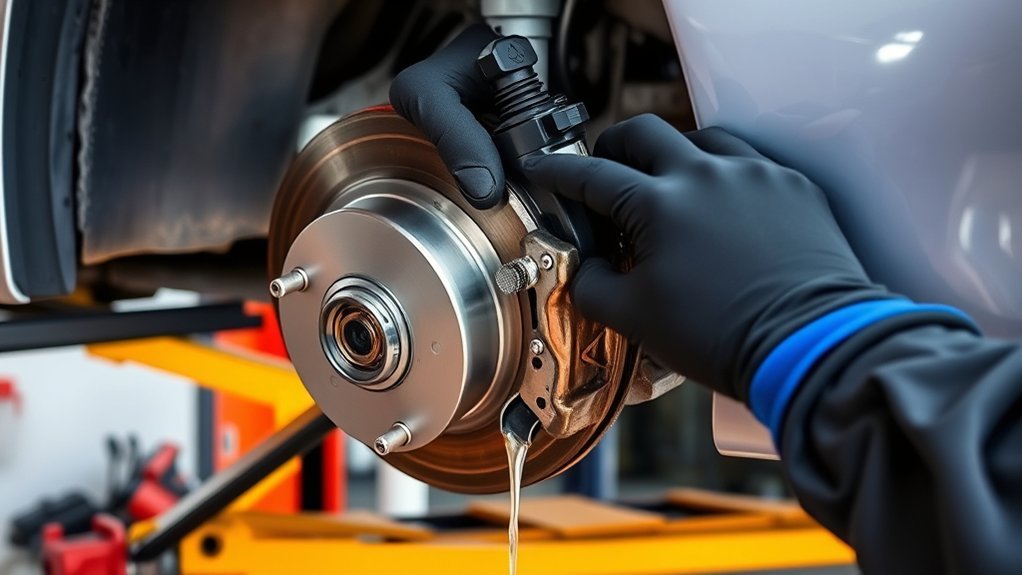
The front brakes use the same basic method. The biggest mistake is opening the bleeder screw while the pedal is released, or letting the reservoir get low after you have already bled the rear brakes.
Tools Required For Bleeding
For the front calipers, use the same snug-fitting wrench, clear tube, and catch bottle. Make sure the tube is still tight on the bleeder nipple. If it is loose, air can appear in the tube and make you think the system still has bubbles.
Step-by-Step Process
- Attach the clear tube to the front bleeder screw and keep the other end submerged in the catch bottle.
- Have your helper pump the brake pedal slowly, then hold pressure.
- Open the bleeder screw briefly until fluid flow slows.
- Close the bleeder screw before the pedal comes back up.
- Refill the reservoir before it gets near MIN.
- Repeat until there are no bubbles, then move to the last wheel.
- After all four wheels are bled, fill the reservoir to the correct level and reinstall the cap.
Front-Brake Bleeding Errors to Avoid
- Opening the bleeder too far: A small quarter-turn is usually enough.
- Letting the pedal snap up: Slow pedal movement helps reduce foaming and air disturbance.
- Releasing the pedal before the bleeder is closed: This can draw air back into the system.
- Ignoring the reservoir: Check it after every few pedal strokes.
One-Person Brake Bleeding Options
If you do not have a helper, use a tool designed for one-person brake bleeding only when the model-specific Toyota procedure permits that method.
- Vacuum bleeder: Pulls fluid from the bleeder screw into a container. It is useful, but air can sometimes sneak around bleeder threads and show harmless bubbles in the hose.
- Pressure bleeder: Pushes fluid from the reservoir through the system. Use only compatible equipment and the pressure limit specified by the tool and vehicle procedure. Do not guess at pressure.
- One-way check-valve bottle: Can work for minor line bleeding, but still requires careful reservoir monitoring.
Whichever method you choose, the same rules apply: use fresh fluid, keep the reservoir filled, prevent contamination, and stop if the pedal does not become firm.
Troubleshooting Air Issues in Your Brake System
A spongy pedal after bleeding usually means air is still in the hydraulic system, but the cause matters. Use the table below before driving.
| Symptom | Likely Cause | What To Do |
|---|---|---|
| Pedal feels soft but improves after repeated bleeding | Air still in one or more lines | Repeat the sequence slowly and keep the reservoir full. |
| Pedal slowly sinks while held | Possible leak or master-cylinder issue | Do not drive. Inspect for leaks and get professional diagnosis. |
| ABS or brake warning light stays on | Possible actuator, sensor, or hydraulic issue | Stop and use a proper scan tool or professional service. |
| Pedal still spongy after the reservoir ran dry | Air may have entered the master cylinder or ABS actuator | Professional scan-tool bleeding may be required. |
| Little or no fluid comes from one bleeder | Blocked bleeder, restricted hose, closed passage, or incorrect procedure | Stop. Do not force the screw or continue driving; inspect the affected circuit. |
Warning: Do not operate or cycle the brake actuator with air in the system unless the correct Toyota service procedure calls for it. Air inside the ABS actuator can require scan-tool-guided bleeding.
Final Checks After Bleeding Your Brakes
Once you have bled all four wheels, perform these checks before reinstalling everything and driving.
- Check the brake-fluid level: Set it between the MIN and MAX marks. Do not overfill.
- Inspect every bleeder screw: Make sure each one is closed and has its rubber cap installed.
- Look for leaks: Check calipers, bleeder screws, brake hoses, hard-line connections, and the master-cylinder area.
- Check pedal feel: With the engine off, the pedal should become firm after a few presses. With the engine on, it may drop slightly from brake-booster assist but should not sink to the floor.
- Reinstall wheels safely: Tighten lug nuts in a star pattern and torque them to your model’s wheel-nut specification.
- Test only after every static check passes: Begin at walking speed in a clear, private area. Stop immediately if the pedal feels wrong, the car pulls, a warning light appears, or braking is inconsistent. Do not perform a higher-speed road test until the system is confirmed safe.
Tips for Optimal Brake Performance
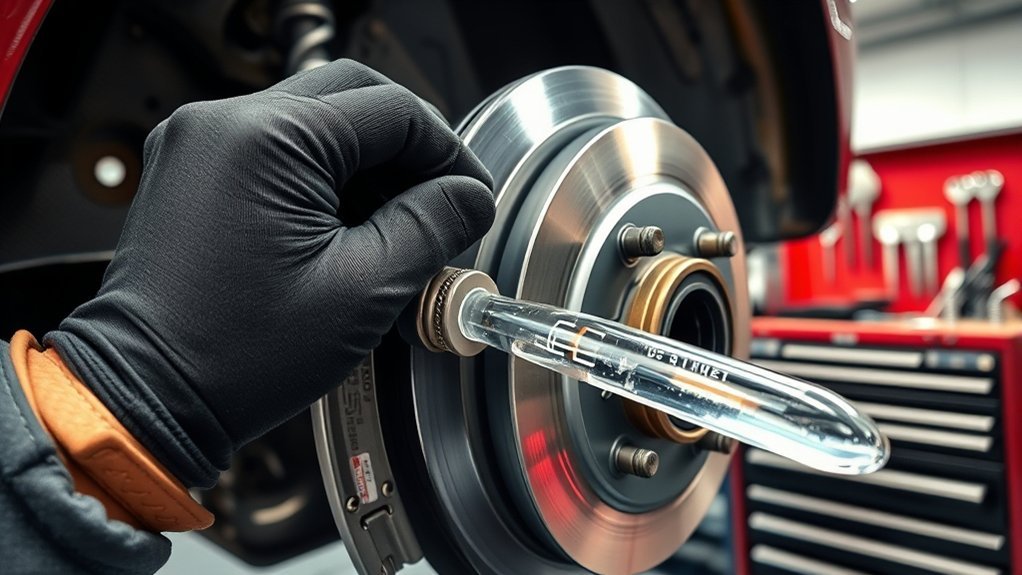
Good brake feel depends on clean fluid, sealed hydraulic lines, properly installed pads and rotors, and correct caliper operation. Bleeding only removes air and old fluid; it will not fix worn pads, warped rotors, seized slide pins, cracked hoses, or a failing master cylinder.
Use Toyota Genuine Brake Fluid or another fluid that meets the specification listed for your Camry. Toyota notes that its brake fluid is made to OEM specifications and that usage should follow the applicable vehicle manual.
Dispose of used brake fluid properly. Do not pour it on the ground, into a storm drain, or into household trash. Put old fluid in a sealed container and take it to a local hazardous-waste or automotive-fluid recycling location.
Common Mistakes to Avoid When Bleeding Brakes
When bleeding brakes, small errors can undo the whole job. Avoid these common problems:
- Removing the reservoir filter: Leave it in place to reduce contamination risk.
- Using the wrong fluid: Match the exact DOT/SAE standard listed for your Camry.
- Letting the reservoir run dry: This can introduce air into the master cylinder or ABS actuator.
- Opening the bleeder while the pedal is released: Close the bleeder before the pedal comes back up.
- Overtightening bleeder screws: They are small and can break. Use the correct torque where available.
- Driving after a failed bleed: A soft pedal, leak, or warning light means the car is not ready for the road.
Frequently Asked Questions
How often should I bleed my Toyota Camry brakes?
Bleed the brakes whenever air may have entered the system, such as after opening a brake hose, caliper, master cylinder, or hydraulic line. For routine fluid renewal, follow your Camry maintenance schedule or have the fluid tested for moisture and contamination.
Can I use any brake fluid type in a Toyota Camry?
No. Use only the brake fluid standard listed for your model year, reservoir cap, or Toyota service information. Many Camrys use DOT 3, and some late-model Toyota guidance also lists DOT 4 that meets the specified standard. Do not use DOT 5 silicone fluid unless Toyota specifically calls for it.
What if I cannot find a helper?
Use a vacuum bleeder, pressure bleeder, or one-way bleeder bottle designed for brake systems. Keep the reservoir full and follow the tool instructions carefully. If the pedal does not become firm, stop and have the system inspected.
Is it necessary to replace brake fluid?
Yes, brake fluid can become contaminated or absorb moisture over time. Fresh fluid helps maintain boiling-point performance and protects hydraulic components. Follow the maintenance schedule for your Camry and replace fluid sooner if it is contaminated or if the brake system has been opened.
What signs indicate air in the brake lines?
Common signs include a soft or spongy pedal, longer pedal travel, inconsistent braking feel, or visible bubbles in the clear tube during bleeding. If the pedal stays soft after several careful bleed cycles, air may be trapped in the master cylinder or ABS actuator.
What is the correct brake bleeding order for a Toyota Camry?
Use the wheel sequence in Toyota service information for your exact model year and brake system. Do not assume every Camry follows the same farthest-to-nearest order. If the procedure includes actuator cycling or scan-tool steps, follow those instructions exactly.
Do Camry Hybrid brakes need a different bleeding procedure?
They can. Hybrid and ABS brake systems may require extra precautions or scan-tool-guided procedures, especially if the actuator, master cylinder, or reservoir assembly was opened. Check Toyota service information for your exact model year or have a qualified technician perform the bleed.
Conclusion
Bleeding Toyota Camry brakes can restore a firm pedal when air is trapped in the hydraulic lines, but only if you follow the correct model-specific procedure. Use fresh approved fluid, leave the reservoir filter in place, keep the level between MIN and MAX, and close each bleeder before the pedal rises. If you cannot confirm the wheel order, the reservoir ran dry, the system needs actuator cycling, or the pedal remains soft, stop and arrange professional service before driving.
Sources
- Toyota 2025 Camry Owner’s Manual: Do-it-yourself service precautions — brake-fluid standards listed for DIY service.
- Toyota Camry 2018–2024 Repair Manual: Brake Fluid Bleeding — reservoir, fluid, bleeding, and contamination cautions.
- Toyota Genuine Brake Fluid — OEM-spec Toyota brake-fluid product information.
- 49 CFR §571.116 / FMVSS No. 116 — federal motor-vehicle brake-fluid requirements.
- NHTSA brake-fluid interpretation — moisture, boiling point, vapor lock, and corrosion safety background.