Toyota Camry underbody rust should be handled early, but the right fix depends on how deep the corrosion goes. Light orange surface rust can usually be cleaned, treated, and sealed at home. Flaking metal, holes, soft jack points, rusty brake lines, or corrosion around suspension mounts should be inspected by a professional before you coat anything.
Quick Answer
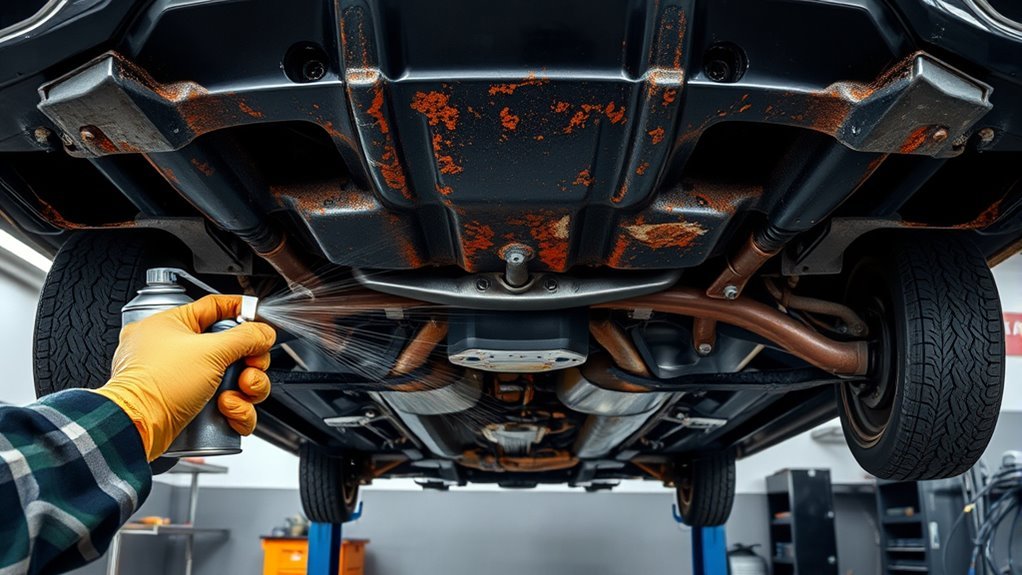
Treat Camry underbody rust by safely lifting the car, washing off dirt and salt, drying the metal, removing loose scale, degreasing, then using primer, rust converter, or a POR-15-style rust encapsulator based on rust depth. Finish with a compatible coating and recheck the underside at least twice a year.
Key Takeaways
- Light surface rust is usually a DIY maintenance job; structural rust is a safety repair.
- Do not spray undercoating over wet metal, oil, thick scale, or hidden holes.
- Clean, dry prep matters more than the brand of coating you choose.
- Avoid coating exhaust parts, oxygen sensors, brake friction surfaces, drain holes, and rubber parts unless the product label allows it.
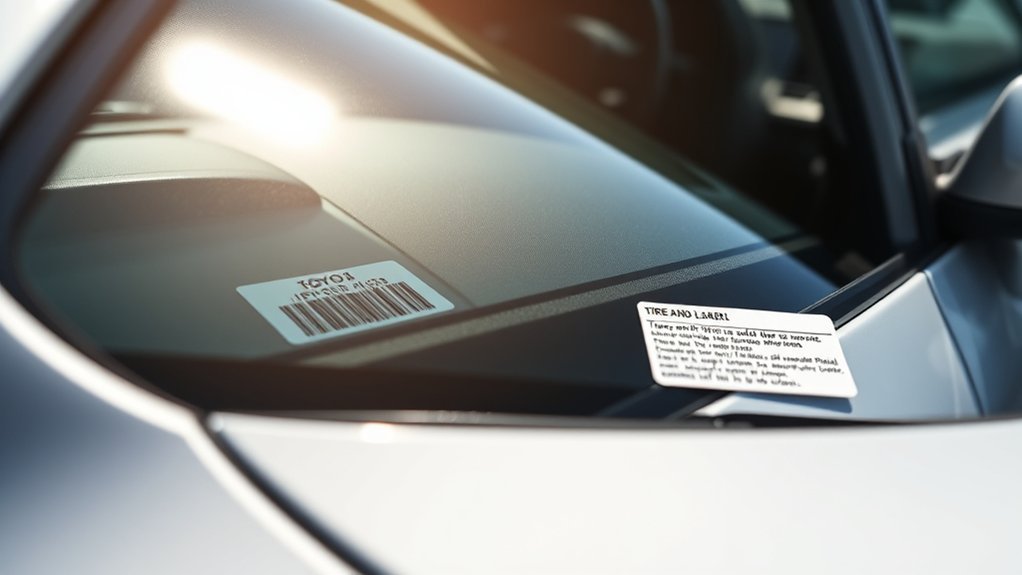
- Toyota rust-through warranty coverage is different from aftermarket rustproofing, so check your Warranty & Maintenance Guide before paying for repairs.
At a Glance
| Time Required | 2–8 hours for surface rust, depending on drying and cure time |
| Difficulty | Moderate DIY for surface rust; professional for structural rust |
| Tools Needed | Jack stands or ramps, wheel chocks, wire brush or wire wheel, degreaser, PPE, primer/converter/coating |
| Cost | Low-to-moderate for DIY consumables if you own tools; professional repair varies widely after inspection |
When Does Camry Underbody Rust Need Treatment?
You should inspect and treat your Camry’s underbody when you see rust spots, bubbling coating, flaking paint, trapped mud, or salt buildup around seams, wheel wells, rocker panels, subframes, suspension mounts, or brake and fuel line brackets. The goal is to stop surface corrosion before it turns into metal loss.
Do not judge rust by color alone. A thin orange film on solid steel is very different from layered scale, swelling seams, or a hole near a mounting point. Use this triage table before deciding whether the job is DIY-safe.
| Rust Condition | What It Means | Best Next Step |
|---|---|---|
| Light orange surface rust | Metal is still smooth or only lightly rough. | Clean, dry, lightly abrade, prime or convert, then coat. |
| Flaking paint or loose scale | Rust has lifted old coating and needs mechanical removal. | Wire-brush or wire-wheel to solid metal, then treat and seal. |
| Pitting or swelling seams | Metal loss has started and may be hidden under scale. | Inspect closely; use a professional if near mounts, jack points, or lines. |
| Holes, soft metal, cracked mounts, rusty brake lines | Possible safety issue. | Do not cover it with undercoating. Have the car inspected and repaired. |
Note: Toyota advises frequent washing to help prevent corrosion, especially when driving on salted roads or near the ocean. Hose off the underside and wheel wells after winter salt exposure when weather allows. See Toyota’s owner guidance on cleaning and protecting the vehicle exterior.
Tools & Safety Gear for Underbody Rust Work
Rust treatment is messy work under a raised vehicle, so prepare the work area before opening any chemical product. Work outdoors or in a well-ventilated garage, keep flames and sparks away from solvents, and read every product label and safety data sheet.
Warning: Never crawl under a Camry supported only by a jack. Use rated jack stands or ramps on a level surface, chock the wheels, set the parking brake, and use Toyota-approved lift points. If the jack point itself is rusty or crushed, stop and have the car inspected.
- Floor jack, rated jack stands or ramps, and wheel chocks
- Stiff hand wire brush, scraper, sandpaper, or drill/angle-grinder wire wheel
- Degreaser or wax-and-grease remover compatible with the coating system
- Clean rags, masking tape, cardboard, and plastic sheeting
- Rust converter, rust-inhibiting primer, or POR-15-style rust encapsulator
- Topcoat, underbody coating, cavity wax, or rubberized/asphaltic coating as appropriate
- Safety glasses or goggles, nitrile gloves, hearing protection, long sleeves, and a respirator matched to dust and solvent exposure
OSHA notes that autobody repair and refinishing can expose workers to sanding dust, volatile organics from paints and solvents, spray-painting chemicals, and metal fumes. That is why an ordinary dust mask is not enough for every step. Use a NIOSH-approved particulate respirator for dry dust and the correct organic-vapor cartridge when the product label calls for it. See OSHA’s overview of autobody repair and refinishing hazards.
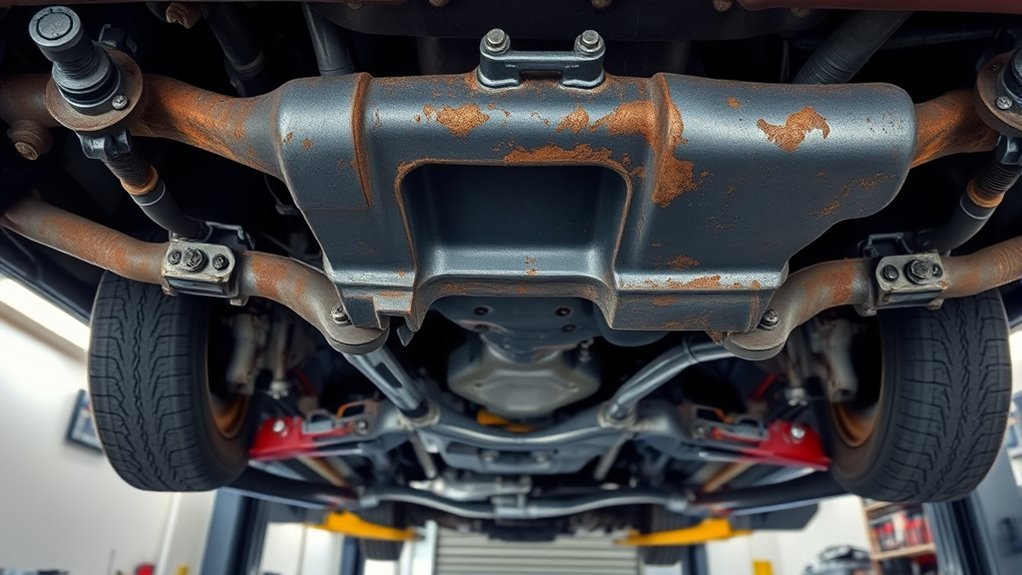
Inspect the Camry Undercarriage and Map Problem Areas
Start with a slow inspection before grinding or spraying anything. Divide the underbody into zones: front subframe, engine cradle area, rocker seams, pinch welds, floor pan seams, rear suspension area, wheel wells, brake and fuel line brackets, exhaust hangers, and splash-shield edges.
Look for:
- Orange surface rust on exposed brackets, subframes, and suspension arms
- Paint bubbles, peeling factory coating, or flaking undercoating
- Rust around drain holes, seams, welds, and overlapping metal
- Crushed or rusty pinch welds and jack points
- Corrosion on brake lines, fuel lines, and their clips
- Fresh black coating in one isolated area, which may be hiding old damage
- Soft metal, holes, swelling layers, or cracks near mounts
Take date-stamped photos and label each area. A simple front-to-rear note such as “left rear wheel well seam, light scale, cleaned and coated June 2026” makes future inspections much easier.
Pro Tip: Use a bright work light and a small inspection mirror. Rust often starts behind plastic splash shields, inside wheel-well lips, around seam sealer, and near brackets that trap wet road debris.
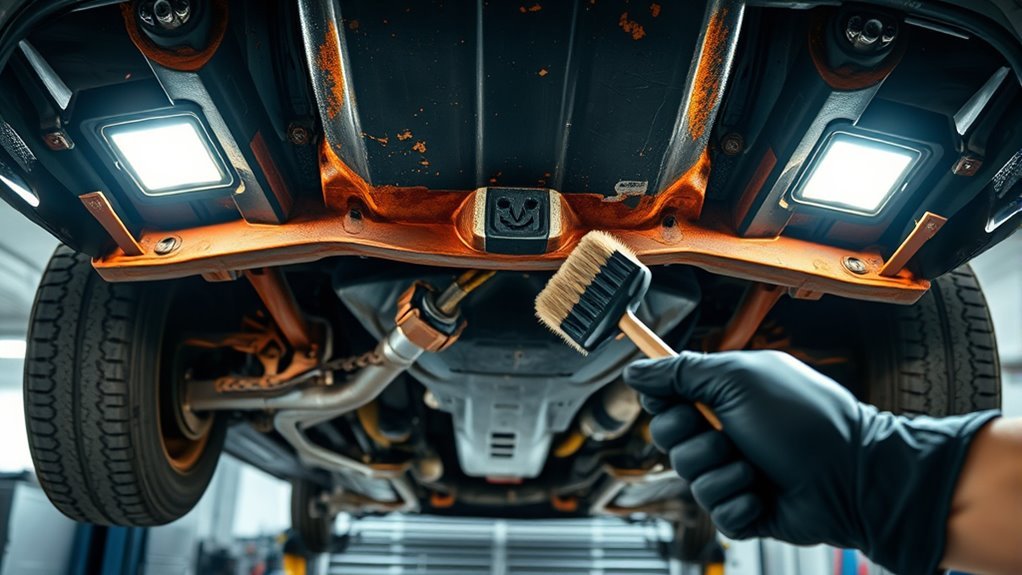
Prepare Camry Underbody: Clean, Degrease, Remove Loose Rust
Good prep is the difference between a coating that lasts and one that peels off with the next pressure wash. Follow the sequence below instead of spraying over dirt or wet rust.
- Rinse first: Wash wheel wells, rocker seams, subframe edges, and brackets to remove mud, road salt, and loose grit.
- Let it dry completely: Use compressed air, towels, or overnight drying time. Do not trap water under coating.
- Remove loose rust: Scrape flakes and wire-brush until only solid metal or tight rust remains.
- Feather old coating edges: Sand peeling edges so the new coating can overlap smoothly.
- Degrease: Wipe the repair area with a coating-compatible cleaner and allow it to flash off fully.
- Mask nearby parts: Protect exhaust, oxygen sensors, rubber boots, brake friction surfaces, belts, pulleys, and painted body panels.
Do not chase every stain to shiny bare metal if you plan to use a rust converter, because most converters need some rust to react with. If you already removed everything to clean bare steel, use a metal primer or rust encapsulator according to the product instructions.
Rust Converter or Wire Brush: Which Should You Use?
Use both methods for many Camry underbody jobs, but understand their roles. A wire brush removes loose material. A rust converter treats thin, remaining rust. A rust encapsulator seals stable metal and tight rust inside a hard coating system.
Wire-Brushing Benefits
Wire-brushing is the first step for flaking paint, crusty brackets, and loose scale. It improves adhesion by removing weak material that no coating can hold onto. Work in short sections, use light pressure, and avoid grinding thin metal aggressively.
- Brush seams and welds from multiple angles.
- Vacuum or wipe away rust dust before applying chemicals.
- Switch to hand tools near brake lines, fuel lines, rubber boots, and wiring.
- Stop if the metal becomes soft, perforated, or deeply pitted near a mounting point.
Rust Converter Pros & Cons
Rust converter is useful on light-to-moderate rust that remains after loose scale is removed. It is not a structural repair, filler, or substitute for welding. Apply it only to clean, dry metal and follow the cure time before priming, painting, or topcoating.
| Use This | Best For | Avoid When |
|---|---|---|
| Wire brush / wire wheel | Loose rust, flaky paint, thick scale | You are near fragile lines, wiring, or thin perforated metal |
| Rust converter | Thin residual rust after cleaning | Bare shiny steel, oily surfaces, wet metal, or thick scale |
| Rust-inhibiting primer or encapsulator | Clean bare steel or stable tight rust | Active flaking rust, trapped moisture, or structural holes |
Choose a Protective Coating: POR-15, Wax/Oil Film, or Rubberized Undercoating
The best coating depends on how much prep you can do, where the rust is located, and how often you are willing to maintain it. Do not choose only by “toughest” marketing language. A hard coating can fail if it seals moisture inside; a soft wax or oil film may need yearly renewal but can creep into seams.
Coating Durability Comparison
| Coating Type | Best Use | Main Caution |
|---|---|---|
| POR-15-style rust encapsulator | Stable metal and prepared rusty surfaces that need a hard shell | Needs strict cleaning, prep, thin coats, and compatible topcoat where required |
| Wax or oil film | Seams, cavities, brackets, and annual salt-belt maintenance | Can attract dirt and usually needs periodic reapplication |
| Rubberized or asphaltic undercoating | Clean, dry, solid areas needing chip and abrasion resistance | Can hide or trap corrosion if sprayed over active rust or moisture |
POR-15’s own instructions call for cleaning/degreasing, metal prep, and applying 2 thin coats of Rust Preventive Coating before topcoating as needed. See the official POR-15 application instructions. For rubberized coatings, 3M’s product directions also stress removing rust scale, oil, and grease so the surface is clean and dry before application. See 3M Rubberized Undercoating.
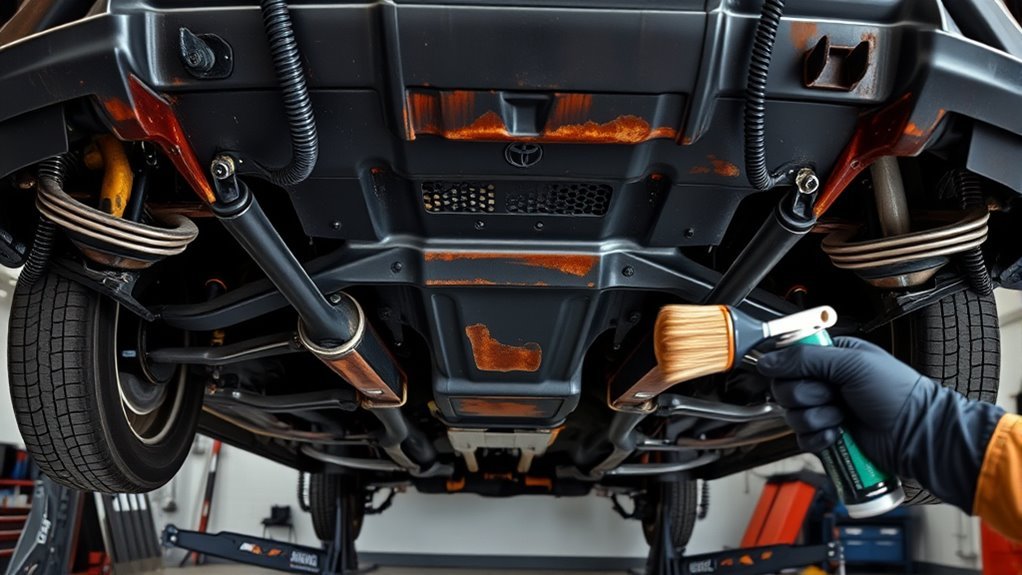
Application and Prep
Apply coatings in thin, controlled passes. Thick wet coats look protective, but they can run, skin over, trap solvent, and miss seam edges. Let each layer flash or cure according to the label before adding the next coat.
Warning: Do not coat exhaust pipes, catalytic converters, oxygen sensors, brake rotors, brake pads, tire tread, belts, pulleys, drain holes, or rubber parts unless the product label specifically allows it. Do not bury rusty brake or fuel lines under black coating.
Apply Primers & Coatings: Step-by-Step for Durable Coverage
Once the underbody is clean, dry, and mapped, work in small sections so each area gets the correct treatment.
- Mask the area: Cover exhaust, sensors, rubber boots, brake parts, and painted panels.
- Remove weak material: Wire-brush, scrape, or sand until the remaining surface is solid.
- Final wipe: Degrease and let the cleaner evaporate fully.
- Treat the rust: Use rust converter on light residual rust, primer on bare metal, or a rust encapsulator where the product allows.
- Let it cure: Wait the full label time. Rushing cure time can cause peeling.
- Apply coating: Use multiple thin layers rather than one heavy layer.
- Inspect edges: Check seams, welds, brackets, and fastener heads for missed spots.
- Let the car sit: Avoid wet roads, gravel, or pressure washing until the coating has fully cured.
If you are using a hard coating such as a POR-15-style system, follow the matching cleaner, prep, coating, and topcoat instructions from the same system whenever possible. Mixing unrelated converters, primers, and undercoatings can cause adhesion failure.
Common Mistakes That Shorten Protection and How to Avoid Them
Most failed underbody rust treatments come from rushing the prep, not from choosing the wrong brand. Avoid these mistakes:
- Coating over wet metal: Moisture trapped under coating keeps corrosion active.
- Leaving loose scale behind: New coating sticks to the scale, not the metal.
- Skipping degreaser: Oil, wax, and road film prevent adhesion.
- Using one heavy coat: Heavy layers can sag, crack, and cure poorly.
- Blocking drain holes: Blocked drains hold water inside seams and rocker areas.
- Spraying everything black: Coating unsafe parts can hide damage and create fire, brake, or sensor risks.
- Ignoring brake and fuel lines: Rusted lines should be inspected, not disguised.
The best underbody coating is only as strong as the surface underneath it. Clean, dry, solid metal comes first; coating comes last.
Monitor and Touch Up Camry Underbody Rust Over Time
Rust prevention is not a one-time job in wet, snowy, or coastal climates. Inspect the Camry underbody at least twice a year: once after winter salt season and once before winter starts. Add an extra inspection after deep puddles, beach driving, underbody impact, or any repair that disturbed factory coating.
Regular Visual Inspections
During each inspection, check wheel wells, rocker seams, pinch welds, floor-pan seams, rear suspension mounts, front subframe edges, brake/fuel line clips, and areas where mud collects. Photograph any new rust so you can compare it later.
- Rinse the underside after salted roads when temperatures allow.
- Clear leaves, mud, and packed debris from wheel wells and splash shields.
- Touch up chips before bare metal sits exposed.
- Reapply wax/oil films on the schedule recommended by the product label.
- Have questionable brake lines, fuel lines, subframes, and suspension mounts inspected by a shop.
Spot Repair Routine
For small spots, work front to rear and repair one area at a time. Remove loose rust, clean the area, degrease, apply the right treatment, and seal it. Write down the date, location, product used, and condition. If the same spot grows again after repair, the rust may be coming from inside a seam or from a part that needs replacement.
Cost, Time, and When to Hire a Pro
DIY surface-rust treatment is reasonable if the metal is solid, the rust is accessible, and you already have safe lifting equipment. The job becomes professional territory when corrosion affects strength, braking, fuel delivery, suspension geometry, or safe lifting points.
Hire a professional if you find:
- Holes or soft metal in rocker panels, floor edges, pinch welds, or mounting points
- Rusty, swollen, or leaking brake lines or fuel lines
- Severe pitting on subframes, control arms, spring seats, or suspension mounts
- Cracked welds, separated seams, or rust around seat-belt or suspension anchor areas
- A car that cannot be safely lifted because the jack points are damaged
Toyota’s official rust-through coverage is not the same as an aftermarket rustproofing service. Toyota states that rust-through coverage is 60 months/unlimited miles for corrosion perforation of sheet metal, subject to the Warranty & Maintenance Guide. Check your model year, in-service date, and exclusions before assuming a repair is covered. See Toyota’s warranty coverage overview.
Frequently Asked Questions
How long does Toyota Camry underbody rustproofing last?
It depends on the product, prep quality, climate, and driving conditions. A hard coating can last for years when applied to clean, dry, stable metal, while wax or oil-film treatments often need regular inspection and reapplication. Toyota’s factory rust-through warranty is separate from aftermarket rustproofing.
Do Toyota Camry cars need rustproofing?
A Camry in a dry climate may only need washing and inspections. A Camry driven on salted winter roads, near the ocean, or kept long term benefits from underbody rinsing, periodic inspections, and targeted rust prevention. Treat actual rust instead of spraying a thick coating over dirt or moisture.
What is the Toyota rust lawsuit?
The best-known Toyota rust litigation involved frame corrosion claims for certain Tacoma, Tundra, and Sequoia vehicles, not a general Camry rust case. Toyota bulletin material hosted by NHTSA references specific model years and frame corrosion settlement/warranty enhancement details. Check your VIN with Toyota or NHTSA for any open campaigns. See the NHTSA-hosted Toyota frame corrosion bulletin.
Can I spray rubberized undercoating over existing rust?
Only after you remove loose scale, clean away oil and dirt, and dry the surface fully. Spraying rubberized or asphaltic coating over active rust, moisture, or flaky metal can trap corrosion and hide damage until it gets worse.
Is rust converter better than sanding?
No. They do different jobs. Sanding or wire-brushing removes loose rust and failing coating. Rust converter treats thin rust that remains after cleaning. Thick scale, holes, or structural rust need mechanical repair or part replacement, not just converter.
How often should I inspect a Camry underbody for rust?
Inspect at least twice a year if the car sees rain, road salt, or coastal air. A practical schedule is after winter and before winter. Also inspect after underbody impacts, deep water, beach driving, or any repair that removes factory coating.
Conclusion
Treating Toyota Camry underbody rust is a sequence: inspect, clean, dry, remove loose corrosion, choose the right treatment, seal the area, and keep checking it. Surface rust can often be handled with careful DIY work. Rust that affects jack points, brake lines, fuel lines, subframes, suspension mounts, or perforated metal should be repaired professionally instead of hidden under coating.
Sources
- Toyota Warranty Coverage Overview — rust-through warranty context.
- Toyota Camry Owner Guidance: Cleaning and Protecting the Exterior — washing and corrosion-prevention guidance.
- POR-15 Application Instructions — clean/degrease, metal prep, and coating sequence.
- 3M Rubberized Undercoating — clean, dry surface prep and underbody coating use.
- OSHA Autobody Repair and Refinishing Hazards — dust, solvent, spray, and PPE hazard context.
- NHTSA-Hosted Toyota Frame Corrosion Bulletin — Toyota Tacoma, Tundra, and Sequoia frame corrosion settlement/warranty enhancement context.