You’ll start by checking fuses, relay clicks and switch LEDs—those lights only show a power command, not element heat. If the switch lights but the seat stays cold, or you get cold spots, sudden temperature drops, a burning smell or intermittent warmth, suspect a failed element, thermistor, switch or wiring. Test for power at the element plug and continuity through the pad; swap the relay if unsure. Keep going and you’ll find step‑by‑step tests and repair options.
Quick Diagnostic Checklist: Camry Heated Seats (Start Here)
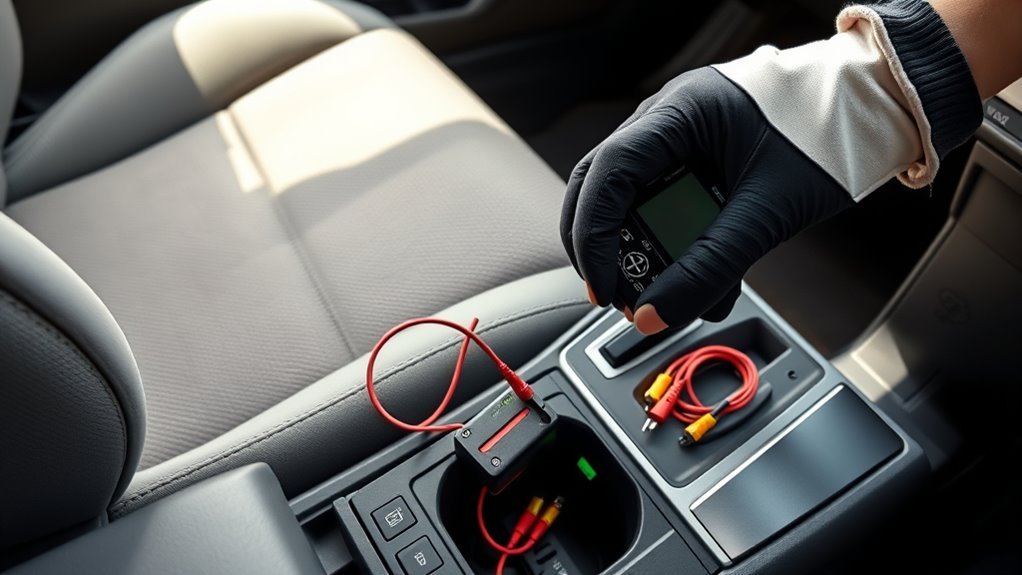
Start with these five quick checks to isolate a Camry heated-seat fault fast. You’ll begin seat heater troubleshooting by checking fuse 15 (H/seat) in the fuse compartment; a blown fuse is a common symptom that’s easy to fix. Next, inspect relay 30—have someone cycle the switch while you listen for a click and verify continuity across its posts with a multimeter. Third, test the heated-seat switch itself: switch lights can be misleading, so confirm the switch gets power and sends output. Fourth, perform a continuity test on the heating element; an open circuit points to a failed element, another frequent symptom. Finally, use the vehicle manual to locate connectors and components so you don’t waste time guessing. Follow this sequence to quickly isolate whether the issue is electrical, switch-related, or element failure, then proceed to targeted repairs that restore your control and comfort.
How Camry Heated Seats Work (Controls, Relays, Fuses, Elements)
Start by checking how the control switch varies resistance to modulate heat output and note that the LED can light even when the element isn’t heating. Then locate the 25A and 10A S/HTR fuses and the under-dash relay that supplies power from the switch to the element so you can test them for continuity and proper operation. Finally, inspect the heating elements in the cushion and backrest for continuity or visible damage, since wiring faults or a bad relay are common failure points.
Control Switch Operation
Although the heated-seat switch looks simple, it’s the user interface for a system that ties together LEDs, relays, fuses and the seat heating elements, and when you press it you’re only commanding power flow rather than directly heating the pad. You’ll use the control switch functionality to select low/medium/high settings; the switch routes power to the seat’s dedicated relay, which then feeds the cushion and back heating elements. The LED merely indicates the command, not element continuity. For effective switch troubleshooting, verify the switch receives and sends voltage, confirm relay activation, and perform continuity tests on the heating elements. Diagnose methodically: check switch output first, then relay response, then element continuity to reclaim control and autonomy over your comfort system.
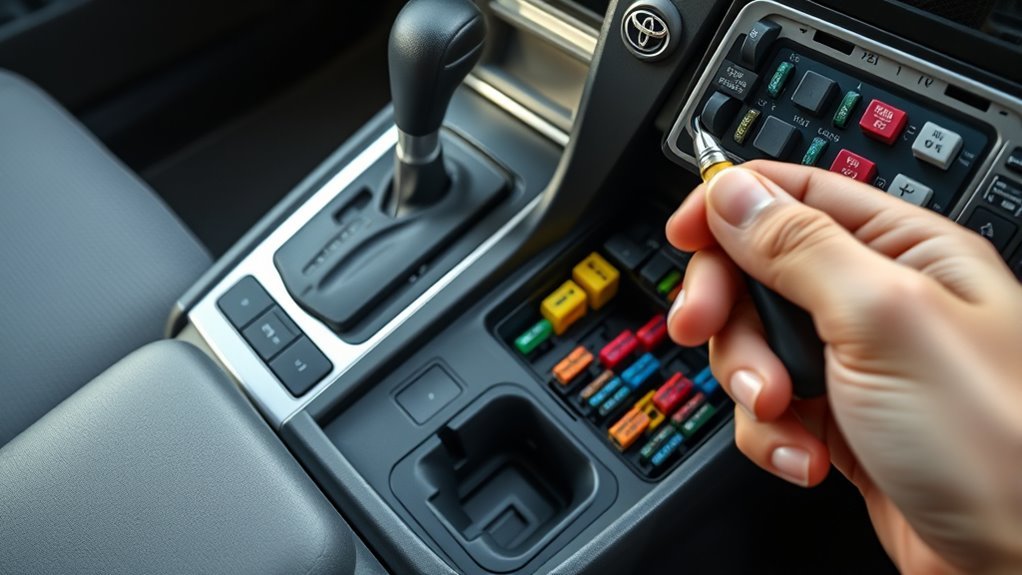
Fuse And Relay Locations
Because the heated-seat circuit depends on both fuses and relays, you’ll want to locate and inspect these components first when diagnosing a Camry seat heater issue. Start with fuse identification: check the 25 AMP S/HTR fuse in the underhood fuse box and the 10 AMP S/HTR F/L and F/R fuses in R/B #4. Verify continuity with a multimeter — a blown fuse is a common, simple fault.
Next, find relay number 30 in the under-dash relay box; it controls seat heater activation. Perform relay testing by swapping with a known-good relay or bench-testing coil resistance and contact switching. A lit switch LED only shows control power; continuous power at the heating element must be confirmed to free yourself from false positives.
Seat Heating Element Design
Now that you’ve checked fuses and relays, look at what they’re feeding: the heating elements themselves and the control circuitry that modulates them. You’ll find thin resistive wires embedded in the seat cushion and back, bonded to the seat material to distribute heat evenly. The system uses a variable resistor in the switch to regulate current, so different settings change heating efficiency without complex electronics. Each switch has an LED that lights when activated, but that only confirms power to the circuit, not continuity of the element. For liberation from cold, test the element’s continuity and inspect connectors for corrosion or breaks. Replace damaged elements or worn pads to restore reliable warmth and optimized heating efficiency tied to the seat material.
Top Signs a Camry Heated Seat Is Failing
Watch for three primary indicators that your Camry’s heated seat is failing: the switch lights but produces no heat, you feel uneven or cold spots across the cushion, or you detect a burning smell or smoke. Each symptom points to different faults—electrical connections, worn heating elements, or shorted components—so note exactly when and how the problem appears. If you encounter the burning smell or smoke, stop using the seat immediately and have it inspected.
No Heat From Switches
If your Camry’s heated-seat switch lights up but the seat stays cold, you’re likely facing an electrical fault or a failed heating element that’s stopping current from reaching the pad. You depend on seat comfort for seasonal adjustments, and a working switch with no heat points to a localized fault: driver-side wiring, a blown fuse, or a faulty relay. Start by checking the fuse panel and swapping fuses if needed; a blown fuse can cut power despite an illuminated control. Test the relay and verify switch functionality with a multimeter. Measure heating-element continuity at the seat connector and inspect wiring for damage or loose pins. Systematic, empowered troubleshooting lets you reclaim control without needless parts replacement.
Uneven Or Cold Spots
When your Camry’s heated seat warms some areas but leaves obvious cold spots, a broken or failing heating element is usually to blame; those interrupted wires in the cushion or backrest create isolated cool patches that reduce comfort. You’ll notice reduced seat comfort and uneven heating efficiency—some zones get hot, others stay cold. That pattern points to wire breaks, a faulty temperature control switch, or intermittent electrical faults like a blown fuse. Inspect connectors and test resistance across the pad to locate failures. Regular checks preserve heating efficiency and prevent larger repairs, letting you reclaim reliable warmth and freedom from discomfort.
| Symptom | Likely Cause | Action |
|---|---|---|
| Cold patch | Wire break | Test/replace pad |
| Sporadic heat | Control switch | Inspect/replace |
| Sudden drop | Electrical fault | Check fuses/relays |
Burning Smell Or Smoke
Although a faint burnt odor might seem minor, a burning smell or visible smoke from your Camry’s heated seat indicates overheating of the heater element—often caused by a short, damaged wiring, or failed insulation—and poses a real fire risk. You should stop using the seat immediately, unplug any aftermarket accessories, and ventilate the cabin. This is not cosmetic: smoke or odor signals an electrical fault that can escalate to fire. Follow safety precautions by disconnecting power and moving the vehicle away from flammable materials before inspection. Don’t try DIY major repairs unless you’re trained; consult a professional mechanic to diagnose shorts, replace damaged wiring, or swap the heating element. Regular maintenance tips include visual checks for wear and scheduled inspections to keep you free.
Quick Checks to Try First (Fuses, Relays, Switch Lights)
Start by checking the obvious electrical items: inspect the S/HTR F/L and S/HTR F/R fuses (10, 15, and 20 A) for blown elements, listen for the seat heater relay under the dash to click and test it for continuity, and press the seat switch to confirm the indicator lamp lights—these quick verifications tell you whether power and basic control signals are reaching the seat heater circuit. Next, apply fuse troubleshooting: remove each related fuse, visually confirm filament integrity, and use a multimeter to verify continuity under load conditions. For relay testing, energize the relay and listen for a definitive click; then measure coil and contact continuity to confirm operation. Press the switch while monitoring the indicator lamp; a lit lamp means the switch is completing its control circuit. Finally, inspect the wiring harness for corrosion, bent pins, or loose terminals that could interrupt flow. These targeted checks free you from guesswork and point you to the subsystem that needs deeper diagnosis.
Test the Seat-Heater Circuit: Power, Ground, Continuity
With the quick fuse, relay, and switch checks complete, you can move on to verifying the seat-heater circuit’s power, ground, and element continuity to pinpoint the fault. Begin by confirming power at the heating-element plug with a multimeter—probe the connector while the switch is engaged; presence of voltage with a proper fuse/relay indicates downstream fault. Next, perform an electrical circuit inspection of grounds: back-probe the ground pin and check for near-zero resistance to chassis; a high reading means poor ground and intermittent failure. Use continuity mode across the heating element leads; an open circuit signals a failed element that must be replaced. While testing, systematically inspect connectors for corrosion, bent pins, or loose terminals that can break the circuit despite correct voltages. This seat heater troubleshooting sequence keeps diagnostics direct and empowering: isolate power, verify ground integrity, and confirm element continuity before replacing parts.
Common Failures: Switch, Heater Element, Thermistor, Control Module
When a Camry’s seat heater stops working, you’ll usually find the fault in one of four areas: the user switch, the heating element, the thermistor, or the control module. You’ll see clear failure indicators: no heat with illuminated switch (possible switch failure), intermittent warming (broken heating element), or temperature swings (thermistor issues). Start with simple troubleshooting tips: verify switch function and listen for relay clicks. If the switch feeds power but the seat stays cold, suspect the heating element; its breaks cause open circuits or spotty heat. Thermistor issues will show as incorrect temperature regulation or shutdowns—swap or test resistance to confirm. The control module can disrupt command and feedback, producing inconsistent behavior across modes. Always perform a wiring inspection before replacing parts; corrosion or loose electrical connections often masquerade as component failure. Work methodically, document tests, and replace only the failed item to reclaim control and road-ready comfort.
Wiring, Connectors, and BCM: When to Suspect Electronics

After you’ve ruled out switches, elements, thermistors, and the control module, look at the vehicle’s wiring, connectors, and the BCM—electrical faults often mimic component failures. You’ll check wiring integrity first: frayed or damaged harnesses break power and signal paths to seat heaters. Probe for continuity and back-probe connectors while operating controls to see intermittent opens. Connector corrosion and loose pins are common; they create resistance that prevents proper current flow. The BCM can centrally disable heater circuits if it senses faults or has internal failure. Use the wiring diagrams in the repair manual to trace suspected circuits, isolate sections, and test ground and power feeds. Document findings so you can reclaim control instead of guessing. If you find abnormal voltages, intermittent continuity, or visible corrosion, you’ve likely located the electronic cause. Stay systematic, prioritize safety, and don’t skip rechecking after any connector reseat.
| Fear | Resolve |
|---|---|
| Unseen shorts | Trace methodically |
| Corrosion | Clean or isolate |
| BCM errors | Verify signals |
| Lost heat | Restore wiring integrity |
Repair Options & Camry Cost Estimates (DIY vs Pro)
If you’re handy and equipped with a multimeter, you can often save the $130–$170 labor by diagnosing and replacing the heater element yourself, but you’ll need to verify fuses, relays, connector continuity, and the element resistance before ordering parts. A professional full replacement runs about $660–$695 (parts ≈ $520, labor $130–$170). Do the cost comparisons: if your Camry allows element-only swaps, DIY can be economical; if the seat must be replaced, pro service may be more efficient.
Follow focused repair tips: isolate power at the connector, measure continuity across pads and element traces, and confirm relay/fuse operation. Use an OEM or equivalent heating element to avoid fitment issues. If you lack confidence with electrical systems or proximity to SRS components, get professional help—liberate yourself by choosing safety over shortcuts. Record your findings before buying parts to prevent wasted expense.
What to Tell Your Mechanic + Common DIY Mistakes
How do you explain the problem so your mechanic can diagnose it fast? State exact symptoms: button lights but no heat, or total loss of switch power. Note that the passenger seat heater still works — that narrows the fault to the driver-side circuit, not the whole car. Record and report all troubleshooting steps you’ve already done: checked fuses, swapped relays, inspected connectors. This mechanic communication saves time and avoids redundant work.
Don’t guess component failure. Common DIY mistakes: assuming the switch is bad without testing the heating element, skipping power checks at the element plug, and using inadequate test methods. Use a multimeter to verify continuity and voltage at the correct pins before replacing parts. These troubleshooting tips keep you empowered, prevent unnecessary purchases, and let a pro focus on precise repairs. Be clear, factual, and free yourself from costly assumptions.
Frequently Asked Questions
How to Diagnose a Heated Seat Not Working?
Start by checking fuses, then test the switch and relay for voltage and clicks; probe the heating element for continuity and inspect wiring harness connectors for corrosion or looseness. This heated seat troubleshooting frees you from electrical connection issues.
What Is the Most Common Problem With Toyota Camry?
You’ll most often face engine issues and electrical failures, especially with components like heated seats and displays; you’ll want to inspect fuses, relays, wiring, and sensors promptly so you can reclaim reliable, liberated driving.
How Much Does It Cost to Replace a Heated Seat Module?
You’ll pay about $660–$695 to replace a heated seat module, with seat module pricing around $520 for parts and $130–$170 labor; heated seat repair may cost more if SRS work or warranty adjustments are required.
Conclusion
You’ve checked fuses, relays, switches and still get cold seats — so did the last owner, who tagged the wiring harness right where the carpet meets the seat. Coincidentally, that’s where most failures hide. If your tests show power but no heat, suspect the element or thermistor; no power points to switches or module. Tackle simple fixes yourself, document connectors, and save receipts — a clear diagnostic saves time and money when you hand it to a pro.