If your Camry’s losing oil, check the dipstick, look under the car for fresh spots, and sniff for burning oil while you drive. Inspect around the valve cover, oil pan, filter, drain plug and rear main seal for wetness, and test the PCV for blockage. Use UV dye to find hidden weeps. Minor gasket leaks can be sealed temporarily; major jobs need a shop. Keep watching levels and photos—more detailed fixes and costs follow.
How to Tell If Your Camry Is Losing Oil?
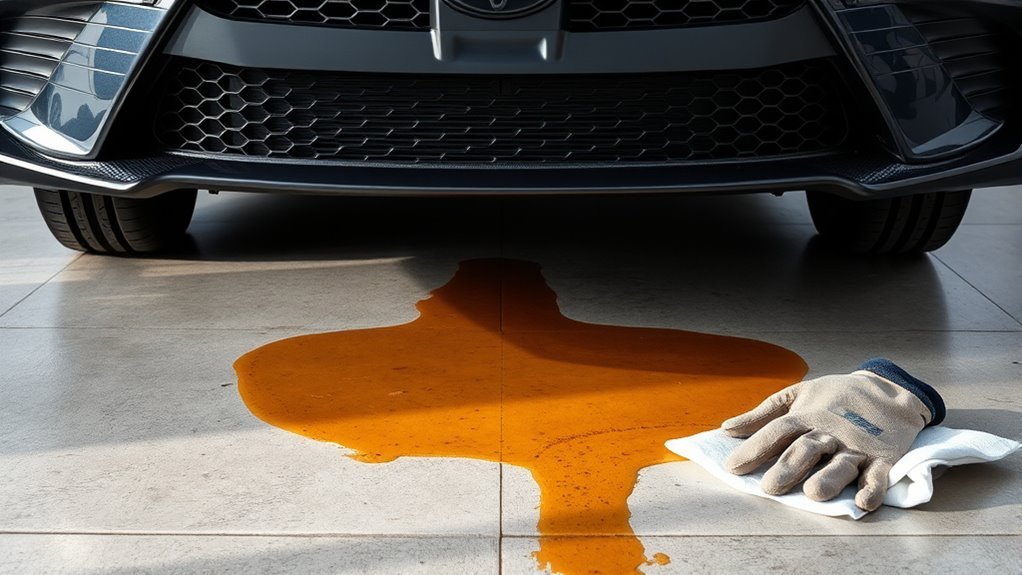
Wondering if your Camry is losing oil? You’ll start by scanning under the car for oil spots or puddles after parking; visible drips are the clearest sign of oil consumption beyond normal levels. Next, check the oil level with the dipstick regularly—if it’s consistently low, that’s a red flag pointing to leaks or excessive consumption. While driving, notice any burning oil smell; that often means oil’s hitting hot engine parts and escaping where it shouldn’t. After a run, inspect the engine for pooling oil around gaskets, seals, and the oil filter; these spots reveal leak origins you can address. Finally, watch the oil pressure gauge for sudden drops or fluctuations—those shifts can indicate low oil or a sealing failure. Treat these checks as routine engine maintenance steps that free you from surprise breakdowns and let you act decisively to protect your Camry’s longevity.
Quick Diagnosis: Check Oil Level, Smell, and Spots
Start by checking the basics: pull the dipstick to verify oil level, sniff for any burning-oil odor while driving, and look under the parked car for fresh spots or puddles. If the oil level drops noticeably between checks, you’re facing an active leak that deserves immediate attention. A persistent burning smell while driving means oil’s reaching hot components—don’t ignore it; that’s a safety risk.
Park on a clean surface, note oil spots’ position, and trace them back toward the engine. Perform a quick engine inspection visually: look for wetness or grime buildup that follows a trail. If you can’t find the source, add UV dye during the next oil change and run the engine; a UV light will reveal seepage paths you couldn’t see otherwise. These steps free you from guesswork and point you to targeted repairs, keeping you in control and preventing greater damage.
Common Camry Oil Leak Sources (Valve Cover, Oil Pan, Seals)
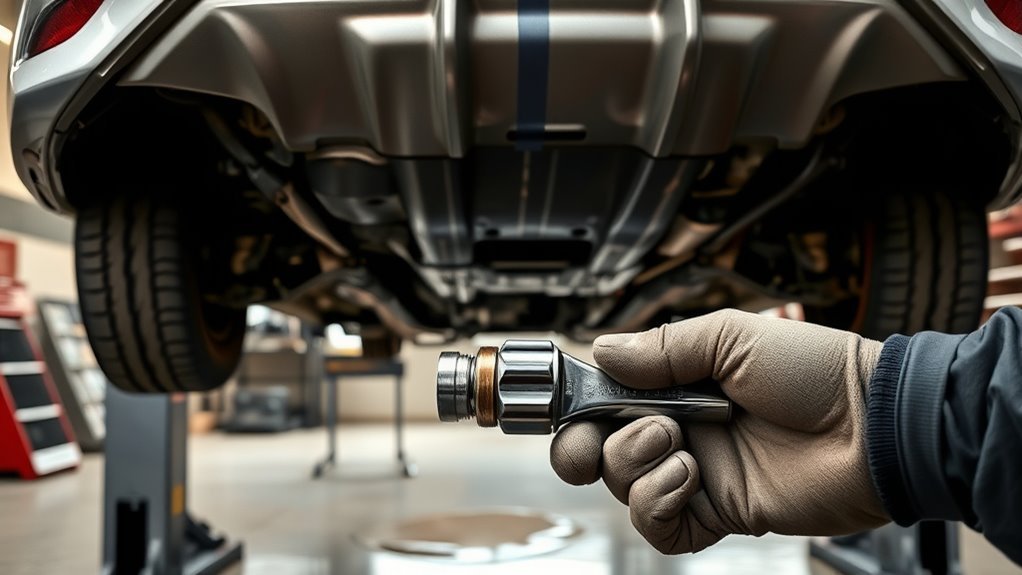
Leaks on a Camry usually come from a few predictable spots: the valve cover gasket, oil pan, and various seals (like the rear main). You’ll inspect the valve cover first—heat and age harden its gasket, letting oil seep onto the engine block. Wipe the area, run the engine, and watch for fresh seepage to confirm. Check the oil pan for dents or cracks from road debris; a visual undercarriage check after a drive often reveals drips or wet spots near the pan flange.
Don’t forget service items: a loose or damaged oil filter or drain plug will leak immediately after an oil change, so verify torque and gasket condition. A failing rear seal or other worn seals produce heavy drips and usually need professional replacement. Finally, the PCV valve can raise crankcase pressure; if it’s clogged, oil gets pushed past seals and creates hidden leaks. Diagnose methodically and fix the weakest link.
How a Bad PCV Valve and Crankcase Pressure Cause Leaks
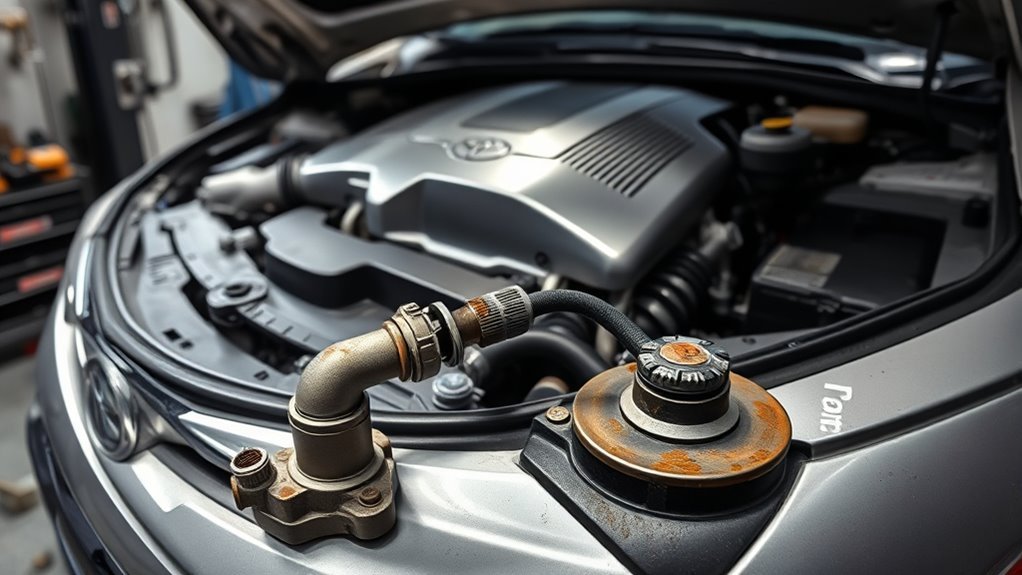
If the PCV valve clogs or sticks, it lets crankcase pressure build up and pushes oil past gaskets and seals you’d otherwise trust—so you’ll see seepage from valve covers, cam seals, and even the oil pan flange. You want control, not surprises: the PCV Valve vents combustion blow-by and keeps pressures balanced. When it fails, Crankcase Pressure rises and finds weak points, forcing oil where it shouldn’t go. That accelerates gasket failure and creates visible leaks that mask the root cause. Diagnose by noting oil trails and performance drift; a bad PCV often coincides with rough idle or oil consumption. Maintenance is liberation: replace the PCV Valve on schedule, and you’ll reduce Crankcase Pressure, stop oil migration, and avoid cascading seal damage. Treat this valve as a simple, low-cost safeguard that preserves seals and prevents costlier repairs. If you respect routine checks, you keep the engine tight, efficient, and free from preventable leaks.
DIY Inspection: Locate the Leak Fast (Tools & UV Dye)
One quick way to pinpoint a Camry oil leak is to clean the engine with brake cleaner, add UV dye to the oil, run the engine briefly, and scan with a UV light to reveal where fresh oil is seeping. You’ll free yourself from guessing by combining engine cleaning and targeted leak detection. After cleaning, add the dye per product instructions, run the engine a few minutes, then inspect under the hood and beneath the car with a UV lamp.
Clean the engine, add UV dye, run briefly, then scan with a UV lamp to quickly reveal oil leak sources.
- Gather basic tools: wrench, socket set, flashlight, UV light.
- Clean thoroughly: remove grime so new oil shows up clearly.
- Run briefly: warm oil flows and exposes active leaks.
- Inspect common spots: valve cover gasket, oil filter, drain plug.
You’ll spot the source fast, decide if tightening a loose component helps, and avoid wasted time. Regularly check oil levels and watch for drips to catch developing leaks early and reclaim control of your Camry.
Temporary Fixes: Stop‑Leak, Sealant, and When They Help
After you’ve located the source with UV dye and cleaning, you can try temporary remedies like stop‑leak fluids or gasket sealants to slow or plug small oil weeps. You’ll use temporary solutions when the leak is minor, the gasket edge is intact, and you need a quick, affordable pause before a full repair. Clean the area thoroughly so products adhere; dirt or oil film defeats sealant effectiveness. Choose a compatible stop‑leak made for engine oil and follow cure times. Expect immediate relief on tiny seepage but not on blown seals, cracked housings, or high‑pressure leaks.
After application, monitor oil level and drip pattern daily; check for clogging signs such as reduced oil flow or warning lights. Sealants can help buy time and protect you from short trips, but they’re a bridge, not a cure. Plan to diagnose and fix the root cause to free yourself from recurring leaks and the risk of engine damage.
When to Take It to a Shop: Repair Options and Typical Costs
If you spot pooling oil or smell burning, get the Camry to a shop promptly so they can estimate the problem and compare repair options. You’ll want to weigh the shop’s estimate against warranty or dealer coverage and decide whether a DIY fix makes sense for minor issues like a loose drain plug. For major jobs (rear main seal or gasket replacement) expect higher labor costs and plan on professional service rather than a home repair.
Estimate Versus Repair Cost
When you detect oil seeping from your Camry, act fast: small fixes like replacing a valve cover gasket or tightening an oil filter usually run $100–$300 and can prevent bigger damage, while labor-heavy jobs such as a rear main seal or oil pan replacement can climb to $800–$1,500 because of transmission removal. Use repair estimates and cost analysis to decide. Get a written estimate, compare shops, and weigh repair cost against vehicle value. Routine checks save you money and freedom from breakdowns.
- Shock — small leak, small bill: fix it now.
- Frustration — big seal job drains your wallet.
- Relief — transparent estimates free your choice.
- Resolve — choose repair or replace with clarity.
Warranty And Dealer Claims
You’ve weighed repair costs and now need to decide whether to involve the dealer or an independent shop — warranty considerations should shape that choice. If your Camry is under warranty, remember warranty coverage typically includes defects in materials and workmanship, so document symptoms and take it to the dealer for diagnosis. Dealers must show evidence if they deny a claim; FTC rules bar voiding warranties for non-dealer service unless that service caused the leak. Know dealer obligations: they should inspect, diagnose, and provide written reasons for denial. Typical repair costs range from about $100 for gasket work to over $1,000 for rear main seal jobs. Choosing a reputable dealer or certified mechanic protects your rights and can save you money down the road.
DIY Vs Professional Repair
Although some leaks are simple to fix at home, deciding between DIY and professional repair comes down to complexity, tools, and confidence. You can handle minor diy repairs—like swapping a gasket or tightening a drain plug—for $10–$50 in parts if you have basic tools and a torque wrench. But complex jobs (rear main seal, internal leaks) demand professional expertise and typically cost $500–$1,200 because of heavy labor.
If diagnosis feels uncertain, expect to pay $100–$150 for a mechanic’s inspection. Regular checks of seals and gaskets prevent escalation and buy you freedom from expensive fixes.
- Relief: save money with small fixes.
- Frustration: avoid DIY beyond your skillset.
- Confidence: use proper tools.
- Liberation: know when to hand it off.
Warranty, Dealer Claims, and Documenting Leaks for Service
Document any oil leak with time-stamped photos and concise notes so you’ve clear evidence to support a warranty claim. Know your rights—FTC rules mean a non-dealer service history shouldn’t void coverage—and insist the dealer records recurring leaks in the service report. If they stonewall, get a second-opinion inspection and keep all reports for future claims.
Warranty Coverage Rights
When you spot an oil leak and plan to claim warranty coverage, act quickly: gather photos, dates, mileage, and any service receipts so you can show the dealer a clear timeline and evidence of the problem. You’ve got warranty claims and consumer rights on your side — under FTC rules Toyota must prove an independent oil change caused the leak to deny coverage. Keep calm, stay organized, and push for fair treatment. If a dealer misdiagnoses, get a second opinion from another dealer. Maintain service records to strengthen your position.
- Document urgently — don’t delay.
- Demand clear, written diagnosis.
- Assert your consumer rights firmly.
- Seek another dealer if denied.
Documenting Leak Evidence
If you see oil pooling or dripping, photograph the leak from multiple angles, note the exact location and approximate size, and immediately record the date and mileage so you’ve got time-stamped evidence for the dealer or warranty claim. Use consistent leak documentation: clear photos, brief captions, and file names with date/mileage. Keep a running log of oil changes, receipts, and service records—dealer and independent—to prove maintenance history. Record any dealer responses, diagnoses, or proposed fixes verbatim and timestamp them. This evidence collection helps you push back if warranty coverage is questioned; FTC rules generally require dealers to prove non-dealer service caused a problem. Stay organized, assert your rights, and bring concise evidence to every service visit.
Dealing With Dealers
You’ve gathered your photos, dates, and service records—now use that packet to work with the dealer. Be direct: request dealer communication in writing and insist on service transparency. Present your evidence, cite receipts, and ask for a documented diagnosis tied to warranty terms.
- Demand written notes of the inspection and estimated cause.
- Attach chronological photos and service logs to every claim.
- If the dealer stalls, visit a different dealer for a second opinion.
- Escalate with FTC guidance if they deny coverage due to independent maintenance.
You’re not asking for favors — you’re asserting rights. Keep copies of all correspondence and labor estimates. For complex repairs like a rear main seal, a clear documented diagnosis can win warranty coverage and liberate you from unnecessary costs.
Preventive Maintenance to Avoid Future Oil Leaks
Because small problems compound fast in older Camrys, proactive maintenance will keep minor leaks from becoming major repairs. You should prioritize gasket maintenance—inspect and replace worn valve cover gaskets and seals before they fail. A quick visual check during oil changes catches dried, cracked rubber that leads to drips.
Stick to routine oil changes and fit a high-quality oil filter each time; a poorly seated filter or cheap unit invites leaks. Check oil level regularly; running low can change pressure dynamics and force oil past weak seals. Clean the engine bay so you can spot fresh stains early instead of chasing long-set grime.
Follow the manufacturer’s service intervals and oil specifications to preserve seal integrity and component life. Create a simple maintenance schedule: gasket checks, oil/filter swaps, level checks, and engine cleaning at set mileage or seasonally. That discipline frees you from surprise repairs and keeps your Camry reliable and ready.
Choosing Parts & Fluids: Toyota Recommendations and Why
While choosing parts and fluids may seem minor, sticking to Toyota’s recommendations prevents many common Camry oil leaks. You want freedom from roadside anxiety, so use genuine parts—filters, gaskets, seals—designed for your engine’s heat and pressure. They fit right, last longer, and cut leak risk compared with cheap aftermarket copies.
You should also choose high-quality synthetic oils (Toyota favors 0W-20). The right viscosity protects seals, reduces wear, and keeps clearances correct so the engine breathes freely. Follow the owner’s manual for oil type and service intervals; timely oil changes and inspections catch worn seals before they become disasters.
When you face a leak, replace degraded seals and gaskets with OEM parts to restore proper mating surfaces and torque specs. Embrace Toyota’s guidance: it’s a practical route to reliability and independence on the road.
- Choose genuine parts
- Use recommended synthetic oils
- Replace worn seals with OEM
- Follow service intervals
Frequently Asked Questions
Why Is My Toyota Camry Leaking Oil?
Your Camry’s leaking because worn engine seals or a damaged oil pan, a loose filter/drain plug, or excess crankcase pressure; inspect seals, pan, PCV and fasteners, then fix or replace parts so you reclaim control.
What Year Did Toyota Camry Have Oil Consumption Problems?
Like a warning bell, 2007–2009 Camrys had oil consumption problems; you’ll see engine wear from piston rings and occasional gasket failure, so inspect, demand repairs, and reclaim control by tracking oil levels and pursuing warranty options.
Conclusion
If your Camry’s leaking oil, act quickly: check the level, smell for burnt oil, and look for puddles or drips. You’ll often find valve cover gaskets, the oil pan, or a faulty PCV causing pressure-driven leaks. Use UV dye and a flashlight for a fast DIY locate, but take it to a shop if leaks are heavy. For example, a friend traced a slow leak to a degraded valve cover gasket, fixed it cheaply, and stopped engine smoke. Regular checks prevent costly repairs.