Faded Camry exterior trim usually looks worse than it is. Most of the time, the plastic needs a careful clean, a fully dry surface, and a thin, even coat of trim gel—not a heavy, greasy layer. This guide shows you how to clean Toyota Camry exterior plastic trim, restore the dark finish with Tire & Trim Gel, and prevent streaks, runoff, and patchy adhesion.
Quick Answer
Clean Camry exterior plastic trim with an all-purpose cleaner, agitate seams and textured areas with a soft detailing brush, wipe the residue away, and let the trim dry completely. Then apply a small amount of automotive trim gel with a microfiber applicator, work it in evenly, and buff off excess.
Key Takeaways
- A clean, dry surface is the difference between even trim restoration and greasy streaks.
- Use Nonsense All-Purpose Cleaner sparingly and follow the product label for dilution and surface safety.
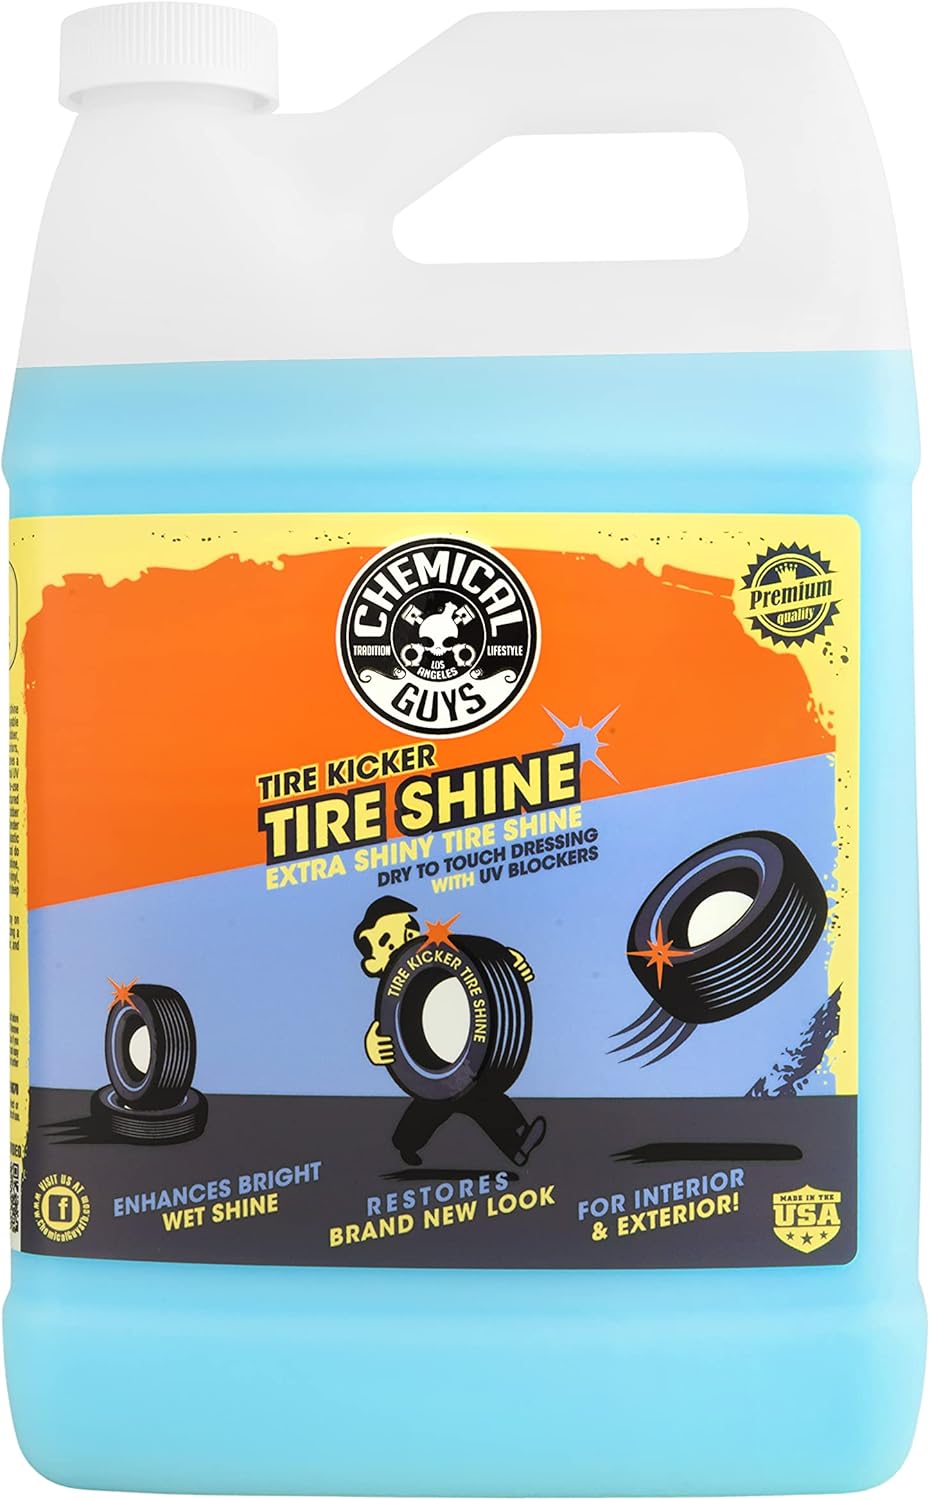
- Apply Tire & Trim Gel in thin layers; too much product causes sling, runoff, dust attraction, and uneven shine.
- Inspect monthly, clean as needed, and reapply trim dressing only when the finish starts to fade.
At a Glance
| Time Required | 20–40 minutes, plus extra drying time if the trim is wet |
| Difficulty | Easy |
| Tools Needed | All-purpose cleaner, boar-hair detailing brush, microfiber towels, microfiber applicator, Tire & Trim Gel, gloves |
| Cost | Usually low if you already own basic detailing towels and brushes |
Tools, Products, and Safety for Camry Trim

Start by gathering the products and tools you’ll use from start to finish. You need Nonsense All-Purpose Cleaner to loosen grime, a boar-hair detailing brush for gentle agitation, Tire & Trim Gel or another exterior-safe plastic trim dressing, a microfiber applicator, and several clean microfiber towels for wiping and buffing.
Toyota’s owner guidance for exterior care says to clean each part in a way that matches its material, wash with a soft cloth or sponge, rinse thoroughly, and wipe away water. That same idea applies here: plastic trim should be cleaned gently, not attacked with harsh scrubbing pads or aggressive solvents. You can review Toyota’s official owner manual hub here: Toyota Manuals and Warranties.
Warning: Do not apply trim gel to glass, paint-heavy edges, tire tread, pedals, running-board step pads, steering wheels, or any surface where slick residue could create a safety risk. Keep chemicals away from children, avoid eye contact, and follow the product label and safety data sheet for personal protection.
Wear gloves, work in shade on cool panels, and keep the area ventilated. OSHA explains that safety data sheets include recommendations for personal protective measures such as eye, face, skin, and respiratory protection, so check the product SDS if you are sensitive to cleaners or working in a closed garage.
Prep Camry Trim With Nonsense All-Purpose Cleaner
Before restoring faded plastic trim, wash the surrounding area so loose dirt does not get dragged across the paint. Then test the cleaner on a small, low-visibility section of trim. If the surface looks normal after the test, continue with the full cleaning process.
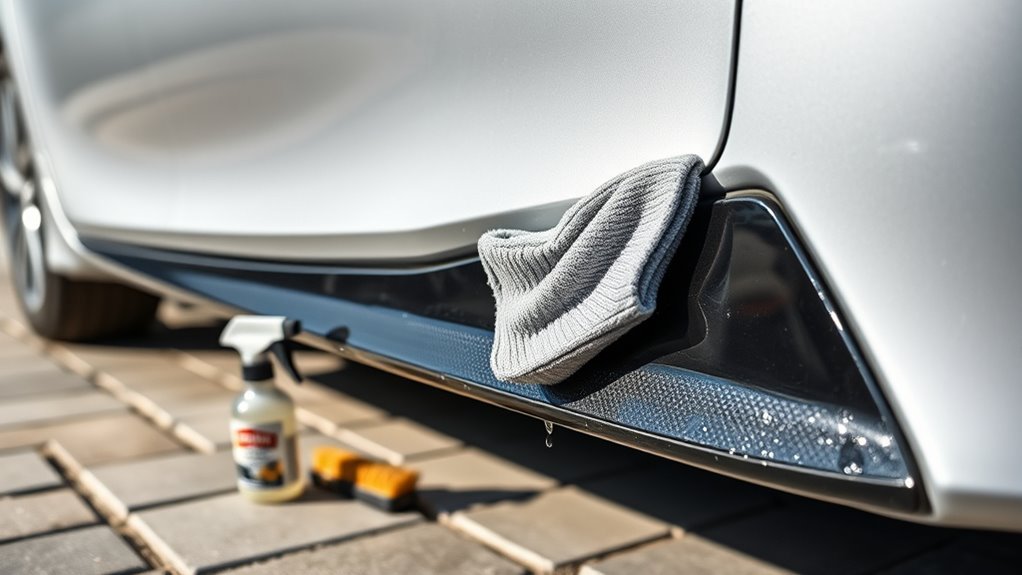
- Spray the cleaner onto the trim or towel. Use enough Nonsense All-Purpose Cleaner to wet the grime, but do not flood nearby paint, badges, sensors, or rubber seals.
- Agitate the surface. Use a boar-hair detailing brush and scrub in short, controlled strokes. Focus on seams, textured grain, lower rocker trim, mirror-base trim, bumper trim, and any chalky areas where dirt hides.
- Wipe the residue away. Use a clean microfiber towel to remove loosened dirt and cleaner before it dries on the surface.
- Repeat only where needed. Heavily soiled trim may need a second pass, but do not keep scrubbing once the dirt is gone.
- Dry completely. Let the trim air dry or pat it dry with a fresh towel. Trim gel bonds and levels better on dry plastic.
Pro Tip: Spray cleaner onto the brush or towel when working near paint edges. This gives you more control than spraying directly onto narrow trim pieces.
Restore Camry Trim: Tire & Trim Gel Step-by-Step
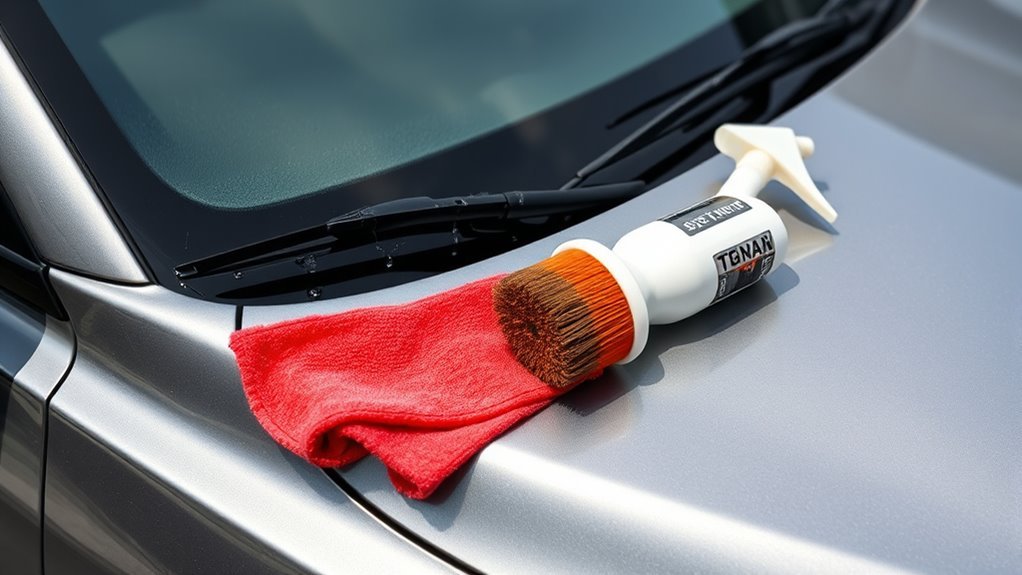
Once the trim is clean and fully dry, dispense a few drops of Tire & Trim Gel onto a microfiber applicator. Work the gel into faded plastic with firm, overlapping passes. The goal is an even, darkened finish—not a wet, oily layer sitting on top of the trim.
Move along the Camry in small sections. Treat one mirror base, pillar trim piece, lower rocker strip, or bumper section at a time. Reload the applicator lightly as needed. If the applicator starts leaving shiny ridges, you are using too much product.
| Step | Tool | Purpose |
|---|---|---|
| 1 | Cleaner | Remove grime, oils, old dressing, and residue |
| 2 | Brush | Agitate seams and textured plastic safely |
| 3 | Towel | Wipe away loosened contamination and dry the trim |
| 4 | Gel + Applicator | Restore color and level the finish |
| 5 | Dry Towel | Buff excess to prevent streaking and runoff |
After each section, wait a short moment and buff lightly with a dry microfiber towel. This final wipe matters because excess gel can run into body gaps, collect dust, or leave glossy patches after the car sits in the sun.
Note: A trim gel can improve faded plastic’s appearance, but it will not repair cracked, deeply oxidized, or physically damaged trim. Severely weathered pieces may need a dedicated coating, dye, or replacement.
Where to Use and Where to Avoid Trim Gel on a Camry
Use trim gel only on exterior plastic, rubber, and vinyl areas that are meant to have a dressed finish. On a Toyota Camry, common target areas include lower bumper trim, lower rocker trim, cowl-edge plastic, mirror-base trim, and certain black plastic accents depending on model year and trim level.
Avoid applying gel to painted body panels, chrome-look trim, camera lenses, parking sensors, radar sensor covers, glass, emblems, and any rubber seal that already looks clean and healthy. If gel touches paint or glass, wipe it away immediately with a clean microfiber towel.
Troubleshoot Streaks, Runoff, and Adhesion Problems
After you work the gel into each section and buff off excess, inspect the panels from a few angles. Look for dark streaks, shiny beads in joints, cloudy patches, or areas where the product did not bond. These problems almost always come from leftover dirt, moisture, or too much product.
- Dark streaks: Reclean the area with Nonsense All-Purpose Cleaner, brush the textured surface again, dry it fully, and reapply a thinner coat.
- Gel running into joints: Wipe the excess immediately and use less product on the next pass.
- Patchy bonding: Dry the trim longer, especially around seams and edges where water hides.
- Greasy shine: Buff with a clean dry towel until the finish looks even and no residue transfers to your finger.
- White wax stains: Use a trim-safe cleaner and brush first. If staining remains, use a dedicated wax-and-oil remover made for automotive trim before dressing.
Do not stack thick layers to hide streaks. Heavy application may look good for a few minutes, but it usually creates runoff and uneven gloss later.
Camry Trim Maintenance: Schedule and Simple Tips
Because exterior plastic trim faces sun, heat, road film, rain, and wash chemicals, inspect your Camry’s trim monthly. Clean it whenever grime builds up, and refresh the dressing only when the finish starts to look dry or faded.
A practical maintenance rhythm is simple: rinse during normal washes, deep-clean the trim every 1–2 months, and reapply trim gel as needed. In hot, sunny, dusty, or rainy climates, the finish may fade faster. Garage-kept Camrys may need less frequent dressing.
- Wash from the top down so dirty water does not run over freshly cleaned trim.
- Keep separate towels for dirty trim work and final buffing.
- Do not let all-purpose cleaner dry on paint, glass, or plastic.
- Buff trim gel after application to reduce dust attraction.
- Recheck seams and lower panels after the first drive or wash.
Frequently Asked Questions
How do you clean car exterior plastic trim?
Clean car exterior plastic trim by washing off loose dirt, applying an all-purpose cleaner, agitating textured areas with a soft detailing brush, and wiping away residue with a microfiber towel. Let the plastic dry completely before applying any trim dressing or protectant.
How do I clean oxidation on the plastic outside of my car?
Start with a thorough clean using an all-purpose cleaner and a soft detailing brush. If the plastic is only faded, Tire & Trim Gel can darken and improve the appearance. If the plastic is chalky, cracked, or deeply oxidized, a dressing may be temporary and a stronger trim restorer, coating, dye, or replacement may be needed.
How do you make plastic trim look new again?
To make plastic trim look new again, remove embedded dirt and old residue first, dry the surface fully, then apply a thin coat of exterior plastic trim gel with a microfiber applicator. Buff off excess so the finish looks even instead of greasy.
Can I use tire shine on Camry exterior trim?
Only use a product that is labeled safe for exterior plastic, rubber, or vinyl trim. Some tire products are too greasy for body trim and may sling, streak, or attract dust. Tire & Trim Gel is made for both tire and trim use, but it should still be applied thinly and buffed.
How often should I restore Toyota Camry plastic trim?
Inspect the trim monthly and clean it when road film or grime appears. Reapply trim gel only when the finish starts to fade or lose evenness. Many daily drivers need a touch-up every 1–3 months, but weather, parking conditions, washing habits, and product choice can change that schedule.
Conclusion
You can bring dull Camry exterior plastic trim back to a cleaner, darker finish with a simple process: clean thoroughly, brush the textured areas, wipe away residue, dry completely, apply Tire & Trim Gel thinly, and buff the excess. The biggest mistake is rushing prep or using too much gel. Keep the trim on a monthly inspection schedule, clean it before buildup gets heavy, and refresh the dressing only when the finish needs it.
Sources
- Toyota Manuals and Warranties — official Toyota owner manual access and exterior-care reference.
- Chemical Guys Nonsense All-Purpose Cleaner — product details for the all-purpose cleaner used in the prep step.
- Chemical Guys: How to Restore Faded Black Plastic Trim — manufacturer guidance on cleaning and restoring exterior plastic trim.
- Chemical Guys Plastic Restorer Products — product category information for exterior plastic, rubber, and vinyl restoration.
- OSHA Safety Data Sheets Brief — guidance on reading SDS information for personal protective measures.