Toyota Camry Interior Lights Not Working: Diagnosis by Symptom
Daxon Steele · Last updated: July 31, 2026
Affiliate disclosure: As an Amazon Associate, AutoReviewNest earns from qualifying purchases. This does not affect our editorial independence or the price you pay.
If your Toyota Camry interior lights are not working, start with the failure pattern. One dead map, dome, vanity, or courtesy light usually indicates a local bulb, LED assembly, socket, connector, or switch problem. If every cabin light is out, check the main interior-light setting, the exact model-year fuse, and shared power or ground. If the lights work manually but not when a door opens, check the door-linked setting and confirm that the car recognizes each open door.
Do not buy bulbs, LED kits, switches, or fuse taps until you confirm your Camry’s model year, trim, light location, and control layout. Toyota uses different interior-light arrangements across generations and trims, including different door-position controls on some 2025 configurations.
Quick Answer
Set the applicable overhead control to its door-linked position, then test every map and dome light manually. If one light stays off in manual mode, inspect that light. If all lights stay off in manual mode, use the exact owner’s-manual fuse diagram and check for a shared power fault. If manual operation works but door activation does not, open each door separately and watch the door-ajar indicator. If the lights will not turn off, check for a door that the vehicle still reads as open.
Key Takeaways
- Separate a single-light failure from a whole-cabin failure before replacing parts.
- Use each light’s manual switch to test the local light and part of its power circuit.
- Use the door-linked mode and door-ajar indicator to test automatic activation.
- Confirm the exact fuse label, location, type, and rating for your model year.
- Check recent repairs or accessory installations when the problem began immediately afterward.
- Stop replacing fuses if the new fuse blows again or you notice heat, smoke, water, or melted plastic.
What’s in This Article
- Why Are Your Camry Interior Lights Not Working?
- Diagnose Your Camry Interior Lights by Symptom
- Which Fuse Controls the Camry Interior Lights?
- How Do Camry Lighting Systems Vary?
- Troubleshoot the Lights Step by Step
- Check the Interior-Light Settings
- When Should You Get Professional Help?
- Frequently Asked Questions
- Conclusion
Source note: Fuse labels, light assemblies, switch layouts, automatic shutoff behavior, and door-sensing methods vary by model year. Select your exact vehicle in Toyota’s manuals and warranties library before removing a light assembly or replacing a fuse.
Why Are Your Camry Interior Lights Not Working?
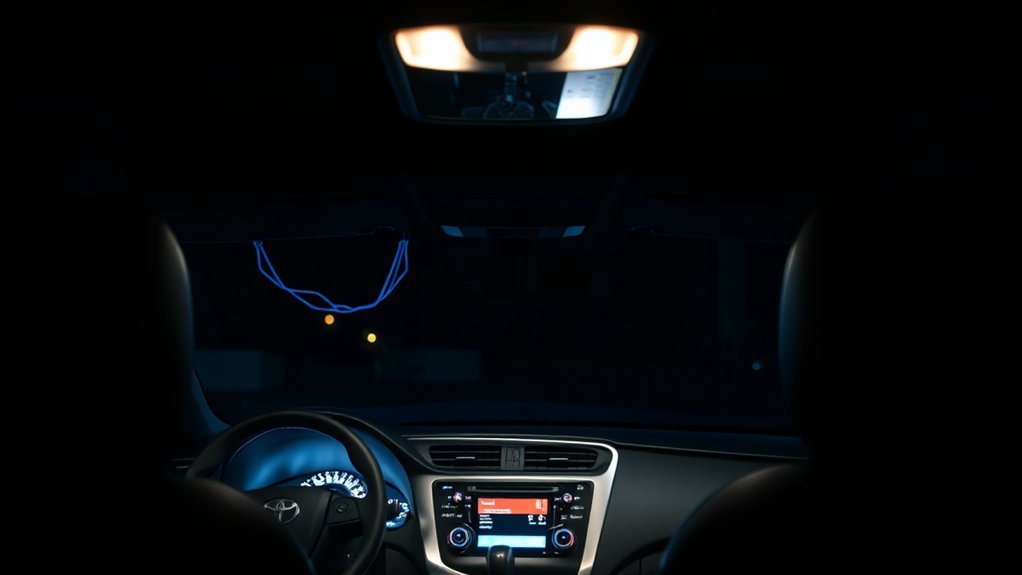
Your Camry’s interior lights can fail because of a control setting, one damaged light, a shared electrical fault, a missing door-open signal, or a connector disturbed during recent work. The quickest diagnosis comes from checking which lights have failed, whether they work manually, and whether the vehicle recognizes each open door.
If one map, dome, vanity, or courtesy light is out while the others work, inspect that individual light first. Depending on the model year and location, it may use a replaceable bulb or an integrated LED assembly. A loose connection, worn switch, damaged socket, or failed assembly can also affect only one light.
If every cabin light fails at the same time, look for a shared cause. The main control may be set to OFF, a related fuse may have opened, the vehicle may have low 12-volt system voltage, or a common power, ground, connector, or body-control circuit may have failed.
If the lights work when you press them but do not turn on when a door opens, the light source and part of the local circuit are working. Focus next on the door-linked setting, illuminated-entry options, and the door-ajar input. If the lights stay on after every door is closed, check whether the vehicle still shows one door as open.
If the fault began immediately after blower-motor work, dashboard removal, headliner work, collision repair, alarm installation, dashcam wiring, audio work, or another accessory installation, tell the technician exactly what changed. A loose connector, pinched wire, incorrect fuse tap, or disturbed ground may be more likely than several lights failing independently.
Diagnose Your Camry Interior Lights by Symptom
| What You Notice | Most Useful Next Check | Possible Fault Area |
|---|---|---|
| Only one light is out | Operate that light manually and inspect its bulb or LED assembly | Bulb, LED unit, socket, connector, or local switch |
| One group or one area is out | Compare front, rear, vanity, courtesy, and trunk-light operation | Shared connector, local harness, console assembly, or area-specific circuit |
| All cabin lights are out | Check the main setting and the exact fuse listed for your model | Shared fuse, power supply, ground, connector, or control circuit |
| Lights work manually but not with a door | Select the door-linked mode and check whether each open door appears on the display | Door-ajar sensor, latch or jamb switch, wiring, setting, or body-control input |
| Lights stay on after the doors close | Check the manual ON setting and look for a door that still appears open | Manual setting, stuck door input, latch or jamb switch, wiring, or control fault |
| Lights flicker or respond when tapped | Stop tapping the assembly and inspect its connection and socket | Loose bulb, worn socket, connector, switch, ground, or unstable voltage |
| Problem started after repair or accessory work | Inspect the worked-on area and added wiring before replacing lamps | Disconnected plug, pinched wire, poor ground, or incorrect fuse tap |
| A replacement fuse blows again | Stop replacing the fuse and have the circuit tested | Short circuit, damaged accessory wiring, wet connector, or failed component |
This symptom-first check helps you avoid removing every light or replacing unrelated electrical parts. The most useful split is manual operation versus door-linked operation because those tests separate a local lamp problem from an automatic-control problem.
Which Fuse Controls the Camry Interior Lights?
The correct interior-light fuse depends on your Camry’s model year, market, powertrain, trim, and equipment. Turn the vehicle off and use the fuse diagrams in the applicable owner’s manual. Do not rely on a fuse number copied from a different Camry generation.
Your Camry may have more than one fuse panel. Check the owner’s manual and the diagram on each fuse-box cover for the exact circuit assigned to the failed lights. Labels may refer to dome, interior, courtesy, panel, ECU, or another model-specific circuit, but you should use only the label shown for your vehicle.
Warning: Replace a fuse only with the same type and amp rating. A higher-rated fuse can allow the wiring to overheat before the fuse opens.
A fuse may look intact even when it has failed. If you know how to test safely, confirm it with a fuse tester or multimeter instead of relying only on appearance. Do not probe connectors or bridge fuse terminals with improvised metal objects. If you are unsure, ask a technician to test the circuit before replacing components.
| Fuse Check | What to Do |
|---|---|
| Correct vehicle information | Confirm the model year, trim, market, powertrain, and roof or lighting equipment |
| Fuse-panel location | Use the owner’s manual instead of assuming the circuit is in one panel |
| Fuse label | Match the label shown in the exact vehicle diagram |
| Fuse condition | Test the fuse when a visual inspection is uncertain |
| Replacement rating | Install only the same fuse type and amp rating |
| Repeated failure | Stop replacing fuses and have the circuit checked for a short |
[Products Worth Considering]
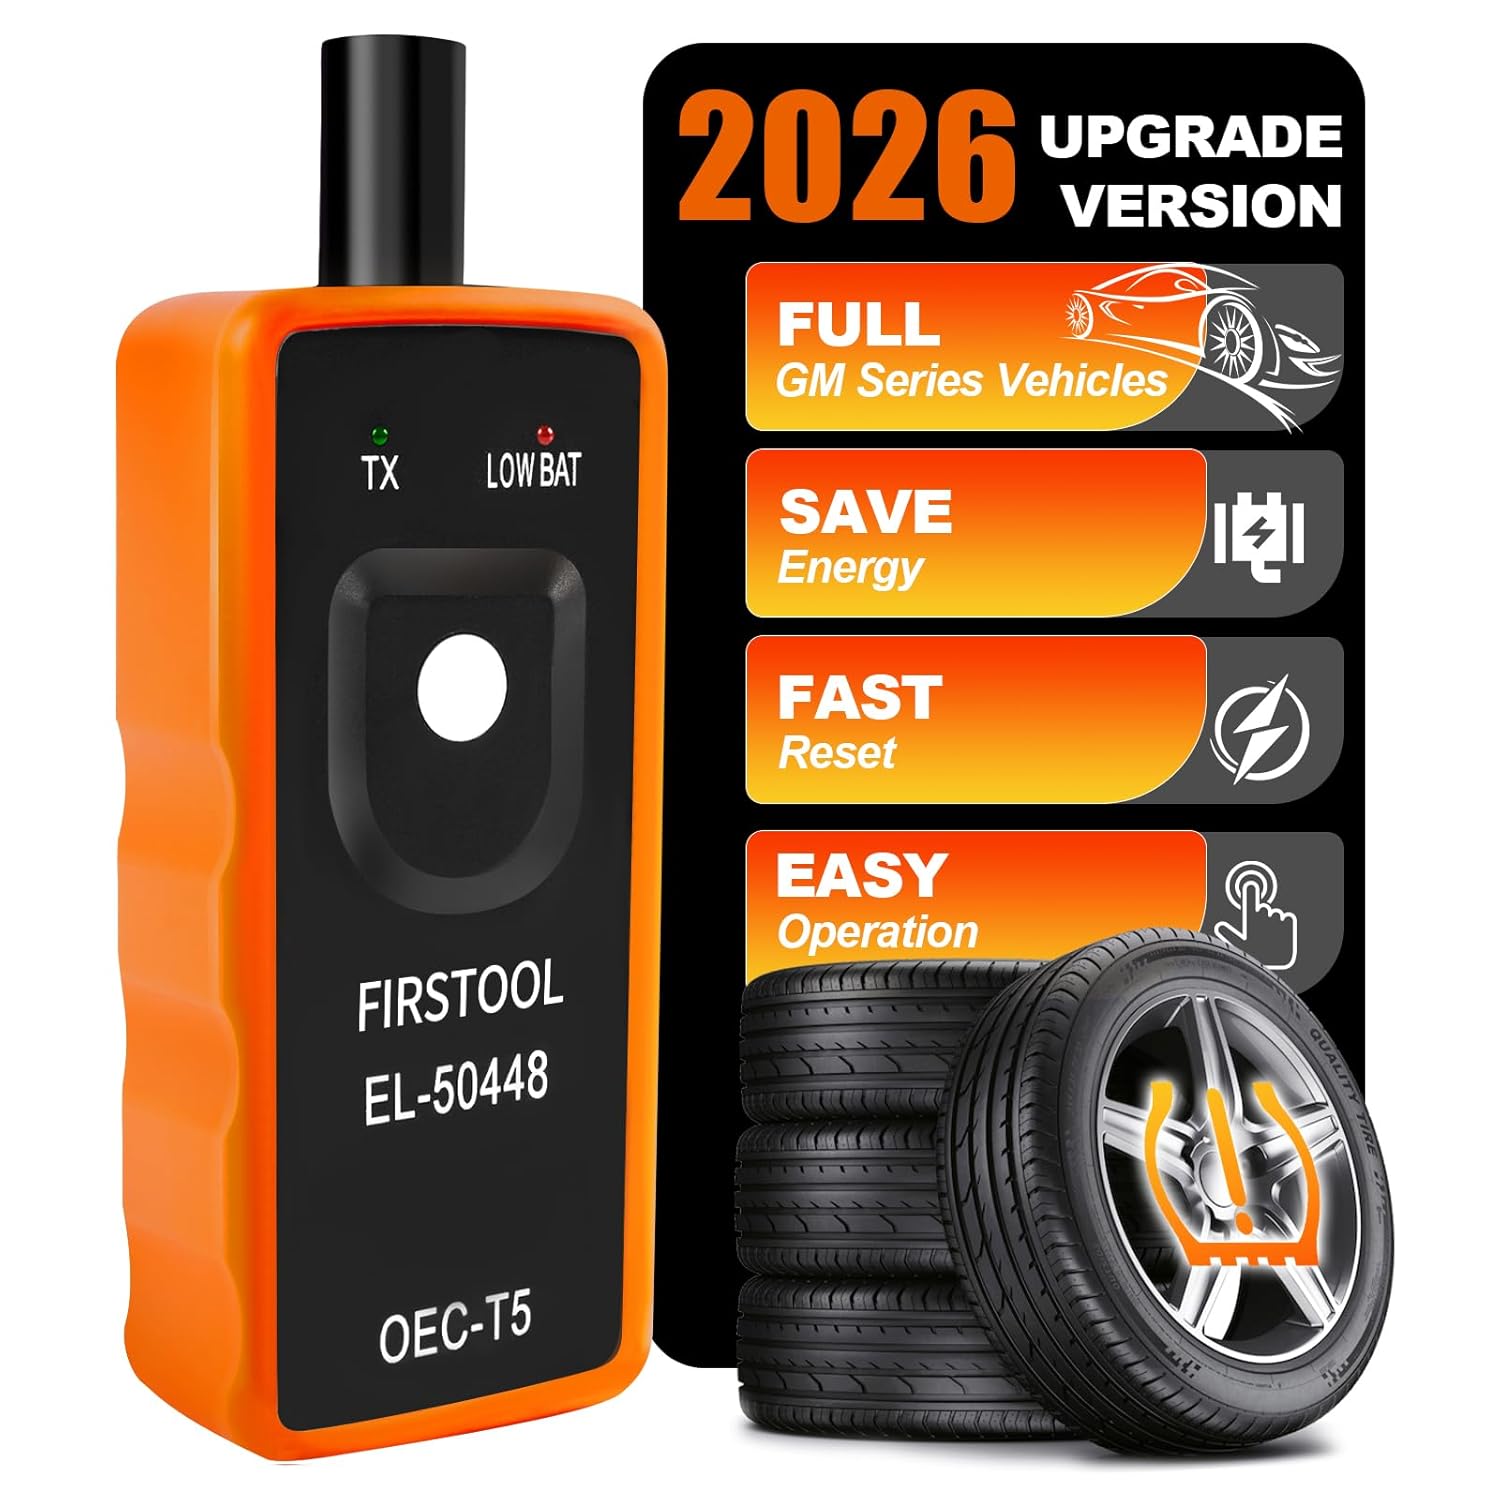
This EL-50448 TPMS relearn tool helps quickly activate and reset tire pressure sensors so your vehicle’s monitoring system stays accurate after tire rotations, sensor replacement, or seasonal tire changes. Designed for many GM-related vehicles and compatible with common 315 and 433 MHz TPMS systems, it offers simple one-button operation and reliable performance for clearing warning lights and relearning sensor positions.

【PRECISE READOUTS & CLEAR DIGITAL DISPLAY】Bright LED display shows highly clear readings in any lighting condition, 0.1V resolution gives you reliable indication and shows you the voltage number easily & quickly. Bidirectional light emitting diode on the circuit board for easy battery load testing, red light indicates positive polarity, green light indicates negative polarity.

Nerites Fuse Tester – Ideal for One-Time Fuses The Nerites fuse tester is perfect for checking disposable fuses. It allows quick and easy removal and helps inspect whether a fuse is blown, making it an essential tool for removing and testing fuse arrays.
How Do Camry Interior-Lighting Systems Vary?
Toyota Camry lighting systems differ by generation, trim, market, powertrain, roof equipment, and lamp location. One vehicle may use separate front map-light buttons and a rear dome switch, while another may combine more functions in an overhead console or automatically link certain lights to door opening.
- Replaceable bulbs: Some lights contain a removable bulb that can be tested or replaced separately.
- Integrated LED assemblies: Some configurations use an LED board or complete light assembly instead of a conventional bulb.
- Separate controls: Front map lights, rear dome lights, vanity lights, trunk lights, and door courtesy lights may not share the same switch.
- Different door inputs: The vehicle may detect an open door through a visible jamb switch or a sensor integrated into the door latch.
- Automatic control: Illuminated-entry timing, door-linked operation, customization, and battery-saving behavior may be managed through a body-control circuit.
2025 Camry control-layout note
Toyota’s 2025 Camry Hybrid owner’s manual shows more than one front interior-light control layout. One layout includes a door-position control plus a separate manual on/off control. Another layout turns the front lights on when a door opens. Rear-light behavior can also depend on the front door-position setting. This is why a missing button or different switch arrangement is not automatically a fault.
Test each light manually before deciding that the entire system has failed. If only one light does not respond, concentrate on that light and its local connection. If several lights fail together, investigate the circuit or connector they share. Confirm the expected operation in the exact owner’s manual before comparing your Camry with a video or another trim.
How Do You Troubleshoot Camry Interior Lights Step by Step?
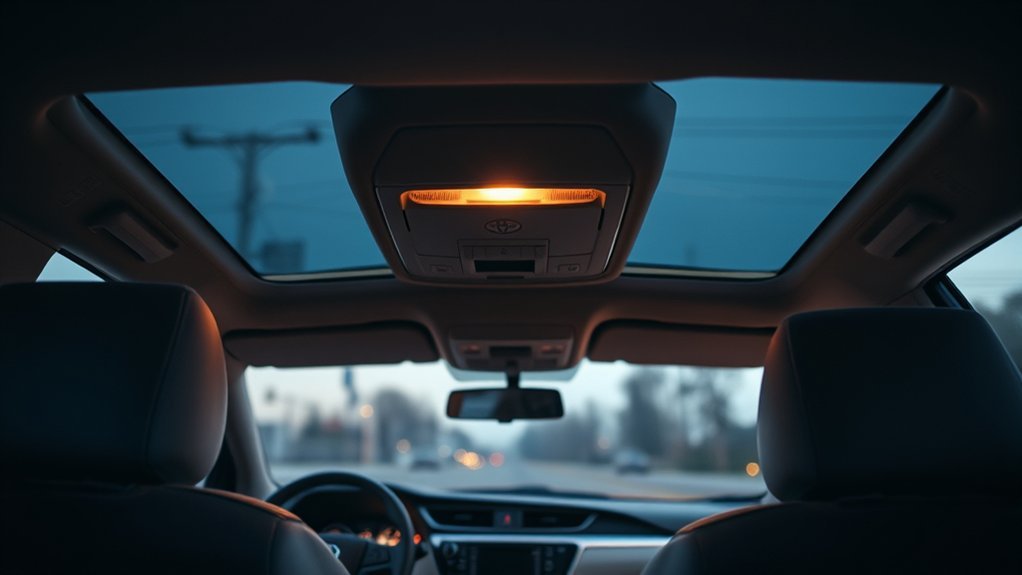
Follow these checks in order. Each result narrows the fault area and reduces the chance of replacing a working component.
- Record the model and recent history. Note the model year, trim, powertrain, roof equipment, and whether the problem began after repair, water intrusion, a battery event, or accessory installation.
- Identify the failure pattern. Check whether one light, one area, or every cabin light has stopped working. Include map, dome, vanity, courtesy, trunk, and footwell lights that your Camry actually has.
- Test each light manually. Press the map-light buttons or move the local switch to ON. A light that works manually has not completely lost its light source or local power path.
- Select the door-linked mode. Use the overhead control marked for door operation, if your model has one. Do not assume every trim uses the same button or switch.
- Check the door-ajar indicator. Open each door separately and confirm that the vehicle recognizes it. A door that is not detected may have a latch, jamb-switch, connector, or wiring problem.
- Check whether the lights shut off. Close every door, confirm the manual control is not set to ON, and allow for the normal fade or delay described in the manual. A door that still appears open can keep door-linked lights active.
- Check model-specific settings. Review illuminated-entry, interior-light timing, or customization options listed in your manual or vehicle menus. Do not assume the instrument-panel dimmer controls the overhead lights.
- Confirm the light type. Determine whether the failed unit uses a replaceable bulb or an integrated LED assembly before removing the lens or ordering a part.
- Inspect the applicable fuse. Use the exact model-year diagram and replace a failed fuse only with the same type and rating.
- Consider the 12-volt battery. Test battery and charging-system condition if several electrical systems are dim, slow, resetting, or failing together. For related symptoms, see the Camry charging system warning guide.
- Stop at signs of a circuit fault. Repeated fuse failure, heat, a burning smell, melted plastic, visible water, or damaged accessory wiring requires deeper diagnosis.
If all basic checks pass, the fault may involve a connector, ground, door input, overhead-console circuit, integration relay on some older systems, or body-control module. Those problems often require the wiring diagram for the exact Camry, circuit testing, and a scan tool that can read body-system data.
Which Camry Interior-Light Settings Should You Check?
Start with the main overhead control or door-position button shown in your owner’s manual. Select the door-linked setting if you want the cabin lights to respond when a door opens. Use ON only for a manual test, because leaving the lights on can discharge the 12-volt battery even when the vehicle has an automatic shutoff feature.
- Press each front map-light button separately.
- Check the rear dome-light switch if your Camry has a separate rear unit.
- Review illuminated-entry or interior-light timing options available for your model.
- Open each door separately and confirm that the door-ajar indicator changes.
- Close every door and confirm that no door remains shown as open.
- Return the applicable control to its door-linked setting after testing.
If the light works in ON mode but not in the door-linked mode, the bulb or LED unit can produce light. The remaining fault is more likely to involve the selected setting, door-open signal, automatic-control circuit, or related wiring. If your trim has no separate door-position control, verify the expected operation in the exact manual before assuming a switch is missing.
Pro tip: Change one setting at a time and record what happens. Manual operation, door-linked operation, and the door-ajar indicator give three separate clues that are more useful than replacing parts at random.
When Should You Get Professional Electrical Help?
Get professional help when the basic switch, door-input, light, fuse, and battery checks do not identify the fault. A technician can test power and ground at the light, inspect live door-ajar data, compare the circuit with the model-specific wiring diagram, and check body-control faults without replacing parts blindly.
Stop DIY testing if a replacement fuse blows again. Repeated failure means the circuit still has excessive current flow or a short. Installing more fuses does not repair the underlying problem.
Arrange prompt diagnosis if you notice any of these signs:
- A burning smell, smoke, heat, or melted plastic near a light or fuse panel
- Water in the overhead console, door, headliner, or nearby connector
- Interior-light problems that began after accessory installation, dashboard work, headliner work, or collision repair
- Several unrelated electrical systems failing, dimming, or resetting together
- Lights flickering when the vehicle moves or when a harness or switch is touched
- A door that never appears open or always appears open on the vehicle display
- A fuse that fails again immediately after replacement
A qualified technician may need the wiring diagram for your exact Camry, a digital multimeter, and a scan tool capable of reading body-system information. Give the technician your model year, trim, recent repair history, which lights fail, and whether manual and door-linked operation produce different results.
Frequently Asked Questions
How Do I Replace a Blown Interior-Light Fuse in My Camry?
Turn the vehicle off and use the fuse diagram for your exact model year. Remove the identified fuse with the fuse puller supplied with the vehicle or another insulated fuse-removal tool. Install a fuse of the same type and amp rating. If the replacement blows again, stop and have the circuit tested.
Why Do My Camry Lights Work Manually but Not When a Door Opens?
Manual operation shows that the light can illuminate and that part of its local circuit is working. Check the door-linked setting, illuminated-entry options, and whether the car recognizes each open door. A door-ajar sensor, latch or jamb switch, connector, wiring fault, setting, or body-control problem may block automatic operation.
Why Won’t My Camry Interior Lights Turn Off?
First confirm that no map or dome light is set to manual ON. Then close every door and check whether the vehicle still shows one door as open. A stuck latch or jamb input, damaged wiring, an incorrect setting, or a control-circuit fault can keep door-linked lights active. If the lights stay on with every switch set correctly, have the circuit diagnosed before the 12-volt battery is discharged.
Can a Weak Battery Affect Camry Interior Lights?
Yes. A weak 12-volt battery or charging-system problem can make several electrical systems dim, flicker, reset, or operate slowly. It is less likely to be the main cause when only one interior light has failed and every other electrical system works normally.
Can I Replace a Camry Interior-Light Bulb Myself?
That depends on the light and model year. Some units use a replaceable bulb, while others use an integrated LED assembly. Confirm the correct part and removal method in the applicable manual before prying off a lens or ordering a replacement.
Why Do My Camry Interior Lights Flicker?
Flickering can come from a loose bulb, worn socket, weak connector, failing switch, poor ground, unstable system voltage, or damaged wiring. If several lights and other electronics flicker together, test the 12-volt battery and charging system as part of the diagnosis.
What Does It Mean if the Interior-Light Fuse Keeps Blowing?
A fuse that fails again after replacement indicates that the circuit still has a fault. Possible causes include a shorted wire, wet connector, damaged socket, failed light assembly, pinched harness, or poorly installed accessory. Do not install a higher-rated fuse or keep replacing the original fuse.
Why Did My Camry Interior Lights Stop Working After a Repair?
The timing may point to a disturbed connector, pinched wire, loose ground, or accessory connection in the worked-on area. Check the repair history before replacing bulbs or modules, and tell the repair shop exactly which lights stopped working and when the problem began.
Conclusion
When your Toyota Camry interior lights stop working, begin with the failure pattern. Test each light manually, select the correct door-linked mode for your control layout, and confirm that the vehicle recognizes every open door. Check the exact model-year fuse only after those simple tests.
A single failed light usually points to its bulb, LED assembly, socket, connector, or switch. A whole-cabin failure suggests a shared fuse, power, ground, connector, or control issue. Lights that work manually but not with a door point toward settings or the door-ajar input. Repeated fuse failure, heat, water, smoke, or a burning smell means you should stop testing and have the circuit inspected.