
If your Toyota Camry’s brake lights are not working, start with the safest basics: confirm the problem with a helper, check the correct brake-light fuse for your exact model year, inspect the bulbs or LED lamp assembly, and test the brake light switch above the pedal. If a new fuse blows again, the lights stay on, or wiring damage is visible, stop troubleshooting and have the car inspected by a qualified technician.
Quick Answer
For Toyota Camry brake lights that do not work, first verify whether all brake lights are out or only one lamp is out. Then check the STOP/brake fuse listed on your fuse box lid or owner’s manual, inspect the bulb or LED assembly, test the brake light switch, and check wiring and ground connections.
Key Takeaways
- Do not rely on one universal fuse number. Camry fuse layouts vary by model year, trim, engine, and hybrid system.
- If all brake lights are out, suspect the brake light switch, brake-light fuse, power supply, or ground before replacing every lamp.
- If only one brake light is out, the problem is usually a bulb, LED lamp assembly, socket, connector, or local wiring issue.
- Never replace a blown fuse with a higher-amperage fuse. If the new fuse blows again, there is likely a short or overload.
- Check your VIN for recalls if the issue is unusual, repeated, or tied to other electrical symptoms.
At a Glance
| Time Required | 10–45 minutes for basic checks; longer if wiring diagnosis is needed |
| Difficulty | Beginner for bulbs and fuses; intermediate for switch and wiring tests |
| Tools Needed | Owner’s manual, fuse puller, same-amperage replacement fuses, flashlight, gloves, multimeter, electrical contact cleaner |
| Cost | Usually low for bulbs or fuses; higher for LED assemblies, switch replacement, wiring repair, or dealer diagnosis |
Warning: Do not ignore failed brake lights. Federal lighting rules require stop lamps to activate when the service brakes are applied, and inoperative brake lights reduce warning time for drivers behind you. Avoid driving in traffic or at night until the lights are working.
How to Diagnose Common Brake Light Failures in Your Toyota Camry
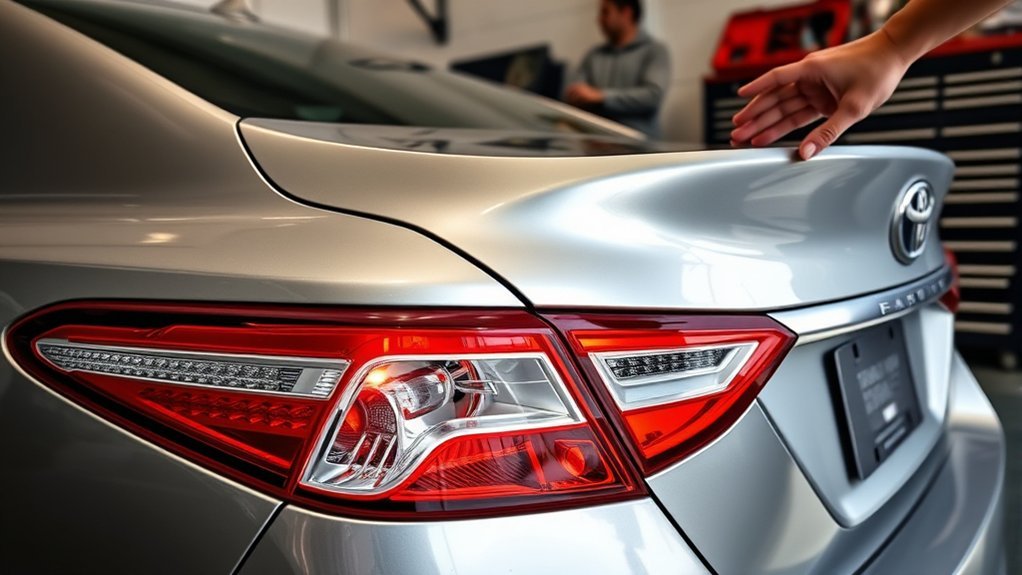
Before replacing parts, identify the pattern. Ask a helper to stand behind the car while you press the brake pedal, or back up near a garage door or wall and watch for the red reflection. Check the left brake light, right brake light, and center high-mounted stop lamp separately.
| Symptom | Most likely causes | Start here |
|---|---|---|
| All brake lights are out | Brake light switch, STOP/brake fuse, power feed, ground, wiring, body control module | Check the correct fuse and test the brake light switch |
| Only one brake light is out | Burned bulb, LED assembly fault, bad socket, loose connector, local wire damage | Inspect that lamp, connector, and socket |
| Tail lights work but brake lights do not | Brake switch, brake-light fuse, separate brake circuit, dual-filament bulb issue | Test brake pedal switch and brake circuit |
| Brake lights stay on | Misadjusted switch, broken pedal stopper, stuck switch, pedal not returning fully | Inspect switch position and pedal stopper |
| Center brake light is out only | Center lamp bulb or LED, connector, trunk/rear-deck wiring | Check the center lamp assembly and connector |
Start with simple checks. Look for a burned brake light bulb, a loose lamp connector, corrosion in the socket, or a damaged wiring harness near the trunk lid, rear lamp housing, or under the dash. Then move to the fuse, brake light switch, and ground connections.
Note: Toyota Camry fuse names, fuse numbers, bulb types, and LED lamp designs vary by model year and trim. Use your exact owner’s manual, fuse box lid, or VIN-based parts lookup instead of assuming one fuse number applies to every Camry.
Step-by-Step Guide to Checking Your Brake Light Fuses
If any electrical component does not operate, Toyota owner guidance recommends checking whether a fuse has blown and replacing it with the appropriate amperage shown on the fuse box lid. For brake lights, look for the fuse labeled for the STOP, stop lamp, brake lamp, or related rear lighting circuit in your specific Camry.
- Turn the car off safely: Park on level ground, set the parking brake, and turn the ignition or power switch off before handling fuses.
- Find the correct fuse box: Depending on the Camry year, there may be fuse boxes under the driver’s side instrument panel and in the engine compartment. Check the fuse box lid and owner’s manual.
- Identify the brake-light fuse: Do not assume fuse number four, fuse 23, or any other fixed number applies to your car. Match the label and amperage for your exact model.
- Pull and inspect the fuse: Use a fuse puller when available. A broken metal strip usually means the fuse is blown, but a fuse can still test bad even if it looks normal.
- Test with a multimeter: Check continuity across the fuse or verify voltage at both test points with the circuit powered as directed by your manual.
- Replace only with the same amperage: Install a fuse with the same rating and type. Never install a higher-amperage fuse to “get by.”
Warning: If the new fuse blows again, stop replacing fuses. A repeated blown fuse points to a short circuit, overloaded circuit, damaged lamp assembly, or wiring fault that needs proper diagnosis.
[Products Worth Considering]

This plug-and-play OBD2 scanner helps drivers quickly read and clear engine error codes while providing live data, freeze frame information, I/M readiness, and MIL status for more confident troubleshooting. It adds a built-in voltage test and clear status indicators to support electrical checks and faster diagnostics, making it a practical choice for home users, car enthusiasts, and repair professionals. Compatible with most OBDII vehicles since 1996 and designed with an easy-to-use interface, it offers broad coverage and simple operation in one compact tool.

The Fluke 15B+ Digital Multimeter is a rugged, easy-to-use tool designed for accurate electrical troubleshooting in residential, commercial, automotive, and equipment applications. It measures AC/DC voltage and current, resistance, continuity, diode, and capacitance, helping you diagnose problems quickly and confidently. With a safety-focused design and one-handed operation, it is built for dependable everyday use.

This 9-piece torque wrench set gives DIYers and professionals a versatile way to tighten fasteners with confidence across bikes, motorcycles, cars, trucks, and industrial equipment. It includes three click torque wrenches, multiple adapters, dual-scale measurement, and clear audible feedback to help prevent overtightening. Built with durable materials and stored in a portable case, it is designed for precise, organized, and reliable use.
Inspect and Fix Your Brake Light Switch
The brake light switch, also called the stop lamp switch, sits near the brake pedal and tells the brake lights to turn on when you press the pedal. Toyota describes the stop light switch as the electrical switch that activates the brake lights with pedal input and sends pedal signals to related systems.
Common brake light switch symptoms include all brake lights not working, brake lights staying on, intermittent brake lights, the shifter not coming out of Park on some vehicles, or warning lights appearing with pedal-switch faults.
- Look above the brake pedal: Find the switch and check whether it is loose, unplugged, cracked, or misaligned with the pedal arm.
- Inspect the pedal stopper: On some vehicles, a missing or broken pedal stopper can keep the brake lights on because the switch is not being pressed when the pedal is released.
- Check the connector: Make sure the connector is fully seated and the terminals are not corroded, pushed back, or damaged.
- Test the switch safely: Use a multimeter or scan tool to confirm the switch changes state when the pedal is pressed and released.
- Replace or adjust if needed: If the switch fails testing or is physically damaged, use the correct replacement part for your VIN and follow the service procedure for adjustment.
Pro Tip: Avoid jumping switch wires unless you have the correct wiring diagram and know the terminals. Guessing can short a circuit or damage electronic modules on newer Camry models.
[Products Worth Considering]

This versatile car fuse assortment kit includes multiple fuse sizes and current ratings to help keep vehicles protected and ready for quick repairs. With organized color-coded fuses, a fuse puller, and installation guidance, it offers a convenient backup solution for a wide range of automotive and recreational vehicles. It's ideal for drivers who want a practical emergency replacement set for everyday use and travel.
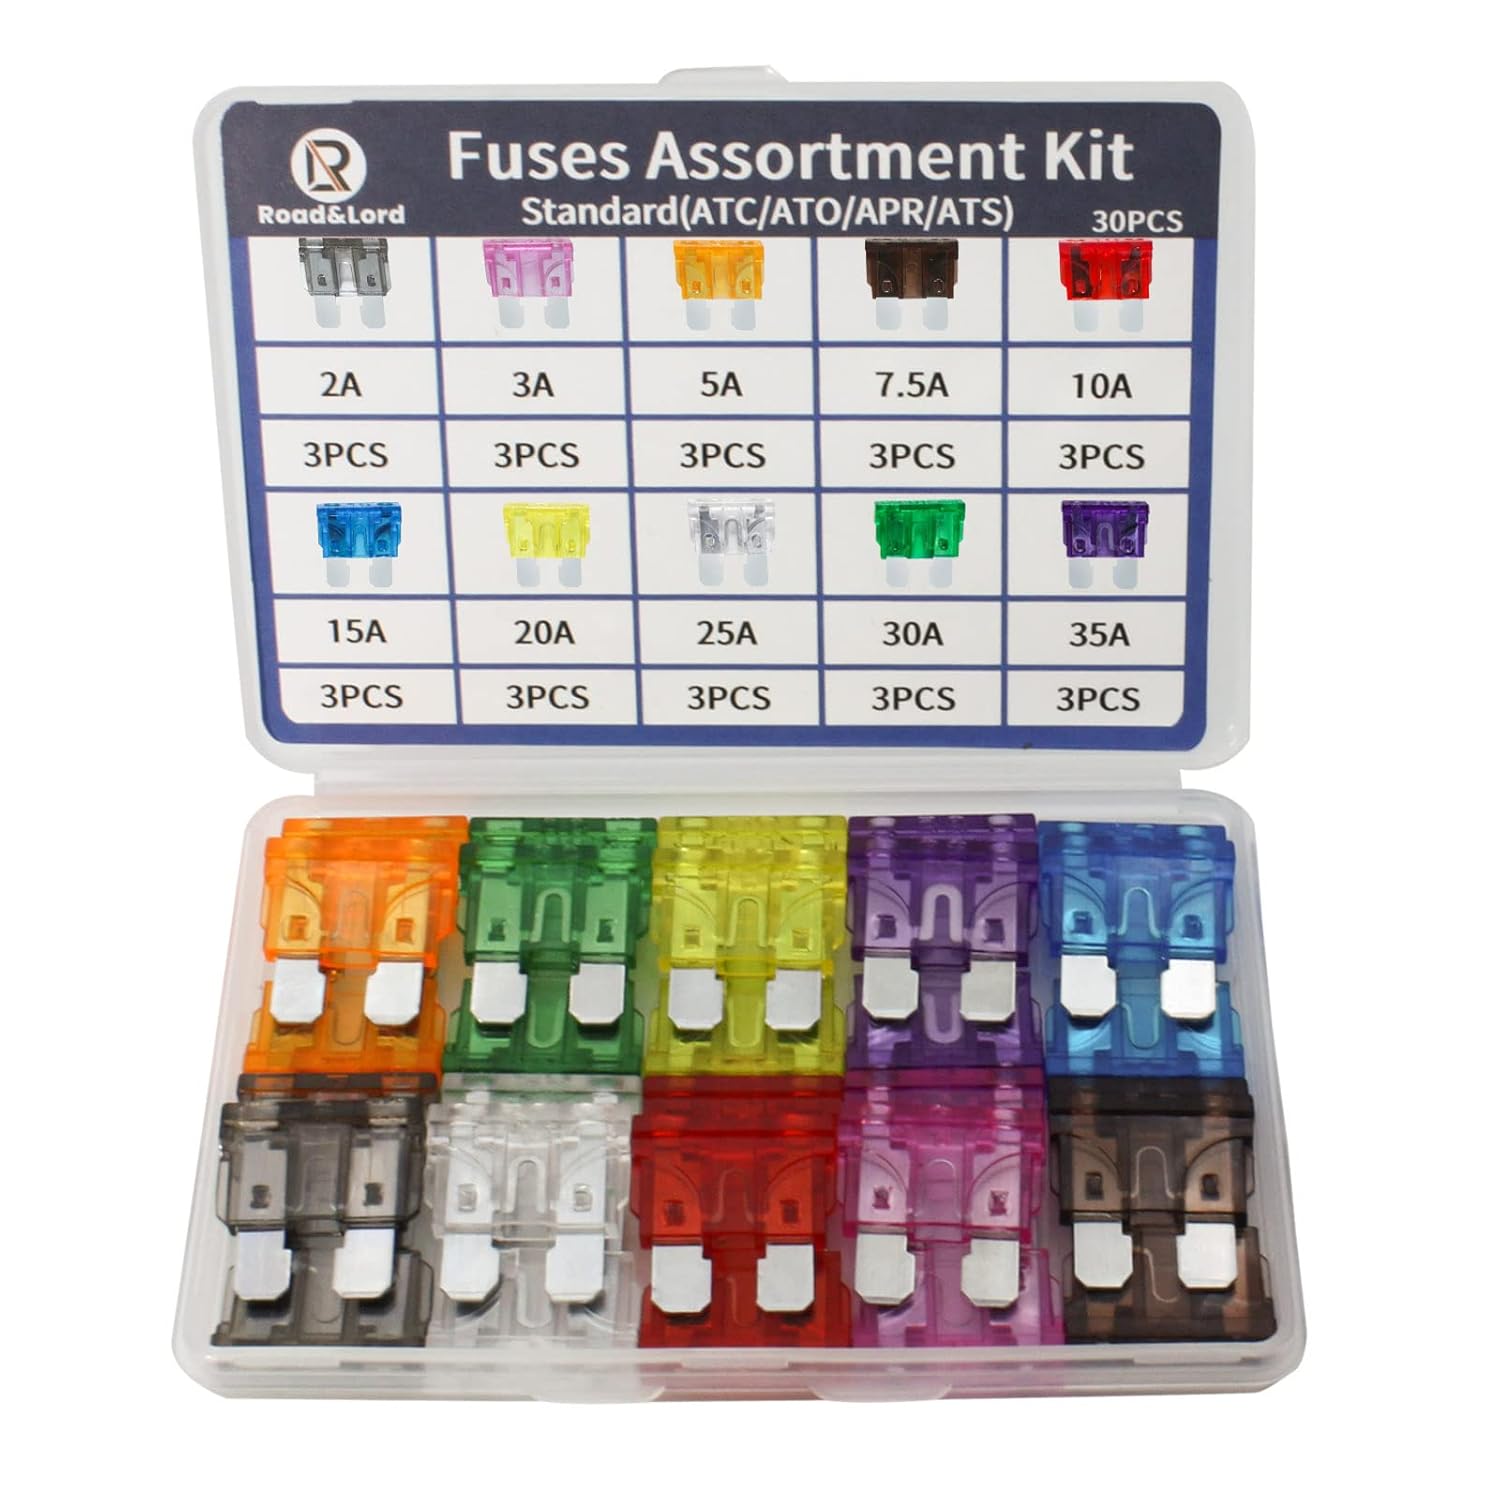
This standard blade fuse assortment kit provides a convenient selection of common amp ratings to help protect vehicle electrical systems from overloads, short circuits, and wiring damage. With transparent, color-coded housings and clearly marked ratings, it makes blown fuse replacement fast and easy for cars, trucks, boats, RVs, and other DC applications. The durable compact case keeps the fuses organized for reliable storage and quick access when needed.

Application:The brake rubber stopper can be replaced by the part number 90541-06036, 9054106036, which is suitable for Toyota Avalon 1995-2002, for Camry 1987-2011, for MR2 1990-1995, for Lexus ES330 2004-2006, for LS500 2018-2022, for RX400h 2006-2000, for Scion iM 2016, for TC 2005-2016 and other models. Please check your OEM number and car model before purchasing to ensure proper use
Fixing Wiring Harness Issues for Brake Lights
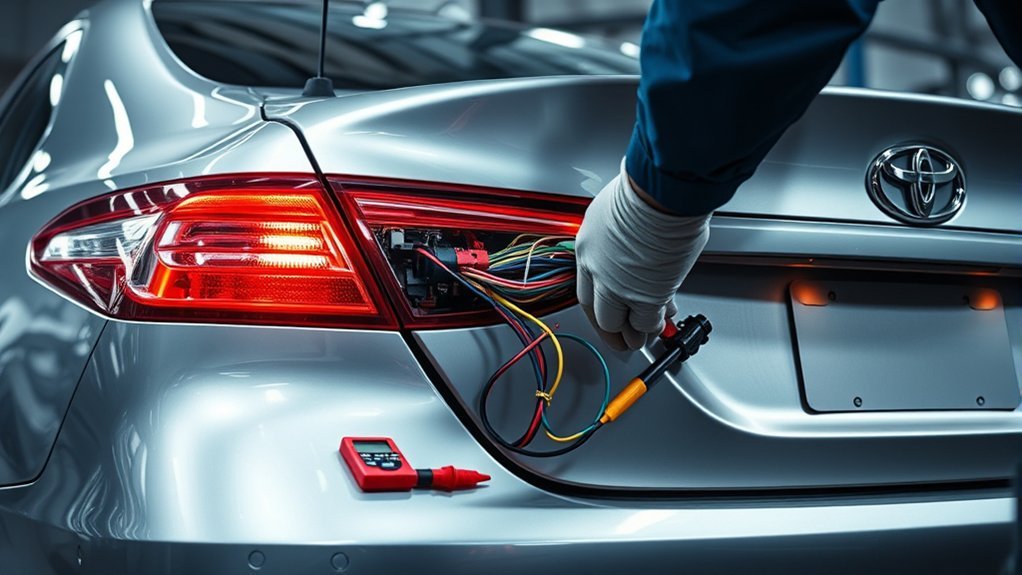
Wiring harness problems can cause one brake light to fail, all brake lights to fail, or intermittent operation when the trunk is opened, the lamp housing is moved, or the car hits a bump. Focus on the rear lamp connectors, trunk-lid wiring, under-dash brake switch connector, and any harness section that has been repaired before.
Inspecting Connector Integrity
When inspecting connector integrity in the brake light system, look for looseness, corrosion, melted plastic, water intrusion, or terminals that have backed out of the connector body. These problems can interrupt electrical flow and stop the brake lights from working.
- Check for corrosion: Green, white, or crusty residue on terminals can create resistance and intermittent brake light operation.
- Check for heat damage: Browned plastic, melted sockets, or a burnt smell can point to poor contact or an overloaded circuit.
- Secure the connector: Make sure each connector clicks into place and does not wiggle loose.
- Use the wiring diagram: A diagram helps you identify power, ground, and signal wires without guessing.
Repairing Corroded Connections
To repair corroded brake light connections, disconnect the connector, clean light corrosion with electrical contact cleaner, and let it dry before reconnecting. If a terminal is badly pitted, loose, green inside the wire, or physically damaged, replacement is safer than cleaning.
Dielectric grease can help protect clean connections from moisture, but it should not be used as a substitute for removing corrosion or repairing damaged terminals. After cleaning or repair, test the brake lights several times and gently move the harness to check for intermittent faults.
Why Your Ground Wire Matters for Brake Light Functionality
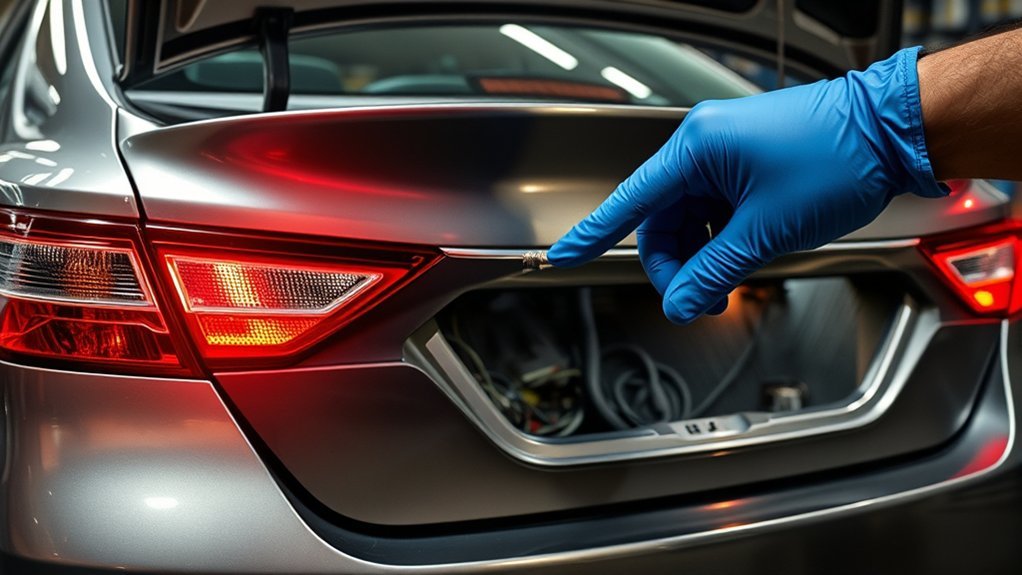
Your ground connection completes the brake light circuit. A weak ground can cause dim brake lights, flickering, one lamp behaving strangely, or multiple rear lights acting up at the same time. Ground problems are common after water leaks, body repairs, trunk impacts, corrosion, or loose fasteners.
Importance of Ground Wiring
A solid ground gives the brake lights a reliable return path to the battery. Without it, the lights may not illuminate even when the fuse, bulb, and brake light switch are good. A weak ground can also create confusing symptoms, such as lights that work only when another rear lamp is on.
Common Ground Wire Issues
- Loose ground bolt: The fastener may loosen after repairs or vibration.
- Corrosion: Moisture can corrode the ground eyelet or body contact point.
- Paint or body repair residue: Fresh paint under a ground point can block good metal-to-metal contact.
- Broken wire strands: A wire can look connected but fail under load.
Testing Ground Connections
- Inspect the ground point: Look for rust, loose bolts, broken wires, or moisture near the rear lamp area.
- Clean the contact surface: If accessible, clean the ground eyelet and body contact point until the connection is secure and metal-to-metal.
- Perform a voltage-drop test: A multimeter can reveal resistance in the ground path while the brake lights are under load.
- Repair the wire if needed: Replace broken, overheated, or corroded wiring rather than twisting it together temporarily.
Checking Brake Light Bulbs, LED Assemblies, and Sockets
Older Camry models often use replaceable brake light bulbs, while some newer trims may use LED lamp assemblies or bulbs that are not serviced the same way. Check your owner’s manual before removing trim or ordering parts.
- Remove the lamp carefully: Follow the manual so you do not crack trim clips or the lamp housing.
- Inspect the bulb: A broken filament, dark glass, or loose base usually means the bulb is bad.
- Check dual-filament bulbs: A tail light can work while the brake filament in the same bulb is burned out.
- Inspect the socket: Look for heat marks, corrosion, bent contacts, or moisture.
- For LED assemblies: If power and ground are present but the LED brake light does not illuminate, the lamp assembly may need replacement.
Note: If water is inside the lamp housing, replacing only the bulb may not be enough. Moisture can damage sockets, connectors, and LED boards, so the leak source should be fixed too.
[Products Worth Considering]

Non-polarity. Can be used for brake lights, tail lights, stop lights, parking light, daytime running light, etc. Some sensitive vehicles will meet canbus issue after installing, load resistors or flasher relay will be required to solve these issues, you can contact us through Amazon Buyer Message to get help and solutions

SUPER BRIGHT & LOW CONSUMPTION: The 7443 LED bulb utilizes 24 PCS high power 2835 LED chipset, unique 360 degree lighting design, consumes only 3W and is 400 times brighter than the original bulb. Clearly visible even in bad weather, making your driving safer.

💡 Socket Replacement - Tail light bulb holder package contains 2 pieces, cable length is 5.31 inch. The black ring OD is 1.4 inch, the red ring OD (including protrusion) is 1.07 inch, and the red ring ID is 0.9 inch, suitable for car brake light bulb sockets, daytime running light socket, car turn signal bulb sockets replacement. Please check the applicable size before buying, so as not to be unable to use it after buying!
Check for Recalls and Service Campaigns
If your Camry has repeated brake light failures, a brake light switch problem, or other electrical symptoms at the same time, check for recalls before paying for repairs. Use your 17-character VIN on the NHTSA recall lookup and Toyota’s Safety Recalls & Service Campaigns lookup. Recall status is VIN-specific, so a general model-year search is not enough.
When to Call a Professional for Brake Light Problems
Call a professional if you replaced a bulb and checked the correct fuse but the brake lights still do not work. You should also stop DIY troubleshooting if the fuse blows again, the connector is melted, the wiring is damaged, the brake lights stay on, the shifter is stuck in Park, or multiple electrical systems fail at the same time.
Newer Camry models may route brake pedal information through electronic control modules. A technician can use a wiring diagram, scan tool, and voltage-drop testing to confirm whether the issue is the switch, lamp assembly, wiring harness, ground, body control module, or another related component.
Final Brake Light Test Before Driving
- Test all three brake lights: Confirm the left, right, and center high-mounted stop lamp illuminate.
- Test with headlights on and off: This helps catch tail/brake lamp wiring or dual-filament bulb issues.
- Check pedal release: Make sure the brake lights turn off when you release the pedal.
- Check for warning lights: If dashboard warnings remain, scan the vehicle before assuming the repair is complete.
- Recheck after a short drive: Heat and vibration can reveal loose connectors or intermittent wiring faults.
Frequently Asked Questions
Why do my tail lights work but not my brake lights?
Tail lights and brake lights can use different circuits or different filaments inside the same bulb. If the tail lights work but the brake lights do not, check the brake light switch, the STOP/brake fuse for your exact Camry, the brake-light filament, and the brake-light wiring circuit.
How do I fix Toyota Camry brake lights that are not working?
Verify the symptom first. If all brake lights are out, check the correct brake-light fuse, brake light switch, power supply, and ground. If only one lamp is out, inspect that bulb, LED assembly, socket, connector, and local wiring. If a new fuse blows again, get professional diagnosis.
Which fuse controls the brake lights on a Toyota Camry?
The fuse can vary by model year, trim, engine, hybrid system, and market. Look for the STOP, stop lamp, brake lamp, or related rear-lighting fuse on the fuse box lid or in your owner’s manual. Replace it only with the same amperage rating.
Why do my Camry brake lights stay on?
Brake lights that stay on often point to a misadjusted or stuck brake light switch, a missing pedal stopper, a pedal that is not returning fully, or a shorted circuit. Check the switch and pedal area first, then inspect wiring if the switch is not the cause.
Can I drive my Toyota Camry with no brake lights?
You should avoid driving with inoperative brake lights. Drivers behind you may not know when you are slowing or stopping, and the car may not meet lighting requirements. If you must move the vehicle, keep it short, avoid traffic, and repair the lights as soon as possible.
Conclusion
Toyota Camry brake light problems are usually caused by a bad bulb or LED assembly, the wrong or blown brake-light fuse, a faulty brake light switch, wiring damage, or a weak ground. The safest repair path is to diagnose by symptom, use your exact model-year fuse information, replace only same-amperage fuses, and confirm all three brake lights work before driving. If the issue repeats or the wiring looks damaged, a professional inspection is the smart next step.
Sources
- Toyota Owners Manuals and Warranties — model-specific owner’s manual guidance and Toyota repair information
- Toyota 2025 Camry Hybrid: Checking and Replacing Fuses — fuse replacement, fuse box location, and same-amperage guidance
- Toyota 2025 Camry Hybrid: Light Bulbs — model-specific light bulb service guidance
- Toyota Genuine Stop Light Switch Assembly — brake pedal switch function and related pedal signal information
- NHTSA Recall Lookup — VIN-based recall and safety issue lookup
- 49 CFR § 571.108 — U.S. federal lighting standard for stop lamps


[…] Important distinction: This guide covers the dashboard brake-system warning, not the rear stop lamps. If the exterior brake lights do not illuminate, stay on, or flicker, use the Camry brake-lights troubleshooting guide. […]
[…] circuit-level diagnosis beyond the bulb and socket, see the Toyota Camry brake lights not working troubleshooting guide. If wiring is damaged, the socket is burned, a fuse repeatedly fails, or the lamp housing has […]