Toyota Camry Alternator Problems: Testing and Replacement Guide
What’s in This Article
- How a Camry Alternator Powers the Car
- Is Your Camry’s Alternator Going Bad? Quick Checks
- What You’ll Need Before Testing or Replacement
- Test the Charging System: Battery, Voltage, and Alternator Circuits
- Replace a Camry Alternator: Main Steps and Access Tips
- Verify Camry Alternator Charging After the Repair
- OEM vs Aftermarket Alternators for a Camry
- Common Mistakes to Avoid
- When to Get Professional Help
- Frequently Asked Questions
Your Camry’s alternator can fail quietly until the battery warning light, dim headlights, or a no-start problem appears. A few voltage checks can show whether the battery, wiring, or alternator causes the issue. This guide shows you how to spot symptoms, test the charging system, replace the alternator safely, and confirm the repair.
Quick Answer
A healthy Camry alternator usually raises battery voltage from about 12.6 volts at rest to about 13.5 to 14.5 volts while the engine runs. If voltage stays near resting battery voltage, drops under load, or your lights flicker, test the battery, cables, belt, and alternator before you replace parts. Professional Camry alternator replacement often costs about $550 to $809 before taxes, fees, and related repairs.
Key Takeaways
- A healthy Camry battery reads about 12.6 volts at rest and about 13.5 to 14.5 volts with the engine running.
- Flickering lights, dim headlights under load, and battery warning lights often point to charging system trouble.
- Test the battery, belt, cables, grounds, and alternator circuits before you condemn the alternator.
- Disconnect the negative battery cable before alternator removal to reduce short-circuit risk.
- OEM alternators cost more upfront, but they usually offer better fit and clearer warranty terms.
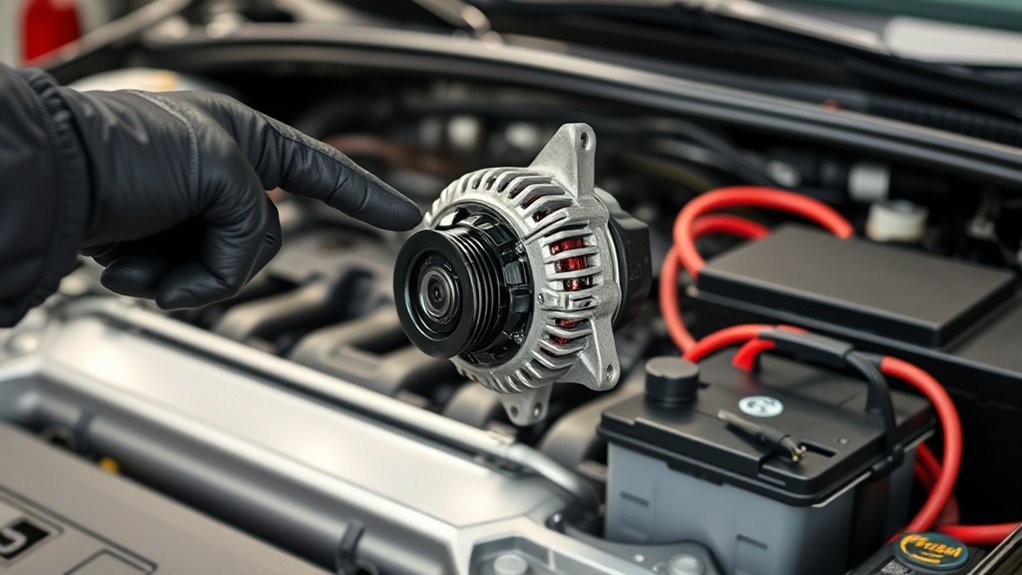
How a Camry Alternator Powers the Car
The Camry’s alternator converts engine rotation into electrical power while the engine runs. It runs lights, climate controls, infotainment, modules, and other electrical loads while it also recharges the battery.
A fully charged 12-volt car battery usually rests near 12.6 volts with the engine off. When the engine runs, a working charging system often raises voltage to about 13.5 to 14.5 volts.
The alternator creates current through a rotating magnetic field, then diodes convert that current into direct current. The voltage regulator controls output so the system can meet electrical demand without overcharging the battery.
When you turn on headlights, the blower motor, heated glass, or infotainment, the alternator works harder to maintain stable voltage. If it can’t keep up, you may notice dim lights, warning indicators, weak cranking, or a dead battery.
Is Your Camry’s Alternator Going Bad? Quick Checks
Start with symptoms, then confirm them with voltage tests. Flickering dashboard lights, dim headlights under load, belt noise, repeated battery drain, and a battery warning light can point to alternator or wiring trouble.
Check resting battery voltage first. It should sit near 12.6 volts after the car rests with the engine off. Start the engine and measure again at the battery terminals. A normal charging reading often falls between 13.5 and 14.5 volts.
If voltage stays near 12.6 volts with the engine running, the alternator may not charge. If voltage drops sharply when you turn on headlights, the blower, and rear defroster, check the alternator, belt, battery cables, and grounds.
| Quick Check | Diagnosis Tip |
|---|---|
| Dashboard lights | A battery warning light can point to a charging system fault |
| Headlight behavior | Dimming under load can mean the alternator can’t meet demand |
| Resting battery voltage | About 12.6 volts suggests a full charge; lower voltage needs more testing |
| Running battery voltage | About 13.5 to 14.5 volts usually shows normal charging |
| Positive-side voltage drop | High millivolt readings under load can signal cable or connection resistance |
These checks help you act before the car leaves you stranded. If readings fall outside the normal range, run the full diagnostics below or ask a shop to test the charging system.
What You’ll Need Before Testing or Replacement
Gather your tools before you test or replace the alternator. The right tools help you avoid bad readings, damaged fasteners, and unsafe electrical work.
- Digital multimeter with DC voltage and millivolt settings
- Lab oscilloscope, optional for signal checks
- Standard socket set, often 10mm, 12mm, and 14mm
- Breaker bar or torque wrench
- Serpentine belt tool or long-handled ratchet
- Gloves and safety glasses
- Wiring diagram for your Camry model year
- Service manual or repair database for torque specs
Estimated time: Testing usually takes 20 to 30 minutes. Full alternator replacement can take 2 to 4 hours, depending on engine layout, access, and your skill level.
Test the Charging System: Battery, Voltage, and Alternator Circuits
Test the battery before you test the alternator. A weak or undercharged battery can mimic alternator failure and lead you toward the wrong repair.
Measure open-circuit voltage with the engine off. A fully charged battery should read about 12.6 volts. A reading below 12.0 volts suggests a low charge or battery problem, so charge and retest it before deeper diagnosis.
Start the engine and measure voltage at the battery terminals. You should usually see about 13.5 to 14.5 volts. Turn on headlights, the blower, and the rear defroster, then watch for large drops or unstable readings.
Use your Camry wiring diagram before you back-probe alternator circuits. Common circuits include the main B+ output, ignition or lamp circuit, and sense or feedback circuit, but exact wire names and values vary by model year.
Pro tip: Back-probe the connector only when you can do it safely, so the circuit stays live and your readings reflect real operating conditions.
Battery State Check
Confirm the battery’s open-circuit voltage before full diagnostics. A healthy, fully charged battery should read about 12.6 volts at rest.
Clean and tighten the terminals before you test. Corrosion or loose clamps can create false readings and make a good alternator look weak.
Record the open-circuit voltage, then run accessory loads and watch stability. If the battery reads low, charge it fully or replace it if it fails a battery test.
Charging Voltage Test
Start the engine and measure voltage at the battery terminals. A properly working Camry charging system usually shows about 13.5 to 14.5 volts.
A reading near 12.6 volts with the engine running suggests the alternator does not charge. A reading that rises too high can point to a regulator fault, which can damage the battery and electronics.
Turn on headlights, the blower motor, and the rear defroster. Voltage should stay stable enough to support the load. Persistent drops below 13.0 volts need more testing.
Alternator Circuit and Voltage Drop Checks
Check the main alternator output cable and ground path under load. High resistance in a cable, fuse link, or ground strap can reduce charging even when the alternator works.
Run a positive-side voltage drop test from the alternator output post to the battery positive post. Many technicians treat readings above about 300 millivolts under load as a sign to inspect the cable, fuse link, or connection.
Check the ground side from the alternator case to the battery negative post. Keep the voltage drop very low. A high reading points to a poor ground path, loose fastener, or corroded connection.
If your wiring diagram shows ignition, lamp, or sense circuits, back-probe them only with the correct pinout. Wrong probing can damage connectors or control modules.
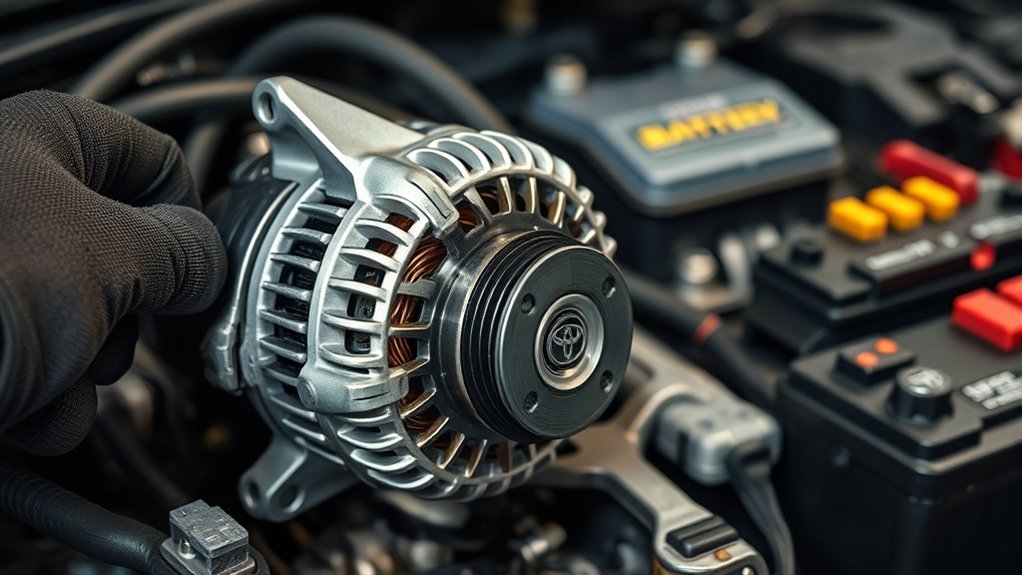
Replace a Camry Alternator: Main Steps and Access Tips
Warning: Disconnect the negative battery cable before alternator removal to reduce the risk of shorts, blown fuses, and electrical damage.
- Disconnect the negative battery cable. This step reduces short-circuit risk while you work around the alternator output cable.
- Remove any covers or intake parts that block access. Keep fasteners grouped so reassembly stays simple.
- Loosen the upper alternator bolt. This frees the top of the unit and gives you room to move it.
- Release serpentine belt tension and remove the belt from the alternator pulley. Use a belt tool or long-handled ratchet, then confirm the belt routing before removal.
- Remove the lower pivot bolt beneath the alternator. Track washers and spacers so each part returns to the same location.
- Unplug connectors and label the harnesses. Take a phone photo before you disconnect anything.
- Remove the output cable from the alternator. Protect the terminal and nut so they don’t touch metal parts.
- Create more clearance if needed. Some Camry layouts may require fan, bracket, or support removal to extract the alternator safely.
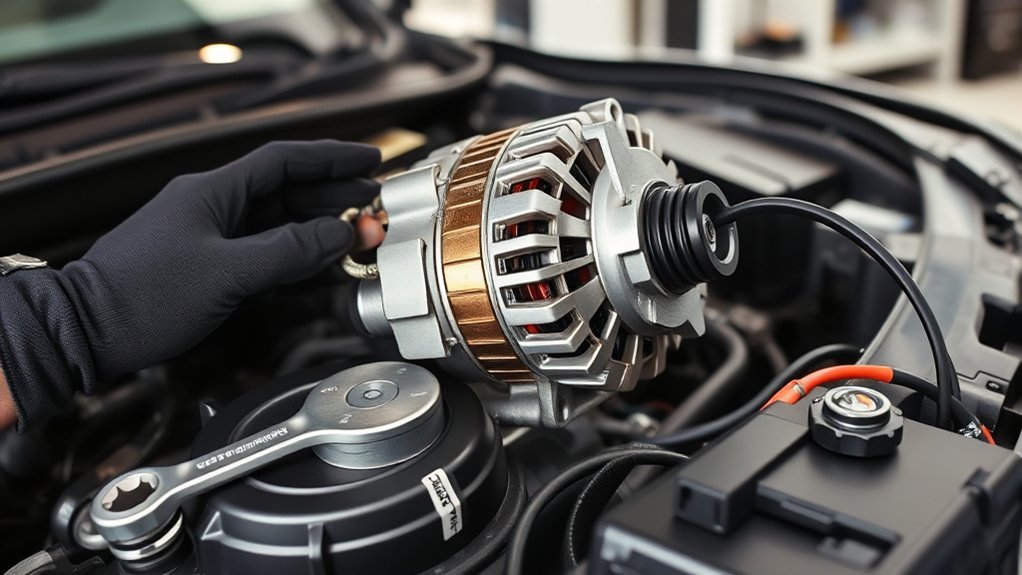
- Lift the alternator out carefully. Work slowly and avoid forcing it against hoses, wiring, or radiator fins.
- Set the new alternator in place and align the bolt holes. Start bolts by hand to prevent cross-threading.
- Torque fasteners to spec. Check the service manual for your Camry year and engine. Don’t guess on pivot bolt torque.
- Reinstall the serpentine belt and restore tension. Confirm the belt sits correctly on every pulley before startup.
- Reconnect the output cable, connectors, and negative battery cable. Check that every connector clicks into place before you start the engine.
Verify Camry Alternator Charging After the Repair
Don’t finish the job until you verify charging voltage. A new alternator can still fail to charge if the belt, fuse link, ground, or connector has a problem.
Measure resting battery voltage first. About 12.6 volts shows a full charge. If the battery reads much lower, charge it before you judge the alternator.
Start the engine and measure voltage at the battery. You should usually see about 13.5 to 14.5 volts. Turn on accessories and confirm that voltage stays stable under load.
Resting Battery Voltage
A properly charged Camry battery should read about 12.6 volts at rest. Measure it with the engine off and accessories turned off.
Use that baseline to judge the charging test. If resting voltage sits low, test for a weak battery or parasitic draw before you blame the alternator.
Running Charge Voltage
With the battery confirmed near 12.6 volts, run the engine and measure charging voltage at the terminals. A properly working charging system often reads about 13.5 to 14.5 volts.
Small changes can happen as the voltage regulator responds to load and battery condition. Persistent dips below 13.0 volts with lights or climate controls on need more diagnosis.
Voltage Under Load
Run accessories like headlights, the blower motor, and the rear defroster. The charging system should support these loads without a major voltage drop.
Readings in the 13.5 to 14.5 volt range usually show proper charging. A drop near resting voltage can point to alternator, belt, wiring, fuse link, or ground trouble.
If positive-side voltage drop exceeds about 300 millivolts under load, inspect the output cable and connections. Repair poor connections before you replace more parts.
OEM vs Aftermarket Alternators for a Camry: Pros and Cons
You can choose an original equipment manufacturer (OEM) alternator or an aftermarket alternator for your Camry. The better choice depends on fit, warranty terms, build quality, output rating, and how long you plan to keep the car.
OEM units usually match Toyota’s fit and performance requirements more closely. Toyota states that most genuine accessories carry 12-month coverage, and dealer-installed parts may have clearer warranty handling than many aftermarket purchases.
Aftermarket units can cost less upfront, but quality varies by brand, rebuild process, and warranty terms. Confirm the amperage rating, pulley design, connector shape, and return policy before you buy.
| Aspect | OEM Alternator | Aftermarket Alternator |
|---|---|---|
| Fit | Usually matches factory mounting and connector layout | May vary by brand, rebuild quality, and listing accuracy |
| Output | Built to match Toyota specifications for the application | May meet, exceed, or miss the correct output rating |
| Warranty | Usually easier to handle through Toyota or dealer channels | Depends on retailer and manufacturer terms |
| Cost | Higher upfront cost | Often lower upfront cost, with wider quality variance |
Base your choice on total value, not price alone. A cheaper alternator can cost more later if poor fit or weak output creates repeat labor.
Common Mistakes to Avoid
A simple alternator job can turn costly when you skip basic checks. Watch for these mistakes before you start.
- Skipping the battery state check first. A weak battery can mimic alternator failure, so test battery voltage before you condemn the alternator.
- Ignoring the serpentine belt. A loose, glazed, or misrouted belt can reduce alternator output.
- Forgetting to label connectors. A phone photo takes seconds and prevents confusion during reassembly.
- Disconnecting the wrong battery cable first. Disconnect the negative cable first to reduce short-circuit risk.
- Guessing torque values. Use your Camry service manual or repair database for fastener specs.
- Routing the belt incorrectly. An off-track belt can damage the belt or pulleys soon after startup.
When to Get Professional Help
Get professional help if the charging light stays on after battery and alternator replacement. A shop can test the fuse link, control circuits, grounds, and charging command data with proper tools.
You should also stop if you see melted wiring, burning smells, repeated blown fuses, or voltage above normal range. These signs can point to faults that may damage expensive control modules.
If your Camry has tight alternator access, let a technician handle the repair if you can’t remove the unit without forcing parts. Forced removal can damage radiator fins, hoses, wiring, and brackets.
Frequently Asked Questions
How Long Does a Camry Alternator Typically Last?
A Camry alternator can last many years, but lifespan varies with heat, mileage, driving habits, and electrical load. Many units fail somewhere around 80,000 to 150,000 miles, but that range isn’t a fixed rule.
Watch for dim lights, repeated battery drain, warning lights, bearing noise, or unstable voltage. Test the battery and charging system before you replace the alternator.
Can a Bad Alternator Drain the Battery Overnight?
Yes. A failing alternator diode can create a parasitic draw that drains the battery while the engine stays off.
Don’t assume the alternator causes every overnight drain. Test for parasitic draw, inspect lights and modules, and confirm the fault before buying parts.
Are Alternator Repairs Covered Under Warranty?
Coverage depends on your vehicle warranty, extended service plan, part source, and installation location. Check your paperwork before you approve the repair.
If a Toyota dealer installs the part, ask the service advisor to explain parts and labor coverage in writing. Warranty terms can vary by market and plan.
How Much Does Professional Alternator Replacement Cost?
RepairPal estimates Toyota Camry alternator replacement at about $550 to $809 before taxes, fees, and related repairs. Your final price depends on model year, engine, labor rate, part brand, and local pricing.
Ask the shop to test the battery and cables before replacement. That step helps you avoid paying for an alternator when the real fault sits elsewhere.
Can a Failing Alternator Damage Other Electrical Components?
Yes. Unstable or excessive charging voltage can stress the battery, modules, sensors, and wiring.
Prompt testing reduces that risk. Stop driving and diagnose the system if lights flicker, fuses blow, or voltage rises above the normal charging range.
Conclusion
Your Camry’s alternator keeps the electrical system stable, but you should test the whole charging system before replacing it. Start with resting battery voltage, then check running voltage, load response, cable drops, belt condition, and connector fit.
If the alternator fails those checks, replace it carefully and reconnect the negative battery cable last. Verify charging voltage right after startup so you know the repair worked.
Keep a digital multimeter in your tool kit, and you’ll catch charging problems before they leave you stuck.
References
- What Is Car Battery Voltage? — Jiffy Lube
- Toyota Camry Alternator Replacement Cost Estimate — RepairPal
- Owner’s Manuals and Warranty — Toyota
- Why Disconnect the Car’s Negative Battery Terminal When Working on Repairs — CarParts.com


[…] vibrating Toyota Camry at highway speeds isn’t just uncomfortable — it’s your car telling you something is […]