Toyota Supra rust repair starts with finding how far corrosion has spread and, just as importantly, why moisture reached the metal. Light surface rust may need only cleaning, treatment, primer, and paint, while perforated metal usually requires cutting and welded patch work. The final repair should also restore the factory-style corrosion protection that was disturbed.
Quick Answer
Inspect the spare tire well, wheel arches, lower doors, fenders, underbody, and areas around water seals. Remove rust back to sound metal, replace perforated sections when needed, then restore primer, seam sealing, paint, cavity protection, and undercoating as appropriate. Fix any water leak or blocked drain before closing the repair.
At a Glance
| Difficulty | Basic to advanced, depending on whether the metal is only surface-rusted or needs cutting and welding |
| Tools Needed | Inspection light, abrasives and cutting tools; body hammer, duckbill pliers, bench vice, and MIG welder when metal replacement is required |
What Are Common Rust Issues in Older Toyota Supras?
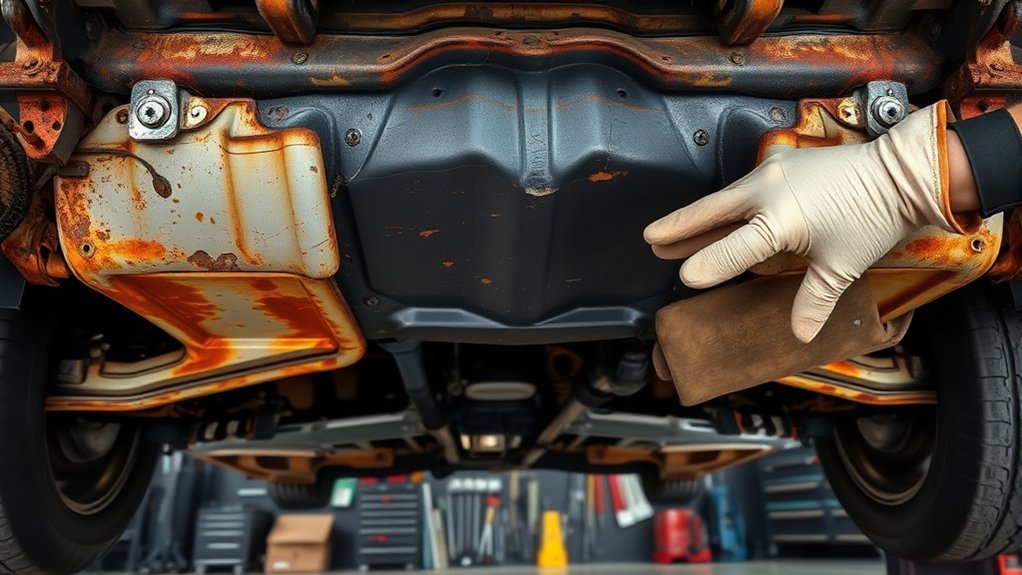
Older Toyota Supras can develop corrosion anywhere water, road debris, or salt remains against damaged or poorly protected metal. Start with the spare tire well, rear wheel wells, lower body seams, doors, fenders, and underbody, then trace any damp area back to its source before repairing the metal.
- Spare tire well: Look for staining, damp carpet, blistered paint, scale, or perforation. Standing water in this area can allow corrosion to continue unseen beneath trim.
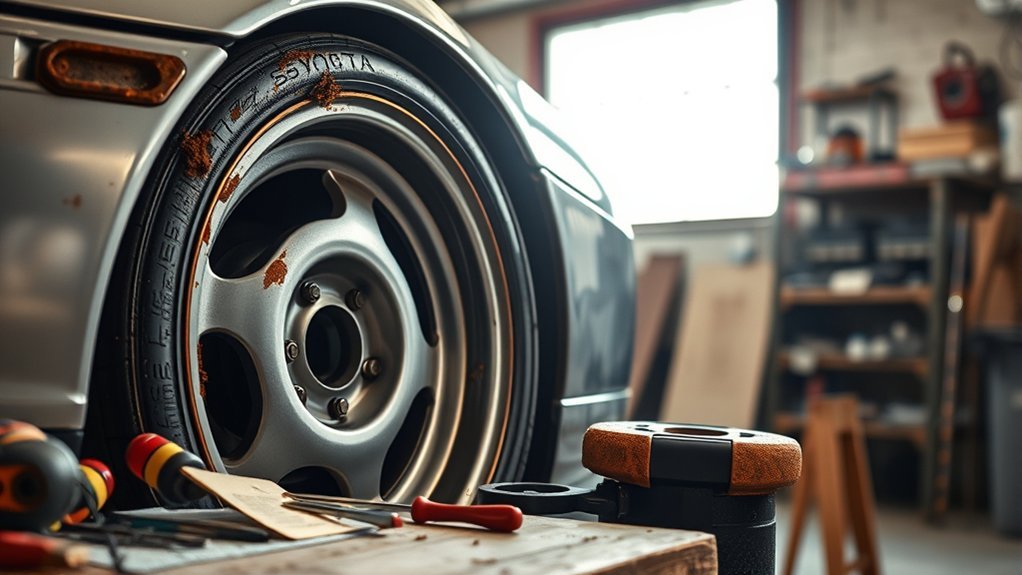
- Rear wheel wells: Inspect behind liners and along seams where dirt and road moisture can accumulate. Check both the visible outer arch and the metal behind it.
- Lower doors and rocker areas: Inspect seams and drain openings. Toyota’s older Supra owner guidance specifically warns that dirt can clog drain holes in lower doors, rocker panels, and frame members, allowing trapped water to promote corrosion.
- Paint chips and scratches: Damage that reaches bare steel removes the paint barrier, giving moisture direct access to the metal.
- Hatch and tail-light areas: Inspect seals and nearby sheet metal when the luggage area is damp. Deteriorated sealing can allow water to reach the spare tire area.
- Undercarriage: Pay close attention to seams, wheel housings, mounting areas, and places where factory coating has cracked or been scraped away.
Do not judge corrosion only by the size of the visible bubble. Rust can extend farther between overlapping panels or behind seam sealer, so expose enough of the area to locate solid metal before deciding on the repair.
What Tools Do You Need for Rust Repair?
The required tools depend on whether you are treating surface corrosion or replacing weakened sheet metal. A MIG welder is useful for welded patch repairs, but it is not necessary for every small rust spot.
- Inspection light and scraper or pick: Help reveal loose scale, soft metal, and hidden edges of the damaged area.
- Wire brush, sanding discs, or other abrasives: Remove loose corrosion and coatings so you can inspect the actual metal.
- Body hammer: Shapes repair metal and helps match the surrounding panel.
- Duckbill pliers: Useful for controlled bends and flange work on sheet metal.
- Bench vice: Holds patch material securely while you form it.
- Cutting tools: Remove perforated or badly thinned steel so a patch can be fitted to sound metal.
- MIG welder: Needed when the repair plan calls for welding replacement steel into the body.
If welding is required, follow the vehicle-specific repair information rather than relying on a universal primer rule. I-CAR’s Toyota/Lexus/Scion weld-through-primer guidance reports Toyota’s instruction to apply welding primer to the contact surfaces of welding areas and not outside those contact surfaces.
How to Fix Common Rust Problems: Step-by-Step Process
A lasting rust repair removes unstable corrosion, restores solid metal, and replaces the protective coatings disturbed during the job. The exact cutting and welding method should match your Supra’s model year, panel construction, and Toyota body-repair information.
Warning: Cutting and welding can ignite hidden trim, seam sealer, insulation, coatings, or other combustible material and can create hazardous fumes. Review OSHA welding and cutting precautions, provide suitable ventilation and fire protection, and use a qualified body shop if you cannot safely expose and protect the repair area.
- Inspect the complete rusted area. Remove nearby trim or liners as needed and check both sides of the panel where access is possible. Look for perforation, thinning, loose scale, cracked coatings, and signs of water entry.
- Find and correct the moisture source. Check seals, drains, liners, and adjacent seams. Repairing the metal without stopping the leak or water trap allows the same problem to return.
- Remove loose rust and coatings. Clean far enough around the damaged spot to determine where the metal becomes sound. Do not hide perforated steel beneath filler or coating.
- Decide whether the metal can remain. Solid surface-rusted steel can be cleaned and refinished. Metal that has rusted through or lost useful strength generally needs to be removed and replaced with sound steel.
- Make and test-fit the patch when required. Keep removed metal as a pattern when practical. Shape the replacement with your vice, body hammer, and pliers, and test-fit it repeatedly before welding.
- Prepare and weld according to the repair procedure. Protect inaccessible mating surfaces as specified for the repair and control heat so the surrounding sheet metal is not unnecessarily distorted.
- Restore corrosion protection. After the metal repair, clean and finish the welds, apply the appropriate primer and seam sealer, refinish the visible surface, and restore cavity wax or underbody protection where the original repair area requires it.
Toyota’s Technical Information System is the preferred reference for applicable Toyota service and collision-repair information. Its collision manuals cover welded panel replacement, structural dimensions, and model-specific body-panel repair techniques.
Techniques for Properly Painting and Sealing Repaired Rust Areas
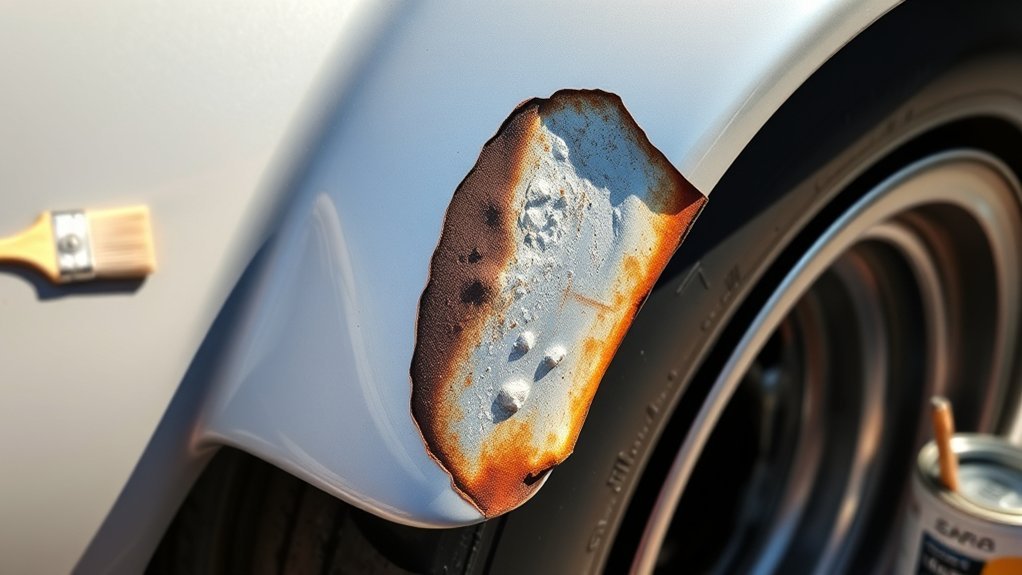
The repair is not finished when the welding stops. Primer, seam sealer, paint, cavity protection, and undercoating perform different jobs, so restore the protection appropriate to each part of the repaired panel instead of covering everything with one coating.
Start by cleaning and preparing the repaired steel according to the coating manufacturer’s instructions. If you use a rust-preventive product such as POR-15, follow the POR-15 surface-preparation and coating directions rather than applying it over dirt, grease, loose material, or an incompatible surface.
Next, restore sealed joints correctly. 3M’s seam-sealer procedure emphasizes preparing and cleaning welded seams before applying the appropriate sealer. Seam sealer is intended to close panel joints against moisture; it is not simply interchangeable with an exterior undercoating.
Protect hidden areas as well. 3M’s corrosion-protection guidance covers cavity wax, weld-area protection, and related steps used to restore protection after collision or sheet-metal repairs.
- Primer: Protects properly prepared metal and creates the correct base for later coating steps.
- Body seam sealer: Seals repaired panel seams and joints against water intrusion.
- Paint or topcoat: Restores the finished exterior coating system.
- Cavity protection: Reaches enclosed or difficult-to-paint areas behind repaired panels.
- Undercoating or anti-chip protection: Protects appropriate underbody and wheel-house surfaces from moisture and road debris.
Apply coatings in the sequence specified by the repair manual and product maker, and allow the required curing or flash time before covering the next layer. Avoid burying active rust beneath paint or undercoating because the corrosion can continue under the new finish.
Community Resources and Support for DIY Rust Restoration
Supra communities can be useful for seeing how other owners exposed hidden rust, fabricated patches, or traced luggage-area leaks. For welding locations, structural decisions, corrosion protection, and panel-replacement methods, however, use Toyota repair information and reputable collision-repair procedures as the technical baseline.
Owner forums, clubs, restoration groups, and social-media communities can help you locate hard-to-find panels, trim pieces, seals, and people with experience repairing older Supras. Photos of similar repairs can also help you understand what may be hidden behind a wheel-house liner or interior panel.
Use community advice as a starting point rather than a substitute for inspecting your own car. Rust patterns vary with climate, previous body repairs, storage, road salt, blocked drains, damaged coatings, and water leaks.
Pro Tip: Before cutting any rusty panel, photograph the surrounding seams, brackets, drain paths, and overlapping metal. Those reference photos make it easier to reproduce the original shape and corrosion-protection details during reassembly.
Frequently Asked Questions
Is It Worth Fixing Rust on an Old Car?
Yes, rust repair can be worthwhile when the car is otherwise sound and the corrosion can be repaired safely. Surface rust is usually simpler to address than widespread perforation. If corrosion involves structural members or major mounting points, have the damage assessed before deciding how much restoration work makes sense.
Are Toyotas Prone to Rust?
Toyota vehicles can rust when steel is exposed to moisture, salt, damaged paint, blocked drains, or failed corrosion protection. With an older Supra, age and previous repairs matter as much as the badge. Regular inspection, clean drainage paths, repaired paint chips, and restored protective coatings can reduce future corrosion.
Can You Repair Surface Rust Without Welding?
Yes, welding is usually unnecessary when corrosion is limited to the surface and solid metal remains after cleaning. Remove loose rust and failed coatings, prepare the remaining metal correctly, and rebuild the protective finish. Welding becomes relevant when damaged steel must be cut out and replaced.
Should You Use Weld-Through Primer on a Toyota Supra?
Use welding primer only where the applicable Toyota repair procedure calls for it. Toyota guidance cited by I-CAR specifies welding primer on contact surfaces of welding areas and says not to apply it outside those surfaces. Follow the vehicle-specific body repair information for the exact joint and welding method.
How Do You Stop Rust From Returning After the Repair?
Stop the moisture source first, then restore every protective layer disturbed by the repair. That can include primer, body seam sealer, paint, cavity protection, and undercoating in their proper locations. Keep drains open and repair future paint chips before exposed steel has time to corrode.
Conclusion
A good Toyota Supra rust repair does more than make the damaged area look clean. Remove corrosion back to sound metal, correct the source of moisture, replace weakened steel when necessary, and rebuild the corrosion protection around the repair. If the rust reaches structural areas or requires welding beyond your skills, have a qualified body-repair professional assess it before cutting.
Sources
- Toyota Supra Owner’s Manual: Supports corrosion prevention, drainage, underbody cleaning, and prompt repair of paint damage.
- I-CAR Toyota/Lexus/Scion Weld-Through Primer Guidelines: Supports Toyota welding-primer guidance and use of vehicle-specific repair procedures.
- OSHA Welding, Cutting and Brazing Requirements: Supports welding fire-prevention, ventilation, and protective precautions.
- Toyota Technical Information System: Supports use of Toyota service and collision-repair information.
- POR-15 Rust Preventive Coating Instructions: Supports product-specific preparation and application guidance.
- 3M General Seam Sealer SOP: Supports preparation and sealing of repaired automotive seams.
- 3M Collision Repair Corrosion Protection: Supports cavity protection, weld-area protection, and related corrosion-control steps.