If your RAV4 touchscreen isn’t responding, start by confirming the ignition’s on, clean the screen, then do a soft reset (hold the power/volume knob 10–20s) and power‑cycle the unit. Check the infotainment fuse and replace blown fuses with the correct amperage. Inspect ribbon cables and connectors for damage and reseat them; test power at the unit with a multimeter. If problems persist, perform a battery‑disconnect hard reset or pursue module repair options to restore function and learn more.
Quick Test for a Frozen RAV4 Touchscreen

If your RAV4’s touchscreen seems frozen, start with power and cleanliness checks: make sure the vehicle is on (the system needs engine power), wipe the screen to remove dirt or obstructions, then try a soft reset by holding the power/volume knob for 10–20 seconds; if that doesn’t restore responsiveness, inspect the infotainment fuse for damage and, as a last resort, perform a hard reset by disconnecting the battery’s negative terminal for several minutes. You’ll then run a quick diagnostic sequence: confirm the ignition provides accessory power, verify the display wakes, and confirm touch inputs register. Clean the panel with a lint‑free cloth to exclude contamination affecting touchscreen calibration. If the screen still won’t respond, locate the infotainment fuse per the user manual and check for visible blow or corrosion; replace only with the specified rating. These steps free you from unnecessary service trips and let you validate whether the issue is mechanical, electrical, or requires dealer intervention.
Do a Soft Reset and Power‑Cycle the Unit
Start with a soft reset by pressing and holding the power/volume button for 10–20 seconds until the system refreshes and the Toyota logo appears. Keep the vehicle fully powered on while the unit reboots, then perform a power-cycle by turning the ignition off, waiting 30–60 seconds, and restarting the car. If responsiveness doesn’t return, check for software updates and inspect the infotainment fuse for damage.
Soft Reset Steps
Perform a soft reset by pressing and holding the power/volume knob for 10–20 seconds while the vehicle is powered on so the head unit can reboot and clear transient software errors. You’ll see the screen refresh and the Toyota logo appear; that confirms the reboot. This quick diagnostic targets transient glitches that impede touchscreen calibration and basic responsiveness without altering settings. After reboot, test taps and gestures to assess whether responsiveness and menus returned. If the interface still lags, don’t assume hardware failure—document symptoms, check for available software updates, and escalate to dedicated troubleshooting or a technician. The soft reset liberates you from temporary lockups; use it first, then move on to deeper diagnostics only if responsiveness remains compromised.
Power-Cycle Tips
Having done the soft reset, power‑cycling the unit is the next quick diagnostic step to clear residual faults and confirm whether the issue is software-related or hardware-related. You’ll long‑press the power/volume button 10–20 seconds until the system refreshes and the Toyota logo appears, then shut the vehicle off and wait several moments before restarting. This sequence targets transient errors; power cycle benefits include restoring normal operation and revealing persistent faults that need deeper inspection. Verify the vehicle is fully powered on when testing, since the touchscreen won’t function with the car off. After restart, probe unresponsive zones for improved responsiveness. If problems persist despite appropriate power cycle frequency and proper procedure, escalate to fuse checks or professional diagnostics to reclaim control and mobility.
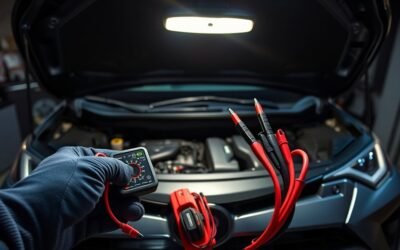
Check Vehicle Power and Infotainment Fuse
Before checking fuses, verify the RAV4’s ignition is on, since the touchscreen won’t power up otherwise; then locate the fuse box (under the dash or in the engine bay) to access and visually inspect the infotainment fuse for a broken filament or burn marks. You’ll follow a clear diagnostic path: confirm power, inspect the fuse, and perform fuse replacement with the correct amperage. That restores system power quickly and keeps you free from dependency on dealer service. After replacing a blown fuse, monitor touchscreen behavior to see if the issue is resolved or if deeper infotainment troubleshooting is needed.
| Step | Purpose |
|---|---|
| Confirm ignition on | Verify touchscreen can receive power |
| Locate fuse box | Access infotainment fuse for inspection |
| Inspect fuse | Identify broken filament or burn marks |
| Replace fuse | Restore power with matching amperage |
Perform this procedure methodically and safely; if the new fuse blows again, stop and escalate to professional diagnostics to avoid repeated failures.
Inspect and Secure Infotainment Connections
Inspect the infotainment connections visually and physically to confirm all harnesses and plugs are seated, undamaged, and free of corrosion or dirt that can disrupt signals. You’ll verify wiring integrity by tracing harnesses from the unit to their attachment points, looking for frays, pinch marks, or exposed conductors. Perform connector maintenance: depress locking tabs, release each plug, inspect pins for bent or oxidized surfaces, then reseat firmly until locks engage. Confirm power delivery by checking related fuses and voltage at the unit’s power pins with a multimeter; intermittent supply errors can mimic touchscreen failure. If you find suspect connectors, swap or repair with correct gauge terminals and dielectric grease to resist future corrosion. When access requires panel removal, do so carefully—document screw locations and use trim tools to avoid damage. Regular connector maintenance and periodic wiring inspections liberate you from recurring faults, ensuring the infotainment remains responsive and reliable.
Safely Clean and Test the Touchscreen (Stylus & Debris)
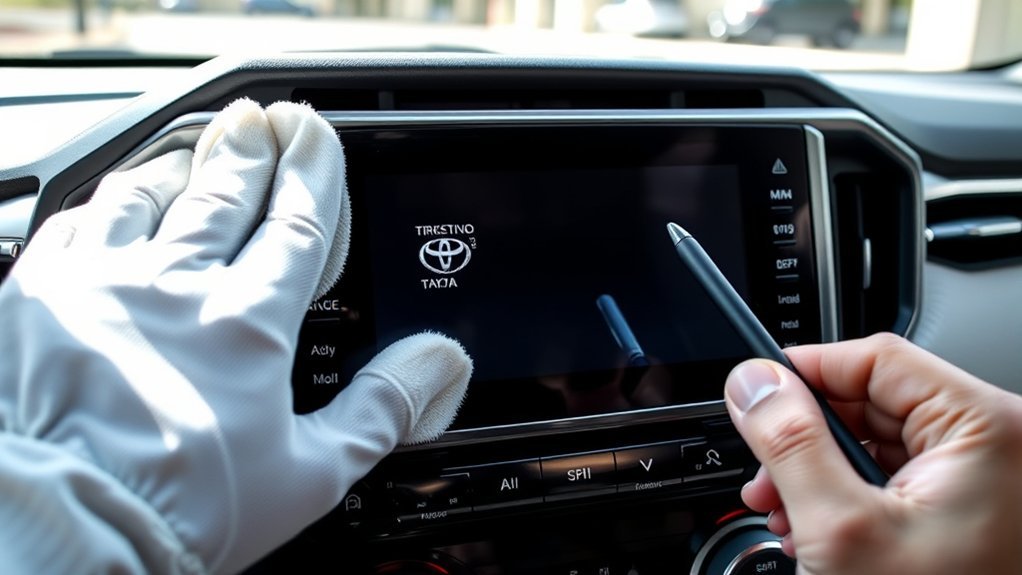
Before you clean the RAV4 touchscreen, power it off to prevent accidental inputs and reduce risk of damage. Use a soft, lint-free stylus or cloth to remove dust and debris, working gently in straight strokes rather than scrubbing. After cleaning, power the unit on and test multiple areas to document any persistent unresponsive zones.
Power Off First
If you power the RAV4 off first, you eliminate accidental inputs and reduce the risk of shorting sensitive circuitry while you clean and test the touchscreen. Shut the ignition and confirm accessory power is off before touching the display. Use a soft, lint‑free cloth to remove dust and loose debris that can skew touchscreen calibration or corrupt the user interface response.
- Inspect edges and seams for trapped debris that can impede contact detection.
- Wipe center to edge with light, consistent strokes; avoid solvents unless manufacturer-approved.
- After cleaning, power on and run basic inputs to verify consistent response across the panel.
- If dead zones persist, document locations and avoid further home repairs; seek professional service to protect system integrity and your autonomy.
Use A Soft Stylus
Once the panel’s free of loose debris and you’ve powered the vehicle down and back up as described, try a soft-tip stylus to pinpoint responsiveness. Use a soft, rounded-tip stylus—no sharp points—to avoid surface damage while you tap grids and problematic buttons. The stylus benefits include finer contact and reduced surface area interference, revealing whether inputs register where intended. Work methodically: map the screen by tapping edge-to-edge, documenting dead zones and any required offset where buttons respond below their visual location. Combine this with routine wipes using a lint-free cloth to maintain touchscreen accuracy. If the stylus triggers controls reliably where fingers don’t, you’re looking at calibration or hardware issues; inconsistent response across the panel suggests deeper diagnostics or professional service.
Remove Dust Carefully
Start by powering the RAV4 off and wiping the screen with a clean, dry microfiber cloth to remove loose dust and grit that can impede touch sensitivity or scratch the surface. You’ll proceed methodically to liberate the interface and verify function. Use only electronics-safe cleaners—no alcohol or ammonia. After drying, test sections of the display with a soft stylus to isolate dead zones and compare finger input. If dirt was the culprit, responsiveness should return without recalibration.
- Inspect bezel gaps and vents for debris; remove with compressed air short bursts.
- Clean center-to-edge in overlapping passes; avoid excess pressure that alters sensitivity.
- Use a soft stylus to map touch response and note areas needing touchscreen calibration.
- Perform sensitivity adjustments if faults persist; repeat cleaning before escalation.
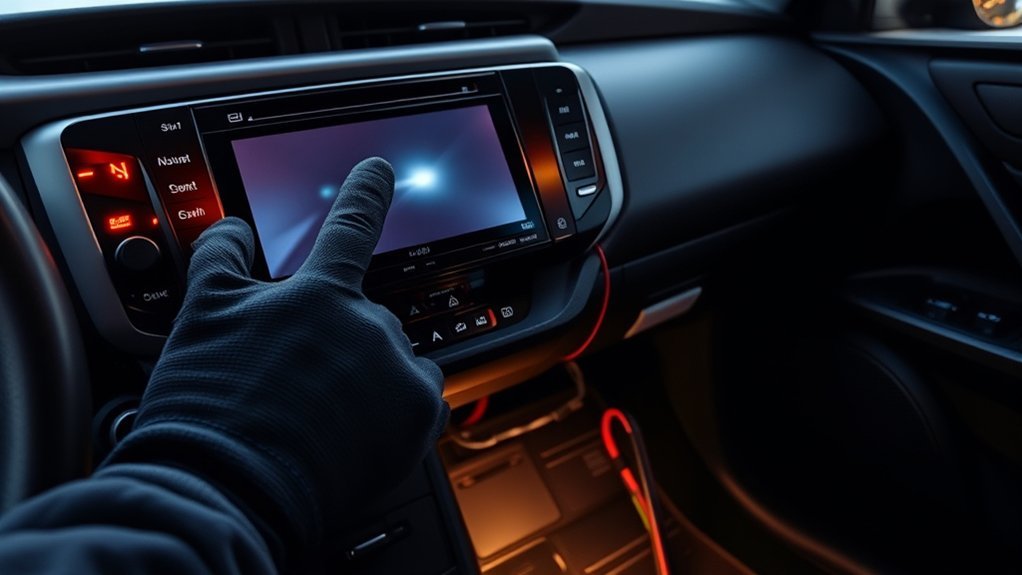
How to Tell: Software vs. Hardware Touchscreen Faults
While a software glitch can cause sporadic unresponsiveness, you’ll know you’re likely facing a hardware fault when specific touch zones fail consistently—especially if the middle system settings button still works while the lower touchscreen remains dead. Diagnose methodically: perform a soft reset first (power/volume long-press 10–20 seconds) to rule out transient software issues. If the problem persists, test touch mapping—requirement to tap below visible buttons suggests touchscreen calibration or grid overlay errors, common in resistive or misaligned digitizers.
Proceed to hardware inspection: remove panels, check for loose connectors and ribbon cables; a loose flex cable often produces zone-specific failure. If connectors are secure and software troubleshooting yields no change, you’re likely dealing with a faulty digitizer or controller board. Persistent, reproducible dead zones typically require unit replacement; many users obtain warranty replacements for this exact symptom. Act decisively to reclaim control—diagnose, document, and pursue repair or replacement.
When to Perform a Hard Reset (Battery Disconnect)
If basic resets and system reboots don’t restore touchscreen function, you should consider a hard reset by disconnecting the negative battery terminal. Also perform a battery disconnect after significant electrical work to clear any residual faults and guarantee modules reinitialize. Use a hard reset when you suspect persistent software glitches that haven’t responded to softer troubleshooting steps.
When Other Resets Fail
When simpler resets haven’t revived the RAV4’s touchscreen, perform a hard reset by disconnecting the battery’s negative terminal to clear persistent electrical or software faults; make sure the vehicle is fully off, disconnect the negative terminal carefully, wait several minutes for system capacitors to discharge, then reconnect and test the screen.
- Prepare: gather insulated tools, wear eye protection, and free yourself from dependence on dealer support by learning basic troubleshooting techniques.
- Isolate power: shut ignition, remove key, and unbolt the negative terminal to remove residual energy that can mask faults.
- Wait period: allow several minutes for modules to reset—this enables advanced diagnostics by clearing volatile memory and resetting control units.
- Reconnect and test: restore the terminal, secure connections, then evaluate touchscreen responsiveness; seek pro help if it still fails.
After Electrical Work
After finishing repairs or wiring changes on your 2014 RAV4, perform a hard reset by disconnecting the negative battery terminal for several minutes to clear any residual voltage or software flags that can impair the infotainment touchscreen. You’ll want the vehicle fully powered off before disconnecting to maintain electrical safety and prevent shocks or system damage. This hard reset is a targeted diagnostic step: it can restore touchscreen responsiveness disrupted by electrical work and refresh modules affected by transient voltage. After several minutes, reconnect the negative terminal per the owner’s manual to complete battery maintenance and allow the infotainment system to reboot. Use this controlled reset when post-repair anomalies persist; it’s a precise, liberating action to reclaim functional control.
Persistent Software Glitches
Because software faults can persist beyond normal reboots, you should perform a hard reset by disconnecting the negative battery terminal when shorter resets don’t restore touchscreen responsiveness. This clears persistent software glitches and forces the vehicle’s systems to reinitialize, which often resolves issues that standard software troubleshooting and touchscreen calibration attempts can’t.
- Turn off vehicle, open hood, locate negative terminal—consult owner’s manual for specifics and safety steps.
- Carefully disconnect negative terminal and wait 5–10 minutes to drain residual power; this performs the hard reset.
- Reconnect terminal securely, start vehicle, verify touchscreen calibration and functionality.
- If problem persists, escalate to dealer diagnostics or firmware service to reclaim control and freedom.
Common Electrical Causes and Wiring Checks
If your RAV4’s touchscreen goes dead, start by confirming the system has power and inspecting the infotainment fuse in the fuse box—blown fuses are a common, easily diagnosed cause. Verify the vehicle is switched on and check for a blown fuse visually or with a multimeter; replace only with the specified rating. Next assess wiring integrity and look for signs of wear, corrosion, or pinched insulation that could indicate electrical shorts. Disconnect battery power before probing connectors; then reseat and secure harness plugs behind the dash and at the display module. While you’re there, inspect for loose ground connections and chassis splice points that can cause intermittent faults. Clean the touchscreen surface—debris can mimic electrical failure by reducing sensitivity. After fuse replacement and connector checks, monitor the system for recurrence; repeated fuse blows or intermittent power indicate deeper circuit faults requiring targeted diagnostics rather than cosmetic fixes.
Repair Options for a RAV4 Touchscreen (Dealer, Module, Aftermarket)
When troubleshooting a nonresponsive RAV4 touchscreen, you’ll weigh three main repair paths—dealer warranty replacement, full infotainment module swap, or an aftermarket head unit—each with distinct costs, risks, and compatibility implications. Choose by balancing immediate cost, long-term reliability, and control over the system.
- Dealer warranty replacement: If your vehicle qualifies, dealers often replace faulty screens at no charge. This preserves factory integration and reduces risk, but depends on coverage and dealer diagnosis.
- Module replacement: Swapping the entire infotainment module addresses root causes beyond the display. It’s pricier but restores original functionality and avoids piecemeal fixes.
- Aftermarket benefits: Aftermarket head units can offer superior performance, modern features, and user control. Prices typically range $200–$800; verify compatibility with your model year and vehicle wiring.
- Decision criteria: Prioritize warranty first, choose module swap for durability, and select aftermarket only if you want expanded capabilities and accept integration trade-offs.
Back Up and Erase Personal Data Before Repair; What to Tell the Shop
After you decide on a repair path, protect your personal data and give the shop the information they need to diagnose the issue. Back up contacts, navigation favorites, and media from the infotainment system before any service; repairs or module replacement commonly erase stored data. Use the system’s General > Delete Personal Data function and unpair phones and devices to guarantee secure data protection. Export or note essential settings so you can restore them after repair.
In your repair communication, be precise: state that the bottom portion of the touchscreen is unresponsive while the system settings button still functions. List troubleshooting you’ve performed — soft resets, fuse checks, software restarts — and the exact firmware or infotainment version if visible. If you’re considering replacement, ask about warranty coverage and whether they’ll restore or backup system data. Clear, factual notes speed diagnosis and keep your information sovereign.
Frequently Asked Questions
Why Is My Toyota RAV4 Screen Not Working?
Your RAV4 screen’s not working because of screen calibration issues, dust, power or fuse faults, or software glitches; you’ll check calibration, apply software updates, clean the panel, inspect fuses, and perform a soft reset to reclaim control.
Conclusion
You’ve run through quick checks, resets, fuses, connectors and cleaning — and nothing’s fixed. Before you rip the dash apart, pause: a soft reset or power-cycle often revives a stalled head unit, but intermittent power, poor grounds, or a failing control module can mimic a dead screen. If the problem persists after secure wiring and a hard reset, back up your data and hand it to a pro — the next diagnostic steps will determine repair or replacement.