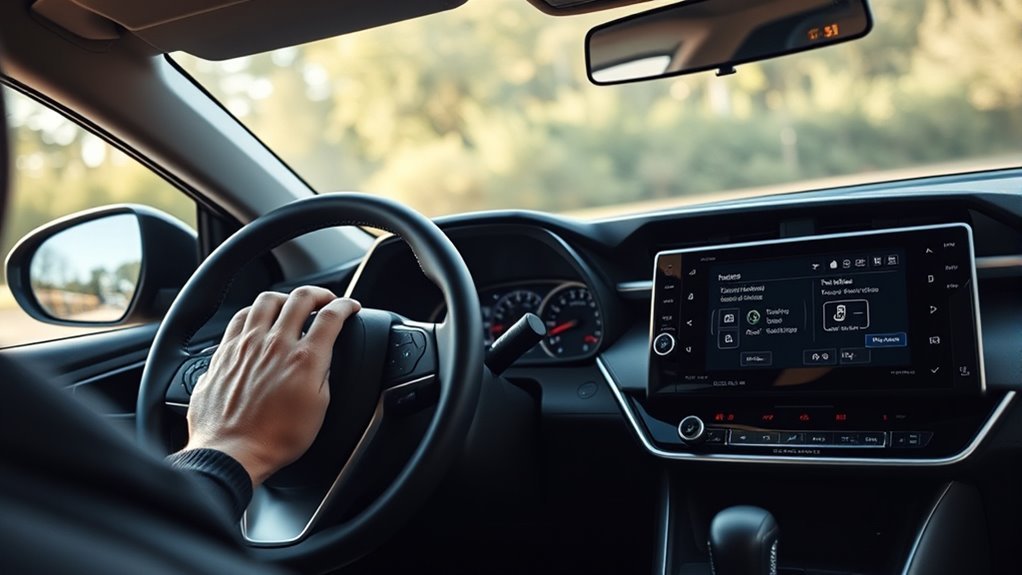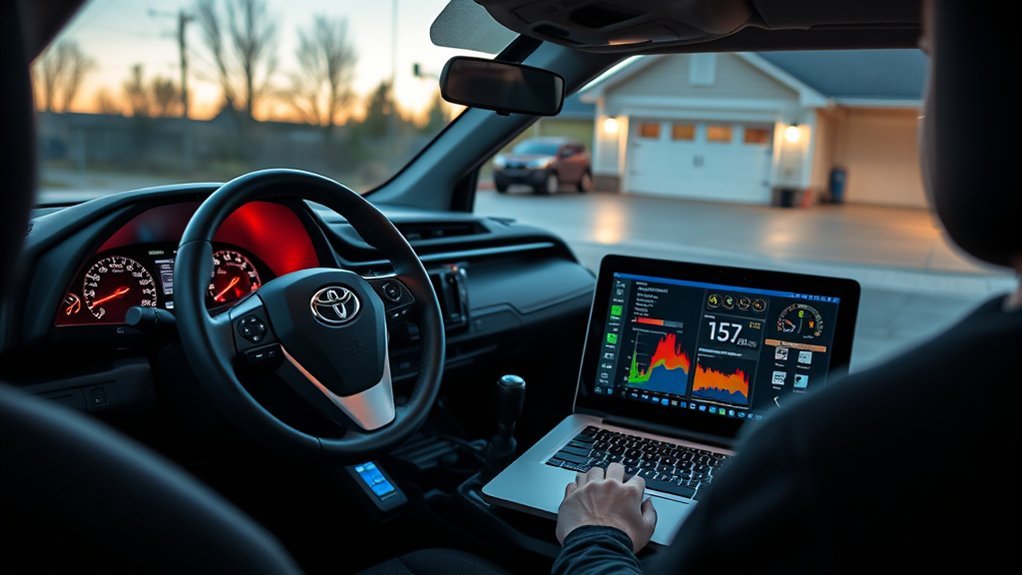
If your RAV4 shows a “Pre-Collision System Malfunction” or “Visit Your Dealer” warning, treat it as a safety-system fault, not just a nuisance light. Start with simple checks: note when the message appeared, clean the windshield and front sensor areas, check for recent windshield or bumper work, and scan the vehicle with a Toyota-capable diagnostic tool. If the warning returns, especially after glass replacement, collision repair, battery work, or a hard impact, plan on professional diagnosis and possible ADAS calibration.
Quick Answer
A RAV4 Pre-Collision System malfunction usually means the camera, radar sensor, wiring, power supply, or calibration is not working within the system’s expected range. Clean the windshield and front grille area first, check for recent windshield or bumper work, scan for Toyota-specific codes, and visit a qualified technician if the alert remains.
Key Takeaways
- The RAV4 Pre-Collision System uses a front camera and radar sensor, so dirt, snow, windshield film, bumper damage, loose trim, or misalignment can trigger warnings.
- A basic OBD-II reader may not read ADAS camera or radar modules. Use an enhanced Toyota-capable scanner, Toyota Techstream, or a qualified shop.
- Windshield replacement, front bumper work, radar removal, camera removal, or collision repair can require calibration before the system works correctly.
- Do not rely on the Pre-Collision System while a malfunction warning is active. Drive carefully and arrange diagnosis if the warning does not clear after basic cleaning and checks.
At a Glance
| Time Required | 10–30 minutes for basic checks; longer if diagnostic scanning or calibration is needed |
| Difficulty | Easy for cleaning and visual checks; advanced for ADAS diagnostics and calibration |
| Tools Needed | Soft microfiber cloth, flashlight, owner’s manual, fuse puller or test light, enhanced Toyota-capable scan tool |
| Cost | Often free for cleaning checks; fuse replacement is low-cost; diagnostic and calibration pricing varies by dealer, shop, vehicle year, and repair type |
Warning: Toyota Safety Sense and the Pre-Collision System are driver-assistance features, not a substitute for safe and attentive driving. If the malfunction warning is active, assume the system may not warn or brake as expected. Keep extra following distance, avoid relying on adaptive safety features, and arrange inspection if the warning remains.
Confirm the Pre-Collision System Malfunction
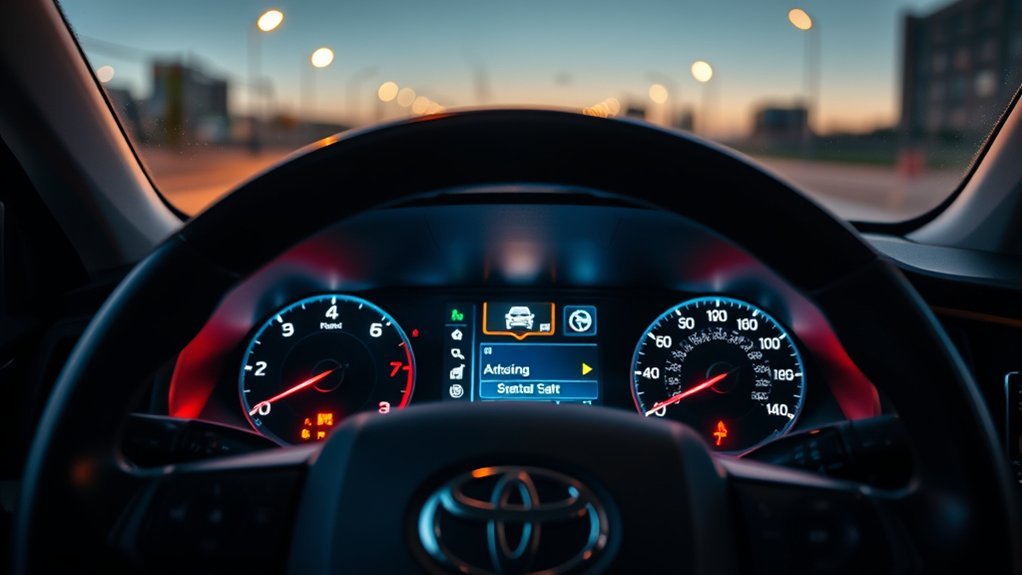
Start by reading the exact message on the multi-information display. If it says “Pre-Collision System Malfunction,” “PCS Malfunction,” “Front Camera Unavailable,” “Radar Cruise Unavailable,” or “Visit Your Dealer,” write down the message exactly as shown. Also note the date, weather, road conditions, and whether the warning appeared after rain, snow, a car wash, windshield replacement, bumper repair, battery disconnect, or a minor impact.
On modern RAV4 models, the Toyota Pre-Collision System uses a radar sensor and a front camera to detect objects ahead and support warning, brake assist, and pre-collision braking functions. The system can only work properly when its sensors are clean, correctly mounted, powered, connected, and calibrated.
What the Warning Usually Means
The warning does not automatically mean the camera or radar has failed. It means the vehicle has detected a condition that prevents the system from operating normally. Common causes include:
- Dirty, fogged, icy, or film-covered windshield in front of the camera
- Snow, mud, bugs, stickers, paint protection film, or damage near the radar sensor area
- Windshield replacement without proper camera calibration
- Loose or damaged front camera bracket, wiring, or connector
- Front bumper, grille, or radar sensor impact
- Low 12-volt battery voltage or recent battery disconnection
- Blown fuse or poor power/ground connection
- Stored camera, radar, communication, or calibration diagnostic trouble codes
Can You Keep Driving?
You can usually continue driving carefully if the vehicle otherwise brakes, steers, and accelerates normally, but you should not depend on pre-collision braking, lane support, or radar cruise functions until the fault is resolved. Stop driving and get help sooner if you also see brake, steering, ABS, stability control, charging-system, or hybrid-system warnings.
Clean and Inspect the Camera and Radar Areas First
Before disconnecting the battery or replacing parts, do the simplest checks. Toyota’s owner guidance for Safety Sense emphasizes keeping the windshield clean and avoiding anything that interferes with the radar sensor or front camera.
| Area | What to Check | What to Do |
|---|---|---|
| Windshield camera area | Film, fog, snow, stickers, tint, chips, cracks, camera cover loose | Clean the glass with a safe glass cleaner and microfiber cloth; remove obstructions |
| Front grille/radar area | Mud, snow, bugs, impact damage, loose grille, badge cover damage | Gently clean with a soft cloth; do not paint, modify, or cover the sensor area |
| Bumper and brackets | Recent impact, loose bumper cover, misaligned grille, cracked mounting points | Do not force parts into place; have alignment and calibration checked |
Pro Tip: If the warning appears only during heavy rain, snow, fog, direct sun glare, or after driving through mud, clean the sensor areas and recheck in normal conditions before assuming a part has failed.
Quick Fix: 12-Volt Battery Reset and Reconnect Steps
A 12-volt battery reset can sometimes clear temporary communication glitches, but it is not a guaranteed fix and should not be your first step if the warning appeared after windshield or bumper work. Cleaning, visual inspection, and code scanning are safer starting points.
Warning: If your RAV4 is a hybrid or plug-in hybrid, do not touch high-voltage orange cables or hybrid components. Work only with the 12-volt battery, use eye protection, keep metal tools away from terminals, and stop if you are unsure.
Battery Disconnect Order
For a basic 12-volt reset, park safely, turn the vehicle off, remove the key from the cabin, and wait several minutes for modules to power down. Disconnect the negative battery cable first, then isolate it so it cannot spring back onto the terminal. If you also remove the positive cable, keep both disconnected cable ends away from the battery posts and body metal.
Some technicians use a residual-power discharge step by briefly touching the disconnected cable ends together while both are fully removed from the battery. Do not touch the battery posts together, do not use a tool across the battery, and skip this step unless your service information or technician specifically recommends it.
Drain Residual Power
If you are only doing a safe reset at home, waiting 5–10 minutes with the negative 12-volt cable disconnected is usually the lower-risk option. This gives control modules time to power down without adding unnecessary battery-handling risk.
| Action | Purpose | Safety Note |
|---|---|---|
| Disconnect negative cable first | Reduces short-circuit risk | Keep the cable isolated from the terminal |
| Wait 5–10 minutes | Allows modules to power down | Do not work near high-voltage hybrid components |
| Reconnect positive first if removed, then negative | Restores power in the safer order | Tighten terminals securely |
Reconnect and Test
Reconnect the battery securely, start the RAV4, and check the display. Some settings may reset, and some driver-assistance functions may need a short drive under normal conditions before they behave normally. If the PCS warning returns immediately or after a short drive, do not keep resetting the battery. Move on to fuse checks and diagnostic scanning.
Test Fuses That Affect the Pre-Collision and Camera Systems
A blown fuse or poor fuse contact can interrupt power to ADAS modules, camera circuits, radar circuits, or related control units. Fuse locations and labels vary by model year and trim, so use the fuse diagram in your owner’s manual or repair information instead of guessing.
| Fuse/Component | Action | Important Rule |
|---|---|---|
| Camera or ADAS-related fuse | Inspect and test for continuity | Replace only with the same amperage rating |
| Radar or driver-assist circuit fuse | Check for power on both test points | Do not upsize a fuse to stop it from blowing |
| ECU, IGN, or accessory fuses | Look for loose fit, corrosion, or intermittent contact | A repeated blown fuse needs diagnosis, not another fuse |
Use a test light or multimeter if you know how to test fuses safely. If a replacement fuse blows again, stop replacing it and have the circuit inspected for a short, damaged wiring, or failed module.
[Products Worth Considering]

The BLCKTEC 460T is a professional-level OBD2 diagnostic scanner designed for home mechanics and repair shops that need broad vehicle coverage and advanced service functions. It reads and clears engine, ABS, SRS, and transmission codes, performs all-system diagnostics, supports live data graphing, and includes popular reset services such as oil, TPMS, EPB, BMS, SAS, DPF, and throttle relearn. With AutoVIN, AutoScan, free lifetime updates, and RepairSolutions2 app integration, it helps simplify troubleshooting and maintenance for many OBD2-compliant vehicles.

The GEARWRENCH Professional Bi-Directional Diagnostic Scan Tool brings OE-level diagnostics to your smart device for efficient troubleshooting and repair. It offers full bi-directional control, live actuation testing, live data mapping, freeze frame capture, and support for 23 reset and relearn functions to help technicians complete complex jobs with confidence. With software updates included, broad vehicle coverage, and a two-year warranty, it delivers powerful shop-ready capability without ongoing fees.

This automotive test light combines a bright LED voltage display with quick polarity indication for fast, accurate circuit checks in a wide range of vehicle systems. It helps diagnose battery, charging, lighting, and fuse issues with a sharp stainless probe, long spring wire, and easy-to-use alligator clip for efficient troubleshooting.
Scan Pre-Collision and Camera Codes With a Toyota-Capable Tool
Scanning is the step that separates guessing from real diagnosis. A generic OBD-II code reader may read engine and emissions codes but miss camera, radar, brake, body, or network codes. Use an enhanced scanner that supports Toyota ADAS modules, Toyota Techstream, or a qualified shop with the correct equipment.
[Products Worth Considering]

The ANCEL BA101 helps diagnose 12V batteries quickly with clear readings for battery health, charge level, voltage, CCA, cranking, and charging system performance. Designed for a wide range of vehicles and battery types, it offers easy-to-read results, reliable clamp connections, and built-in protection to make testing safer and more convenient.

This aftermarket front bumper tow hook eye cover cap set is designed to fit Toyota RAV4 AX40 models from 2016 to 2018, providing a direct replacement for the original left and right covers. Made from durable ABS plastic, these caps offer a precise fit, weather resistance, and reliable protection while restoring the clean factory look of the bumper.

The XTOOL A30M V2.0 is a wireless OBD2 diagnostic scanner built for DIYers and home mechanics who want full-system coverage, active tests, and broad reset support in one portable tool. It offers lifetime free updates, bidirectional control, and up to 8 live data streams for faster troubleshooting, plus compatibility with many vehicles including newer FCA and GM models. With multilingual support and mobile app connectivity for Android and iOS, it helps simplify maintenance and diagnostics without subscription fees.
Reading Diagnostic Codes
When scanning, save the full report before clearing anything. Record:
- Stored, pending, and history codes
- Code numbers and descriptions
- Freeze-frame data if available
- Which module reported the code: camera, radar, brake, body, gateway, or network
- Whether the codes return immediately after clearing
If you use BlueDriver or another consumer scan tool, treat it as a starting point. If it cannot access the forward recognition camera, millimeter-wave radar, or related ADAS modules, the scan is incomplete.
Interpreting Camera and Radar Faults
Camera-related codes often point toward blocked vision, internal camera issues, calibration problems, mounting shift, or communication faults. Radar-related codes often point toward grille/radar obstruction, impact damage, radar misalignment, or wiring problems. Communication codes can indicate a wiring, connector, network, module, or power supply issue.
Note: Do not replace the camera or radar just because a code names that part. A loose connector, low voltage, obstruction, or calibration failure can produce similar symptoms.
Interpret Common Code Categories and What Each Likely Means
A diagnostic trouble code is a clue, not a final diagnosis. Use the code description, module name, freeze-frame data, and repair history together.
| Code Category | Likely Area | Next Step |
|---|---|---|
| Camera obstruction or camera unavailable | Windshield glass, camera cover, camera bracket, condensation, tint, stickers | Clean and inspect the camera view; check for windshield replacement or bracket movement |
| Radar obstruction or radar unavailable | Front grille, radar cover, bumper, sensor alignment | Clean the grille area and inspect for bumper impact or loose trim |
| Calibration or axis adjustment | Camera or radar alignment | Schedule ADAS calibration with Toyota-capable equipment |
| Lost communication | CAN network, wiring, connectors, power, ground | Inspect harnesses and fuses; use professional diagnostics if the code returns |
| Low voltage or power supply | 12-volt battery, charging system, fuses, grounds | Test battery health and charging voltage before replacing ADAS parts |
If several codes appear at once, start with battery voltage, fuses, grounds, and communication faults. Replacing a camera or radar before confirming power and network health can waste money.
Check Windshield Camera Alignment and Harness After Replacement
If the warning appeared after a windshield replacement, this is one of the most important sections. Many RAV4 models have a forward camera mounted behind the windshield. If the glass, bracket, camera angle, or camera view changes, the system may need calibration before PCS, lane support, automatic high beams, or radar cruise features operate normally.
Camera Mounting Position
Inspect the camera area near the rearview mirror. Look for a loose camera cover, cracked bracket, uneven camera seating, non-OEM-looking bracket, adhesive residue, water intrusion, or windshield distortion in front of the camera. Do not bend or shim the bracket yourself. Camera alignment is measured precisely and should be handled with the correct calibration process.
The Auto Glass Safety Council notes that proper ADAS calibration after auto glass replacement is an important safety step. If your warning started after glass work, contact the glass installer and ask whether pre-scan, post-scan, and calibration were completed and documented.
Harness Connector Inspection
With the vehicle off, visually inspect the camera trim area only if you can do so without forcing panels. Look for loose connectors, pinched harnesses, broken clips, water marks, or wiring stretched during windshield service. A partially seated camera connector can trigger communication or camera fault codes.
Warning: Do not attempt to aim the front camera by eye. An ADAS camera can appear straight but still be outside calibration range.
Check Bumper, Grille, and Radar After Impact or Body Work
The radar sensor area is usually around the front grille or emblem area, depending on model year and trim. Even a light bumper tap, grille replacement, front-end repair, or radar removal can affect alignment. Toyota owner guidance warns against modifying, painting, or covering the radar sensor area and indicates recalibration is needed in certain sensor, grille, or bumper service situations.
Look for:
- Cracked bumper cover or grille
- Loose Toyota emblem or radar cover
- Aftermarket grille inserts, badges, lights, wraps, or coatings near the radar area
- Paint, wax, ice, snow, or mud on the sensor cover
- Recent bumper removal, radar removal, or front-end repair
If the radar or front bumper area was hit, removed, replaced, or repaired, schedule professional inspection and calibration. Do not assume the warning is fixed just because the bumper looks aligned.
Toggle Pre-Collision Settings and Run System Self-Tests
After cleaning and inspection, confirm that the pre-collision feature has not been switched off in the vehicle settings. Menu paths vary by model year, but many RAV4 models place driver-assist settings in the multi-information display or multimedia settings menu.
| Action | Outcome |
|---|---|
| Confirm PCS is enabled | Rules out a settings issue |
| Check warning timing settings | Confirms the system responds to menu changes |
| Run a Toyota-capable health check | Reveals camera, radar, brake, body, or network codes |
| Clear codes only after saving the report | Protects your diagnostic history |
If the warning returns after a code clear, the vehicle is still detecting a fault. Do not keep clearing codes before a technician sees them.
When to Reflash, Recalibrate, or Visit a Dealer
Visit a Toyota dealer, ADAS calibration specialist, or qualified repair shop when the warning persists after cleaning, fuse checks, and a proper scan. Professional help is especially important when the fault follows windshield replacement, camera removal, radar removal, bumper repair, collision repair, suspension changes, or repeated low-voltage events.
[Products Worth Considering]

FOXWELL NT201 is an easy-to-use OBD2 scanner designed to help drivers quickly read and clear check engine codes, view live engine data, and check emissions readiness. Its color screen, one-key I/M readiness test, and broad compatibility with most gasoline vehicles since 1996 make it a practical tool for everyday diagnostics and maintenance. With plug-and-play operation and lifetime free updates, it offers a simple way to understand vehicle issues without expensive shop visits.

Add a bold custom touch to your front grille with this tri-color badge emblem designed to enhance the look of compatible Toyota trucks and SUVs. Made from durable, waterproof ABS material, it is built to handle outdoor conditions while staying vibrant and secure. Installation is quick and simple, making it an easy style upgrade for vehicles with grille inserts.

The ZMOON ZM201 is a plug-and-play OBD2 code reader designed to quickly diagnose check engine issues on compatible vehicles after 1996. It reads and clears engine fault codes, displays live data and freeze frame information, checks I/M readiness, and helps you identify problems before visiting a repair shop. With a color screen, intuitive controls, and built-in DTC database, it offers an easy-to-use solution for DIY drivers and car owners who want reliable engine diagnostics.
Recalibration
Recalibration is the correct next step when codes, repair history, or service information point to camera or radar alignment. The process may be static, dynamic, or a combination depending on vehicle year, equipment, and Toyota procedures. I-CAR’s OEM calibration requirements resource explains that ADAS work can require OEM information, scan tools, special tools, and test-drive procedures.
Software Updates or Reflash
A software update or reflash should be handled by a shop with Toyota service information and the correct equipment. Do not attempt random module programming based on internet advice. Wrong software or interrupted programming can create additional faults.
Cost Expectations
Costs vary by location, dealer labor rate, calibration type, and whether diagnosis is included. Ask for an estimate that separates diagnostic scanning, calibration, parts, and programming. If the warning appeared immediately after windshield replacement or body repair, ask that shop whether calibration was included and request the pre-scan, post-scan, and calibration report.
Check Recalls and Service Campaigns by VIN
Before paying for major repairs, check whether your RAV4 has any open safety recalls, service campaigns, or customer support programs. Use the Toyota recall lookup and the NHTSA recall lookup with your 17-character VIN.
A recall or campaign is not the most common cause of every PCS warning, but checking takes only a few minutes and can prevent you from paying for a repair that Toyota may cover under an active campaign.
Troubleshooting Log Template to Document Your Steps
Keep a simple troubleshooting log. Good notes help you see patterns and help the technician avoid repeating work you already performed.
| Field | What to Record |
|---|---|
| Date and time | When the warning appeared and when each test was done |
| Exact warning | The message shown on the display |
| Conditions | Weather, lighting, road surface, speed, recent car wash, snow, mud, or fog |
| Recent work | Windshield, bumper, grille, radar, camera, battery, collision, or suspension work |
| Scan results | Code numbers, module names, freeze-frame data, and whether codes returned |
| Actions taken | Cleaning, fuse checks, battery reset, connector inspection, shop visits |
| Outcome | Cleared temporarily, returned immediately, returned after driving, or stayed fixed |
Next Steps and What to Bring to the Technician
When you take the RAV4 to a technician, bring focused evidence. This speeds diagnosis and helps the shop decide whether the issue is obstruction, low voltage, wiring, failed hardware, software, or calibration.
- Full diagnostic scan report, not just a screenshot of one code
- Your troubleshooting log
- Photos of the windshield camera area and front grille/radar area
- Windshield replacement invoice, if applicable
- Body shop or bumper repair records, if applicable
- Battery replacement or jump-start history
- VIN and service history
- Recall or campaign lookup results
Ask the shop for a written diagnosis and, if calibration is performed, a calibration report showing the procedure passed.
Frequently Asked Questions
How do I clean the pre-collision sensor on a Toyota RAV4?
Clean the windshield area in front of the camera and the front grille/radar area with a soft microfiber cloth. Remove snow, mud, bugs, wax buildup, and oily film. Do not use abrasive pads, harsh chemicals, stickers, paint, or accessories on the radar cover or camera-view area.
Will disconnecting the battery reset the RAV4 Pre-Collision System?
A 12-volt battery reset may clear a temporary communication glitch, but it will not fix a dirty sensor, loose connector, failed camera, radar problem, or calibration fault. If the warning returns, scan the vehicle and diagnose the cause instead of repeatedly disconnecting the battery.
Does a RAV4 need calibration after windshield replacement?
If your RAV4 has a forward-facing camera mounted behind the windshield, calibration is commonly required after windshield replacement. Ask the glass installer for the pre-scan, post-scan, and calibration report. If the PCS warning appeared after glass work, do not ignore it.
Can I drive with a Pre-Collision System malfunction warning?
You can usually drive carefully if the vehicle otherwise operates normally, but you should assume the pre-collision feature may not warn or brake correctly. Avoid relying on radar cruise, keep extra following distance, and schedule diagnosis if the warning does not clear after basic cleaning and checks.
Why did the warning appear after bumper repair?
The front radar sensor and related mounting points can be affected by bumper, grille, or front-end work. Even if the bumper looks straight, the radar may need inspection and calibration with Toyota-capable equipment.
Can a basic OBD-II scanner diagnose the PCS malfunction?
Sometimes it can show related codes, but many basic scanners cannot read ADAS camera, radar, brake, body, or network modules. For a complete diagnosis, use an enhanced Toyota-capable scanner, Toyota Techstream, or a qualified shop.
Conclusion
A RAV4 Pre-Collision System malfunction should be handled in a calm, step-by-step order: confirm the message, clean the windshield and radar areas, check for recent windshield or bumper work, test relevant fuses, scan with a Toyota-capable tool, and document every result. If codes return or the warning began after glass, bumper, radar, or camera work, the next step is usually professional diagnosis and possible ADAS calibration. Do not rely on the system until the warning is resolved.
Sources
- Toyota Owners: 2025 RAV4 PCS (Pre-Collision System) — supports PCS operation, sensor use, warning, brake assist, and pre-collision braking details.
- Toyota Owners: 2025 RAV4 Hybrid Toyota Safety Sense 2.5 — supports radar/front camera sensor guidance and sensor-care precautions.
- Toyota Safety Sense 4.0 Overview and Disclosures — supports safety limitations and driver-responsibility cautions.
- Auto Glass Safety Council: ADAS Calibration Checklist — supports the importance of ADAS calibration after auto glass replacement.
- I-CAR: OEM Calibration Requirements Search — supports the need for OEM information, proper scan tools, special tools, and test-drive procedures for ADAS calibration.
- NHTSA Recall Lookup and Toyota Recall Lookup — support checking VIN-specific recalls and service campaigns.