When your RAV4’s check engine light comes on, don’t ignore it: pull codes with an OBD-II scanner, note if the light is steady, intermittent, or blinking, and watch for limp mode or drivability issues. Common causes include a loose gas cap, oxygen or MAF sensor faults, vacuum leaks, injector problems, or a clogged catalytic converter. Start with cap/battery/visual checks, then scan and monitor live data; further steps require smoke or actuator tests — keep going to get specific codes, diagnostics, and repair options.
Who This Guide Helps and Why

Who should read this guide and why? You, a RAV4 owner who wants control over vehicle reliability, will find this concise diagnostic roadmap useful. You’ll recognize common owner experiences—loose gas caps, failing O2 sensors, clogged catalytic converters—and learn which symptoms warrant immediate attention versus monitoring. You’ll use diagnostic tools to prioritize actions: basic OBD-II code readers for initial triage, visual inspections for obvious faults, and targeted testing to confirm sensor or emissions-system failure. The guide stresses timely intervention to prevent performance loss and costly downstream repairs, and it flags when professional assistance is the liberating choice to restore confidence. You’ll be taught to note atypical sounds, drivability changes, and recurring codes so you can demand accurate repairs. This section equips you to interpret early warnings, apply practical checks, and decide when to escalate—so you keep mobility, reduce expense, and reclaim authority over your vehicle’s health.
Is It Safe to Drive? (RAV4 Check Engine Light)
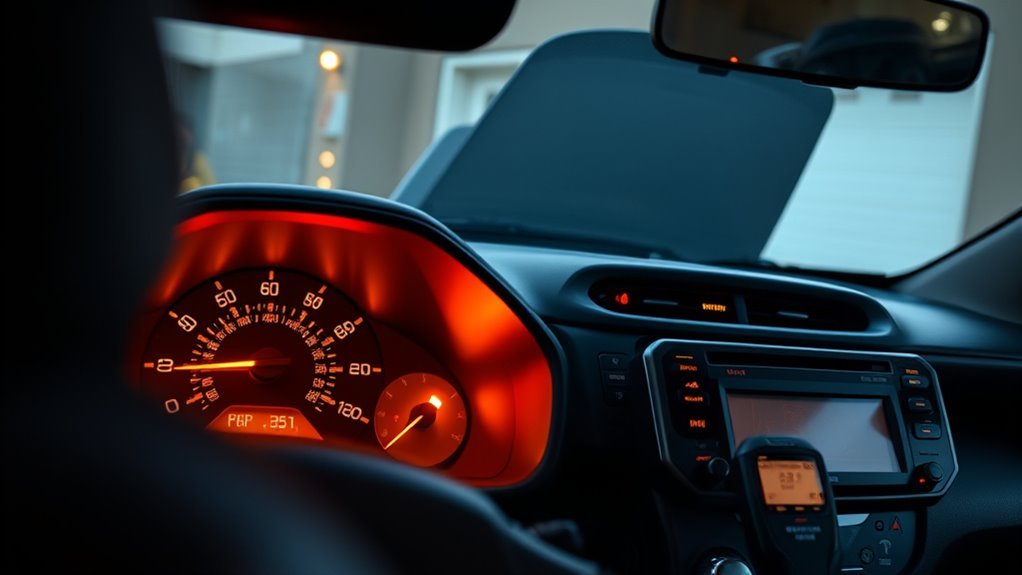
You’ve learned how to spot likely causes and gather basic data; now decide whether to keep driving. Treat a steady CEL as potentially minor—monitor engine light safety by checking for performance changes, odd noises, or warning icons. If none appear, you can usually drive cautiously to a repair shop, but log symptoms and limit highway speeds.
A steady CEL can be driven cautiously—watch for performance changes, log symptoms, and avoid highway speeds.
A blinking CEL equals urgent failure risk and elevated driving risks. Stop driving, pull over safely, and get a tow or immediate diagnostic. Blinking often precedes misfires that can destroy the catalytic converter, creating expensive, avoidable damage.
If the RAV4 enters limp mode (30–40 mph cap), recognize that’s a forced-protection state signaling professional evaluation. Don’t push the vehicle; you’ll only trade freedom for higher repair bills.
In short: monitor performance closely after illumination, escalate to a certified technician as symptoms worsen, and prioritize engine light safety over convenience to maintain mobility and financial autonomy.
How the RAV4 Check Engine System Works
Because the RAV4’s check engine system is integrated into the onboard diagnostics (OBD), it continuously monitors engine performance and emissions components and alerts you via the check engine light when parameters stray from expected ranges. You’ll rely on the Engine Control Module (ECM) to gather sensor data—oxygen, mass airflow, crankshaft position, and others—and compare readings to calibrated thresholds. When a parameter violates limits, the ECM logs a diagnostic trouble code (DTC) and illuminates the lamp; steady vs. blinking behavior signals severity, with blinking demanding immediate action to avoid damage. You can retrieve DTCs with a scanner to isolate faults without guesswork. After you fix the root cause, the system will clear the lamp automatically once drive-cycle criteria are met (typically 20–40 miles), restoring normal monitoring. This closed-loop process enforces emissions monitoring and protects performance, giving you control to diagnose, repair, and reclaim freedom from recurring faults.
Top 8 Causes of a RAV4 Check Engine Light
When your RAV4’s check engine light comes on, start by checking three common culprits: a loose or damaged gas cap, a faulty oxygen sensor, and a clogged catalytic converter. A compromised gas cap lets fuel vapors escape and can falsely trigger codes, while an O2 sensor fault disrupts the air–fuel ratio and generates diagnostic trouble codes. Persistent O2 issues can lead to catalytic converter clogging, which impairs emissions and performance and requires prompt attention.
Loose Or Damaged Gas Cap
If your RAV4’s check engine light comes on after refueling, start by inspecting the gas cap—loose, cracked, or missing caps let vapors escape, drop fuel system pressure, and often trigger the diagnostic trouble code. You’ll want to perform basic gas cap maintenance: check the seal for cracks, verify the cap threads engage fully, and listen for resistance when tightening. A compromised cap permits vapor leaks that upset the evaporative emissions system and prompt the ECU to log a fault. Tightening or replacing a defective cap often clears the warning and restores fuel economy while lowering emissions. Don’t ignore this simple fix; regular inspection prevents needless diagnostics and frees you from avoidable visits to the shop.
Faulty Oxygen Sensor
Although oxygen sensors endure high temperatures and corrosive exhaust gases, they still wear out and can throw your RAV4’s air-fuel trim off balance, triggering the check engine light. You’ll notice oxygen sensor symptoms like reduced fuel economy, rough idle, or intermittent misfires as the sensor fails to report accurate O2 levels. Diagnostics will reveal lean or rich fuel trims and stored fault codes pointing to the sensor circuit. Don’t ignore these signs: prolonged operation with a bad sensor reduces miles per gallon and risks emission test failure. Prompt oxygen sensor replacement restores proper feedback to the ECU, stabilizes combustion, and prevents downstream damage. Regular scanning and timely swaps keep your vehicle efficient and free.
Clogged Catalytic Converter
A failing oxygen sensor can leave your RAV4 running rich or lean, which over time may saturate the catalytic converter and cause it to clog. You’ll notice exhaust flow issues, reduced power, poor acceleration, and sometimes a rotten-egg smell. The check engine light often flags this after elevated backpressure or catalyst efficiency codes. Diagnose promptly to avoid collateral engine damage.
- Detect decreased engine performance and fuel economy.
- Scan for PID data showing high backpressure or O2 anomalies.
- Inspect exhaust for unusual odors and temperature differentials.
- Consider catalytic converter replacement when cleaning won’t restore flow.
- Prioritize repairing upstream causes (sensors, fuel trim) to prevent recurrence.
Act decisively to reclaim reliability and freedom from avoidable failures.
Intermittent vs Steady vs Blinking: What Each Means
When your RAV4’s check engine light comes on, the pattern—intermittent, steady, or blinking—tells you how urgently to act. You’ll see intermittent causes tied to transient faults: brief sensor errors or loose connections that often won’t cripple performance but can escalate if ignored. Treat intermittent alerts as warnings—scan codes and monitor behavior to prevent recurrence.
A steady responses indicator means the car’s system detected a persistent fault. Performance may seem normal, yet the issue can degrade fuel economy, emissions, or components over time. You should schedule diagnostics soon to isolate and repair the root cause.
Blinking implications are urgent: usually a misfire or condition that risks catalytic damage and severe engine harm. Stop driving, minimize load, and get immediate repair. If the light stays on after a repair, pursue deeper diagnostic importance—don’t assume the first fix solved underlying failures. Monitor sounds, drivability, and codes to guide decisive action.
Simple DIY Checks: Gas Cap, Battery, Visuals
Start by confirming the gas cap is fully tightened and undamaged, since vapor leaks can set off the check engine light. Next, inspect the battery for corrosion, secure terminals, and adequate charge because electrical faults often trigger warnings. Finally, scan the engine bay for obvious issues—loose hoses, fluid leaks, or disconnected sensors—that you can safely identify without tools.
Check Gas Cap Tightness
If your check engine light comes on after filling up, first verify the gas cap is tightened until you hear at least one definite click; a loose or damaged cap lets fuel vapors escape, disrupts the evaporative emissions system pressure, and can trigger the light. You want to rule out gas cap leakage quickly — tighten until it clicks, inspect for cracks or worn seals, and replace if damaged. This simple check preserves fuel pressure stability and avoids unnecessary diagnostics.
- Tighten cap until you hear a clear click.
- Visually inspect seal for cracks or deformation.
- Replace cap if threads or gasket show wear.
- Drive a few miles to see if the light clears.
- Use an OEM or equivalent cap to guarantee correct seal.
Take control; don’t surrender to avoidable repairs.
Inspect Battery Condition
After checking the gas cap, move on to a quick battery inspection to rule out basic electrical causes of a check engine light. You’ll want to examine terminals for corrosion, confirm cable clamps are tight, and scan cables for fraying; these battery maintenance tips prevent false codes and free you from avoidable shop visits. Use a multimeter and follow standard voltage testing methods: with the engine off expect 12.6–12.8 V; a resting voltage below 12.4 V suggests partial discharge. Listen for weak starter clicks at cranking—symptoms of low battery capacity rather than engine faults. If you find corrosion, clean terminals and retest. If voltage and connections check out but warnings persist, pursue diagnostic scanning rather than replacing components blindly.
Visual Engine Bay Scan
Grab a flashlight and walk the engine bay top to bottom, checking the gas cap, battery, visible hoses, wiring, fluid levels, and the air filter for obvious faults that commonly trigger a check engine light. You’re performing engine bay maintenance with focused visual inspection techniques to reclaim control and avoid unnecessary repairs. Scan for a loose or cracked gas cap, corroded battery terminals, frayed wiring, pinched or split hoses, low fluids, and a clogged air filter. Address obvious issues: tighten or replace the cap, clean terminals, secure wiring, replace damaged hoses, top fluids, and swap a dirty filter.
- Tighten or replace a faulty gas cap
- Clean and torque battery connections
- Inspect hoses and wiring for damage
- Verify oil, coolant, transmission levels
- Check and replace a dirty air filter
Professional Diagnostics: Scan, Live Data, Smoke Test
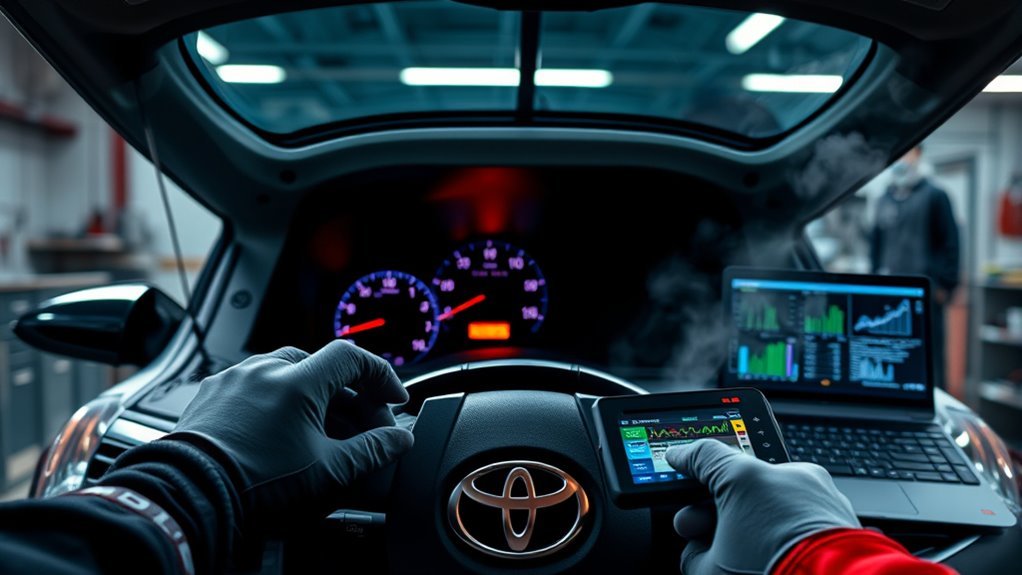
When you bring a RAV4 in for professional diagnostics, technicians start with an advanced OBD-II scan to pull stored and pending DTCs from the ECM, then move to live-data monitoring to observe fuel trims, air‑fuel ratios, sensor voltages and actuator responses in real time. You’ll see how diagnostic tools map system behavior under load and idle, letting a technician isolate intermittent faults that codes alone can’t reveal. Watch live fuel trims and O2/MAF trends to spot lean/rich patterns, and use actuator tests to confirm component response.
If suspicion points to unmetered air, they’ll perform a smoke test to locate intake or vacuum leaks by introducing visible smoke and noting escape points. Technician expertise ties these inputs together—scan data, waveform analysis, and leak confirmation—so you get targeted repairs, not guesses. Prompt professional diagnostics prevents escalation, preserves engine life, and restores your freedom to drive without compromise.
Common Codes Explained (P0171, Injector, O2, MAF)
- Read freeze-frame and live data to confirm P0171 and fuel trim trends.
- Inspect for vacuum leaks, intake cracks, or PCV failures causing extra air.
- Test/flow fuel injectors; clean or replace if spray patterns or flow are compromised.
- Scan O2 sensor response time and voltage swings; a slow sensor skews mixture control.
- Verify MAF sensor output against expected airflow; clean or replace if readings are erratic.
You’ll act like a technician and reclaim control: targeted diagnostics protect emissions hardware, restore engine performance, and free you from repeated check-engine uncertainty.
Repairs and Costs: DIY vs Shop vs Dealer
After you’ve confirmed P0171 trends, inspected for vacuum leaks, and checked MAF/O2/injector function, the next step is choosing who’ll make the repair and what it’ll cost. You’ll weigh DIY Benefits against shop expertise: simple fixes like a loose gas cap or spark plugs save $100–$200 in labor, offering control and empowerment. For more complex faults, use Repair Comparisons and Cost Analysis to decide.
Independent shops charge $50–$150/hour and often balance price with competent diagnostics; they’re a pragmatic choice when Parts Quality and targeted repairs matter. Dealers bill $120–$200/hour, deliver OEM Parts Quality, and run thorough diagnostics that can expose manufacturer-specific codes missed elsewhere.
Prioritize Mechanic Selection by verifying certifications, diagnostics scope, and transparency in Labor Rates. Track Repair Frequency to spot recurring failures and optimize decisions. Apply concise Maintenance Tips: document codes, compare parts (OEM vs aftermarket), and get written estimates before authorizing work.
Preventive Habits, Fuel, and Parts Recommendations
Start with a short checklist you can follow every month: tighten the gas cap, scan for pending codes, inspect for vacuum leaks, and note any performance changes. You’ll reduce false CEL triggers and preserve fuel quality by using reputable stations and scheduling injector cleanings. Follow maintenance tips that focus on ignition and delivery systems to keep control of repairs and costs.
- Use high-quality fuel only; contaminants shorten component life.
- Tighten the gas cap to maintain proper evaporative pressure.
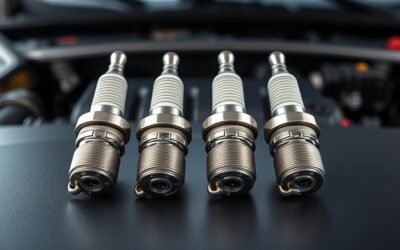
- Replace spark plugs/wires per interval to prevent misfires.
- Book periodic fuel injector cleaning to restore efficient spray patterns.
- Monitor dash alerts; act early to avoid major repairs.
Be proactive: treat diagnostics as liberation from unexpected breakdowns. You’ll limit shop dependence by combining basic inspections, timely parts replacement, and clean fuel. That disciplined approach preserves performance, improves economy, and keeps the RAV4 running on your terms.
Frequently Asked Questions
Will My Warranty Cover Check Engine Light Repairs?
Sometimes — it depends on warranty coverage terms and the diagnosed fault; you’ll need a dealer or certified shop diagnosis to confirm. If covered, they’ll handle repair costs; if not, you’ll negotiate out-of-pocket or extended plan options.
Can Roadside Assistance Tow Me for CEL Issues?
Yes — you can get towed for CEL issues, and sometimes coincidentally the tow truck carries basic diagnostic tools; you’ll choose towing options, verify diagnostics, and reclaim mobility while asserting your right to independent repair choices.
Does Aftermarket Tuning Trigger the Check Engine Light?
Yes — aftermarket modifications and performance tuning can trigger the check engine light. You’ll want diagnostic scanning for ECU errors, verify correct fuel/ignition maps, and revert or retune components to eliminate sensor faults and emissions noncompliance.
How Long Before a CEL Damages the Catalytic Converter?
A CEL can damage the catalytic converter within hours to weeks depending on severity; if misfires or rich running persist, you’ll degrade the catalytic converter and lose engine performance quickly, so address faults immediately to avoid destruction.
Can Cold Weather Cause the Check Engine Light to Come On?
Yes — cold weather effects can trigger the check engine light: you’ll see altered engine performance from poor fuel vaporization, sensor drift or battery strain, so diagnose promptly to avoid cascading faults and reclaim vehicle reliability.
Conclusion
You’ve got a clear roadmap: check codes, assess symptoms (steady, intermittent, blinking), and prioritize safety—pull over if it’s flashing. For example, a commuter ignored a P0171 lean code until rough idling led to a failing MAF; a $120 sensor swap fixed it and avoided a $900 catalytic-converter replacement. Use a scanner, confirm with live data/smoke test, then choose DIY for simple sensors or a trusted shop for injectors/cat work to minimize cost and risk.