A discharged battery can leave your 2009 Toyota Land Cruiser completely unresponsive or producing only a rapid clicking sound. You can often start it with a compatible 12-volt donor vehicle or portable booster, but the cable order and Toyota-specific starting sequence matter. Follow each step carefully, and stop if the battery appears damaged.
Quick Answer
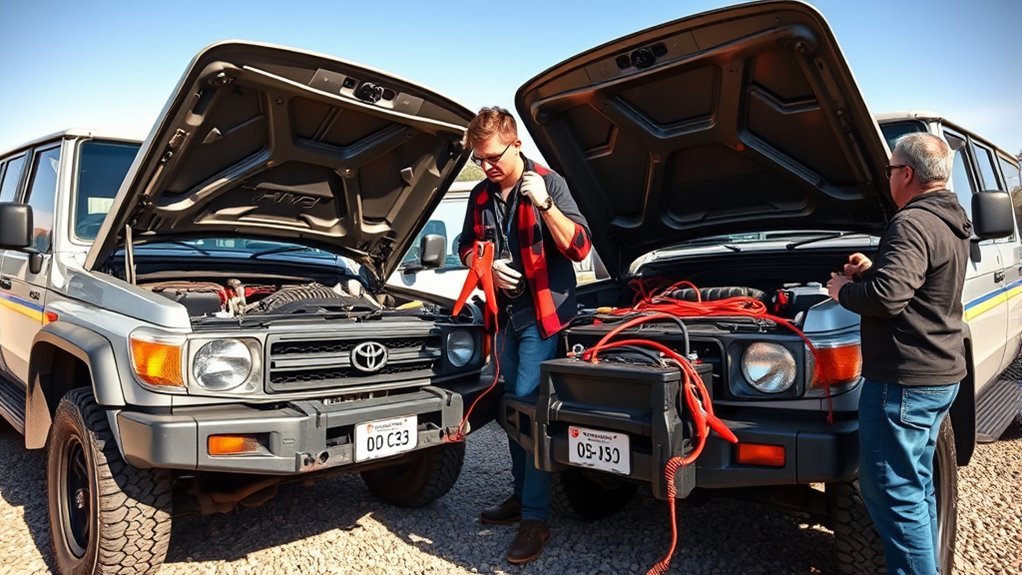
To jump-start a 2009 Toyota Land Cruiser, switch both vehicles off and connect the clamps in this order: Land Cruiser positive, donor positive, donor negative, then a solid unpainted ground on the Land Cruiser. Run the donor for about five minutes, open and close a Land Cruiser door, start it, and disconnect in reverse.
Key Takeaways
- Use only a compatible 12-volt donor vehicle or 12-volt jump starter.
- Connect the final black clamp to a solid metal ground on the Land Cruiser, not to its discharged battery’s negative post.
- Toyota’s procedure calls for running the donor at a slightly increased speed for about five minutes before starting the Land Cruiser.
- Do not jump a frozen, leaking, cracked, swollen, or badly damaged battery.
- A successful jump is an emergency start, not proof that the battery or alternator is healthy.
At a Glance
| Time Required | About 10–20 minutes for the jump-start procedure |
| Difficulty | Beginner, but strict cable order and safety precautions are required |
| Tools Needed | Heavy-duty jumper cables, a 12-volt donor vehicle or compatible booster pack, safety glasses, gloves, and an optional multimeter |
| Cost | No added cost if you already have suitable equipment; roadside assistance, testing, charging, or battery replacement costs vary |
Warning: Do not attempt a jump-start if either battery is frozen, cracked, swollen, leaking, giving off a strong sulfur or rotten-egg odor, or covered in severe corrosion. Keep cigarettes, flames, sparks, children, jewelry, and metal tools away from both batteries.
Quick Jump-Start Steps for a 2009 Toyota Land Cruiser
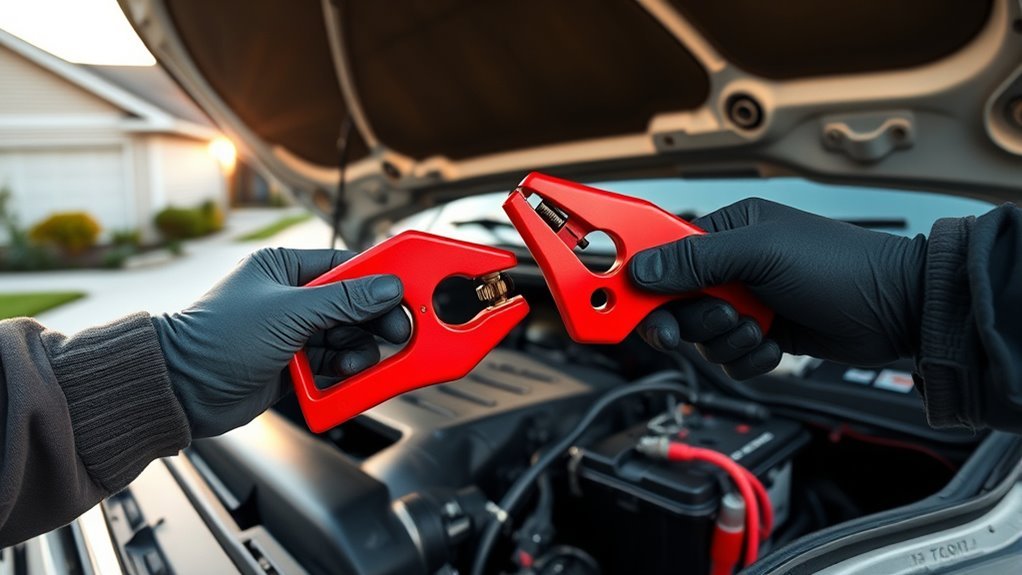
- Position the vehicles. Park the donor vehicle close enough for the cables to reach, but do not allow the vehicles to touch.
- Secure both vehicles. Shift both transmissions into Park, set both parking brakes, switch off the engines, and turn off lights, climate control, audio, chargers, and other accessories.
- Inspect the batteries and cables. Do not continue if a battery or cable appears damaged.
- Connect red to the Land Cruiser. Attach one red clamp to the positive (+) terminal of the discharged Land Cruiser battery.
- Connect red to the donor. Attach the other red clamp to the donor battery’s positive (+) terminal.
- Connect black to the donor. Attach one black clamp to the donor battery’s negative (−) terminal.
- Ground the final black clamp. Attach it to a solid, stationary, unpainted metal point on the Land Cruiser, away from the battery, belts, and cooling fan.
- Start the donor vehicle. Increase its engine speed slightly and maintain it for approximately five minutes.
- Cycle a Land Cruiser door. With the Land Cruiser’s ENGINE START STOP switch off, open and close one of its doors.
- Start the Land Cruiser. Keep the donor running at the slightly increased speed, press the Land Cruiser’s brake pedal, and start the engine.
- Disconnect in reverse order. Remove the Land Cruiser ground clamp, donor negative clamp, donor positive clamp, and Land Cruiser positive clamp.
The model-specific five-minute charging period and door-cycle step come from Toyota’s emergency starting procedure. You can review the available documentation through Toyota’s 2009 Land Cruiser manuals page.
Safety Checks and Tools You Need
Before connecting anything, wear safety glasses and protective gloves. Batteries contain corrosive electrolyte and can release flammable gas. Work outdoors or in a well-ventilated area, keep your face away from the battery, and make sure you have enough light to identify every terminal.
[Products Worth Considering]

Brand New - Manufactured with New Premium Quality Components Engineered to Meet or Exceed OEM Specifications All Items Tested for Reliability, Durability and Performance See...
Essential Safety Gear
- Safety glasses: Protect your eyes from acid, corrosion, and unexpected sparks.
- Protective gloves: Help limit skin contact with corrosion or electrolyte.
- Heavy-duty jumper cables: Use undamaged cables rated for a large gasoline engine.
- Compatible power source: Use another 12-volt vehicle or a 12-volt booster pack suitable for a large-displacement engine.
- Optional multimeter: Useful for checking resting battery voltage after the emergency has passed.
Remove rings, bracelets, watches, and other metal jewelry before working around exposed battery terminals. Never place tools or cable clamps on top of a battery.
Vehicle and Cable Inspection
Inspect both batteries before moving the clamps into position. Stop and call for assistance if you find a cracked case, bulging sidewall, active leak, frozen battery, loose battery, melted terminal, severe corrosion, or strong sulfur odor.
Check the jumper cables for exposed wire, damaged insulation, loose clamps, or burned contact surfaces. Make sure the clamps can reach without stretching across fans, pulleys, belts, or hot exhaust components.
Note: Do not use a 24-volt truck, equipment battery, or 24-volt booster setting. The assisting electrical system must be compatible with the Land Cruiser’s 12-volt system.
Prepare the Cars: Parking, Power Off, and Brakes
Preparation prevents the vehicles from moving and reduces the chance of a voltage spike or accidental short circuit. Complete these checks before removing any terminal cover.
Park Vehicles Close
Position the donor vehicle nose-to-nose or side-by-side with the Land Cruiser. Leave a safe gap between them. The vehicles must not touch because contact can create an unintended electrical path.
Make sure the cables reach naturally. Do not stretch them tightly or route them over moving engine parts. If the clamps cannot reach safely, reposition the donor vehicle rather than improvising an extension.
Remove Keys and Engage the Brakes
- Shift both automatic transmissions into Park.
- Set both parking brakes firmly.
- Switch off both engines before connecting the cables.
- Turn off headlights, interior lights, climate control, audio, heated seats, phone chargers, and other accessories.
- Keep the Land Cruiser’s electronic key available for the starting step.
- Move away from traffic, fuel spills, open flames, and other hazards.
Do not allow anyone to sit between the vehicles or handle the clamps while either engine is being started.
Find the Land Cruiser Battery and Identify Terminals
The U.S.-spec 2009 Land Cruiser owner’s manual shows the main 12-volt battery in the engine compartment. Open the hood and identify the battery by its rectangular case, heavy battery cables, hold-down bracket, and marked terminals.
The positive terminal normally has a “+” mark and may have a red protective cover. The negative terminal has a “−” mark and connects to the vehicle body or engine through a heavy ground cable. Remove only the positive-terminal cover needed to attach the clamp.
Do not rely only on a left-side or right-side description. Land Cruisers sold in different markets may have different engines, cold-weather equipment, or battery layouts. Some diesel or modified vehicles may also have a second battery. Verify the layout on the actual vehicle before connecting anything.
Pro Tip: Trace the terminal markings with a flashlight before opening the cable clamps. Never identify polarity by cable position alone.
Cable Connection Order: Exact Step-by-Step
Keep all four loose clamps separated while making the connections. Once the first clamp is attached, never allow an unused red clamp to touch metal or a red and black clamp to touch each other.
- Red clamp to Land Cruiser positive (+).
- Other red clamp to donor positive (+).
- Black clamp to donor negative (−).
- Final black clamp to a solid Land Cruiser ground. Use a stationary, unpainted engine or chassis point away from the discharged battery.
The final black clamp belongs on a solid metal ground away from the discharged battery, not on the discharged battery’s negative post.
After all four clamps are secure, confirm that no cable can fall into the cooling fan, accessory belts, pulleys, or other moving components. Remember that an electric cooling fan may begin operating unexpectedly.
[Products Worth Considering]

12 FEET JUMPER CABLES: 8 Gauge, 12 FT booster battery jumper cables, easily connect from one car battery to another without tangling. Which is suitable for use with full-size cars, mid-size cars, and compact cars

Powerful & Reliable – Constructed with 4 gauge wire for efficient energy transfer, ensuring a quick and safe jump-start in emergencies.
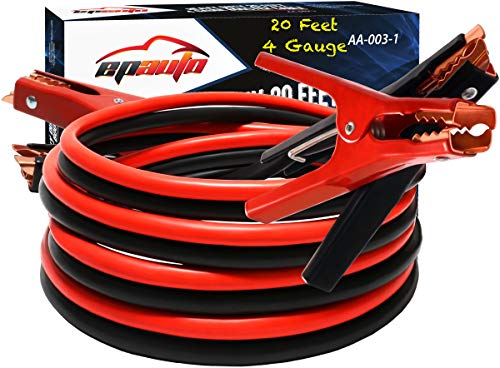
HEAVY DUTY 4 GAUGE JUMPER CABLES: These 4 AWG booster cables provide superior current flow compared to lighter standard cables, ensuring a quick, reliable start for your vehicle every time
Start-Up, Troubleshooting, and Safe Disconnect
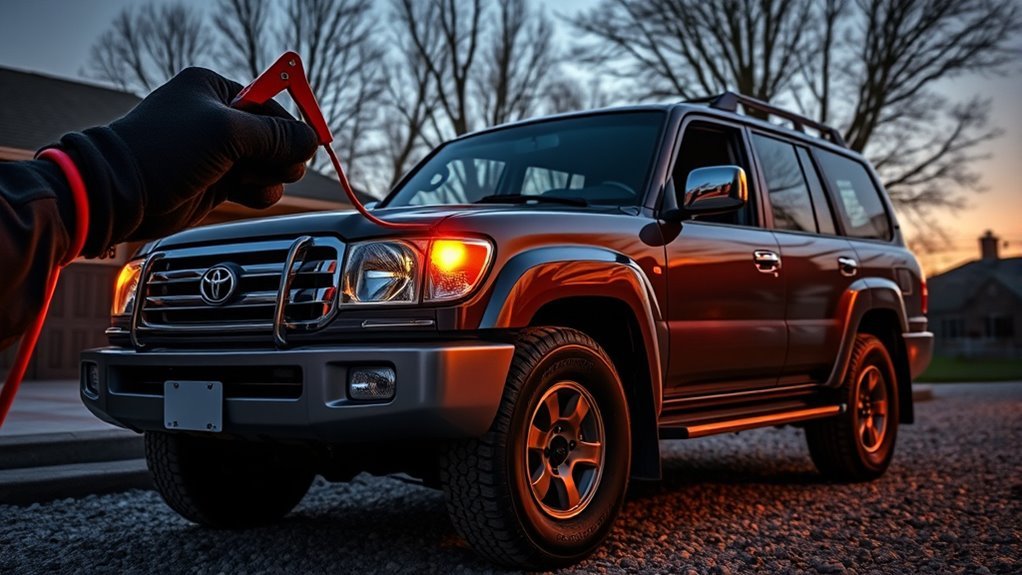
Start the Donor and Land Cruiser
- Start the donor vehicle.
- Increase the donor’s engine speed slightly and maintain that speed for approximately five minutes.
- With the Land Cruiser’s ENGINE START STOP switch off, open and close one of its doors.
- Keep the donor running, press the Land Cruiser’s brake pedal, and press its ENGINE START STOP switch.
- Once the Land Cruiser starts, confirm that the engine is running smoothly and check for charging-system or other warning lights.
Do not repeatedly operate the starter without pauses. If the first attempt fails, stop, verify every clamp, allow several more minutes for current to flow, and make one more careful attempt. Stop if the cables become hot, the insulation smokes, a clamp arcs continuously, or either battery begins hissing or swelling.
What the Starting Symptoms May Mean
- Rapid clicking and dim lights: The battery may still be too discharged, or a clamp or battery-terminal connection may be poor.
- One solid click with bright lights: The starter, starter circuit, battery cable, or connection may need diagnosis.
- Normal cranking but no engine start: The problem may involve fuel, ignition, the immobilizer, or another system rather than battery power.
- No lights and no response: Check for loose battery terminals, a disconnected cable, severe battery failure, or a main electrical fault.
- Starts but soon stalls: The charging system may not be supporting the vehicle, or the battery connection may be poor.
Safe Cable Disconnection Order
Once the Land Cruiser is running, keep both vehicles stable and prevent the clamps from touching each other. Remove the cables in this order:
- Black clamp from the Land Cruiser’s metal ground.
- Black clamp from the donor battery’s negative terminal.
- Red clamp from the donor battery’s positive terminal.
- Red clamp from the Land Cruiser battery’s positive terminal.
Replace the positive-terminal cover, close both hoods securely, and store the cables so the clamps cannot short together.
What to Do After the Land Cruiser Starts
Keep the engine running while you move to a safe location, but do not assume the battery is fully recharged. A short drive may restore some energy, yet a deeply discharged battery can require several hours on a suitable battery charger.
- Turn off unnecessary electrical accessories.
- Check whether the charging-system warning light remains on.
- Do not switch the engine off until you are somewhere safe to deal with another no-start.
- Have the battery and charging system tested as soon as practical.
- Use a proper charger if testing shows that the battery is still deeply discharged.
- Investigate lights, accessories, loose connections, or other causes of the original discharge.
Toyota describes jump-starting as an emergency measure and recommends having the vehicle checked after it starts.
Can You Use a Portable Jump Starter?
You can use a compatible 12-volt portable jump starter if it is rated for a large gasoline engine and its instructions permit use with your vehicle. Switch the booster off before attaching its clamps unless its manufacturer directs otherwise.
- Attach the booster’s red clamp to the Land Cruiser’s positive terminal.
- Attach the black clamp to the approved metal ground specified by the booster and vehicle instructions.
- Activate the booster as directed.
- Start the Land Cruiser.
- Switch the booster off and remove the black clamp before the red clamp.
Never select a 24-volt setting, reverse the clamps, or use a damaged or swollen booster pack.
[Products Worth Considering]
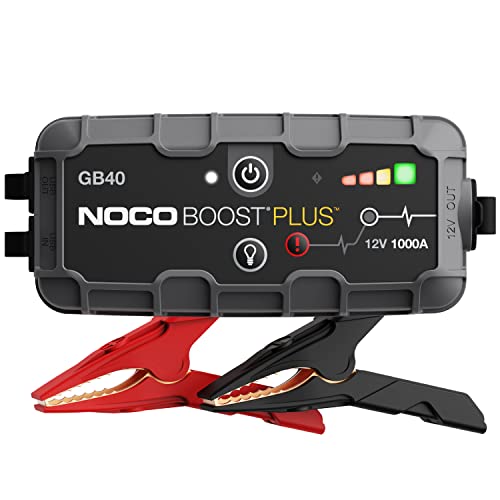
START DEAD BATTERIES — Instantly start dead batteries with 1000 amps of peak lithium power. Up to 20 starts per charge on engines up to 6.0L gas and 3.0L diesel.

POWERFUL CAR BATTERY JUMP STARTER: The ET03 car battery jump starter can easily jump-start all 12V common vehicles with up to 8.0L gas and 7.0L diesel engines in seconds with its peak current reaching 4000 amps. Supports 50 jump starts at most on a single charge and suitable for lawnmowers, motorcycles, passenger cars, trucks, and even boats, etc.

【Powerful Battery Starter】The OXILAM car jump starter delivers a powerful peak current of 6000A, capable of quickly reviving a dead car battery in just seconds—even in extreme temperatures. A single full charge provides up to 60 jumpstarts. 2024 upgraded jumper cables can safely start all gas engines and 12L diesel engines, including 12v vehicles, motorcycles, pickups, RVs, tractors, trucks, vans, ATVs, snowmobiles, yachts, and many more. Say goodbye to being stranded due to a dead battery
When to Stop and Call a Pro: Battery vs. Charging-System Problems
Stop attempting the jump and arrange professional help when the battery is physically damaged, the cables overheat, the starter does not respond after secure connections and charging time, or the vehicle starts but immediately loses electrical power.
After the vehicle has been switched off for at least 20 minutes with the lights off, Toyota’s published battery-voltage reference lists approximately:
- 12.6–12.8 volts: Fully charged
- 12.2–12.4 volts: Approximately half charged
- 11.8–12.0 volts: Discharged
These are resting-voltage screening values, not a complete battery diagnosis. A battery may show acceptable voltage but fail under starter load. A technician can perform a battery load or conductance test and check alternator output, voltage regulation, wiring, and parasitic drain.
- Battery more likely: Slow cranking, repeated need for a jump after sitting, swollen case, internal failure, or inability to hold a charge.
- Charging system more likely: Charging warning light remains on, lights dim while driving, electronics begin shutting down, or the engine dies shortly after the jump.
- Starter or cable more likely: One heavy click, bright lights, and no cranking.
- Another engine problem more likely: The starter cranks at normal speed but the engine does not fire.
Do not disconnect a battery cable while the engine is running to “test” the alternator. That old method can create a voltage surge and damage vehicle electronics.
Frequently Asked Questions
Can jump-starting damage a Land Cruiser?
Yes. Reversed polarity, a 24-volt power source, loose clamps, shorted cables, or cables caught in moving parts can damage electronics, melt wiring, or cause a battery explosion. Following the correct order with a compatible 12-volt source greatly reduces the risk.
Why does my Land Cruiser have two batteries?
Not every 2009 Land Cruiser has two batteries. Some diesel, cold-weather, market-specific, or modified vehicles use a dual-battery arrangement. The U.S.-spec gasoline owner’s manual shows one main underhood battery. Inspect your vehicle and follow the manual for its exact engine and market.
Can I connect the final black clamp to the dead battery?
Do not connect the final black clamp to the discharged battery’s negative post. Attach it to a solid, stationary, unpainted metal ground on the Land Cruiser away from the battery. This keeps the final connection spark farther from battery gas.
How long should the donor vehicle run before I start the Land Cruiser?
Toyota’s 2009 procedure calls for running the donor at a slightly increased engine speed for approximately five minutes. Then open and close one of the Land Cruiser’s doors with its start switch off before attempting to start it.
Why does the Land Cruiser click but not start?
Rapid clicking usually indicates low available current or a poor connection. One solid click with bright lights can point to a starter, cable, or starter-circuit problem. Recheck the clamps and stop after a limited number of attempts if it still will not crank.
Can a 2009 Land Cruiser be push-started?
No. The automatic-transmission Land Cruiser cannot be started by pushing or towing it. Use an approved 12-volt jump source or arrange roadside assistance.
Conclusion
To jump-start a 2009 Toyota Land Cruiser safely, use a compatible 12-volt source and follow the four-clamp order exactly: Land Cruiser positive, donor positive, donor negative, and Land Cruiser metal ground. Run the donor for about five minutes, complete Toyota’s door-cycle step, start the Land Cruiser, and remove the clamps in reverse.
Stop if the battery is damaged, the cables overheat, or the vehicle still will not crank after secure connections and a limited number of attempts. Once it starts, arrange a battery and charging-system test instead of assuming a short drive has fully recharged the battery.
Sources
- Toyota 2009 Land Cruiser Manuals and Warranties — manufacturer documentation and model-specific owner information
- AAA: How to Jump a Battery — general positioning, cable order, grounding, and post-start guidance
- OSHA 1917.157: Battery Charging and Changing — ground placement, ignition-source control, ventilation, and accessory shutoff
- CDC/ATSDR: Sulfuric Acid Safety — battery-acid hazards and protective precautions