Using a Presta valve adapter is simple once you know the order: open the small Presta locknut first, thread the adapter on by hand, attach a Schrader-style pump head, inflate carefully, then remove the adapter and close the valve. The key is to keep the valve straight and never exceed the safe pressure for your tire and rim.
Quick Answer
To use a Presta valve adapter, remove the valve cap, loosen the tiny nut at the top of the Presta valve, press it once to confirm air can move, then screw the adapter onto the valve. Attach a Schrader pump, inflate to a safe pressure, remove the pump and adapter, and tighten the Presta nut by hand.
Key Takeaways
- A Presta-to-Schrader adapter lets a Schrader pump head fit onto an open Presta valve.
- Always loosen the small Presta locknut before installing the adapter, or air will not enter the tire.
- Use the lower pressure limit from your tire, rim, tube, or wheel manufacturer; the tire sidewall number is often a maximum, not your ideal riding pressure.
- With an air compressor or gas-station pump, add air in short bursts and check pressure often to avoid overinflation.
At a Glance
| Time Required | 2–5 minutes |
| Difficulty | Easy beginner task |
| Tools Needed | Presta-to-Schrader adapter, Schrader pump or inflator, pressure gauge if your pump does not have one |
| Cost | Usually a few dollars for the adapter |
Understanding Presta Valves: What You Need to Know

A Presta valve, also called a Sclaverand valve, is the narrow metal valve often found on road, gravel, and many higher-performance bicycle wheels. Unlike a Schrader valve, which looks like a car-tire valve, a Presta valve has a small knurled nut at the tip. That nut must be loosened before air can move through the valve.
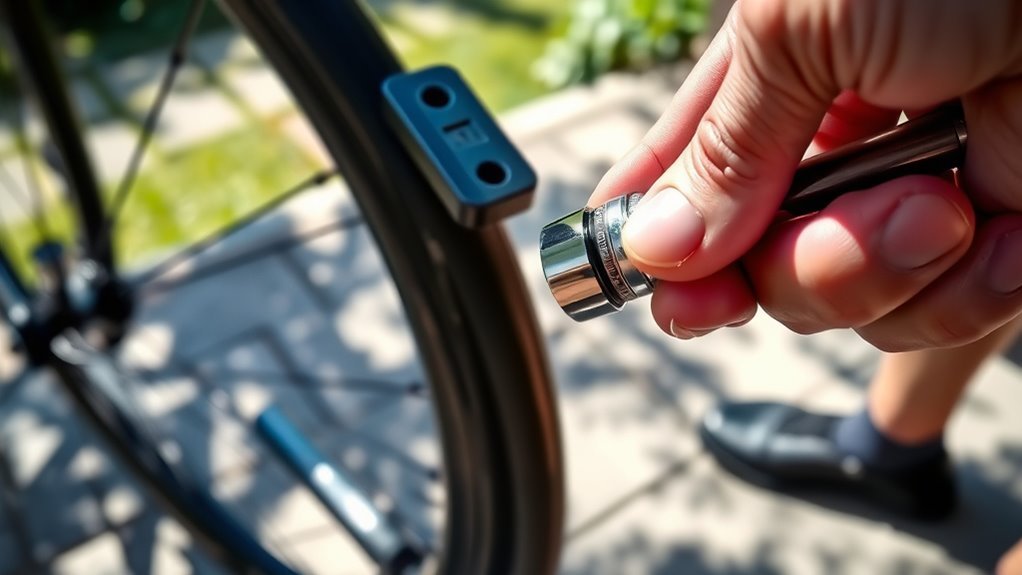
A Presta valve adapter usually means a small Presta-to-Schrader adapter. It screws onto the open Presta valve so a Schrader pump head, gas-station-style inflator, or compressor chuck can attach to it. Schwalbe notes that Sclaverand/Presta valves are narrower than car valves and must be opened manually with the knurled nut before inflation, while adapters can make certain pump setups compatible with bike valves. Schwalbe’s valve guide also warns that the thin top pin can bend if the pump connector is handled roughly.
Note: The adapter does not open the valve by itself. You still need to loosen the tiny Presta nut first. If the nut is closed, the pump may feel connected, but little or no air will enter the tire.
Choosing the Right Adapter for Your Presta Valve
Most riders need a simple Presta-to-Schrader adapter. It is a small threaded piece, usually brass or aluminum, with Presta threads on one side and a Schrader-style outside shape on the other. Choose one that threads smoothly by hand and sits straight on the valve.
- Compatibility: Use a Presta-to-Schrader adapter when your pump head only fits Schrader valves.
- Material quality: Brass and aluminum adapters usually last longer than very soft plastic adapters.
- Thread fit: The adapter should screw on smoothly. If it feels gritty, crooked, or forced, stop and realign it.
- Gauge access: A pump or separate gauge is helpful because pressure control matters more than simply making the tire feel firm.
You can carry an adapter in a saddle bag, patch kit, or tool roll. Some riders leave one screwed loosely onto a valve under a Schrader cap, but you still must reopen the Presta nut before inflating.
[Products Worth Considering]
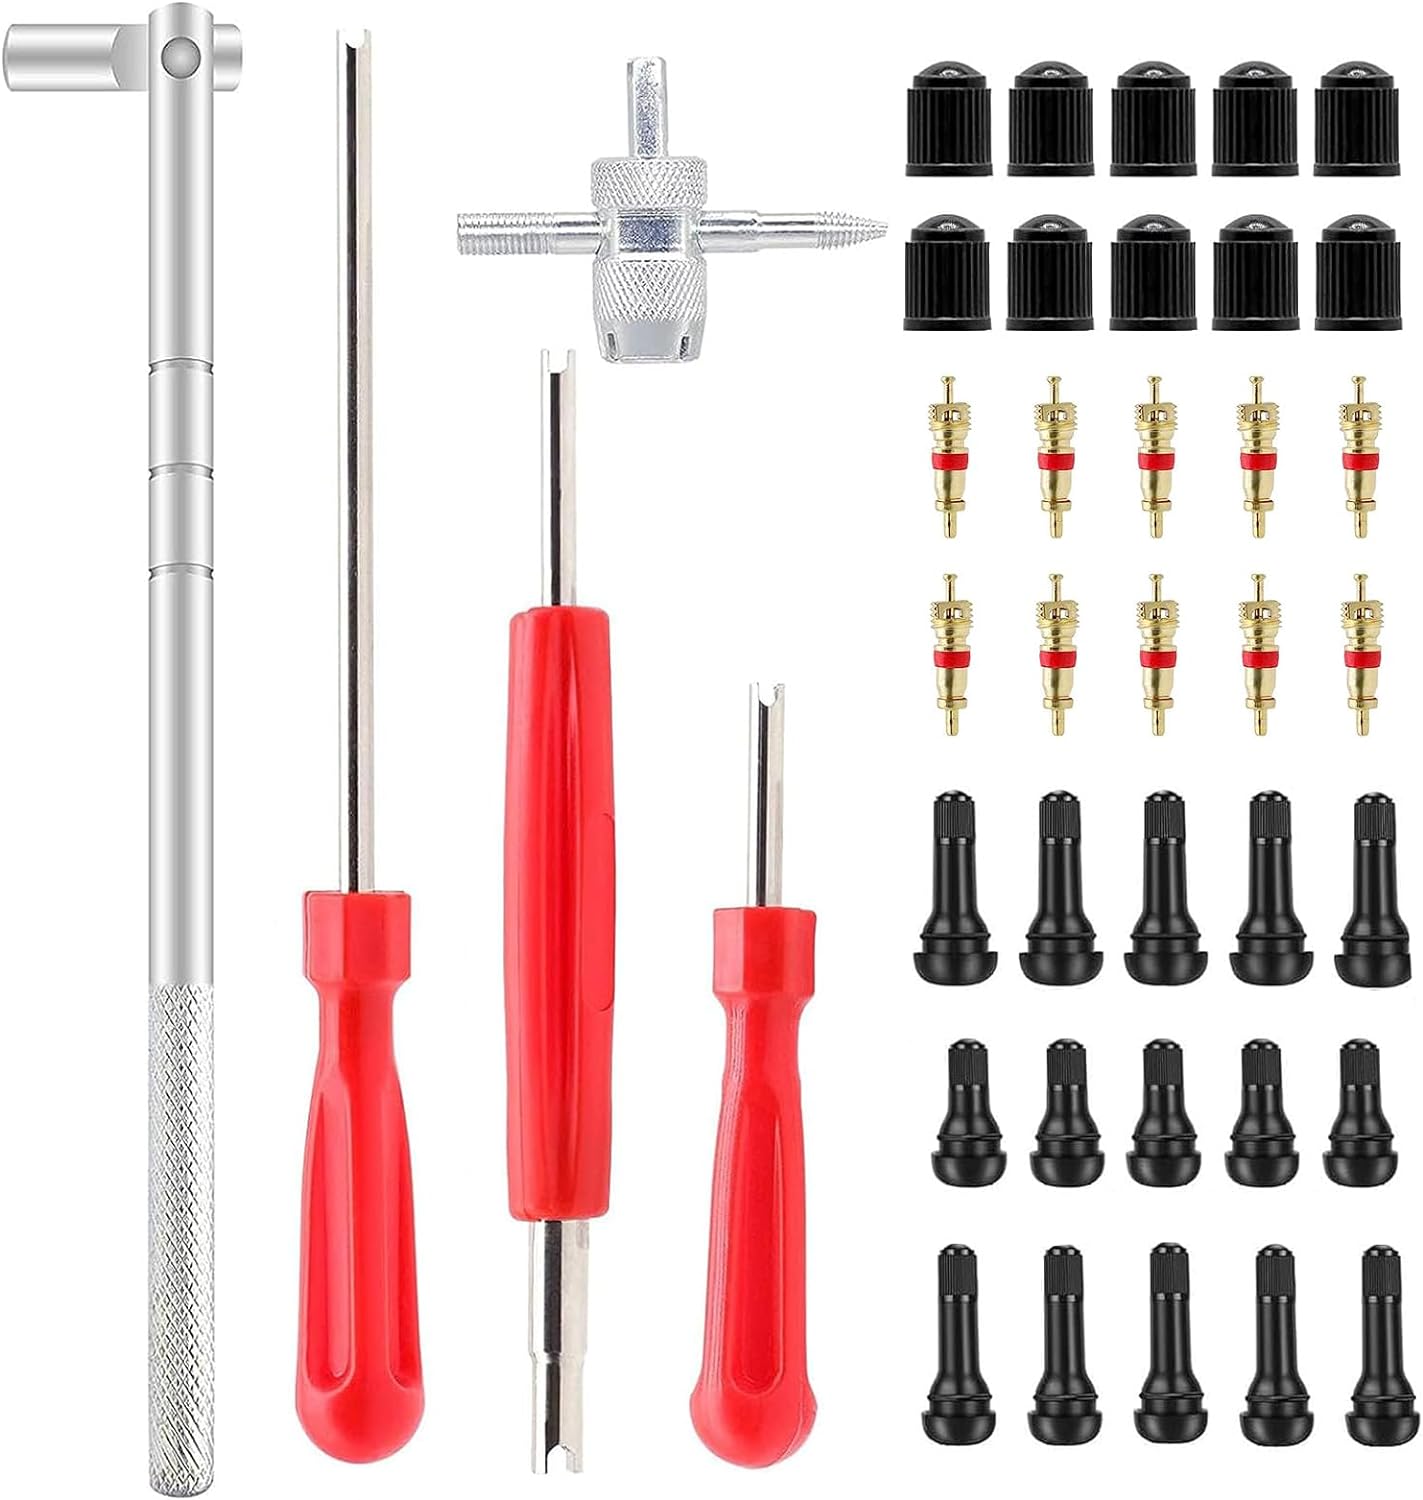
This tire repair kit combines a valve stem puller installer with multiple snap-in valve stems and valve core tools to help you service tubeless tires quickly and efficiently. It is designed to make removing and installing valve stems easier while reducing the risk of wheel or stem damage. Compatible with a wide range of vehicles, it is a practical all-in-one solution for routine tire maintenance and roadside repairs.

This versatile valve core and stem removal kit is designed for maintenance and replacement across cars, trucks, motorcycles, bicycles, ATVs, lawn mowers, and more. It includes a dual-head stainless steel remover and a 3-in-1 valve tool for Presta and Schrader applications, making valve service quick, portable, and convenient.

This custom-fit trunk mat is designed for Toyota RAV4 models from 2019 to 2025, including hybrid and gasoline versions, offering a precise fit with no trimming required. Made from durable TPE with raised edges, it helps protect the cargo area from dirt, spills, mud, snow, and water while the non-slip surface keeps items steady. It installs easily, cleans quickly, and is built for dependable all-weather trunk protection.
Step-by-Step Guide to Attaching the Adapter
Follow this order to attach the adapter without bending the valve or losing unnecessary air:
| Step | Action | Why It Matters |
|---|---|---|
| 1 | Remove the valve cap. | This exposes the Presta valve tip. |
| 2 | Unscrew the small Presta nut counterclockwise until it stops. | This opens the valve for airflow. |
| 3 | Press the tip once briefly. | A tiny hiss confirms the valve is open and not stuck. |
| 4 | Thread the adapter clockwise onto the valve by hand. | Hand-tight is enough; forcing it can cross-thread the adapter or damage the valve. |
| 5 | Attach the Schrader pump head straight onto the adapter. | A straight connection helps prevent leaks and bent valve pins. |
Pro Tip: If the tire is completely flat, hold the valve stem from behind the rim while attaching the pump. This keeps the valve from pushing back into the rim.
How to Inflate Your Tire Using a Pump With the Adapter
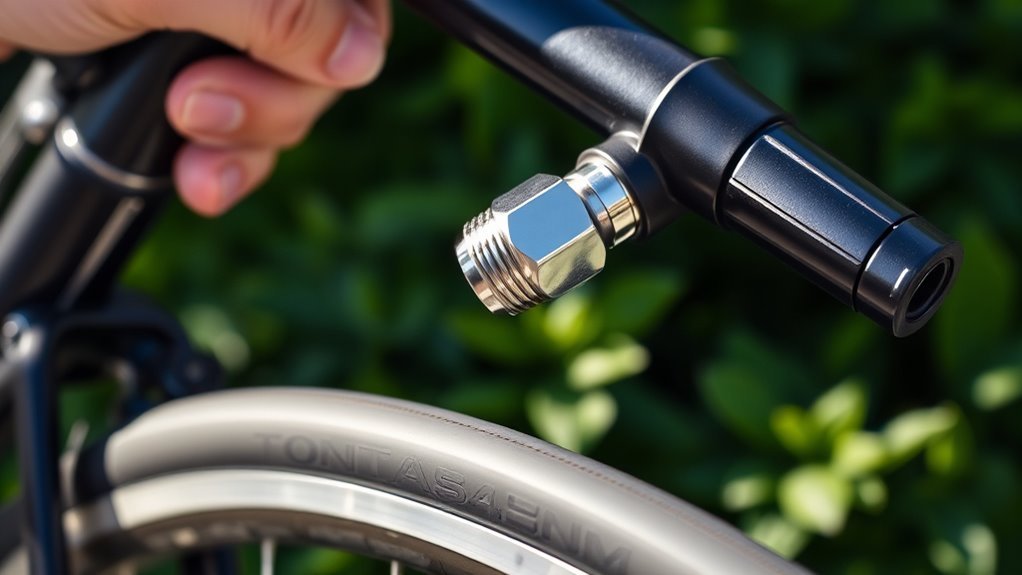
Once the adapter is attached, use the pump the same way you would use it on a Schrader valve. Push the pump head onto the adapter, lock the pump lever if your pump has one, and begin inflating in controlled strokes.
[Products Worth Considering]

This SUV cargo liner for dogs is designed to protect your cargo area from scratches, fur, mud, spills, odors, and water while keeping your pet comfortable during travel. Built with waterproof quilted layers, anti-slip backing, side flaps, and a bumper protector, it helps create a safer, cleaner space for large and full-size SUVs. It also works well as a luggage mat or outdoor picnic mat for added versatility.

This tire valve stem removal tool kit provides an easy way to remove, install, and service valve cores on a variety of vehicles. It includes multiple tool styles plus valve caps and cores, making it useful for routine tire maintenance and unexpected roadside repairs. The compact design supports convenient storage and transport, while the included 4-way tool adds extra functions for valve-related tasks.
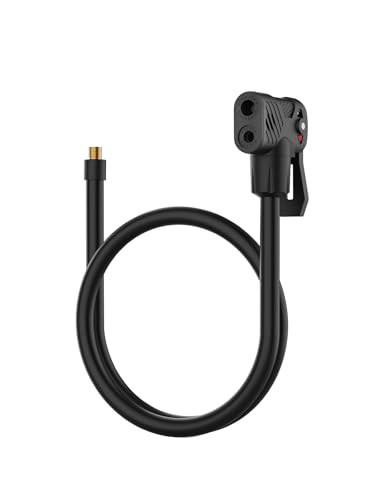
【UNIVERSAL VALVE COMPATIBILITY】Effortlessly switch between Presta and Schrader valves with dual independent nozzles. Perfect for cyclists using hybrid bikes or multiple tire types, this Presta Schrader valve adaptor ensures airtight seals without leaks. Its locking Presta/Schrader air chuck design guarantees stability during inflation, while the 20-inch hose offers flexibility for hard-to-reach valves. Works seamlessly with Presta valve pumps or Schrader-compatible inflators.
Prepare the Tire Valve
Before pumping, check three things:
- The Presta nut is loosened all the way.
- The adapter is threaded on straight and hand-tight.
- The pump head is locked securely without pulling the valve sideways.
Monitor Inflation Pressure
Do not guess the pressure by squeezing the tire with your fingers. Use the gauge on your pump or a separate tire-pressure gauge. Inflate gradually and stop below the lowest maximum pressure listed by your tire, rim, tube, tubeless setup, or wheel manufacturer.
Continental’s tire/rim guidance says riders should check compatibility, follow the maximum inflation pressure for the tire and rim, and use the lower value when tire and rim limits differ. Continental also recommends checking tire pressure before every ride. SRAM/Zipp’s pressure guidance adds that ideal pressure depends on tire width, wheel/rim details, rider and bike weight, riding style, and conditions.
Warning: The pressure printed on a tire sidewall is often a maximum limit, not automatically the best riding pressure. If your rim has a lower maximum than the tire, follow the rim limit. For hookless road rims, Schwalbe notes that ETRTO guidance sets a 5 bar maximum, even if the tire sidewall shows a higher number.
Monitoring Tire Pressure During Inflation
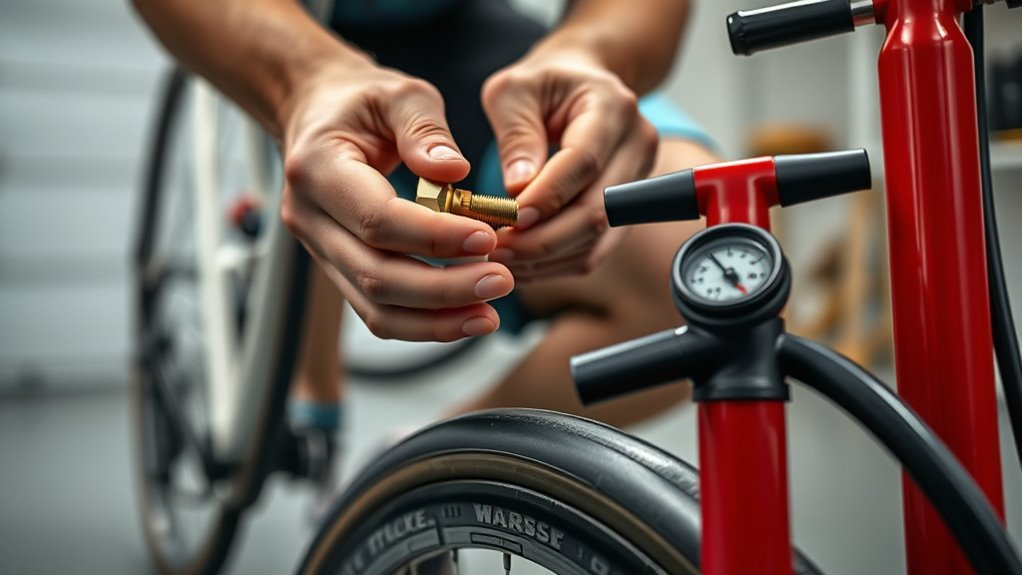
Good pressure control keeps the tire seated safely on the rim and helps the bike ride better. Too little pressure can cause pinch flats, rim strikes, squirmy handling, or poor efficiency. Too much pressure can reduce comfort, reduce grip, and in extreme cases damage the tire or cause a dangerous blow-off.
- Check the tire and rim limits: Use the lower maximum pressure when they differ.
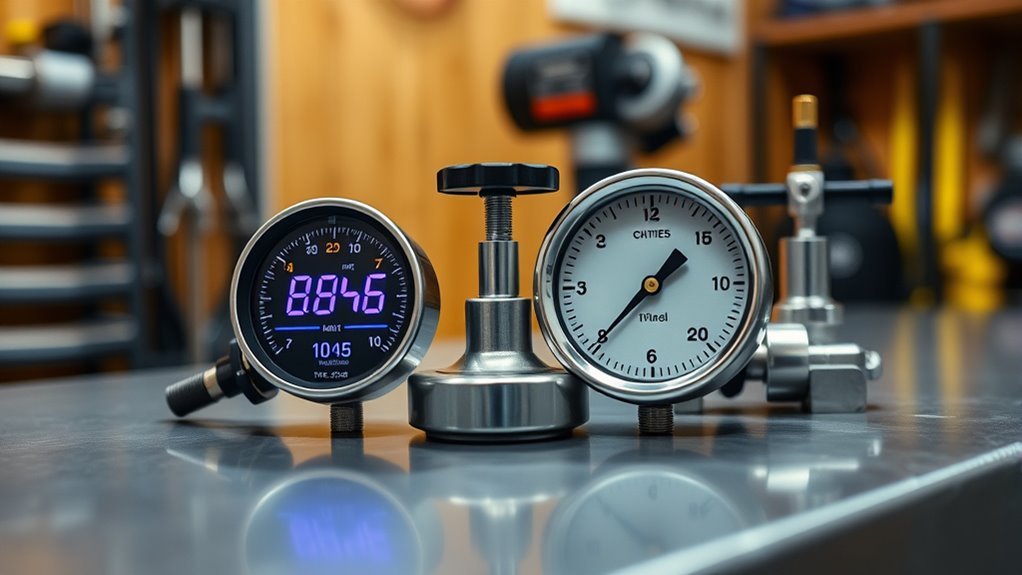
- Use a reliable gauge: Pump gauges are convenient, but a separate gauge can be more consistent.
- Add air gradually: Stop often as you approach your target pressure.
- Check before rides: Bike tires naturally lose air over time, and pressure changes with temperature.
Safe pressure is a system limit, not just a tire number. Check the tire, rim, tube or tubeless setup, and wheel manufacturer guidance before inflating.
Using a Presta Valve Adapter With an Air Compressor
You can use a Presta valve adapter with an air compressor or gas-station inflator, but this is the easiest setup to overdo. Many compressors move air much faster than a hand pump, so you need short bursts and frequent pressure checks.
- Open the Presta valve and thread on the adapter.
- Set the compressor regulator low if the compressor allows pressure adjustment.
- Attach the chuck straight onto the adapter.
- Add air in very short bursts.
- Check pressure with a gauge after each burst.
- Stop before reaching the lowest maximum pressure for the tire/rim system.
Warning: Be extra careful with gas-station compressors. Sheldon Brown’s bicycle tire tools guide warns that gas-station compressors can blow a tire off the rim and recommends using a separate handheld pressure gauge with tiny bursts of air.
[Products Worth Considering]
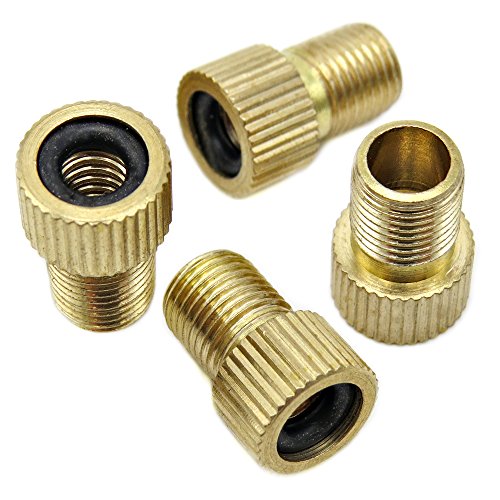
INFLATE AT ANY GAS STATION - This brass Schrader valve adapter screws onto your presta stem so a floor pump, mini pump, CO2 inflator, car tire inflator, 12V compressor or gas station air hose all fit. No more hunting for a bike shop when a road tire goes flat miles from home.

Material: This Presta valve adapter is crafted from high-quality solid brass for durability and strength. It features precision threads for a secure connection to the air pump and a rubber O-ring for a tight, leak-proof seal.

ONE PUMP FOR ALL YOUR BIKES – Works with both Presta and Schrader valves; no need for extra adapters; perfect for road bikes, mountain bikes & more
Sealing Your Presta Valve After Inflation
Once the tire reaches the right pressure, remove the pump head while keeping the valve as straight as possible. Then unscrew the adapter from the Presta valve and immediately close the small Presta nut clockwise by hand.
- Do not use pliers on the Presta nut. Finger-tight is enough.
- Do not bend the pin while removing the pump or adapter.
- Replace the valve cap if you use one. It helps keep dirt away from the valve tip.
- Listen for leaks after closing the valve. A steady hiss means the valve may not be closed or the core may be loose.
If your Presta valve has a removable core, the adapter can sometimes loosen it when you remove the adapter. If air leaks from the valve after inflation, check whether the valve core is snug with the correct valve-core tool. Do not overtighten it.
Best Practices for Maintaining Your Tires
Good tire maintenance is more than adding air. Before rides, especially longer rides, look over the tire, rim, and valve area.
| Maintenance Task | How Often | What to Look For |
|---|---|---|
| Check pressure | Before rides or at least regularly for bikes in storage | Pressure below your riding target, slow leaks, or big temperature-related changes |
| Inspect tread and casing | Before long rides and after rough roads or trails | Cuts, embedded glass, bulges, worn tread, exposed casing, or cracked rubber |
| Check valve area | Whenever you inflate | Bent valve stem, loose valve core, torn tube at the valve base, or sealant buildup on tubeless valves |
| Clean adapter threads | As needed | Grit or damaged threads that could cause cross-threading or air leaks |
Common Presta Valve Adapter Issues and How to Fix Them
Most Presta valve adapter problems come from one of four things: the valve was not opened, the adapter is crooked, the pump head is not sealing, or the valve core is loose or clogged.
Leaks During Inflation
A short puff when attaching or removing the pump is normal. A steady hiss during pumping means something is not sealed correctly.
- Hissing at the adapter: Remove the pump and adapter, then reinstall the adapter straight by hand.
- Hissing at the pump head: Make sure the pump head is fully seated and locked onto the adapter.
- Air comes out but does not go in: The Presta nut may still be closed. Remove the adapter, loosen the nut, tap the tip once, and try again.
- Air leaks after inflation: Close the Presta nut by hand. If it still leaks, the valve core may be loose or damaged.
Adapter Compatibility Issues
| Issue | Likely Cause | Fix |
|---|---|---|
| Adapter will not thread on | Cross-threading, dirt, or damaged valve threads | Back it off, realign it, clean the threads, and start again by hand. |
| Pump will not lock | Pump head not fully seated or incompatible chuck | Push the head farther onto the adapter, then lock it. Try another pump if needed. |
| No air enters the tire | Presta nut is still closed or valve is stuck | Remove the adapter, loosen the nut, and press the tip briefly until you hear a small hiss. |
| Valve pin bends | Pump or adapter pulled sideways | Keep the pump head straight and support the valve stem while attaching or removing parts. |
| Adapter removes the valve core | Removable valve core is loose | Snug the valve core with the correct valve-core tool, then reinstall the adapter gently. |
Frequently Asked Questions
How do you inflate a Presta valve with a regular pump?
If the regular pump only fits Schrader valves, use a Presta-to-Schrader adapter. Remove the cap, loosen the Presta nut, tap the tip once to open the valve, screw on the adapter, attach the Schrader pump head, inflate to a safe pressure, then remove the pump and adapter and close the Presta nut by hand.
How do you use a Presta valve adapter with an air compressor?
Open the Presta valve first, screw on the adapter, attach the compressor chuck straight, and add air in short bursts. Use a pressure gauge often. Compressors can inflate small bike tires very quickly, so stop before the lowest maximum pressure listed for your tire, rim, or wheel system.
Do you need a special air pump for a Presta valve?
You need either a Presta-compatible pump head or a Presta-to-Schrader adapter for a Schrader pump. Many modern bike pumps have dual, swappable, or auto-adjusting heads that work with both Presta and Schrader valves without a separate adapter.
Can you leave a Presta valve adapter on the valve?
Yes, many riders leave one on as an emergency backup, usually under a Schrader-style cap. Just remember that the Presta nut still needs to be loosened before adding air. If the adapter gets dirty or corroded, remove it and clean the threads before using it again.
Why is air leaking when I use the adapter?
A steady leak usually means the adapter is crooked, the pump head is not seated, the Presta valve was not opened fully, or the valve core is loose. Remove everything, reopen the valve, thread the adapter on straight by hand, and reconnect the pump without pulling sideways.
What PSI should I inflate my bike tire to?
Use the lowest maximum pressure from your tire, rim, tube or tubeless setup, and wheel manufacturer as your safety ceiling. Your ideal riding pressure may be lower and depends on tire width, rider and bike weight, terrain, conditions, and rim type.
Conclusion
A Presta valve adapter is one of the smallest bike tools you can carry, but it can save a ride when only a Schrader pump or gas-station inflator is available. Open the Presta valve first, thread the adapter on gently, keep the pump straight, inflate with a gauge, and close the valve by hand when you are done. Do that, and you can inflate your tire confidently without leaks, bent pins, or unsafe pressure.
Sources
- Schwalbe Bike Tire Valves FAQ — backs Presta/Sclaverand valve design, knurled nut operation, adapter compatibility, and valve-pin caution.
- Continental Tire/Rim Combinations and ETRTO Standards — backs tire/rim compatibility, maximum pressure checks, and following the lower pressure limit.
- Schwalbe Hookless Rims FAQ — backs hookless rim pressure cautions and the 5 bar road hookless limit.
- SRAM/Zipp Know Your Tire Pressure — backs modern pressure factors such as tire width, rim type, rider/bike weight, ride style, and conditions.
- Sheldon Brown Bicycle Tire Tools — backs carrying a Schrader/Presta adapter and caution with compressors.