
Last updated: July 31, 2026
Source basis: This guide was checked against Toyota owner information, Tacoma service-manual mirrors, archived engine-family diagrams and current AISIN material. It does not claim that the editorial team performed this repair on every Tacoma configuration.
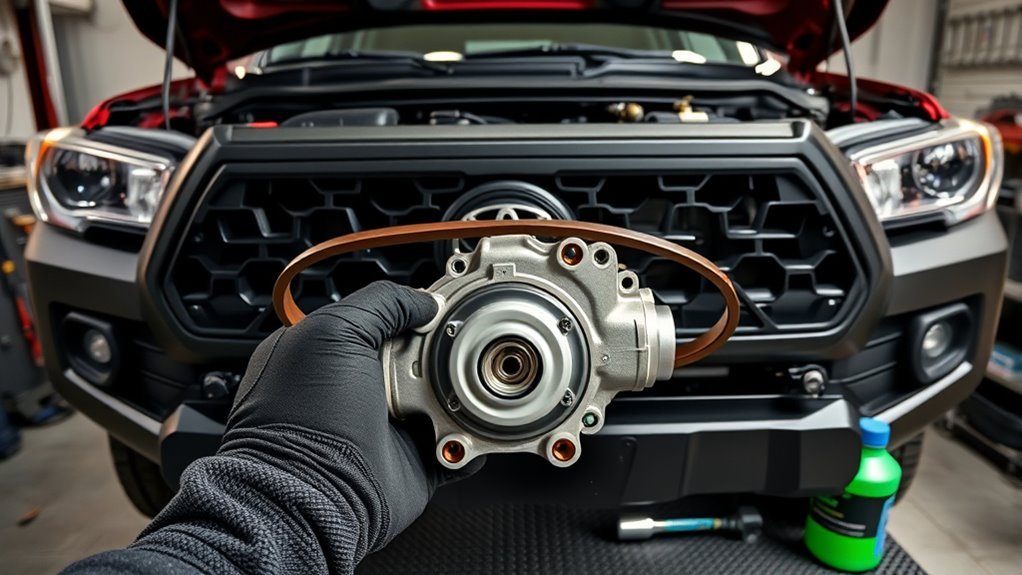
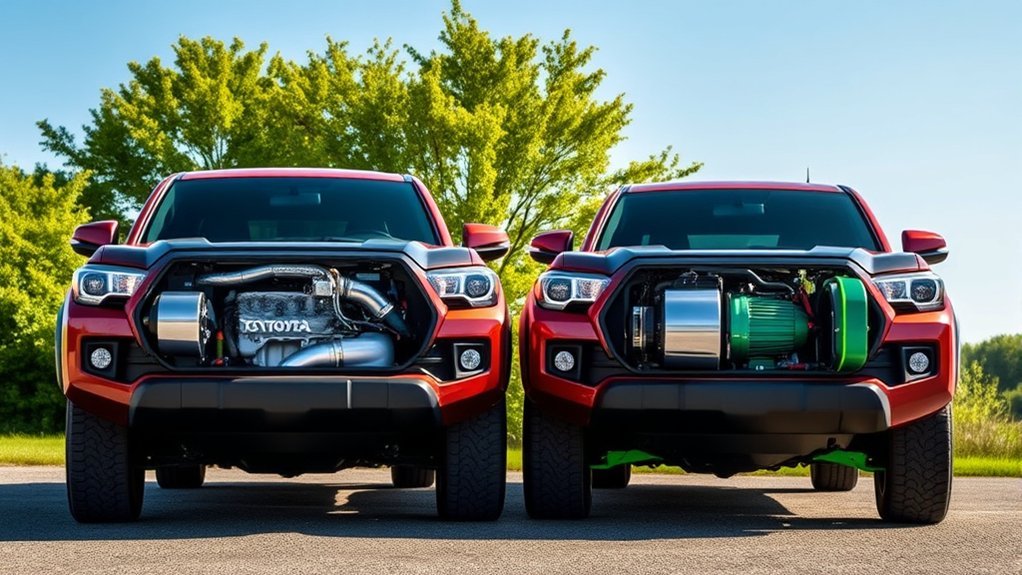
This Toyota Tacoma water pump replacement guide covers 2005–2015 second-generation trucks with the 2.7L 2TR-FE four-cylinder or 4.0L 1GR-FE V6. The 2TR-FE pump uses 10 bolts with 21 N·m and 9 N·m torque groups . The 1GR-FE uses 17 bolts with 9 N·m and 23 N·m groups, requires removal of the water inlet, and uses adhesive only on the two factory-marked pump bolts.
A 2016–2023 Tacoma with the 3.5L V6 requires a different procedure and is not covered here. Some third-generation trucks retained the 2.7L four-cylinder, but use service information for the exact model year rather than assuming every second-generation access step is unchanged. Stop driving if the temperature gauge enters the hot range, steam appears or coolant is rapidly escaping.
Safety warning
Never remove the radiator cap from a hot engine. Hot coolant and steam can discharge under pressure and cause severe burns. Allow the engine and radiator to cool completely. Collect every coolant spill and keep used antifreeze away from children and animals.
What’s in This Guide
- 2.7L and 4.0L differences at a glance
- How to confirm the pump is failing
- Engine, parts, capacity and job planning
- Tools, parts and safety equipment
- How to drain the coolant safely
- 2.7L 2TR-FE removal procedure
- 4.0L 1GR-FE removal procedure
- Correct installation and torque values
- Accessory, belt, fan and shroud refit
- Refilling, bleeding and leak checks
- DIY difficulty and current shop-cost context
- When to stop and call a professional
- Frequently asked questions
- References
- Conclusion
Quick answer
Confirm that the leak begins at the pump, identify the engine, disconnect the battery and drain the completely cold cooling system. On the 2TR-FE, remove the radiator inlet hose, fan-and-generator belt, shroud, fan pulley, generator and belt tensioner. On the 1GR-FE, also remove the water inlet, its hoses, idlers and supported A/C compressor. Install new gaskets and seals, apply adhesive only where Toyota specifies it, torque each fastener group correctly, refill with the specified coolant and complete a full cold recheck after bleeding.
Toyota Tacoma Water Pump Replacement: Engine Split at a Glance
Identify the engine before ordering parts or removing accessories. The pump shapes, bolt counts, access components and torque groups are not interchangeable.
| Engine | Pump fasteners | Pump torque groups | Key access difference |
|---|---|---|---|
| 2.7L 2TR-FE | 10 bolts | Bolt A: 21 N·m / 15 ft-lb Bolt B: 9 N·m / 80 in-lb |
Radiator inlet hose, fan-and-generator belt, shroud, fan pulley, generator and tensioner are removed. |
| 4.0L 1GR-FE | 17 bolts | 10 mm-head bolts: 9 N·m / 80 in-lb 12 mm-head bolts: 23 N·m / 17 ft-lb |
Water inlet, multiple hoses, idlers, generator, supported A/C compressor and tensioner are removed. Adhesive goes on only the two marked pump bolts. |
The factory diagrams control the location of each torque group and the two adhesive-treated 1GR-FE bolts. Do not identify a fastener only by where it appears in a generic online photo.
Signs Your Tacoma Water Pump Needs Replacement
Do not replace the pump based on overheating or mileage alone. A thermostat, radiator, hose, fan clutch, head-gasket leak or accessory bearing can produce similar symptoms.
Check for the following evidence:
- Coolant at the pump weep hole: Look for fresh pink coolant, dried residue or a trail that begins on the pump rather than running down from a hose or water outlet above it.
- Pump-bearing noise: A worn bearing may rumble, grind or whine as engine speed changes. Isolate other belt-driven accessories before condemning the pump.
- Shaft play or wobble: With the engine off and the belt removed, check for abnormal movement at the pump hub. Do not place your hands near the fan or belts while the engine is running.
- Repeated coolant loss: Pressure-test the cold system when the leak source is not visible.
- Overheating with poor circulation: Treat overheating as a symptom requiring diagnosis, not automatic proof of pump failure.
| What you observe | Best next check | Do not overlook |
|---|---|---|
| Pink residue near the pump | Trace the highest wet or crusted point with the engine cold. | A hose, inlet or outlet above the pump can leak downward. |
| Grinding or rumbling | Remove the belt with the engine off and check each pulley and accessory by hand. | Idlers, the tensioner, generator and fan coupling can sound similar. |
| Overheating without a visible leak | Check coolant level, thermostat operation, radiator flow, fan operation and combustion-leak evidence. | Overheating alone does not confirm a failed pump. |
Milky coolant can indicate oil contamination, while rusty or muddy coolant can point to corrosion or mixed fluids. Neither condition proves that the pump seal failed. Investigate the wider cooling system before installing parts.
For related cold-level checks, see the Tacoma coolant-level guide. For fluid selection, use the Tacoma coolant type guide. Loss of cabin heat with a rising temperature gauge is also covered in the Tacoma heater-core coolant-flow guide.
Quick Checklist: Engine, Parts, Capacity, and Safety

Verify the VIN, model year and engine before ordering the pump. Do not rely only on a marketplace title or product photo.
| Tacoma application | Engine | Catalog reference to verify | Important note |
|---|---|---|---|
| 2005–2015 2.7L | 2TR-FE four-cylinder | WPT-044 | Confirm the included gasket, flange, hub and hose connections. |
| 2005–2015 4.0L | 1GR-FE V6 | WPT-136 | Confirm the pump gasket and separate water-inlet seals required by the procedure. |
| 2016–2023 V6 | 3.5L V6 | Not covered | Do not use the 1GR-FE procedure or torque table. |
AISIN manufactures original-equipment and aftermarket water pumps, but a brand name does not replace a VIN-based fitment check. Compare the new pump with the removed unit before installation, including the flange, hose connections, hub and gasket shape.
Published Total Cooling-System Capacity
| Engine | Automatic transmission | Manual transmission |
|---|---|---|
| 2.7L 2TR-FE | 8.6 L / 9.1 US qt | 8.7 L / 9.2 US qt |
| 4.0L 1GR-FE | 9.6 L / 10.1 US qt | 9.7 L / 10.3 US qt |
These are published total system capacities. A normal water-pump repair or partial drain may accept less because coolant can remain in the engine, heater core, hoses and other passages. Do not force the published total into a system that has already reached the correct cold level.
The 2TR-FE job is generally less involved than the 1GR-FE procedure. The V6 requires water-inlet removal, multiple hose disconnections, idler removal and support of the A/C compressor. Plan enough time to stop if you find damaged threads, severe corrosion or an uncertain leak source.
Tools, Parts & Safety Gear for a Tacoma Water Pump Swap
- Hand tools: Metric socket and wrench set, extensions, ratchet, breaker bar where appropriate, screwdrivers and hose-clamp pliers.
- Torque tools: An inch-pound torque wrench for the smaller bolts and a foot-pound torque wrench for the larger fasteners. Confirm your torque wrench is within its calibration interval — a drifted wrench is a common cause of a stripped 1GR-FE 10 mm bolt.
- Bolt-control supplies: Cardboard, a marker, labeled bags or a divided tray for preserving every fastener’s installed location.
- Cooling-system tools: Large drain pan, funnel, clean containers and an optional pressure tester.
- Cleaning supplies: Plastic gasket scraper, lint-free cloths and a cleaning product suitable for aluminum sealing surfaces.
- Replacement parts: VIN-matched water pump, new pump gasket and any separate O-rings or water-inlet gaskets required by the engine-specific procedure.
- Coolant: Toyota Super Long Life Coolant or the equivalent coolant specified in the owner’s manual.
- Optional belt: A VIN-matched replacement belt if the removed belt is coolant-soaked, cracked, glazed, frayed or otherwise damaged.
- Protective equipment: Chemical-resistant gloves and safety glasses.
Do not automatically replace the thermostat just because the pump is accessible. Replace it when testing, leakage, service history or an engine-specific maintenance decision supports the extra work.
Do not add general-purpose sealant to a dry gasket unless the pump instructions or Toyota procedure requires it. Do not apply thread locker to every water-pump bolt.
[Products Worth Considering]

This professional water pump kit is designed as a direct OE replacement for select Toyota and Lexus 3.5L V6 vehicles, helping restore reliable engine cooling performance. Built to strict quality standards and tested for leak-free operation, it includes the necessary gasket for easier installation and a secure fit. It offers a practical upgrade for drivers seeking dependable cooling system maintenance and long-lasting performance.

This engine water pump kit is designed to help maintain reliable cooling performance across a wide range of compatible Toyota, Lexus, Scion, and Pontiac vehicles. Built with aluminum and tested for leak-free operation, it offers a direct replacement solution that supports engine efficiency and long-term service life. The kit includes a professional water pump and gasket for a convenient installation-ready repair.

This 3-in-1 car phone mount offers dashboard, windshield, and air vent installation for flexible placement in nearly any vehicle. Built with powerful N52 magnets, a strong suction cup, and a twist-lock vent base, it keeps your phone secure while allowing easy one-hand use and adjustable viewing for safer driving.
Drain Coolant and Prepare the Work Area
- Park on a level surface, set the parking brake and let the engine become completely cold.
- Disconnect the negative battery cable.
- Remove the required lower service cover or splash shield.
- Position a drain pan under the radiator drain.
- Open the radiator drain and remove the radiator cap only after confirming the engine and radiator are cold.
- Drain the reservoir into a suitable container.
- If performing a complete drain, follow the model-year service manual for the engine-block drain-plug locations and tightening torque.
- Close the drains before refilling. Do not overtighten the plastic radiator drain.
The referenced 2TR-FE and 1GR-FE engine-family procedures specify 13 N·m, or 9 ft-lb, for their engine drain plugs. Confirm the exact plug and specification in the Tacoma service information for your model year before tightening it.
Collect the coolant in a sealed, labeled container. Disposal options differ by location, so use a municipal hazardous-waste facility or recycler that specifically confirms it accepts used antifreeze.
How Do You Remove a 2.7L 2TR-FE Tacoma Water Pump?
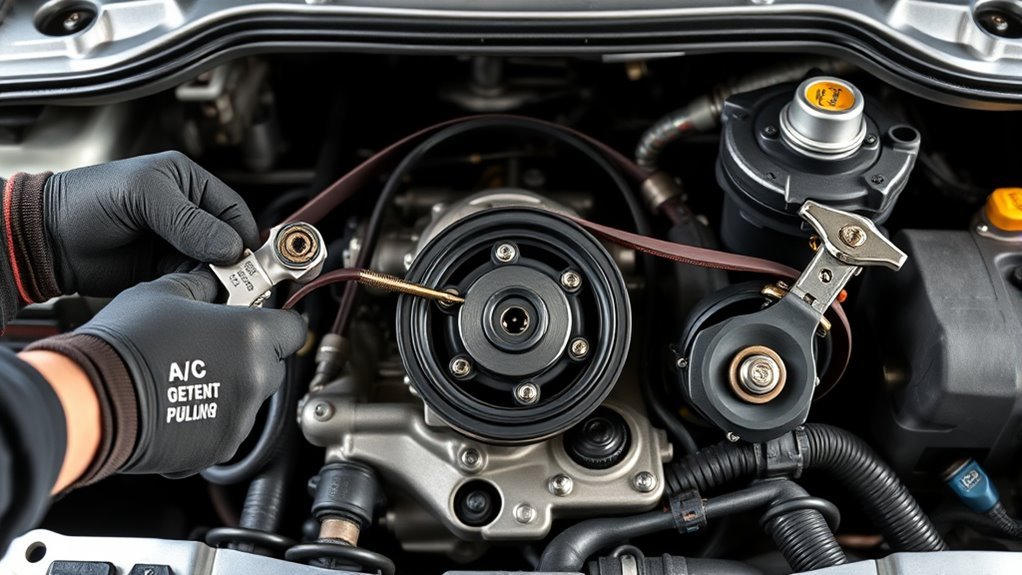
The 2TR-FE access sequence includes the radiator inlet hose, fan-and-generator belt, fan shroud, fan pulley, generator and V-ribbed belt tensioner.
- Photograph the belt routing and inspect the under-hood routing label.
- Make a cardboard pump outline or prepare a labeled bolt tray before removing pump fasteners.
- Remove the radiator inlet hose as directed by the model-year procedure.
- Release and remove the fan-and-generator drive belt.
- Remove the fan shroud without contacting the radiator fins.
- Remove the fan pulley as required for access.
- Disconnect and remove the generator according to the service manual.
- Remove the V-ribbed belt tensioner assembly.
- Place a drain pan below the pump and remove the 10 pump bolts.
- Transfer each bolt directly to its matching location on the cardboard template or labeled tray.
- Remove the pump and gasket without prying against a fragile aluminum sealing edge.
Bolt length and torque group can differ even when the fasteners appear similar. Do not place the bolts in one undivided container.
How Do You Remove a 4.0L 1GR-FE Tacoma Water Pump?
The 1GR-FE pump uses 17 fasteners and requires more accessory removal than the 2TR-FE. Follow Tacoma service information for the exact model year because brackets, hoses and equipment can vary.
- Remove the lower engine cover and drain the cold cooling system.
- Remove the engine cover, radiator support seal, fan, fan shroud and drive belt as required for access.
- Remove the required air-cleaner components and disconnect the ventilation hose identified by the procedure.
- Label the water-inlet hoses before disconnecting them. The referenced procedure includes two radiator hoses, five bypass hoses and two oil-cooler hoses where an oil cooler is fitted.
- Remove the five water-inlet bolts and the water-inlet assembly.
- Remove and discard the water-outlet-pipe O-ring and the separate gasket between the water inlet and pump.
- Remove the required idler pulley or pulleys.
- Remove the generator according to the service procedure.
- Separate the A/C compressor as directed and support it securely. Do not disconnect refrigerant lines, kink the hoses or vent refrigerant.
- Remove the V-ribbed belt tensioner assembly.
- Prepare a cardboard pump outline or labeled bolt tray for all 17 fasteners.
- Place a drain pan below the pump, remove the 17 water-pump bolts and preserve the exact location of every fastener.
- Remove the pump and gasket without driving a screwdriver deeply between the aluminum sealing surfaces.
If the pump does not release after the visible fasteners are removed, stop and confirm the 17-bolt count, water-inlet removal and bracket locations again. Do not force the pump away from the engine.
Install the New Water Pump: Gasket, Alignment, and Torque
Clean the mating surface without gouging the aluminum. Remove old gasket residue, coolant deposits and loose corrosion. The new pump must sit flat without being pulled into position by the bolts.
- Compare the old and new pumps side by side.
- Confirm that the supplied gasket matches every coolant passage and bolt hole.
- Position the gasket and pump against the engine.
- Start every bolt by hand before using a ratchet.
- Confirm the pump remains fully seated as the bolts are tightened.
- Use the engine-specific bolt groups below rather than one universal torque value.
Three mistakes that cause repeat leaks
- Tightening every 2TR-FE or 1GR-FE pump bolt to one universal torque value.
- Reusing or overlooking the 1GR-FE water-outlet-pipe O-ring and separate water-inlet gasket.
- Applying adhesive or thread locker to every 1GR-FE pump bolt instead of only the two factory-marked fasteners.
[Products Worth Considering]

ROBLOCK low profile car ramps are designed to give low-chassis vehicles safer access for lifting, repairs, and maintenance work. The widened, shortened ramp design helps create room for a jack while the 17-degree slope and curved shape improve vehicle placement and stability. Built from impact-resistant PP with non-slip features and a high load capacity, these ramps are a practical choice for home garages and professional service use.

This portable roadside emergency car kit helps drivers stay prepared with essential tools for common breakdowns and unexpected roadside situations. It includes jumper cables, a tow strap, a flashlight, a rain poncho, gloves, and a first aid kit, all stored in a durable zippered case for easy access and organization. With included roadside assistance coverage, it adds extra peace of mind for commuters, new drivers, and road trips.
O-Ring and Water-Inlet Seals
The main 2TR-FE and 1GR-FE pump procedures use a new pump gasket. The separate 1GR-FE water-inlet assembly also uses a new water-outlet-pipe O-ring and an additional gasket.
- Install every new seal in the same position and orientation shown by the engine-specific manual.
- Do not reuse a flattened, cut or swollen O-ring.
- Do not use petroleum grease unless the seal or service procedure permits it.
- For the referenced 1GR-FE water-inlet O-ring, apply soapy water as the installation aid.
- Install the water inlet with its five bolts and tighten them to 9 N·m, or approximately 80–82 in-lb, when that value matches the exact model-year procedure.
Water-Pump Bolt Torque by Engine
| Engine | Fastener group | Verified specification | Installation note |
|---|---|---|---|
| 2.7L 2TR-FE | Bolt A | 21 N·m / 15 ft-lb | Identify the marked positions in the factory diagram. |
| 2.7L 2TR-FE | Bolt B | 9 N·m / 80 in-lb | Do not tighten these bolts to 15 ft-lb. |
| 4.0L 1GR-FE | 10 mm-head pump bolts | 9 N·m / 80 in-lb | Use an inch-pound torque wrench. |
| 4.0L 1GR-FE | 12 mm-head pump bolts | 23 N·m / 17 ft-lb | Confirm bolt length and location before tightening. |
The referenced 1GR-FE engine-family procedure directs the installer to apply Toyota adhesive part number 08833-00080, Three Bond 1344, Loctite 242 or an equivalent to two or three threads of only the two bolts marked A in its diagram. Do not apply adhesive to all 17 bolts.
The service diagrams, not a generic star pattern, determine the correct fastener locations and installation requirements. Confirm the diagram for your model year through Toyota service information before applying final torque.
Refit the Accessories, Belt, Fan, and Shroud
Reinstall the removed components in reverse order while following the engine-specific service procedure.
- Install the new 1GR-FE water-outlet-pipe O-ring and separate inlet gasket before refitting the water inlet.
- Reconnect every water-inlet hose to its original fitting and return each clamp behind the hose-neck bead.
- Confirm that electrical connectors and ground wires are reattached to the generator.
- Support and reinstall the A/C compressor without twisting or pinching its hoses.
- Torque idler and tensioner fasteners to their model-year specifications.
- Inspect the removed drive belt. Replace it if coolant-soaked, cracked, glazed, frayed or otherwise damaged.
- Route the drive belt exactly as shown on the under-hood label.
- Verify that every belt rib sits inside its pulley groove.
- Turn the fan by hand with the engine off and confirm that it does not contact the shroud.
- Reconnect every remaining hose and place each clamp behind the hose-neck bead.
Do not use a 45-degree or 90-degree twist test as the final belt specification. These engines use automatic tensioner assemblies, so confirm correct routing, tensioner position and the factory belt-inspection requirements.
On the referenced 1GR-FE engine-family procedure, the four fan-fluid-coupling fasteners are tightened to 21 N·m, or 15 ft-lb. Confirm that value against the Tacoma manual for the exact model year and fan assembly.
Fill, Bleed, and Test the Cooling System
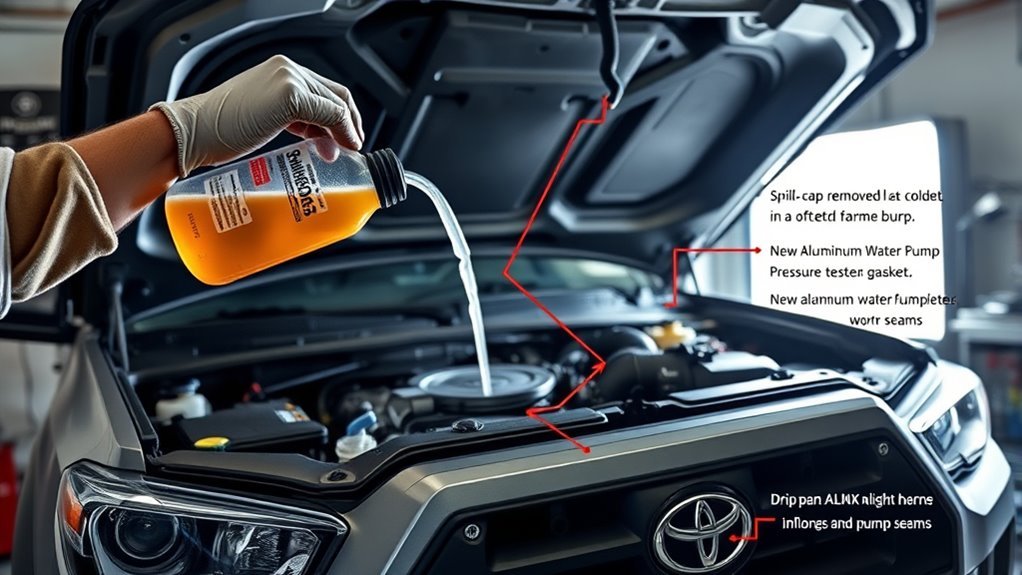
Use Toyota Super Long Life Coolant or an equivalent coolant that meets the owner’s-manual specification. Toyota describes the required chemistry as an ethylene-glycol, non-silicate, non-amine, non-nitrite and non-borate coolant with long-life hybrid organic acid technology.
Do not dilute premixed SLLC
Toyota Super Long Life Coolant for the U.S. market is already mixed with deionized water. Pour the premixed coolant directly into the system. Add distilled or deionized water only when an approved concentrate specifically requires dilution.
2TR-FE Refill Procedure
- Confirm the radiator and engine drains are closed.
- Fill the radiator carefully with the specified premixed coolant.
- Gently compress the upper and lower radiator hoses several times to help release trapped air while the engine remains cold.
- Add coolant if the radiator level falls.
- Install the radiator cap securely.
- Fill the reserve tank to the FULL mark.
- Warm the engine until the thermostat opens while monitoring the temperature gauge.
- Turn the engine off and let it cool completely.
- Remove the cap only when cold, check the radiator level and repeat the fill-and-cool cycle if the level dropped.
1GR-FE Refill Procedure
The following sequence reflects a referenced Tacoma 1GR-FE procedure. Confirm the exact climate-control and bleeding instructions for your model year before beginning.
- Confirm all drains are closed and slowly fill the radiator with the specified coolant.
- Compress the inlet and outlet radiator hoses several times while the engine remains cold. Add coolant if the radiator level falls.
- Install the radiator cap securely.
- Fill the radiator reservoir to the FULL line.
- Set the climate-control fan to any setting except OFF, move the temperature control toward WARM and switch the A/C OFF.
- Start the engine and maintain approximately 2,000–2,500 rpm until the cooling fan operates, while watching the temperature gauge and reservoir level.
- While wearing protective gloves and keeping your hands clear of the fan and belts, compress the inlet and outlet radiator hoses several times during warm-up to help release trapped air.
- Stop the engine and let the cooling system become completely cold.
- Remove the radiator cap only when cold and check the radiator level.
- Repeat the fill, warm-up and full-cool cycle until the radiator level remains stable, then adjust the reservoir to the FULL line.
Never remove the radiator cap while the engine is hot. Shut the engine off immediately if the gauge rises above its normal range, the cabin heater suddenly blows cold during warm-up, coolant erupts from the reservoir or a major leak appears.
Post-Repair Leak Checks
- Inspect the full pump-gasket perimeter with a light.
- Check the 1GR-FE water inlet, its O-ring and gasket area, radiator hoses, bypass hoses, clamps and drain plugs.
- Watch the pump hub and weep hole for fresh coolant.
- Confirm that the belt tracks centrally on every pulley.
- Check for fan or pulley wobble.
- After the first complete heat cycle, let the engine cool and recheck the radiator and reservoir.
- Recheck the cold coolant level after the next controlled drive.
A cooling-system pressure test can identify a slow leak that does not appear during a short idle test. The referenced 2008 Tacoma 1GR-FE procedure uses 118 kPa, or 17.1 psi. Confirm the test pressure for your exact model year before pumping the tester, and never exceed the specified pressure.
Should You Replace the Tacoma Water Pump Yourself or Use a Shop?
This is an intermediate repair on the 2TR-FE and a more involved repair on the 1GR-FE. The V6 procedure requires multiple hose disconnections, water-inlet removal, idler removal, generator removal and support of the A/C compressor without opening the refrigerant system.
A published 2005 Tacoma 4.0L labor guide lists 2.6 standard hours for water-pump replacement, with 0.2 hour added for an A/C-equipped truck . That is a professional labor allowance, not a realistic promise for a first DIY attempt — expect a first-time 1GR-FE job to run considerably longer once cooldown periods, bleeding cycles and cleanup are included.
As of July 31, 2026, RepairPal’s estimator lists water-pump replacement for 2005–2015 Tacomas at approximately $603–$858 before taxes, fees, location adjustments or related repairs. Treat that as broad planning context rather than a fixed quote.
DIY is most reasonable when you can identify every torque group, support the compressor safely, preserve all bolt locations, refill without introducing contamination and stop immediately if the temperature becomes unstable. Use a qualified shop when any of those conditions are uncertain.
[Products Worth Considering]
![Vipcar 01127 Water Pump for Toyota [4.0L V6 '1GR-FE' Gen 1 w/Single VVT-i] Engine, 2005-2015 Tacoma 4.0L, 2005-2011 Tundra 2003-2009 4Runner 2007-2009 FJ Cruiser 4.0L](https://m.media-amazon.com/images/I/41eoVYBlA0L._SL500_.jpg)
【OEM Fit & Replace】for Toyota '1GR-FE' 4.0L V6 Engine, 2005-2015 Tacoma 4.0L, 2005-2011 Tundra 4.0L, 2003-2009 4Runner 4.0L, 2007-2009 FJ Cruiser 4.0L. Interchange: 16100-09471 16100-09470 WP-1981 AW6037 43528. Please Use Amazon Part Finder to Ensure Application.

THIS IS BRAND NEW: DNJ® Water Pump

Enhanced Performance: Crafted from aluminum, water pump pulley is significantly lighter and strengthen than stock, reducing rotational inertia. This leads to enhanced throttle responsiveness, improved power output, and faster acceleration.
When Should You Stop and Call a Professional?
Stop the repair and seek qualified help when:
- The engine was driven while severely overheated.
- Oil is visible in the coolant or coolant is visible in the engine oil.
- The pump mating surface is deeply pitted or damaged.
- A bolt breaks or the aluminum threads strip.
- The leak continues after a verified gasket and torque procedure.
- The engine continues to overheat after the system is properly filled and bled.
- The A/C system would need to be opened or discharged.
- You cannot identify the correct bolt locations, torque groups or adhesive-treated fasteners.
- The 1GR-FE water inlet or outlet-pipe sealing surface is damaged.
Frequently Asked Questions
How Do I Know If My Tacoma Water Pump Is Bad?
Look for coolant beginning at the pump weep hole or gasket, abnormal pump-hub play, bearing noise that has been isolated from other accessories, or a circulation problem confirmed during diagnosis. Overheating by itself does not prove that the pump is bad. Pressure-test the cold cooling system when the leak path is unclear.
Is Aisin a Good Water Pump Brand for a Toyota Tacoma?
AISIN is an original-equipment and aftermarket water-pump manufacturer. The brand name alone does not confirm fitment. Match the pump to the VIN, engine, model year and current AISIN catalog before installation.
Can I Reuse the Old Water Pump Gasket If It Looks Intact?
No. Install the new pump gasket and every separate inlet seal required by the engine procedure. A used gasket or O-ring has already been compressed and heat-cycled, and reusing it creates an unnecessary leak risk.
Do I Need to Replace the Timing Chain or Belt During This Job?
The 2005–2015 2.7L 2TR-FE and 4.0L 1GR-FE use timing chains, and their external mechanical water pumps can be serviced without replacing a timing belt. Do not disturb the timing system unless a separate diagnosis or factory procedure requires it.
What Coolant Type and Mix Ratio Should I Use Afterward?
Use Toyota Super Long Life Coolant or the equivalent specified in the owner’s manual. U.S.-market Toyota SLLC is already premixed with 50% coolant and 50% deionized water, so do not dilute it again. When using an approved concentrate, follow its label and the owner’s-manual climate requirements.
How Much Coolant Does a 2005–2015 Tacoma Hold?
The published total capacity is 8.6 L for an automatic 2TR-FE or 8.7 L for a manual, and 9.6 L for an automatic 1GR-FE or 9.7 L for a manual. A partial drain normally accepts less because coolant remains in the engine, heater core and hoses.
What Are the Tacoma Water-Pump Bolt Torque Specifications?
On the referenced 2TR-FE procedure, bolt group A is 21 N·m or 15 ft-lb and group B is 9 N·m or 80 in-lb . On the referenced 1GR-FE procedure, the 10 mm-head pump bolts are 9 N·m or 80 in-lb and the 12 mm-head bolts are 23 N·m or 17 ft-lb. Use the factory diagram to identify each location instead of applying one value to every bolt.
How Long Should I Run the Engine to Properly Bleed the System?
Do not rely on a fixed number of minutes. Warm the engine according to the model-year service procedure while monitoring temperature and heater operation, then shut it off and let it cool completely. Recheck the radiator and reservoir only when cold. Repeat the cycle if the level drops as trapped air leaves the system.
How Much Does Tacoma Water Pump Replacement Cost?
As of July 31, 2026, RepairPal lists a broad estimate of approximately $603–$858 for 2005–2015 Tacomas before taxes, fees, location adjustments and related repairs. A local written quote should control the real price.
Does This Procedure Cover a 2016–2023 Tacoma?
It covers the 2005–2015 second-generation Tacoma. A third-generation truck with the 3.5L V6 uses a different pump and repair procedure. Some third-generation trucks retained a 2.7L four-cylinder, but use the service information and fitment catalog for the exact model year rather than assuming every second-generation access step is unchanged.
Should I Use Thread Locker on Every Water-Pump Bolt?
No. The referenced 1GR-FE procedure specifies adhesive only on two marked bolts. The 2TR-FE procedure does not direct you to coat every pump fastener. Applying thread locker indiscriminately can alter torque behavior and make later service harder.
References
- 2005 Toyota Tacoma Owner’s Manual: coolant type, capacity and safety information
- Toyota Tacoma manuals and warranties: official Toyota owner-manual index
- 2005 Tacoma 2TR-FE water-pump service-manual mirror
- 2005 Tacoma 1GR-FE water-pump service-manual mirror
- 2008 Tacoma 1GR-FE coolant refill, bleeding and pressure-test procedure
- Archived 2TR-FE engine-family water-pump diagram and torque groups
- Archived 1GR-FE engine-family diagram reference for adhesive, seals and fastener head sizes
- Archived 2TR-FE engine-family coolant replacement procedure
- Toyota 2016 Tacoma engine announcement
- AISIN official water-pump information
- RepairPal 2005 Tacoma water-pump replacement estimate
Conclusion
A successful Tacoma water pump replacement starts with selecting the correct engine procedure. The 2.7L 2TR-FE uses 10 pump bolts and two torque groups. The 4.0L 1GR-FE uses 17 bolts, two head-size torque groups, a removable water inlet with separate seals, and adhesive on only the specifically marked fasteners.
After installation, reconnect every hose and accessory, verify belt alignment, refill with the coolant specified by Toyota and complete the engine-specific bleeding procedure. A stable temperature, steady cabin heat, correct cold coolant level, dry pump and water-inlet flanges, and a centrally tracking belt indicate that the truck is ready for a controlled road test and another cold-level inspection.

[…] often points to poor coolant flow, weak heat transfer, low coolant, a stuck thermostat, a failing water pump, a clogged radiator, a collapsed hose, trapped air, or pressure loss. This guide shows you how to […]
[…] into the bearing race, causing catastrophic pump seizure and thrown serpentine belts. Follow the Tacoma water-pump replacement guide for step-by-step removal […]