You’ll safely jack and support the Tacoma, remove the wheel, then loosen the bleeder to drain fluid and catch it. Unbolt the two caliper bolts, detach the brake line carefully, and remove the old caliper and pads. Prep and hand-thread the brake line on the new caliper, torque the line to 11 ft‑lbs and caliper bolts to 9 ft‑lbs, install pads and clips, bleed until clear, reinstall the wheel, inspect for leaks — continue for full step‑by‑step guidance.
Safety Prep & Tools Needed for a Tacoma Caliper Swap
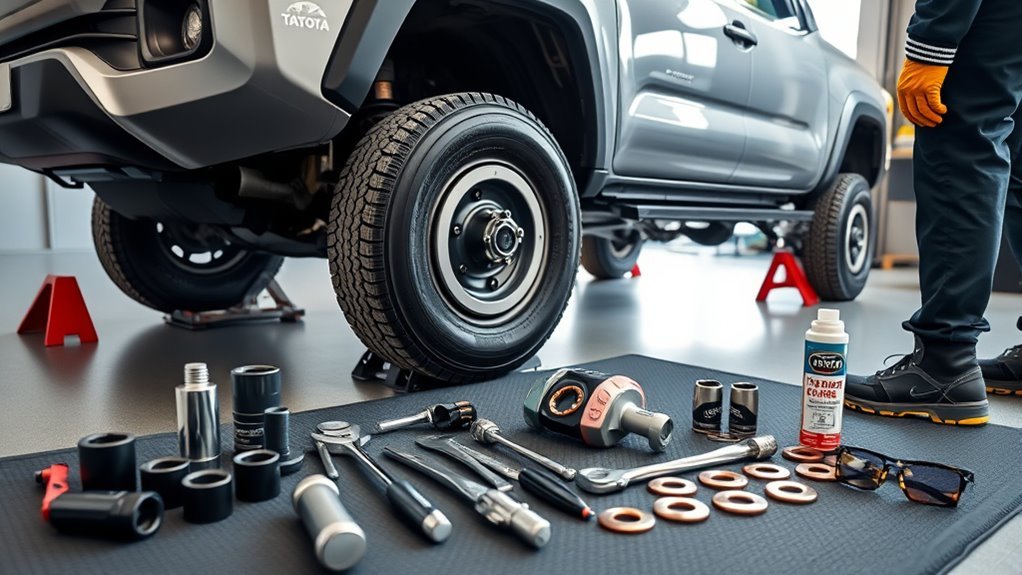
Before you start the caliper swap, gather the right tools and don protective gear: a 21 mm socket for the lug nuts, a 17 mm socket for the caliper bolts, pliers for clip removal, a hammer and punch for pin extraction, an 8 mm wrench for the bleeder screw, a bucket to catch brake fluid, and brake grease to lightly coat pad edges and pins—then put on gloves and goggles to protect against brake fluid and debris. You’ll set a clear workspace, arranging tools within reach and keeping safety equipment visible. Confirm the bucket won’t tip and that rags are ready for spills. Inspect new caliper and pads, then pre-lubricate slider pins and pad contact points with brake grease. Keep the bleeder cap closed until you’re ready to control fluid flow. Work deliberately: loosen fasteners only when anchored, remove clips with pliers, tap pins free with punch and hammer, and route any flexible hose to prevent kinks. These steps free you to proceed confidently.
Lift the Truck and Remove the Wheel Safely
With your tools laid out and protective gear on, park the Tacoma on a flat, stable surface and set the parking brake so the truck can’t roll. Confirm safety precautions: chock the opposite wheel, keep bystanders clear, and review proper jacking points in the owner’s manual. For tool selection, grab a 21 mm socket and a hydraulic jack rated for your truck.
Loosen the lug nuts slightly with the 21 mm socket while the wheel is on the ground; don’t remove them yet. Position the hydraulic jack under the designated jacking point and pump until the tire clears the ground. Once raised, place rated jack stands under solid pinch-weld or frame points—never rely solely on the jack. Lower the truck slightly so it rests securely on the stands, confirm stability, then finish removing the lug nuts. Remove the wheel straight off the hub and set it aside. Inspect the exposed brake area before proceeding to the caliper work.
Quick Overview: Time, Skill, and What to Expect
Plan on about 1 to 2 hours to swap a Tacoma caliper, depending on your familiarity and the condition of the parts. You’ll need basic mechanical skills and tools—21 mm and 17 mm sockets, an 8 mm wrench, pliers, and a bucket for brake fluid—and you’ll torque the brake line to 11 ft-lbs and caliper bolts to 9 ft-lbs. When finished, expect to bleed the system until fluid runs steady and bubble-free to restore proper braking.
Time Required Estimate
Expect to spend about 1 to 2 hours replacing a Toyota Tacoma brake caliper if you have intermediate mechanical skills and the right tools. You’ll follow a tight plan: set up, remove wheel, unbolt caliper (17 mm), drain fluid (8 mm bleeder), swap caliper (21 mm on brackets), bleed brakes, torque bolts, test. Track time using simple time tracking and apply efficiency tips: stage tools, pre-loosen bolts, and have fluid catch ready.
| Step | Typical Time | Notes |
|---|---|---|
| Prep | 10–15 min | Jack, safety, tools |
| Removal | 20–30 min | Wheel, caliper bolts |
| Installation | 20–30 min | New caliper, bolts |
| Bleed/Test | 15–30 min | Bleed properly, torque to spec |
You’ll finish faster with focus and clear steps.
Skill Level Needed
Although you don’t need professional training, replacing a Tacoma brake caliper typically takes 2–3 hours and requires basic automotive skills, steady hands, and the right tools (21 mm socket, pliers, hammer, bleeder wrench). You’ll remove the wheel, unbolt the caliper, detach the brake line, and manage fluid drainage. Know torque specs—11 ft-lbs for brake line fittings, 9 ft-lbs for caliper bolts—and follow them.
You should understand differences between caliper types (fixed vs. sliding) so you can match and orient parts correctly. Bleeding the system to remove air and topping off brake fluid is non-negotiable; leaks or trapped air compromise safety. If you’re new, practice proper jack and wheel-chock technique and consider a mentor until you feel empowered and competent.
Expected Outcomes
Now that you’ve reviewed the skills and tools required, here’s what replacing a Tacoma brake caliper will typically look like:
You’ll spend about 1–2 hours, depending on experience and component condition. You’ll use a socket set, pliers, torque wrench, and a collection bucket for brake fluid. Follow torque specs precisely: brake line fittings 11 ft-lbs, caliper bolts 9 ft-lbs. Bleed the system until you have a steady stream of fluid and no air bubbles to restore brake performance. This work frees you from dependence on shops while demanding disciplined caliper maintenance and testing.
| Task | Expectation |
|---|---|
| Time | 1–2 hours |
| Skill | Moderate mechanical ability |
| Safety | Clean fluid capture, correct torque |
Drain Fluid & Remove Caliper (Step-by-Step)
Start by removing the lug nuts with a 21 mm socket and safely lift the vehicle so you have stable access to the brake. Compress the caliper slowly to drain fluid into a collection bucket, then use a pick to pull the pads out halfway to reach the mounting bolts. Unscrew the two caliper bolts with a 17 mm socket, detach the brake line from the back of the caliper, and extract the old caliper for replacement.
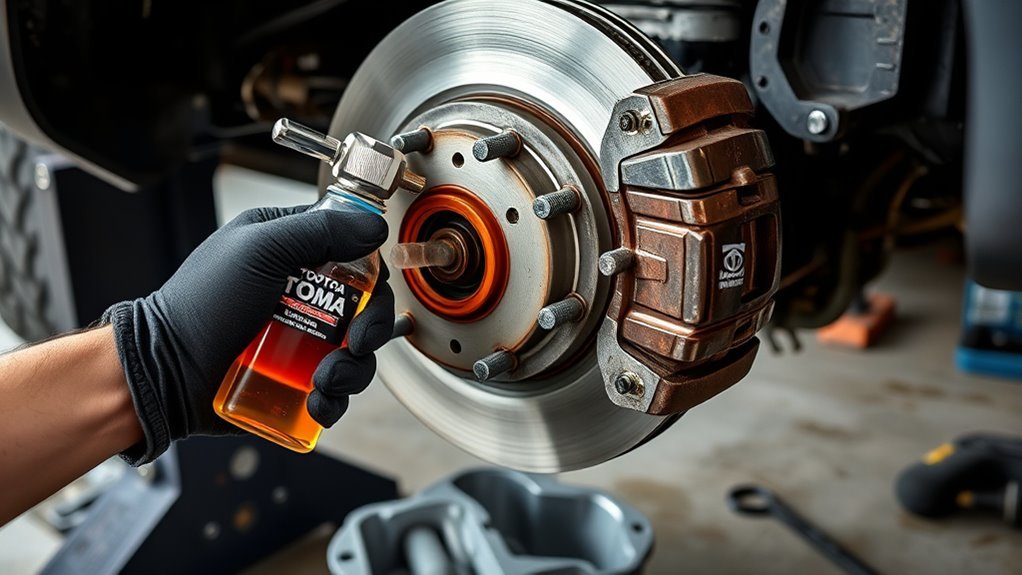
Drain Brake Fluid Safely
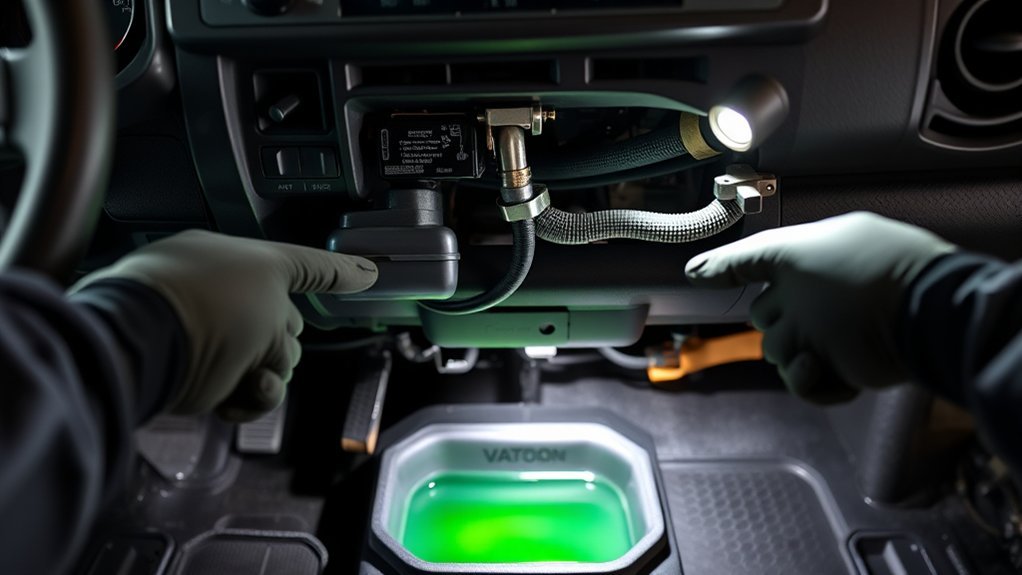
Set a collection bucket under the caliper, compress the piston slowly so fluid drains into the bottle, and open the bleeder screw with an 8 mm wrench to control flow. You’ll catch fluid and avoid splashes; this is about safety and contamination prevention so you keep systems clean. Compress the piston only enough to force fluid out—do it slowly to avoid pressure spikes. Once flow slows, close the bleeder, then loosen the two caliper bolts with a 17 mm socket but don’t remove the caliper yet. Detach the brake line from the caliper only after you’re sure all old brake fluid is out; any remaining fluid risks contamination. Dispose of the used fluid per regulations, and top up or bleed the system as required before proceeding.
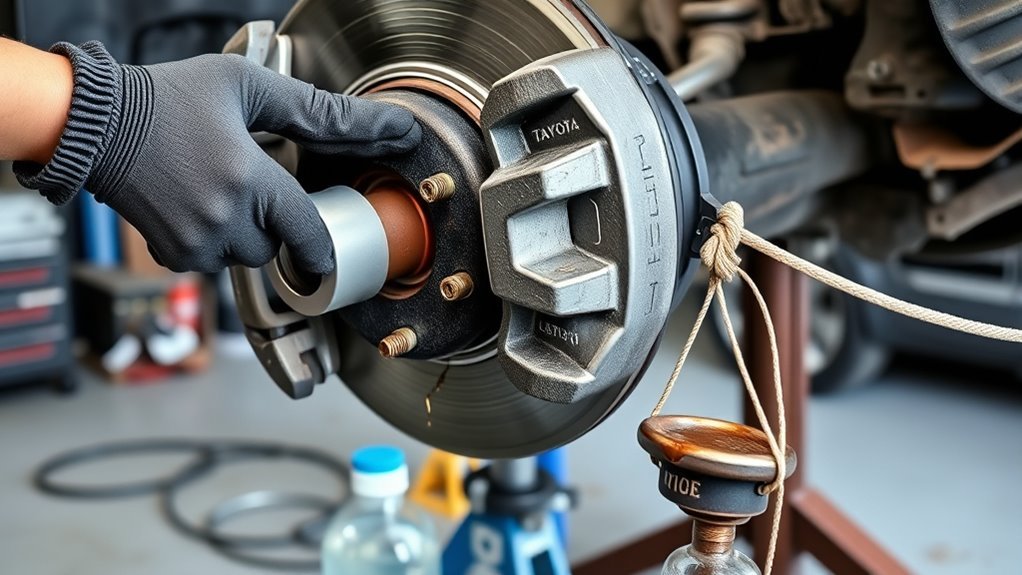
Remove Caliper Assembly
With the wheel off and brake fluid drained into your collection bucket per the previous steps, position the caliper so you can access its fasteners and fittings. Begin with a 21 mm socket to remove lug nuts and confirm clear access. Slowly compress the caliper piston to push remaining brake fluid into the bucket; control the motion to avoid splashing. Use an 8 mm wrench to open the bleeder screw and let trapped brake fluid escape fully. Support the caliper, then remove the two caliper bolts with a 17 mm socket to free it from its bracket. Finally, disconnect the brake line at the back of the caliper, capping the line to prevent contamination. Note caliper types when ordering replacements; keep work bold and liberated.
Disconnect Brake Line Safely and Minimize Fluid Loss
1. You’ll prepare for disconnecting the brake line with clear safety precautions: position a collection bucket under the line to catch brake fluid, keep a rag ready, and wear gloves. Compress the caliper slowly so fluid pressure drops before you loosen anything.
| Step | Tool/Action |
|---|---|
| 1 | Bucket under bleed port |
| 2 | 8 mm wrench to open bleeder |
| 3 | Pliers to remove clips |
| 4 | Rag to wipe spills |
| 5 | Slow caliper compression |
Loosen the 8 mm bleeder screw just enough to let fluid escape into the bucket; this equalizes pressure and minimizes loss when you remove the hard line. Use pliers to free any retaining clips, protecting the hose and fittings. When you unthread the line, do it steadily—don’t hurry—to avoid a sudden rush. Wipe drips immediately and dispose of contaminated rags safely. These steps keep your workspace clean, reduce fluid waste, and let you act with independence and control while protecting critical components.
Remove Pads, Pins & Clips : Tips to Avoid Damage
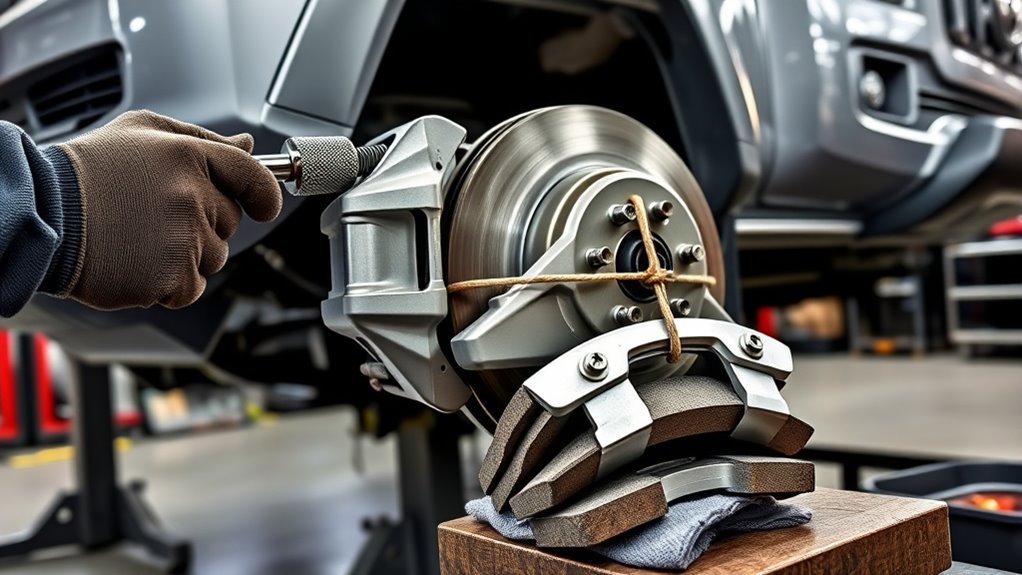
Start by prying the pads out only partway using a pick so you can access retaining pins and clips without scuffing pad edges or caliper surfaces. For brake pad removal, keep the pads supported so they don’t scrape the rotor or fall free. Use pliers for pin extraction, tapping stubborn pins with a hammer and punch while holding alignment to avoid bending. Work deliberately: back pins out straight, don’t lever them at an angle.
Once pins are free, remove clips and inspect every component for wear or corrosion. Clean pin holes thoroughly with a wire brush and solvent so new lubrication seats properly. Apply a light layer of grease to pins and clips to cut friction and make future service easier. Reinstall clips and pins snugly, checking movement and fit—no play, no noise. You’re freeing the system to function reliably; precise removal and careful pin extraction protect parts and keep your brakes honest and safe.
Install the New Tacoma Caliper and Start the Brake Line by Hand
Set the new caliper over the rotor so its mounting ears align with the bracket, remove the protective plug to open the fluid passage, then carefully thread the brake line fitting in by hand to avoid cross-threading; once the fitting seats, torque it to 11 ft‑lbs and snug the caliper mounting bolts to 9 ft‑lbs to secure everything for bleeding and final assembly.
You’ll confirm caliper alignment visually and by hand-feel before final tightening. Removing the plug restores fluid flow; keep the port clean and capped only until the line mates. Start the brake line fitting by hand, feel threads engage, and stop at first resistance — that protects threads and guarantees a seal. After the fitting’s torqued, snug the mounting bolts to stabilize the caliper so it won’t shift during bleeding. Work deliberately, reject shortcuts, and treat each fastener as a commitment to control and freedom on the road.
| Step | Purpose |
|---|---|
| Position caliper | Caliper alignment |
| Remove plug | Enable fluid flow |
| Hand-start fitting | Prevent cross-threading |
| Torque fitting | Seal assurance |
| Snug bolts | Secure for bleeding |
Torque Brake Line & Caliper Bolts to Spec (ft‑lbs)
With the fitting hand-started and the caliper seated, you’ll use a calibrated torque wrench to bring the brake line fitting to 11 ft‑lbs and the caliper mounting bolts to 9 ft‑lbs; apply smooth, steady force and stop as soon as the wrench clicks to avoid over‑tightening. Use clean hands or gloves and confirm the wrench is set correctly before contact. Position the wrench square to the fastener, avoid extensions that alter leverage, and tighten in a controlled motion.
Follow torque measurement techniques: zero the wrench, select the exact ft‑lbs, and re-check each fastener after a short drive. These brake maintenance tips protect threads, prevent leaks, and maintain caliper alignment. Don’t guess—accurate torque prevents component failure. If specifications differ for your model year, consult the manufacturer’s guide and adjust accordingly. Record the values you applied for future reference; practicing precise, repeatable torque routines is an act of care and autonomy over your vehicle’s safety.
Install New Pads, Springs & Pin Clips (Tacoma) and Reassemble
Now install the new pads, making sure the inside pad gets the squealer and the pad edges get a light coat of grease for smooth operation and reduced noise. Seat the spring clip and top arms securely, then lightly grease the guide pins and insert them so they move freely and resist corrosion. Double-check every pin clip is correctly seated to prevent pad misalignment during braking.
Pad, Spring, Clip Seating
Begin by lightly greasing the pad edges and the guide pins, then slide the inside pad with the squealer into the caliper so the wear indicator faces the rotor; install the spring clip and top arms to seat the pads securely, making sure the pins move freely and all pin clips are fully seated to prevent noise or loosening. You’ll want a thin, even film of grease to minimize pad noise and allow liberated movement. Verify the squealer’s orientation and that the spring clip holds the pad squarely. Check clip alignment and top-arm engagement before proceeding. Tighten nothing yet that relates to pin installation—just confirm seating, alignment, and free play so the system can operate without binding.
- Confirm squealer facing rotor and pad noise prevention.
- Seat spring clip and top arms evenly.
- Verify clip alignment and free pin movement.
Pin Greasing And Installation
Grease the guide pins sparingly and slide them through the carrier holes to confirm smooth travel before you install the pads, springs and pin clips; too much grease will attract dirt, so apply a thin film only to the pin shafts and the pad contact points, then insert the inside pad (squealer toward the rotor), seat the spring clip and top arm, push the pins through to capture everything, and snap the retaining clips fully home to lock the assembly in place.
Lightly grease pad edges to cut noise and bind. Use minimal lubricant on pins for pin maintenance and corrosion protection. Fit the inside pad with the wear squealer inboard, seat springs and top arms so they align with pad notches, then drive pins through both pads and carrier. Verify retaining clips are correctly installed and secure; test for free, rattle-free movement before reassembly.
Bleed the Caliper Until Fluid Runs Clear, Reinstall Wheel & Inspect for Leaks
Attach a bleeder bottle to the caliper’s bleeder screw, open the screw with an 8 mm wrench, then have an assistant slowly pump the brake pedal while you watch the fluid flow; keep pumping until a steady stream of clear, bubble-free fluid runs out. You’re purging old brake fluid and air so the caliper maintenance is complete and the pedal feels firm. Watch closely for bubbles — their absence means freedom from trapped air.
- Close and snug the bleeder screw to prevent leaks.
- Reinstall the wheel, lower the vehicle, torque lug nuts in a star pattern to 85 ft-lbs.
- Visually and manually inspect around the caliper for any wetness or seepage.
If you see fluid nozzing or a soft pedal, reopen and repeat bleeding. Clean spilled fluid immediately; brake fluid damages paint and degrades seals. Final check: pump the pedal, confirm firmness, and test-drive at low speed to verify safe, liberated braking performance.
Frequently Asked Questions
How Much Does It Cost to Replace Brake Calipers on a Toyota Tacoma?
You’ll pay about $300–$800 total. Depending on caliper types, OEM costs $100–$200 each, aftermarket $50–$150; labor’s $100–$150. Follow installation tips: torque specs, bleed brakes, inspect pads and rotors.
Conclusion
Wrap up by double‑checking every fastener, line connection, and clip—your work is only as good as your final inspection. Torque specs must match the manual, pads should seat cleanly, and the bleeder must flow clear before you drop the wheel. Lower the truck carefully, torque lug nuts to spec, and test pedal feel at low speed. Treat the first drive like a shakedown cruise: probe brakes gently and re‑inspect for leaks.