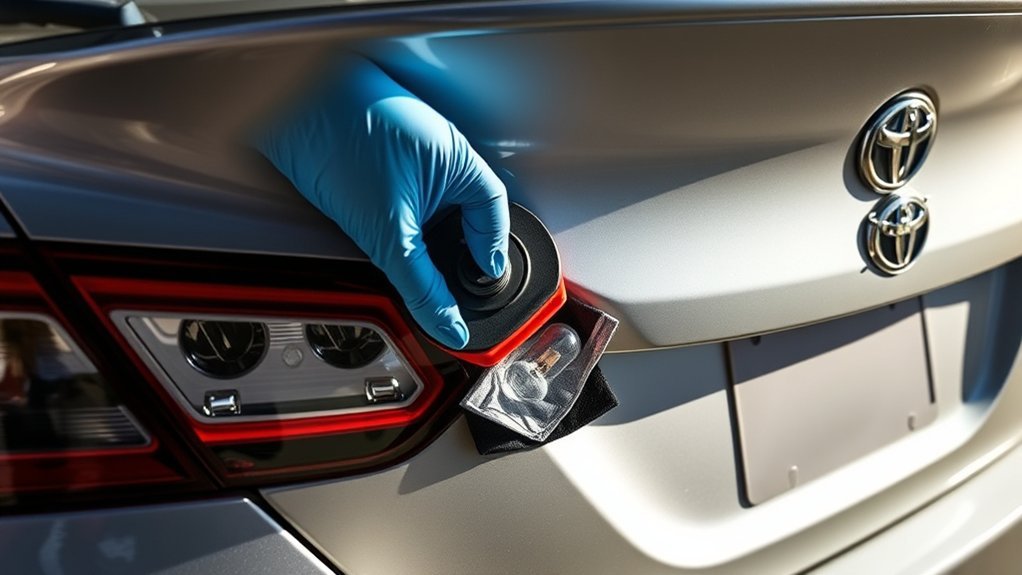
Replacing a 2014 Toyota Camry brake light bulb is usually a straightforward DIY job. Toyota’s 2014 Camry manual specifies a 21/5W clear wedge-base bulb for the rear stop/tail light, while aftermarket fitment guides commonly cross-reference the application to 7443. To replace it, open the trunk, pull back the luggage trim, turn the stop/tail bulb socket counterclockwise, pull the old bulb straight out, install the matching replacement, and test both the brake and tail-light functions before closing the trim.
Last updated: August 31, 2026. This guide was reviewed against 2014 Toyota Camry owner-manual bulb specifications and replacement steps. The update clarifies the Toyota factory bulb specification versus the aftermarket 7443 number, adds symptom-based troubleshooting, improves Camry-specific internal linking, and updates the FAQ/schema. Always confirm the replacement with your owner’s manual, a VIN-specific parts lookup, or the number on the installed bulb before buying.
Quick Answer
To replace a 2014 Toyota Camry rear brake light bulb, turn the lights off, open the trunk, remove the luggage trim clips on the failed-light side, pull the trim back, rotate the stop/tail light socket counterclockwise, and pull the old bulb straight out. Toyota specifies a 21/5W clear wedge-base stop/tail bulb; aftermarket guides commonly cross-reference it to 7443. Install the confirmed replacement, turn the socket clockwise to lock it, and test both the brake and tail-light functions before reinstalling the trim.
Key Takeaways
- Toyota’s 2014 Camry manual specifies the stop/tail bulb as a 21/5W clear wedge-base bulb but does not list a bulb number for that position.
- Toyota parts listings identify genuine bulb 90981-13044 for the tail/stop-lamp application, while aftermarket fitment guides commonly cross-reference the replacement to 7443.
- You normally access the stop/tail bulb through the trunk luggage trim instead of removing the complete tail light assembly.
- Turn the lights off, let the bulb cool, and grip the plastic socket instead of pulling on the wiring.
- If one new bulb does not restore the light, inspect the socket and connection. If several brake lights fail together, move to circuit-level diagnosis instead of repeatedly replacing bulbs.
At a Glance
| Time Required | About 10 to 20 minutes for a straightforward bulb replacement |
| Difficulty | Beginner-friendly |
| Toyota Manual Specification | 21/5W clear wedge-base stop/tail bulb |
| Common Aftermarket Cross-Reference | 7443; confirm fit before buying |
| Toyota Genuine Bulb Reference | 90981-13044; confirm with VIN-specific Toyota parts data |
| Tools Needed | Trim clip tool or flat-head screwdriver, gloves, flashlight, replacement brake light bulb |
| Parts Cost | Varies by bulb brand, bulb type, and retailer; confirm the part before buying |
Warning: Turn the lights off and let the bulb cool before replacement. Do not pull on the wiring harness, force the socket, or handle a hot bulb. Toyota also cautions against touching the glass portion of a replacement bulb with bare hands.
What Brake Light Bulb Does a 2014 Toyota Camry Use?
Toyota’s 2014 Camry owner’s manual specifies the rear stop/tail light as a 21/5W clear wedge-base bulb. The manual does not provide a bulb number for this position. Toyota’s genuine replacement-parts catalog lists bulb 90981-13044, and 2014 Camry parts listings identify it for the tail/stop-lamp application.
Aftermarket fitment guides commonly cross-reference the 2014 Camry stop/tail bulb to 7443. A 7443LL is a long-life version sold by some bulb manufacturers, but you still need to confirm that the bulb’s base, electrical specification, and vehicle fitment match your Camry before installation.
The safest verification order is simple: check the number on the installed bulb if it is readable, compare it with the applicable owner’s manual information, and use a VIN-specific Toyota or reputable parts lookup before ordering.
Do not rely on one generic bulb chart if your car has aftermarket tail lights, LED retrofits, collision-repair parts, or a non-U.S. market lamp assembly. In those cases, match the installed lamp and bulb and follow the lamp maker’s instructions.
Note: Toyota’s factory specification is the better starting point than a generic bulb chart. Check the Toyota owner’s manual page for the 2014 Camry and, when useful, Toyota’s genuine 90981-13044 bulb listing.
[Products Worth Considering]

The KONNWEI KW208 is a versatile 12V battery tester designed to quickly analyze battery health, cranking performance, and charging system status for cars, trucks, boats,...
Gather Your Tools for the Job
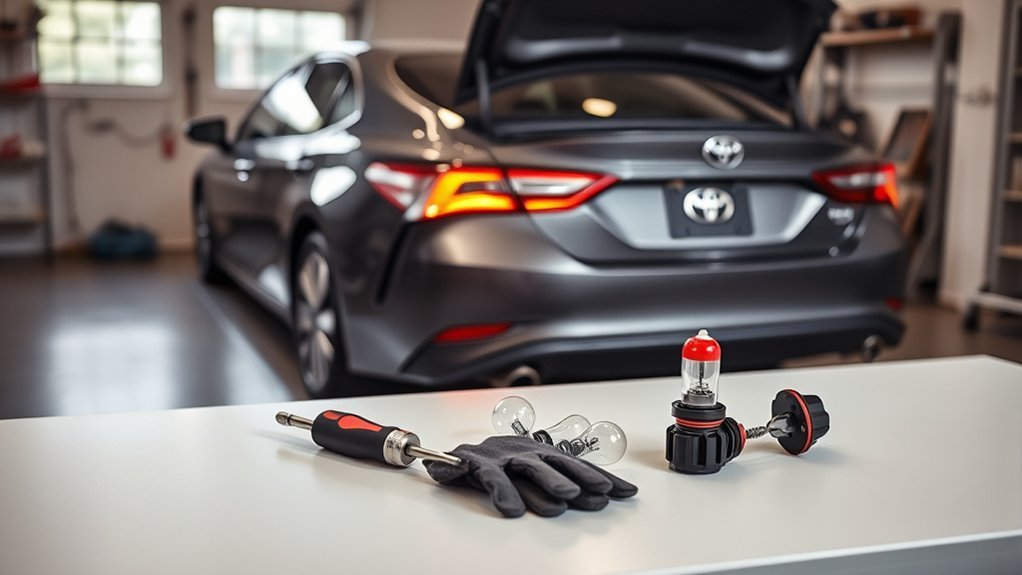
Gather everything before you open the trunk trim. You will need:
- A replacement stop/tail bulb confirmed for your Camry; Toyota specifies a 21/5W clear wedge-base bulb, and 7443 is a common aftermarket cross-reference
- A trim clip tool or small flat-head screwdriver
- Clean gloves or a clean shop towel
- A flashlight
- A small container for trunk trim clips
A 10 mm socket is normally unnecessary when you are replacing only the bulb. Full lamp-assembly removal is a different job and should not be your first step for a routine burned-out stop/tail bulb.
Step 1: Remove the Clips to Access the Tail Light
Open the trunk and move cargo out of the way. On the side with the failed brake light, locate the luggage trim cover behind the rear lamp. Toyota’s replacement procedure calls for removing the luggage trim cover clips and partly pulling the cover away to reach the bulb bases.
Release the clips carefully and set them aside. Pull the trim back only as far as needed for access so you do not crease the material or damage the retainers.
Pro Tip: Take a quick photo of the trim, hook, and clip positions before removing them. It gives you a reference when you put everything back together.
Step 2: Remove the Brake Light Bulb Socket
Behind the luggage trim, identify the stop/tail light bulb position before removing a socket. The 2014 Camry rear lamp area also contains separate rear turn-signal and rear side-marker functions, so do not assume every socket holds the same bulb.
Grip the plastic bulb base or socket rather than the wires. Turn it counterclockwise until it releases from the lamp housing, then pull it out.
Once the socket is out, pull the old bulb straight from the socket. If it resists, use a gentle straight pull with a slight wiggle. Do not crush or twist the glass.
Step 3: Install the New Brake Light Bulb
Compare the removed bulb with the replacement before installation. Check the base shape, size, electrical specification, and any number printed on the old bulb. If the two parts do not match, stop and verify the replacement before forcing it into the socket.
Push the new bulb straight into the socket until it is fully seated. Keep the glass clean while handling it. Toyota advises using a clean, dry cloth if you must touch the glass portion.
Insert the bulb base back into the rear lamp housing and turn it clockwise until it locks. It should seat securely without excessive force. If the tabs do not align smoothly, remove the socket, check its orientation, and try again.
Do You Need to Remove the Tail Light Assembly?
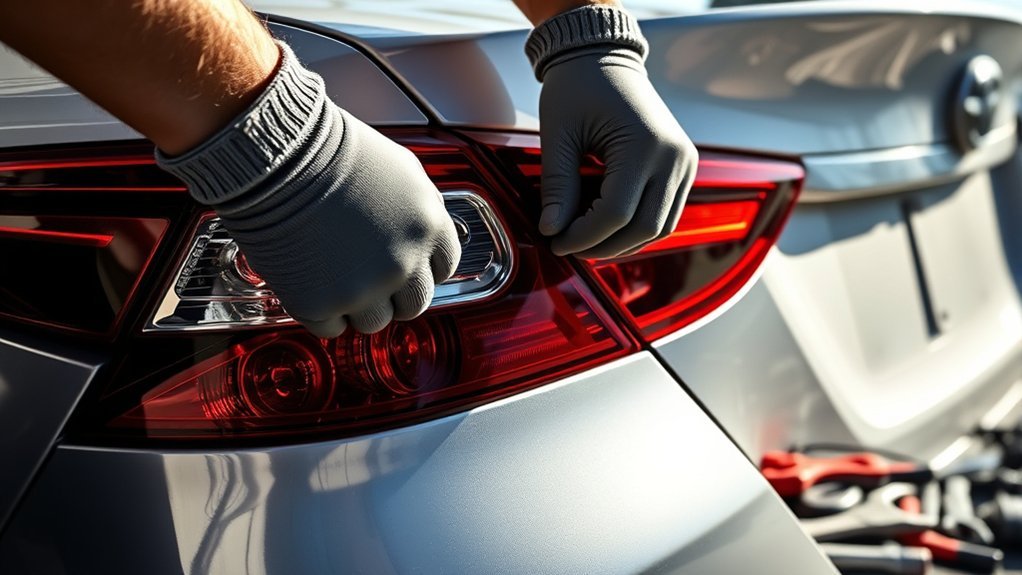
For a routine 2014 Toyota Camry stop/tail bulb replacement, you normally do not need to remove the complete tail light assembly. Toyota’s owner procedure accesses the bulb from inside the trunk after the luggage trim cover is partly removed.
Complete assembly removal becomes relevant when you are replacing the lamp housing, repairing physical damage, or dealing with an unusual access problem caused by previous repairs or non-factory parts.
If the housing itself has water accumulation, broken mounting points, melted plastic, or a visibly burned socket area, replacing only the bulb may not correct the underlying problem.
Note: Do not remove the full lamp assembly simply because the bulb has failed. Start with the factory trunk-access procedure and move to assembly-level repair only when the housing, mounting hardware, or wiring requires it.
How Do You Identify the Brake Light and Other Rear Bulbs?
The stop/tail position performs two lighting functions: a lower-intensity tail-light function and a brighter stop-light function when you press the brake pedal. Other bulbs in the rear lamp area have different specifications and should not be treated as interchangeable.
| Rear light position | 2014 Camry reference |
|---|---|
| Stop/tail light | Toyota manual: 21/5W clear wedge base. Toyota genuine bulb reference: 90981-13044. Aftermarket guides commonly cross-reference 7443. Confirm fit before buying. |
| Rear turn signal | Toyota manual: 21W amber wedge-base bulb. It is a separate function from the stop/tail bulb. |
| Back-up light | Toyota manual: bulb No. 921, 16W clear wedge base. |
| High-mounted stoplight | This guide covers the outer rear stop/tail bulb. Check the applicable owner’s manual and installed high-mounted lamp before attempting separate center-stop-lamp service. |
Step 4: Test the Brake Light and Reassemble the Trunk Lining
Test the new bulb before reinstalling every trim clip. Ask a helper to press the brake pedal while you stand safely behind the parked car. You can also use the reflection from a nearby wall or garage door when appropriate.
Because the stop/tail position performs two functions, check both of them. Turn on the parking or exterior lights and confirm the lower-intensity tail-light function, then press the brake pedal and confirm that the same lamp becomes brighter.
If both functions work, press the luggage trim back into place and reinstall the clips and hook. Make sure each fastener is seated so the trim stays secure.
Finish by checking the other rear lighting functions you can safely observe. This can reveal a socket or connector that was accidentally disturbed while the trim was open.
Why Does the New Brake Light Bulb Still Not Work?
The failure pattern can tell you whether to keep working at the lamp or move to electrical diagnosis.
| What you see | Best first checks |
|---|---|
| Only one outer brake light is out | Recheck that bulb, its seating, socket contacts, connector, and local wiring first. |
| Tail-light function works but the brake function does not on that side | Inspect the dual-intensity bulb and socket because one lighting function can fail while the other remains available. |
| Both outer brake lights are out | Verify the bulbs, then move to the correct brake-light fuse, brake-pedal switch, shared power, ground, and wiring checks for your exact Camry. |
| New bulb works intermittently | Check for poor seating, loose terminals, corrosion, moisture, heat damage, or a damaged connector. |
If the new brake light still does not illuminate, work through these checks:
- Confirm the replacement: Make sure the bulb matches the old bulb and is fully seated.
- Inspect the socket: Look for corrosion, discoloration, melted plastic, loose terminals, or moisture.
- Check the connector: Make sure nothing was loosened while the trunk trim was moved.
- Look at the failure pattern: One failed outer lamp points you toward that lamp first. Several failed brake lights justify checking the shared circuit.
- Use the correct fuse information: Do not assume a universal Camry fuse number. Follow the fuse chart for your exact model and equipment.
- Consider the brake-light switch: If several brake lights fail together, the switch above the brake pedal or another shared-circuit fault may require testing.
- Be careful with LED retrofits: A replacement must fit the socket, perform the required stop/tail functions correctly, and comply with applicable lighting requirements.
For circuit-level diagnosis beyond the bulb and socket, see the Toyota Camry brake lights not working troubleshooting guide. If wiring is damaged, the socket is burned, a fuse repeatedly fails, or the lamp housing has significant water intrusion, have the circuit inspected by a qualified technician.
Frequently Asked Questions
Can I replace a Toyota Camry brake light bulb myself?
Yes. The 2014 Camry owner procedure accesses the rear stop/tail bulb from the trunk after the luggage trim cover is partly removed. A trim tool or small screwdriver, clean gloves, a flashlight, and the correct replacement bulb are normally enough for a routine bulb change. Stop if you find burned wiring, melted plastic, or significant housing damage.
What bulb does a 2014 Toyota Camry brake light use?
Toyota’s 2014 Camry manual specifies a 21/5W clear wedge-base bulb for the stop/tail light but does not give a bulb number for that position. Toyota parts listings identify genuine bulb 90981-13044, and aftermarket fitment guides commonly cross-reference the application to 7443. Confirm the installed bulb or use a VIN-specific lookup before buying.
Is a 7443LL bulb required for a 2014 Camry?
No specific 7443LL designation appears in the 2014 Camry owner’s-manual specification. The manual calls for a 21/5W clear wedge-base stop/tail bulb. 7443 is a common aftermarket cross-reference, while 7443LL is sold as a long-life variant by some manufacturers. Confirm vehicle fitment before choosing either version.
Do I have to remove the tail light assembly to replace the bulb?
Usually, no. Toyota’s 2014 Camry procedure reaches the rear stop/tail bulb by removing the luggage trim cover clips, partly pulling back the trim, and turning the bulb base counterclockwise. Complete lamp removal is generally unnecessary for a routine bulb replacement.
Why does my new brake light bulb still not work?
First confirm that the replacement is correct and fully seated. Then inspect the socket and connector for corrosion, loose terminals, moisture, or heat damage. If several brake lights are out rather than one lamp, move to the correct fuse, brake-light switch, shared wiring, power, and ground checks for your exact Camry.
Can the tail light work while the brake-light function is burned out?
Yes. The rear stop/tail position has separate low- and high-intensity functions. A failure affecting the brake-light function does not necessarily mean the tail-light function will also be dark. Test both functions after installing the replacement.
Can I use an LED brake light bulb instead of a standard bulb?
Use an LED replacement only if it is designed for the correct socket and stop/tail function and is suitable for the vehicle’s lamp assembly and applicable lighting requirements. LED retrofits can create fit, polarity, brightness, beam-distribution, or electrical-compatibility problems, so do not assume every 7443-style LED is an equivalent replacement.
Should I keep driving with one brake light out?
A failed brake light reduces the warning other drivers receive when you slow down and may violate applicable vehicle-lighting requirements. Repair the failed light promptly. If you need a legal answer for your location, check your state or local vehicle-lighting rules.
Conclusion
Replacing a 2014 Toyota Camry brake light bulb is usually simple once you identify the correct stop/tail position and use the trunk-access procedure Toyota describes. Start with the factory specification—a 21/5W clear wedge-base bulb—then confirm the installed bulb or VIN-specific fitment before buying a 7443-style aftermarket replacement.
Remove the luggage trim clips, turn the bulb socket counterclockwise, replace the bulb, lock the socket back in place, and test both the tail-light and brake-light functions before reinstalling the trim. If the correct new bulb still does not work, use the failure pattern to decide whether to inspect the local socket or move to fuse, switch, wiring, and circuit diagnosis.
Sources
- Toyota Owners — 2014 Camry manuals and warranties — official Toyota access point for the model-specific owner’s manual and supporting documents.
- Toyota Camry 2014 Owner’s Manual, rear bulb replacement mirror — shows trunk-trim access and counterclockwise removal of the rear bulb base. Use Toyota’s official manual access point above as the preferred source.
- Toyota Camry 2014 Owner’s Manual, light-bulb specification mirror — lists the stop/tail light as 21/5W with a clear wedge base and the back-up bulb as 921, 16W. Use Toyota’s official manual access point above as the preferred source.
- Toyota Genuine Bulb 90981-13044 — Toyota’s genuine-parts reference for bulb part number 90981-13044.
- 1A Auto — Toyota Camry taillight bulb replacement — independent replacement reference identifying a 7443 brake-light bulb and demonstrating trunk-liner access.
- eCFR 49 CFR 571.108 — Lamps, reflective devices, and associated equipment — U.S. federal motor-vehicle lighting equipment standard covering stop lamps and related lighting requirements.