Act quickly to protect your Camry’s clear coat: start by washing the area, then apply a paint-safe bug-and-tar remover or isopropyl alcohol on a microfiber, let it sit ~30 seconds, and gently wipe; rinse and wash afterward. For hardened sap, use a lubricated clay bar with light pressure until smooth, then seal with spray wax or ceramic touch-up. Use glass cleaner for windows and rubbing alcohol for trim. Keep tools handy and you’ll learn the step-by-step methods next.
Why Removing Sap Quickly Protects Your Camry
Because sap can chemically bond to clear coat, you should remove it as soon as you spot it to prevent etching and permanent damage to your Camry’s finish. You’ll stop sap damage from progressing into discoloration and staining, especially in heat that accelerates chemical breakdown. Act quickly and you’ll preserve the smooth surface that repels grime and reduces abrasive buildup. That makes ongoing paint protection easier and less costly than repairs later.
You’ll also protect resale value by maintaining consistent color and gloss; neglected spots become focal flaws that undercut buyer confidence. Regularly addressing sap keeps the clear coat intact, preventing rough patches that trap dirt and accelerate wear. Timely intervention means less effort overall: what’s manageable now avoids long-term restoration. Stay deliberate, treat each blemish immediately, and you’ll free yourself from recurring maintenance headaches while ensuring your Camry’s finish stays resilient and true to factory standards.
Gather Tools and Products for Camry Sap Removal
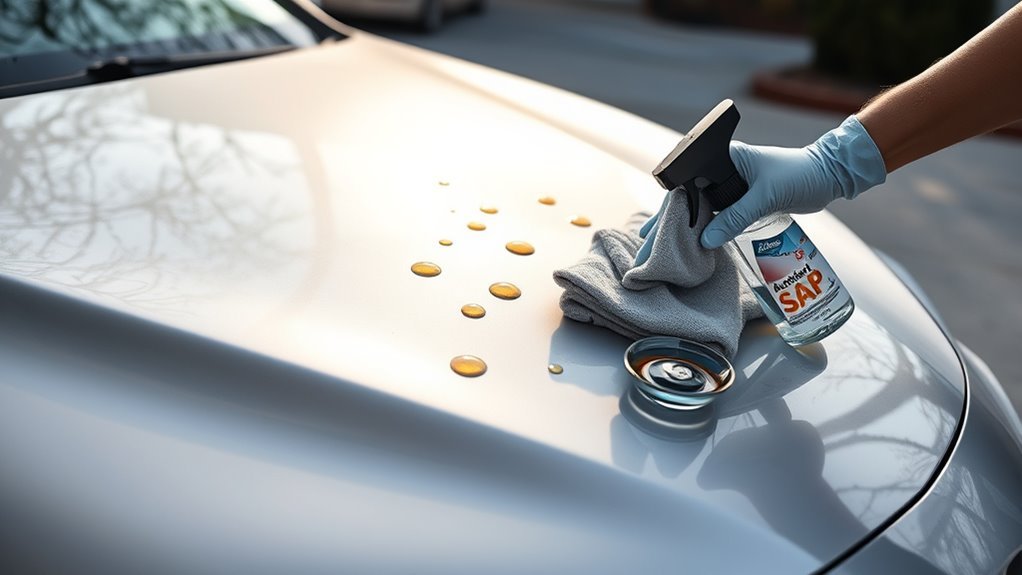
When you spot sap, gather two clean terry cloths or soft towels, a bucket with water and a wash mitt, and a bug-and-tar remover or rubbing alcohol formulated for automotive paint. You want the right tool types—soft, lint-free cloths to avoid scratches, a wash mitt for gentle pre-cleaning, and a bucket to control contamination. For product recommendations, choose a reputable bug-and-tar remover labeled safe for clear coat or an isopropyl-based automotive rubbing alcohol.
Keep a spray wax or quick detailer polish nearby to restore protection after removal; that final layer liberates you from lingering risk. If sap sits on glass and won’t yield, a box cutter blade can be a precise last-resort tool, but only use it carefully on glass to prevent damage. Assemble these items before you begin so you act confidently, minimize paint exposure, and finish with a protected, liberated finish on your Camry.
Safe Removal Steps: Fresh Sap vs Hardened Sap
If the sap’s still tacky, soak a cloth with a bug-and-tar remover, rub gently for about 30 seconds, then wipe and rinse to avoid residue. For hardened sap, use a clay bar with plenty of lubricant and very light pressure to knead and lift the spots without marring the clear coat. Always spot-test products first and routinely inspect areas under trees to prevent buildup and long-term damage.
Fresh Sap Removal
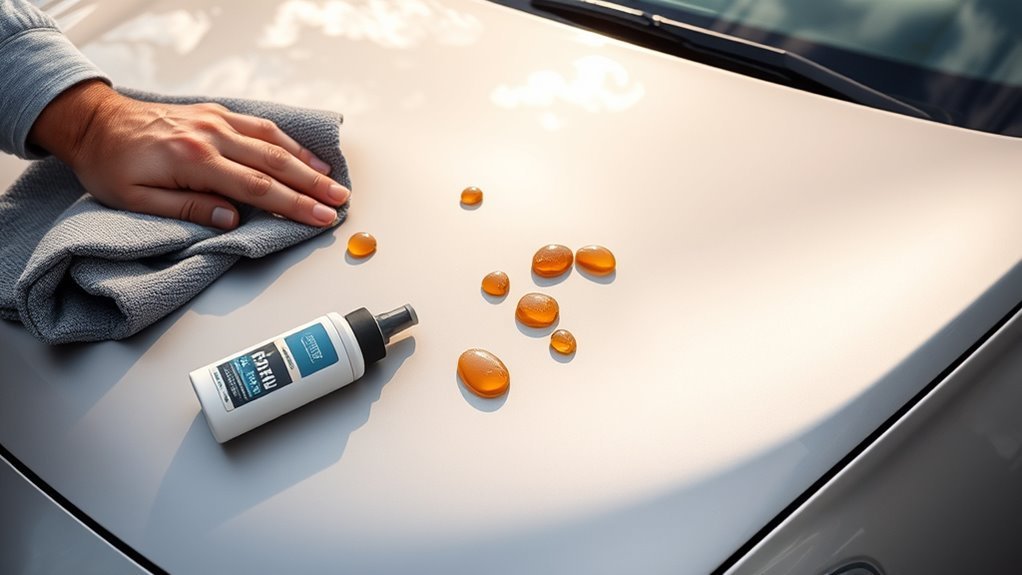
Start by dabbing a bug-and-tar remover or rubbing alcohol onto a clean microfiber towel and let it sit on the fresh sap for about 30 seconds to soften it, then gently wipe—this minimizes paint abrasion while loosening residue. You’ll respect sap types and discard removal myths that push harsh scraping. Use only microfiber to reduce scratching; if residue resists, carefully lift softened sap with your fingernail—never metal tools. After removal, wash the spot with car-safe soap, dry thoroughly, then apply a spray wax or quick detailer polish to restore shine and add protection. Inspect areas under trees regularly so you’re proactive, not reactive. These steps free you from persistent blemishes while preserving your Camry’s finish.
Hardened Sap Techniques
5 precise steps separate fresh-sap fixes from hardened-sap techniques, and you’ll need the right tools and patience to protect your Camry’s clear coat. For hardened sap removal, start by testing any product on an inconspicuous spot. Use a quality lubricant and effective clay techniques: knead the clay, lubricate the panel, and glide the bar gently until it runs quiet.
- Inspect and test remover on a hidden area.
- Apply clay lubricant evenly over the hardened spot.
- Work the clay bar with light, controlled strokes until residue lifts.
- Wipe with a microfiber towel and inspect for remaining blemishes.
Don’t use abrasives; microfibers will preserve paint. This method frees you from damage and restores control over your vehicle’s finish.
Preventive Surface Care
Having mastered clay-bar techniques for hardened sap, you’ll want a solid preventive care routine that keeps fresh messes from becoming stubborn problems. When you spot fresh sap, act fast: apply a bug-and-tar remover or rubbing alcohol to a clean cloth, wait ~30 seconds, then gently rub until it dissolves. Test products on an inconspicuous spot first to protect your Camry’s paint. For long-term freedom, adopt a consistent detailing frequency—wash and detail every 5,000 miles—to prevent buildup. Consider a ceramic coating for durable surface protection that repels sap and reduces etching risk. If hardened sap appears despite precautions, return to clay-bar removal with plenty of lubrication and a gentle touch. This routine safeguards finish and keeps you unburdened.
Removing Sap From Windows, Rubber, and Trim Without Scratching
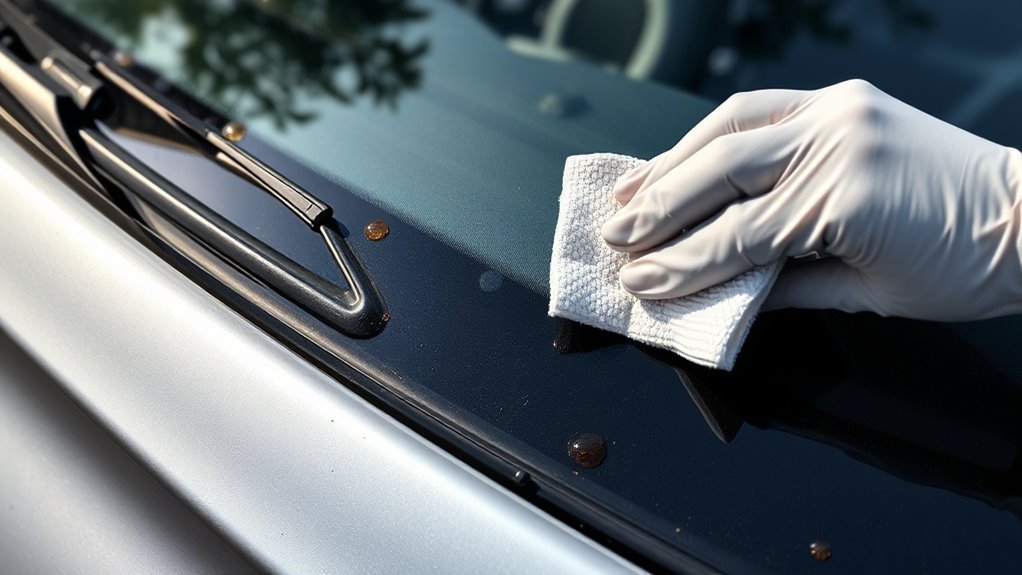
If sap lands on your Camry’s glass, rubber, or trim, act deliberately: treat windows with a glass cleaner on a soft cloth, let it sit 30 seconds, then gently rub until the residue dissolves; use a dedicated sap remover or rubbing alcohol on a microfiber towel for rubber and trim to break down the sap without harming the material; never run wipers over fresh sap, and if you must scrape hardened spots, keep a box-cutter blade flat against the surface and test the method on a small area first.
Follow a clear, product-savvy routine for safe sap removal and ideal window cleaning:
Follow a product-savvy routine: identify the surface, apply the right solvent, wait 30 seconds, then gently lift sap.
- Inspect: identify sap location and surface type before touching anything.
- Apply: spray glass cleaner on a soft cloth for glass; sap remover or isopropyl alcohol on microfiber for rubber/trim.
- Wait & wipe: let solvent sit ~30 seconds, then gently rub in one direction until sap lifts.
- Scrape cautiously: for stubborn spots, keep the blade flat, test first, then finish with a protective conditioner on trim.
You’ll free your Camry without scratching, reclaiming control and pride.
When to Use a Clay Bar and How to Clay‑Bar Safely
When hardened sap resists solvents and scraping, reach for a clay bar to lift embedded contaminants without harming your Camry’s paint. Use a clay bar after initial removal attempts when stubborn sap remains visible. Clean the panel first; dirt trapped beneath the bar will scratch, so wash and dry the area. Keep a dedicated lubricant — detail spray or soapy water — and apply liberally to maintain glide.
Work in small sections. Knead the clay into a flat puck, glide it gently over the lubricated surface, and stop once rubbing quiets; that lack of grit signals successful removal. Wipe the residue, then buff the area to remove lubricant and restore smoothness. Note clay bar benefits: superior decontamination and paint prep before polishing or sealing. Store the bar wrapped and in its case to stay clean and reusable. Use these clay bar techniques precisely and confidently to reclaim your Camry’s finish without compromise.
Preventing Future Sap Damage and When to See a Pro
Because prevention beats repair, protect your Camry with routine washing and waxing, covered parking or a car cover, and consider a ceramic coating for longer-lasting resistance to sap etching. You’ll get freedom from constant touch-ups by adopting simple habits: wash every 2 weeks, wax monthly, and inspect after parking under trees. Ceramic coatings amplify sap prevention by adding durable repellency.
- Wash and wax regularly to maintain a sacrificial barrier.
- Park in shade, use covered parking, or deploy a breathable car cover.
- Apply ceramic coating for extended resistance; it reduces etching risk.
- Schedule professional detailing every 5,000 miles for inspections and stubborn sap removal.
Know when to call a pro: persistent, hardened sap or visible clear coat damage needs professional detailing to avoid compounding harm. When you act early and use the right products, you liberate your Camry from accumulating damage and costly repairs.
Frequently Asked Questions
How to Remove Tree Sap From Car Without Damaging Ceramic Coating?
Use ceramic coating care: choose a dedicated sap remover labeled safe for coatings, apply with a microfiber towel, let it soften ~30 seconds, gently lift sap, rinse and dry. These safe cleaning methods preserve freedom and finish.
What Removes Hardened Tree Sap From a Car?
Ye olde trick: you’ll use dedicated sap removal techniques—bug/tar remover, clay bar, then rubbing alcohol for stubborn spots—followed by washing and waxing; you’ll liberate your finish with effective cleaning, precision, and care.
Will Tree Sap Ruin Car Paint?
Yes — tree sap can ruin paint if you don’t act. You’ll prevent etching and costly repairs through prompt car maintenance, regular detailing, and protective products like sealants or ceramic coatings to reclaim and preserve your ride.
Conclusion
Act fast—you’ll save paint and headaches. Gather a gentle solvent (isopropyl, citrus, or dedicated sap remover), microfiber towels, plastic scraper, clay bar kit, and detail spray. For fresh sap, soften then wipe; for hardened sap, soak and lift with the scraper before refining with clay. Protect rubber and trim with silicone-free protectant. You’ll keep your Camry looking sharp; nip sap problems in the bud and call a pro if stains persist or clear coat feels compromised.