You’ll park both cars close with engines off, set parking brakes, and turn off accessories; confirm battery types and clean terminals. Attach red clamp to the dead positive, then donor positive; connect donor negative, and clamp the other black to an unpainted metal ground on the Supra. Start the donor, let it idle, then start the Supra; remove cables in reverse. Afterward inspect fuses, alternator and battery health, and follow further steps to protect the ECU and ignition if issues persist.
What This Guide Covers and Who It’s For
This guide tells you exactly how to jump-start a Toyota Supra safely and efficiently, focusing on correct cable connections, proper grounding, and the steps to avoid electrical damage. You’ll learn jump start basics: identifying positive and negative terminals, clamping cables in the correct order, and choosing an unpolished metal ground point to reduce spark risk. You’ll act methodically, letting the donor vehicle idle for a few minutes so adequate current reaches the battery before attempting start. Safety precautions are emphasized throughout, including the precise removal order of cables after a successful start to prevent backflow or shorting. This concise, practical guide empowers you to reclaim mobility confidently while minimizing electrical and personal hazards.
Park and Prepare Both Cars Safely
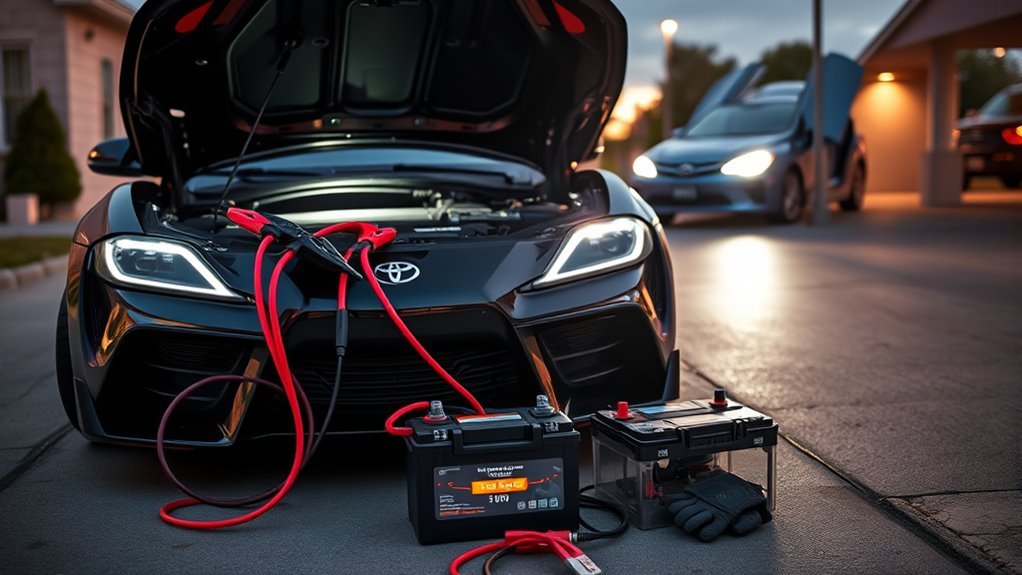
Before you connect anything, park the cars close together with their batteries easily reachable and both engines off, then engage the parking brakes so neither vehicle can roll while you work. You’ll confirm vehicle positioning so jumper cables reach without stretching; shorter runs reduce clamp slippage and risk. Verify both batteries match in voltage and type to prevent electrical conflict. Turn off all lights, radios, and accessories to avoid unnecessary load. Inspect battery terminals for heavy corrosion or damage; don’t proceed if you see structural cracks or leaking fluid. Wear gloves and eye protection—battery safety isn’t optional. Keep metal tools and jewelry away from terminals. Once both cars are secured and checked, you’ll be ready to move to locating the Supra’s jump points and terminals.
Locate Supra Jump Points and Battery Terminals
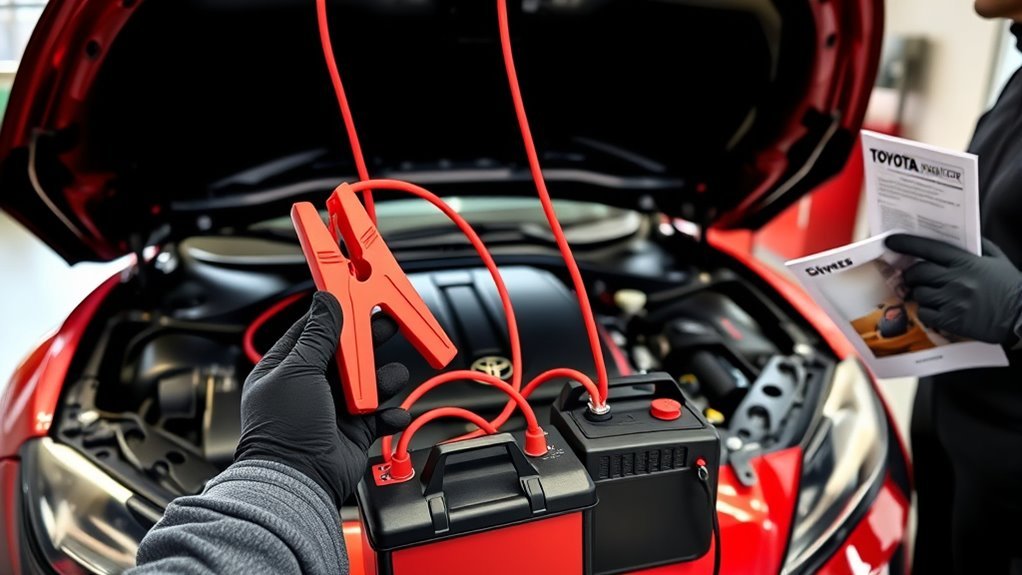
Locate the Supra’s jump points by first opening the hood and visually confirming the battery and terminal covers: the positive terminal is usually marked with a red plastic cover and the negative with a black cover, but consult your owner’s manual for model-specific placement. You’ll verify battery location quickly and perform terminal identification deliberately. Confirm terminals are clean and free of corrosion; a wire brush or terminal cleaner helps. Position both cars close to minimize cable length so clamps won’t loosen. For safety, attach the positive clamp to the red-marked terminal, the donor positive first, then attach the negative clamp to a solid, unpainted metal ground on the Supra—never to the battery’s negative if the manual advises otherwise. This method frees you to act confidently.
Jump‑Start Your Toyota Supra (Step‑By‑Step)
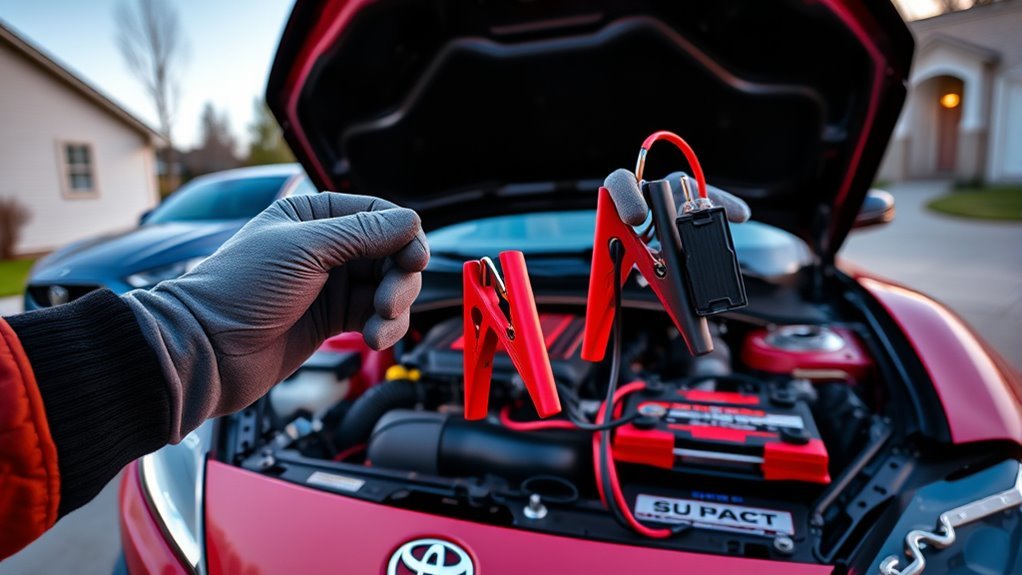
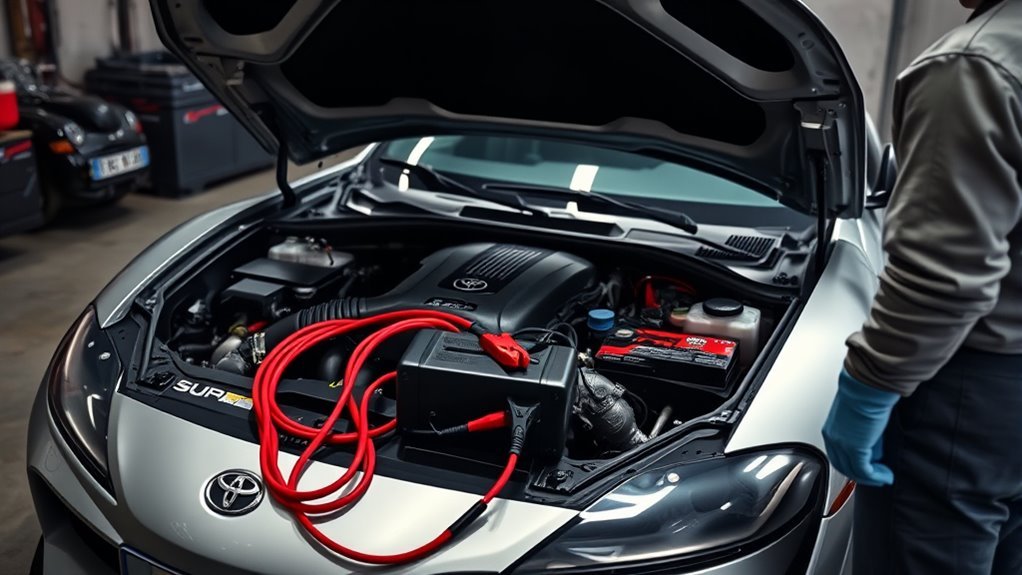
With the battery identified and terminals cleaned, you’re ready to connect the jumper cables in the correct order to avoid sparks and electrical damage. Park both cars close, engage parking brakes, and switch off accessories. Confirm positive and negative terminals—positive usually has a red cover. Clamp the red cable to the dead battery’s positive, then to the working battery’s positive. Attach the black cable to the working battery’s negative, then secure the other black clamp to an unpainted metal ground on the Supra away from the battery to prevent sparks. Start the donor vehicle and let it idle for several minutes. Attempt to start your Supra; if it starts, remove cables in reverse order. Follow battery maintenance and safety precautions throughout for reliable, liberating independence.
If It Won’t Start: Check Fuses, Igniter & Alarm
If your Supra still won’t crank after a jump, start by checking the engine bay’s main 120A fuse and the smaller fuses for visible burns or breaks, since a blown fuse can cut power to key systems. Perform a systematic fuse inspection: use the clear plastic windows or pull suspected fuses and compare filaments, replacing any that show damage. With fuses addressed, assess battery health to guarantee proper voltage before further testing. If the car still won’t start, proceed to igniter testing—follow OEM procedures or consult a technician to avoid causing further damage. If the alarm triggered during the jump, attempt an alarm reset per the manual and verify its wiring. Work deliberately and disconnect the battery before charging or extended repairs.
Protect Your ECU, Igniter & Aftermarket Gear
Protect sensitive electronics by following a careful jump-start routine that minimizes voltage spikes and stray currents. You’ll prioritize ECU protection: connect cables in order—red to the dead battery’s positive, then to the donor positive—to avoid surges. Ground the negative clamp to unpainted metal on the body, not the battery, to reduce stray currents and protect circuits. Turn off alarms, audio, and aftermarket controllers before you start to guarantee voltage stability and aftermarket safety. When possible, choose a trickle charger over an immediate jump to lower risk to the igniter pack. After a jump, inspect the igniter and large fuses for damage as part of igniter maintenance. These steps free you to drive confidently, knowing electronics are guarded.
Aftercare: Charging Time, Battery Replacement & Dealer Help
After jump-starting, let the engine idle for at least 10–15 minutes so the alternator can replenish the battery. If the battery still shows weakness, replace it with a reputable unit that meets Toyota’s specifications—your dealer can source the correct part and install it. For persistent electrical faults, have a dealer or qualified technician inspect the system to rule out damaged components like the ignitor pack.
Charging Time Recommendations
While the jumper cables are disconnected, let the running donor vehicle idle for at least 10–15 minutes so the Supra’s battery can regain a useful charge before you try to start it again. Monitor charging indicators and perform basic battery maintenance: check voltage, terminals, and accessory loads. If the battery still won’t hold charge after multiple jumps, use a trickle charger for several hours or overnight to gently restore capacity without risking electrical damage. Track state-of-charge and repeat testing. If persistent faults occur, seek diagnostic help to find underlying electrical issues rather than replacing batteries repeatedly.
| Action | Duration | Purpose |
|---|---|---|
| Idle donor car | 10–15 min | Initial charge |
| Drive Supra | 20–30 min | Recharge alternator |
| Trickle charge | 4–12+ hrs | Restore capacity |
| Test battery | 5–10 min | Verify health |
| Inspect terminals | 5 min | Confirm connection |
Dealer Replacement Assistance
When you’ve confirmed the battery won’t hold a charge despite repeated jumps or extended trickle charging, contact your Toyota dealer for replacement and aftercare guidance. You’ll insist the replacement matches original battery specifications; dealers can confirm fit, capacity, and cold-cranking amps, and they often provide warranty assistance for defective units. Allow the dealer-recommended charge time before demanding full performance—insufficient charging shortens life and risks electronic faults. Have the technician inspect fuses and wiring to rule out parasitic drains or damaged modules that caused failure. Ask the dealer for approved jump-start procedures so you won’t harm sensitive electronics. Keep the dealer’s contact information accessible for follow-up on maintenance, claims, or questions that preserve your freedom to drive confidently.
Troubleshooting Tips and When to Call a Pro
If a jump-start doesn’t bring your Supra to life, stop and inspect the engine-bay fuse box—check the large 120‑amp fuse through its clear plastic window for visible damage, since misconnected jump leads can blow it or harm the ignitor pack; replace any blown fuses before trying again and consider using a trickle charger or removing the battery for proper charging if it’s been flat for weeks. You want controlled, reliable jump start techniques and disciplined fuse inspection. If replacement fuses and a trickle charge don’t restore function, follow these next steps:
- Recheck connections, polarity, and battery terminals for corrosion.
- Test battery voltage and alternator output with a multimeter.
- Scan for ECU or ignition faults; note error codes.
Call a pro if codes persist, ignition components smell burnt, or electrical systems behave unpredictably.
Frequently Asked Questions
Can Jump Starting a Car Damage the ECU?
Yes — you can damage the ECU if you jump-start improperly. Protect ECU protection and battery health by connecting cables in the right order, using good clamps, grounding properly, or preferring a trickle charger to stay liberated safely.
What Are the Common Jump Starting Mistakes?
Of course you’ll love sparks: you’re making poor connections and risking reverse polarity. You’ll also skip grounding, attach cables wrong, ignore blown fuses, and forgo trickle charging—don’t; protect electronics, follow steps, reclaim freedom.
How to Jump a Toyota Battery?
You connect the battery using proper battery connections: attach positive to positive, ground the negative to chassis, follow safety precautions, keep cables clear, start the donor, let it charge, then remove cables in reverse order to free yourself safely.
Conclusion
You’ve got the steps to jump-start your Supra safely: prepare both cars, use correct jump points, follow the clamp sequence, and protect electronics. If it still won’t fire, check fuses, the igniter, and alarm systems before replacing the battery or calling a dealer. For example, a friend safely revived a dead Supra by using jumper cables on chassis grounds and letting it idle 30 minutes to recharge—avoiding ECU damage and a costly tow. Stay methodical and cautious.