To inflate tubeless tires, start with a clean rim and inspect for damage. Use a high-pressure floor pump or air compressor for initial inflation and remove the valve core for airflow. Inflate to about 50-60 PSI while ensuring the tire bead seats properly. Look for hissing sounds and use soapy water to check for leaks. Maintain tire pressure weekly and adjust as needed. For more on sealants and maintenance, explore additional tips for peak performance.
Essential Steps for Seating Tubeless Tires Effectively
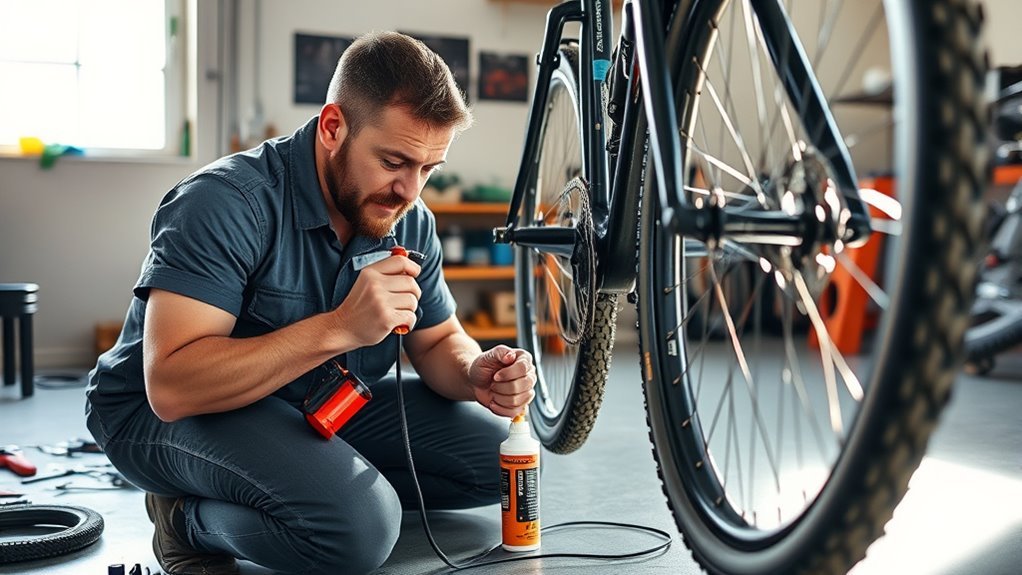
When you’re ready to seat tubeless tires effectively, start by removing the valve core to enhance airflow, which greatly aids in the process. Next, apply soapy water to both the tire bead and rim; this lubrication allows the tire to slip into place more easily. Now, grab a floor pump or air compressor to inflate the tire, targeting an initial pressure of 50-60 PSI to help seat the tire beads properly. As you inflate, listen for audible pops, indicating the tire beads are seating correctly against the rim. After initial inflation, check for even bead seating around the tire and verify sufficient sealant is present to maintain air pressure, giving you the freedom to ride worry-free.
Essential Tools for Inflating Tubeless Tires
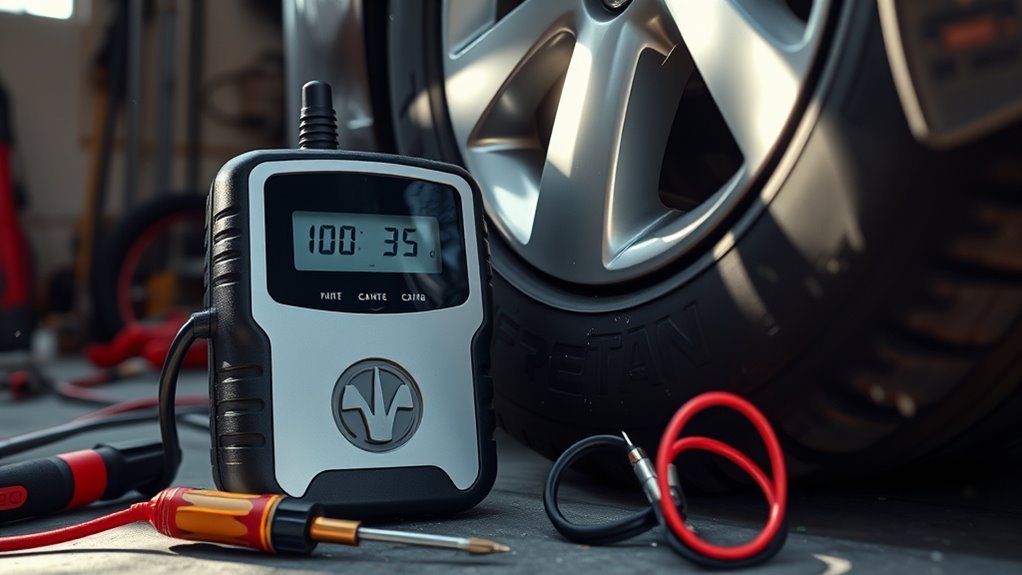
To inflate tubeless tires effectively, you’ll need a high-pressure floor pump or air compressor that can deliver the necessary airflow. Additionally, using the right amount of tire sealant—typically around 4 oz for a 2.35 tire—is essential for maintaining airtightness. Having these tools on hand guarantees a smooth and efficient inflation process.
Essential Pump Types
While various methods exist for inflating tubeless tires, selecting the right pump type is essential for effective bead seating and overall performance. A floor pump is often the preferred method, providing steady pressure for seating tire beads with minimal downsides. An air compressor serves as an effective alternative, especially for quick inflation, but requires careful monitoring to prevent overinflation. Tubeless canisters can connect to floor pumps for rapid air release, ideal for roadside assistance, though their effectiveness can vary. Remember to remove the valve stem during inflation to enhance airflow, which aids in seating the tire beads efficiently. If you encounter challenges, using an inner tube externally can provide the compression needed to secure those stubborn tubeless tires.
Required Sealant Amounts
Understanding the required sealant amounts is crucial for maintaining the performance of your tubeless tires. The right amount guarantees peak performance, especially when seating a tubeless tire. Here’s a quick reference:
| Tire Size | Sealant Amount | Inspection Frequency |
|---|---|---|
| 2.35 | 4 oz | Every 4 weeks |
| 2.0 | 3 oz | Every 4 weeks |
| 2.5 | 4.5 oz | Every 4 weeks |
| 3.0 | 5 oz | Every 4 weeks |
| 26” Mountain Tire | 4-6 oz | Every 4 weeks |
Regular inspections every four weeks are crucial, as sealant can dry out or become ineffective. Replace any dried remnants to maintain sealing capabilities and improve inflation effectiveness.
Your Go-To Steps for Seating Tubeless Tires Right
Seating tubeless tires correctly is essential for guaranteeing a proper seal and maximum performance. Follow these steps to achieve a fully seated tire:
- Remove the valve core: This allows a burst of air during inflation, enhancing airflow to seat the tire beads effectively.
- Lubricate the bead: Use soapy water on the tire bead and rim to help it slip into place as you pump up the tire.
- Position the valve stem: Keep it at the 12 O’Clock position while inflating, maximizing your chances of a successful seal.
Listen for audible pops indicating the tire is seating correctly. If it doesn’t seat initially, re-inflate with higher pressure or use a ratchet strap for better bead contact. Verify you’ve added enough sealant beforehand.
Common Tubeless Tire Inflation Issues
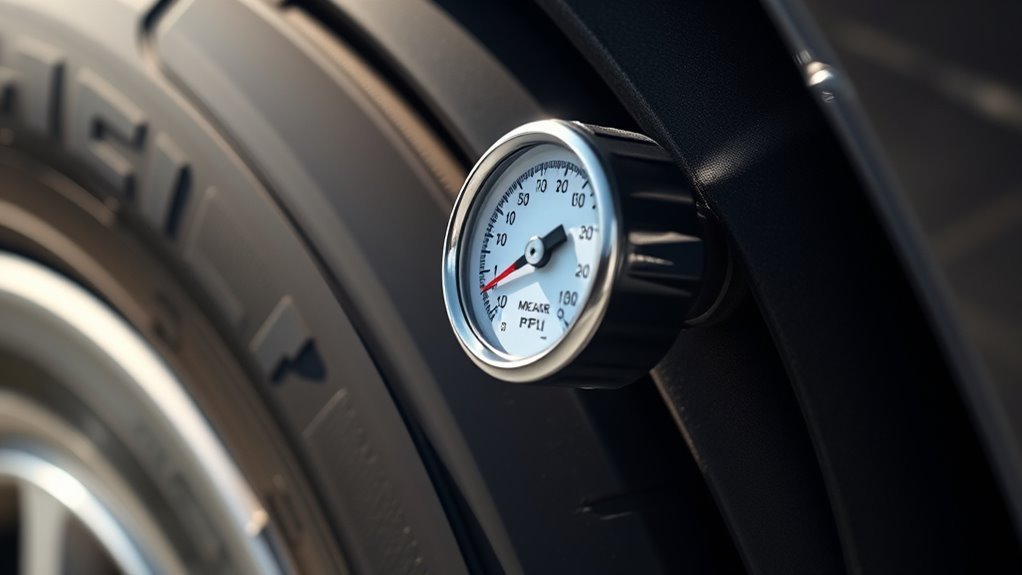
Inflating tubeless tires can present several challenges, even after following the correct seating steps. You might hear pops as the bead attempts to seat properly, a normal part of the process. However, if you can’t reach the recommended pressure, especially near 60 psi, reconsider your technique or tire design. After inflating, let the air settle and check for even bead seating around the rim. If you notice air loss over time, inspect the valve and rim tape for leaks.
| Common Issue | Solution |
|---|---|
| Slow bead seating | Use an air compressor |
| Air pressure loss | Check valve and rim tape |
| Difficulty reaching psi | Adjust inflation technique |
How to Maintain Proper Tire Pressure for Optimal Performance
Maintaining proper tire pressure is essential for peak performance and safety, as even slight deviations can impact handling and efficiency. Here’s how to keep your tire pressure in check:
- Check regularly: Inspect your tire pressure at least once a week using a reliable pressure gauge. This guarantees peak performance and prevents increased rolling resistance.
- Standard floor pump: Use a standard floor pump to adjust pressure within the manufacturer-recommended range, typically between 30-70 PSI, depending on your tire type.
- Monitor fluctuations: Especially before and after rides, be vigilant about checking pressure, particularly in extreme temperatures, as they can cause rapid loss.
Properly managing tire pressure not only enhances safety but also extends the longevity of your tires. Don’t forget to periodically reapply sealant for peak air retention.
How Sealant Works in Tubeless Tires
Proper tire pressure is only part of the equation when it comes to tubeless tires; understanding how sealant works is equally important for ensuring reliability on the road or trail. Sealant fills small punctures and gaps in your tire’s surface, creating an airtight seal that prevents air loss. Typically made from latex or similar compounds, it coagulates upon contact with air, forming a flexible plug that effectively seals punctures up to a certain size. For standard mountain bike tires, you’ll want to use 2 to 4 ounces of sealant, but adjust based on tire volume and manufacturer specs. Keep in mind that sealant can dry out over time, influenced by environmental conditions, requiring periodic checks and replacements for peak performance.
Essential Best Practices for Maintaining Tubeless Tires
To guarantee your tubeless tires perform at their best, it’s essential to adopt important maintenance practices. Follow these steps to assure longevity and peak performance:
Ensure your tubeless tires deliver optimal performance by committing to regular maintenance practices for longevity and efficiency.
- Check tire pressure: Regularly monitor your tire pressure every few weeks. Adjust based on riding conditions and tire wear, using a pressure gauge for accuracy.
- Inspect sealant quality: Unseat one bead to check the sealant. Replace any dried remnants with fresh sealant every few months to maintain effectiveness.
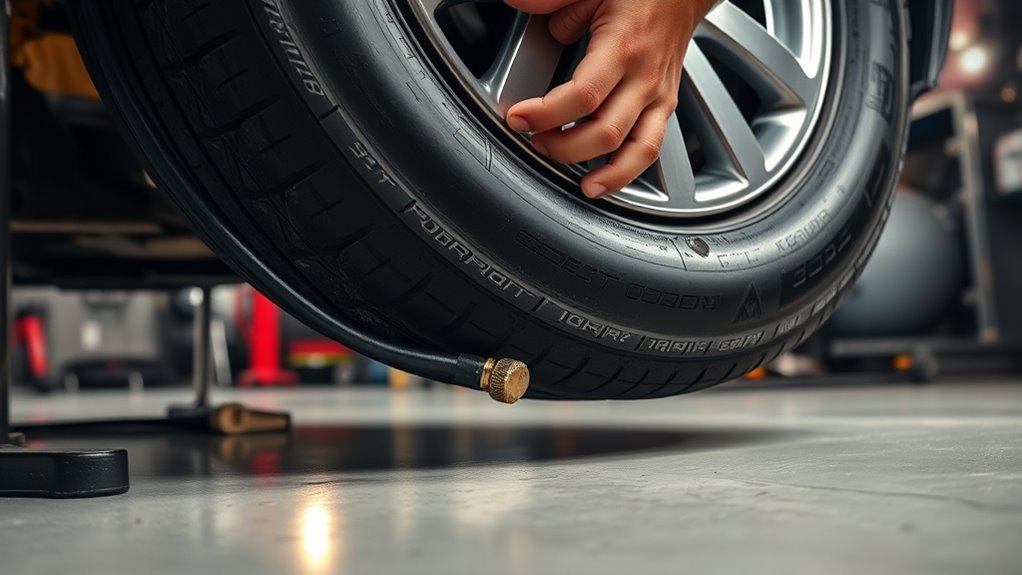
- Monitor for air leaks: Spray soapy water around the valve and rim tape to identify potential air leaks. Confirm the rim tape is intact and correctly applied to prevent air loss.
Troubleshooting Tips for Tubeless Tire Setups

While setting up tubeless tires can sometimes be challenging, a few troubleshooting tips can help you achieve a successful installation. If your tire seats slowly or pops during inflation, remove the valve core to let air flow more freely. Always check for leaks by inspecting the valve area and spraying soapy water on the rim tape. Verify that the rim tape is intact and properly applied; any damage can lead to air loss. If your tire loses pressure without apparent leaks, consider adding more sealant, as different tire types may need varied amounts. Additionally, you can drop the tire from knee height onto a hard surface or apply liquid dish soap to unseated areas to assist in proper seating.
Frequently Asked Questions
What Is the Trick for Tubeless Seating?
To seat tubeless tires effectively, guarantee proper rim tape importance, choose the right valve stem, and apply bead lubrication techniques. Additionally, tire sealant application before inflation helps maintain pressure and prevents leaks for peak performance.
Why Won’t My Tubeless Tire Stay Seated?
About 30% of tubeless tire issues stem from improper bead seating. Check for tire bead problems, sealant issues, rim compatibility, and valve malfunction to guarantee your tire stays seated and maintains ideal pressure.
How to Seat a Tubeless Tire With an Air Compressor?
To seat a tubeless tire with an air compressor, adjust compressor settings for ideal air pressure, guarantee the tire bead is aligned, and apply sealant post-inflation to maintain a secure fit and prevent leaks.
How to Get a Tubeless Tyre to a Seat?
To get your tubeless tire to seat, verify rim compatibility, apply sealant, and use inflation techniques like removing the valve core. This helps the tire bead pop into place, achieving that liberating, seamless ride you crave.
Conclusion
To summarize, inflating tubeless tires requires precision and care. By understanding the essential steps for seating, knowing the right tools, and maintaining proper pressure, you’ll enhance performance and extend tire life. Troubleshooting common issues and utilizing sealant effectively will guarantee reliability on every ride. Remember, successful tire setup means safer journeys, smoother rides, and increased confidence on the road. With the right approach, you can enjoy the full benefits of your tubeless tire system.