Locate the translucent brake fluid reservoir on the driver’s side of the engine bay, wipe the cap area clean, and visually check the fluid against the max/min marks—level should be between them. If low, confirm DOT 3 or DOT 4 on the cap and slowly add fluid from a sealed container until just below the max line, avoiding spills and contamination, then secure the cap. If levels are low or pedal feels soft, inspect pads and lines for leaks; continue for troubleshooting and maintenance tips.
Quick Steps to Check and Top Off RAV4 Brake Fluid
Open the hood and locate the brake fluid reservoir on the driver’s side near the air filter housing; check the fluid level against the max and min marks and make sure it sits between them. You’ll perform a quick inspection: wipe the cap area clean to prevent contamination, remove the cap, and visually confirm level. If low, add the correct brake fluid type (DOT 3 or DOT 4) slowly until it reaches just below the max line — don’t overfill. Replace the cap securely and wipe any spills immediately.
Make this a routine maintenance tip: inspect fluid at regular intervals or when you notice soft brake feel. Keep a sealed bottle of the specified fluid and a clean funnel in your kit so you can act without dependence. These steps free you from avoidable failures, maintain braking performance, and minimize repair needs while keeping control in your hands.
Where to Find the Brake Fluid Reservoir on a RAV4
Open the hood and look on the driver’s side of the engine bay to locate the brake fluid reservoir near the engine air filter housing. You’ll spot a translucent plastic container with clear max and min markings so you can read the level without opening it. Wipe the cap area clean before checking to avoid contamination.
Engine Bay Location
You’ll find the brake fluid reservoir in the RAV4’s engine bay on the driver’s side, typically positioned next to or just forward of the air filter housing; it’s a small, translucent cylindrical container with MAX and MIN level markings on the side. Open the hood, secure it, and scan the driver’s-side corner of the compartment until you spot that tank. Use visual inspection through the translucent walls to check levels — they must sit between the MAX and MIN lines for the brake system to function reliably. Wipe the reservoir cap and surrounding area clean before opening to avoid contamination. This simple, disciplined check is a key part of your fluid maintenance routine and preserves control and freedom on the road.
Near Air Filter
Locate the brake fluid reservoir on the driver’s side of the engine bay, just beside or slightly forward of the air filter housing; it’s a small, translucent tank marked with MAX and MIN lines so you can read the level without opening it. You’ll find it near the air filter, easy to inspect at a glance. When checking, stand clear of moving parts, clean the cap area, and avoid contaminating the fluid.
- Confirm reservoir visibility: translucent sides let you see brake fluid level without removing the cap.
- Inspect for leaks: check around the base and nearby hoses for wetness or stains.
- Note cap labeling: it usually specifies DOT 3 or DOT 4—don’t mix types.
Check regularly to maintain control and freedom on the road.
Max/Min Markings
On the driver’s side of the engine bay, just beside the air filter housing, you’ll find the translucent brake fluid reservoir marked with clear MAX and MIN lines so you can read the level without removing the cap. Check visually: fluid must sit between the lines. If it’s below MIN, top off with the type stamped on the cap (DOT 3 or DOT 4). Low fluid can signal worn pads—address that to reclaim control. Use these maintenance tips regularly to prevent failure and preserve freedom on the road.
| Item | Action | Frequency |
|---|---|---|
| Visual level | Verify between MAX/MIN | Every oil change |
| Cap spec | Confirm DOT type | When topping off |
| Drop below MIN | Inspect pads | Immediately |
| Contamination | Replace fluid | Per service schedule |
| Notes | Record checks | For accountability |
How to Check Your Brake Fluid Level Safely (Step‑by‑Step)
Pop the hood and check the brake fluid reservoir on the driver’s side near the engine air filter housing; the level should sit between the MAX and MIN marks. You’ll perform a quick, liberating inspection that protects your control and safety. Keep actions deliberate: clean the cap area, read the marks, and note any drop.
- Wipe the reservoir cap with a clean cloth, remove it, and visually confirm fluid sits between MAX and MIN.
- If low, inspect brake pads for wear—worn pads let fluid drop as calipers extend.
- Record level and schedule reservoir maintenance if drops recur; regular checks prevent surprises.
Use the correct brake fluid types when you add fluid (covered later). Don’t overfill; avoid contaminating the reservoir while it’s open. Repeat this check regularly as part of your maintenance routine so your braking remains reliable and you stay in control.
Top off Brake Fluid Safely : DOT 3 Vs DOT 4 and Avoiding Contamination
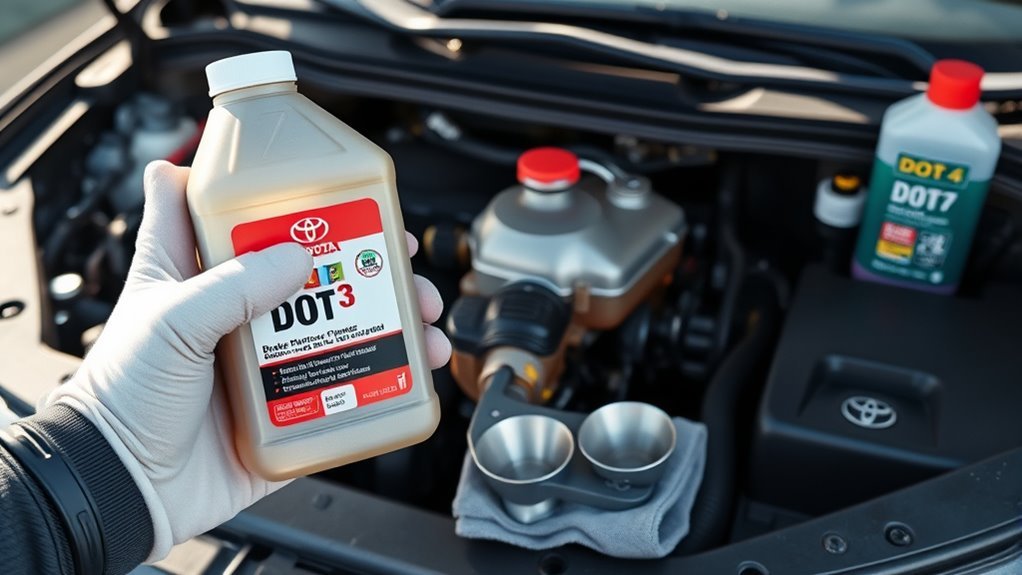
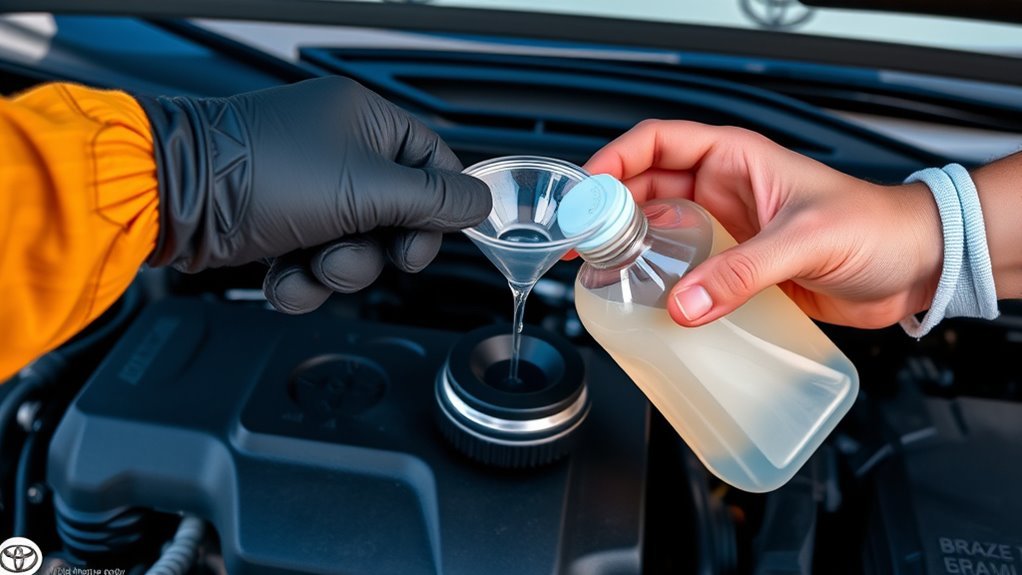
Because brake fluid affects boiling point and system compatibility, you should confirm the correct specification on the reservoir cap before adding any fluid and choose DOT 3 or DOT 4 accordingly. Check the cap, match the label to the sealed bottle, and remember DOT 4 has a higher boiling point for heavier braking demands. You’ll avoid mixing grades unless the cap explicitly allows interchangeability.
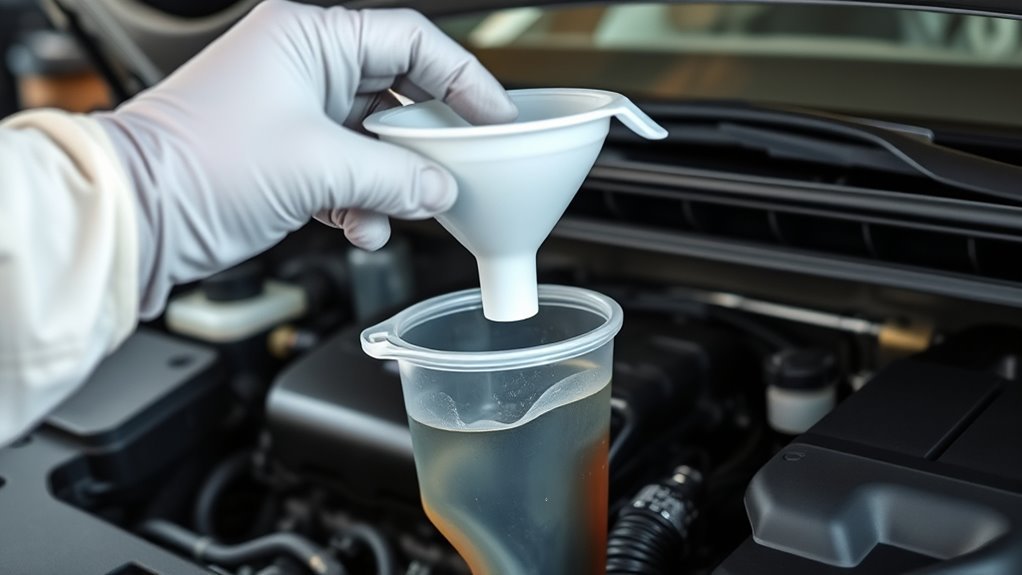
Keep contamination out: use only fluid from an unopened container for moisture prevention. Opened bottles absorb water; don’t pour from a half-used bottle. Clean the reservoir surround, wipe the cap threads, and open the bottle only when ready.
Pour slowly, using a nozzle or funnel to control flow and prevent spills that can damage paint and components. Top to the “max” mark, not over it. Securely replace and tighten the cap immediately to seal the system. Dispose of any opened container per local rules. You’ll preserve braking performance and maintain your freedom to drive safely.
Troubleshooting Low Brake Fluid: Pads, Leaks, or Other Causes
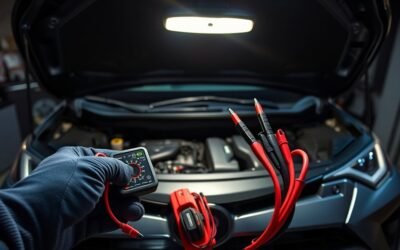
If your RAV4’s brake fluid level drops, don’t assume it’s just evaporation—check the pads and the system for leaks immediately. Start by visually confirming reservoir level then proceed with targeted checks. Low fluid often signals brake pad wear that lets calipers draw more fluid; inspect pad thickness and caliper movement. Next, perform fluid leak detection: look for wet spots at lines, fittings, wheel cylinders, and under the car after parking. Test pedal feel — a spongy pedal or one that sinks indicates air or a major leak and demands urgent action.
- Inspect brake pad wear: remove wheel, measure pad lining, note excessive retreat that correlates with reservoir drop.
- Conduct fluid leak detection: wipe suspected areas, press brake, observe fresh fluid, trace to source.
- Respond decisively: if you find leaks, spongy pedal, or unexplained drops, stop driving and consult a mechanic to restore safety and autonomy.
Routine Checks and Pad Inspection Schedule to Prevent Low Fluid
Check your brake pad thickness every 6,000 miles or at least twice a year to catch wear before it lowers fluid levels. During those inspections, verify the brake fluid sits between the reservoir’s max and min marks and look for any leaks. If fluid has dropped, measure pad wear immediately and replace pads with compatible DOT 3 or DOT 4 fluid if topping off.
Scheduled Pad Thickness Checks
Inspect your brake pads every 6,000–10,000 miles to monitor thickness and catch excessive wear before it lowers your brake fluid level. Use clear inspection techniques: view through the wheel or remove it for a direct look. Note pad wear; if thickness is 3 mm (about 1/8 inch) or less, plan replacement. Record mileage and condition each check to free yourself from surprise repairs.
- Measure pad thickness visually or with a caliper; replace at ≤3 mm.
- Schedule checks with routine service (oil changes) to keep a reliable cadence.
- Track pad wear and fluid notes in a log to prevent accelerated fluid loss.
Act deliberately, keep precise records, and maintain braking reliability on your terms.
Fluid Level Inspection Routine
Maintain a monthly fluid level inspection to keep your RAV4’s brake reservoir between the MAX and MIN marks and catch leaks early. Inspect visually, wiping the reservoir cap clean before opening; note color and level, remembering brake fluid properties: hygroscopic, darkens with age, and must stay contaminant-free. Scan lines and reservoir for wetness or stains—any seepage demands immediate repair. Monitor braking feel; softer or delayed response means check fluid and system right away. Schedule pad inspections every 6,000–10,000 miles to prevent pad wear from causing reservoir-level drops. If topping off, use the specified DOT 3 or DOT 4 fluid only, matching existing type. These maintenance tips keep your brakes reliable and free you from unexpected failures.
Frequently Asked Questions
Where Is the Brake Fluid Located on a Toyota RAV4?
The brake fluid reservoir sits on the driver’s side near the air filter housing; you’ll use fluid level indicators on its translucent sides. For brake maintenance tips, inspect levels regularly, lift the cap straight off, and act promptly.
What Kind of Brake Fluid Does a Toyota RAV4 Take?
Boldly be informed: you’ll use DOT 3 or DOT 4 brake fluid types; don’t use DOT 5. Check the reservoir cap, choose unopened fluid replacement, and proceed precisely to preserve performance and protect your driving freedom.
Conclusion
You’ve just empowered yourself to keep your RAV4 stopping like a superhero—no mysterious squishy pedal or theatrical squeal ruining your day. Check the reservoir regularly, top off with the right DOT fluid, and seal out dirt; it’s the tiny, disciplined acts that prevent big, roadside dramas. Do pads, lines, and leak checks on schedule, and your brakes will stay sharp, predictable, and ready whenever you call on them.