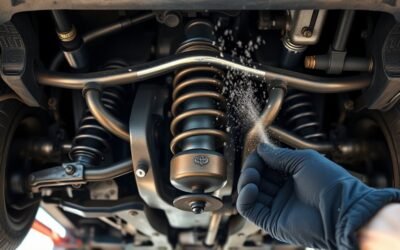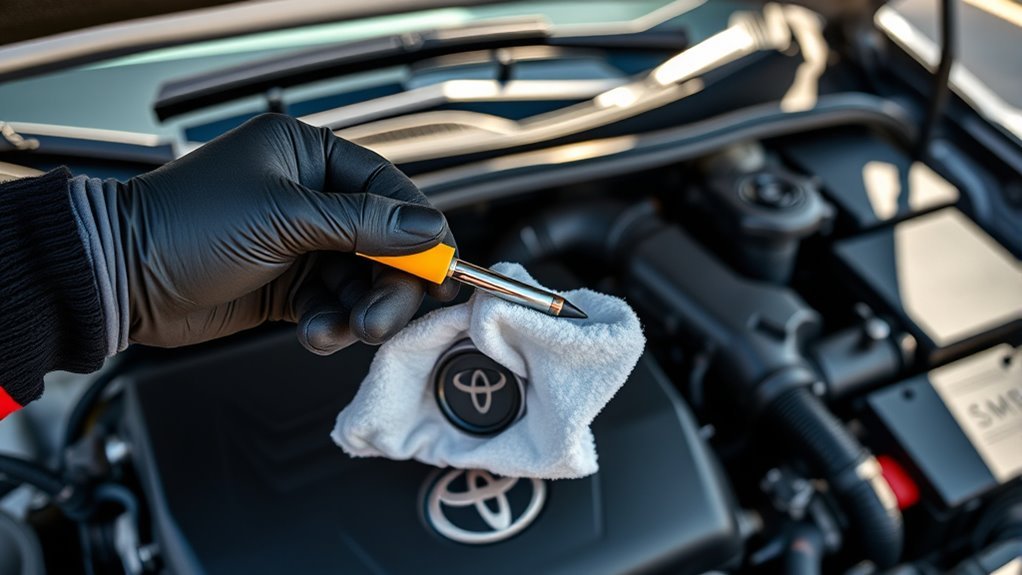
Park on level ground, let the engine sit about five minutes after shutdown, then open the hood and locate the brightly colored dipstick. Pull it out, wipe it clean, fully reinsert it, then withdraw to check the oil level against the minimum and maximum marks — it should sit near the top. Note oil color and smell for contamination; add oil in small increments if below minimum and recheck. Keep going to learn troubleshooting, capacity, and service timing.
How to Check Engine Oil on a Toyota RAV4 (Quick Steps)
Start by letting the engine sit for at least five minutes after you shut it off so the oil settles for an accurate reading. Locate the dipstick, pull it out, and wipe it clean with a lint-free cloth; this reset prevents false readings. Reinsert the dipstick fully, then withdraw it to inspect the oil level: it should fall between the minimum and maximum marks, ideally approaching the maximum. If it’s below minimum, you’ll need to add oil promptly to avoid wear or investigate leaks—low oil can compromise engine efficiency. Record the reading and the date; routine checks let you spot trends before they become failures. Follow recommended service intervals—Toyota suggests oil changes about every 10,000 miles—to sustain performance. These oil maintenance tips give you control over your vehicle’s health and free you from dependence on surprise repairs. Act methodically, keep supplies on hand, and make checking oil a simple, empowering habit.
When to Check RAV4 Oil : Timing & Safety
Before you pull the dipstick, let the engine sit with the key off for at least five minutes so oil drains back into the pan and your reading will be accurate. Park the RAV4 on level ground — slopes will skew the level and give misleading results. Don’t check immediately after heavy driving; wait for the cool-down period to avoid overestimating the oil level.
After Engine Off Five Minutes
Although you can check the oil shortly after parking, wait at least five minutes with the engine off so the oil can drain back into the sump and give a true dipstick reading. During that brief rest, oil viscosity stabilizes and you’ll get a reading that reflects actual oil volume rather than oil still coating galleries or the turbo (if equipped). You’ll also protect your hands from hot surfaces—safety matters to anyone reclaiming control over their vehicle. Don’t confuse convenience with accuracy: immediate checks can under- or overstate level because oil is still circulating. Use this pause to set the car on level ground and prepare the dipstick. That patient, methodical habit preserves engine performance and reduces roadside uncertainty.
Check On Level Ground
One quick, essential check: always park your RAV4 on level ground before you pull the dipstick, because even a slight incline will let oil collect to one side of the pan and give a false reading. You want a true measure—no guessing, no compensating for oil pooling. Confirm the vehicle sits on a level surface, engage park, and set the parking brake.
- Wait at least five minutes after engine off so oil settles in the pan.
- Confirm the engine is cool enough to avoid burns before touching the dipstick.
- Use the dipstick to verify oil is between minimum and maximum marks.
Treat this as regular empowerment: monthly checks or before long trips keep you in control of your RAV4’s health.
Avoid Immediately After Driving
If you’ve just driven your RAV4, wait at least five minutes before pulling the dipstick so oil that’s been flung through the engine can drain back into the pan and give a true reading. Letting the engine sit balances oil temperature effects and prevents a falsely high level caused by oil circulating under heat. Park on level ground, engage the parking brake, and step away from hot components; waiting reduces burn risk and lets oil settle for an accurate check. This brief pause also protects your engine from misdiagnosis that could hide low oil and accelerate engine wear. Be deliberate: use the dipstick only after cooling, read the marks precisely, and act confidently to maintain your RAV4’s freedom.
Find the Dipstick and Oil Fill
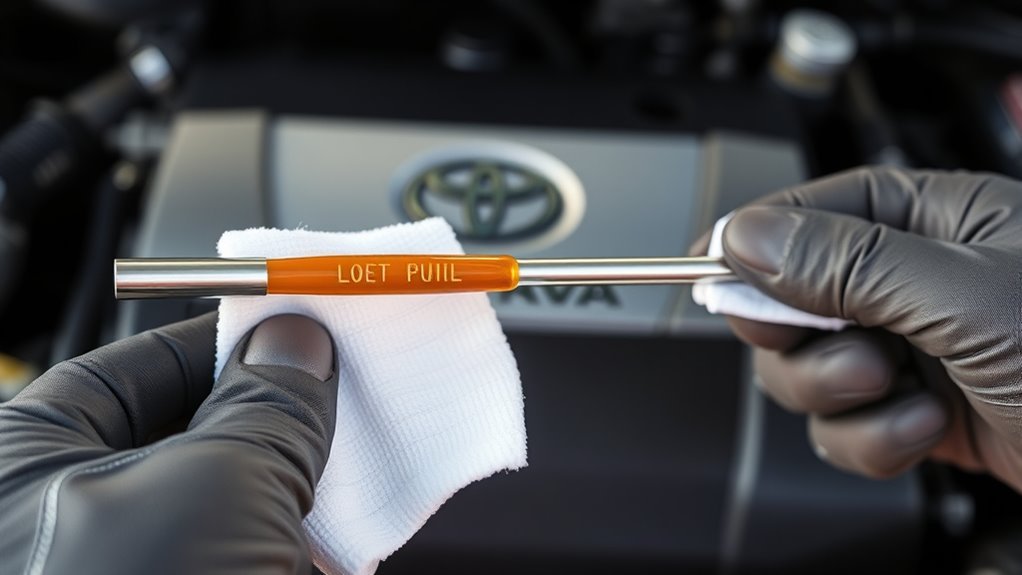
Locate the dipstick first — it’s usually near the front of the engine and marked with a brightly colored handle for quick ID. Pull it out, wipe it clean, reinsert fully, then remove it again to read the oil level against the min/max marks. The oil fill cap, typically labeled and positioned close to the dipstick, is where you’ll add oil if the level’s low.
Locating The Dipstick
Start by opening the hood and standing in front of the engine bay so you can easily access the components; the dipstick on a Toyota RAV4 is usually positioned toward the front of the engine and should be clearly reachable without moving other parts. You’ll perform simple dipstick maintenance to confirm oil health and preserve engine accessibility. Before pulling the dipstick, let the engine sit off for at least five minutes so oil settles.
- Locate the dipstick—often a looped or colored handle near the front—grip and pull it straight up.
- Wipe the stick clean with a lint-free cloth, reinsert fully, then withdraw to read between min/max marks.
- If level’s low, plan a measured refill; aim for near the maximum mark for ideal performance and autonomy.
Finding The Oil Fill
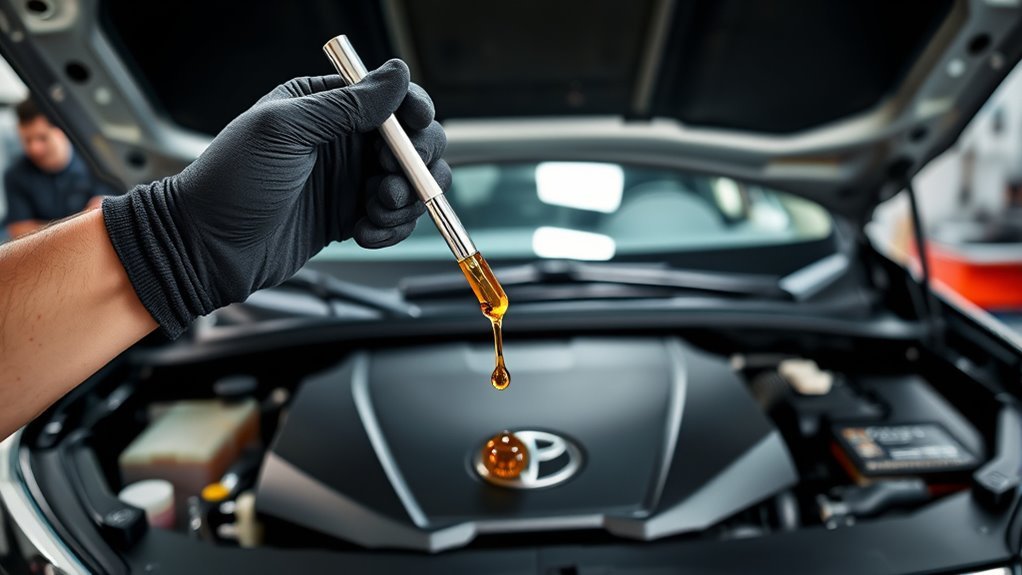
1. Lift the hood and confirm the engine’s cool—accurate oil maintenance starts with a safe temperature. The dipstick sits near the engine, usually marked in a bright color; pull it, wipe it clean, reinsert, then remove it again to verify oil level between the min and max marks.
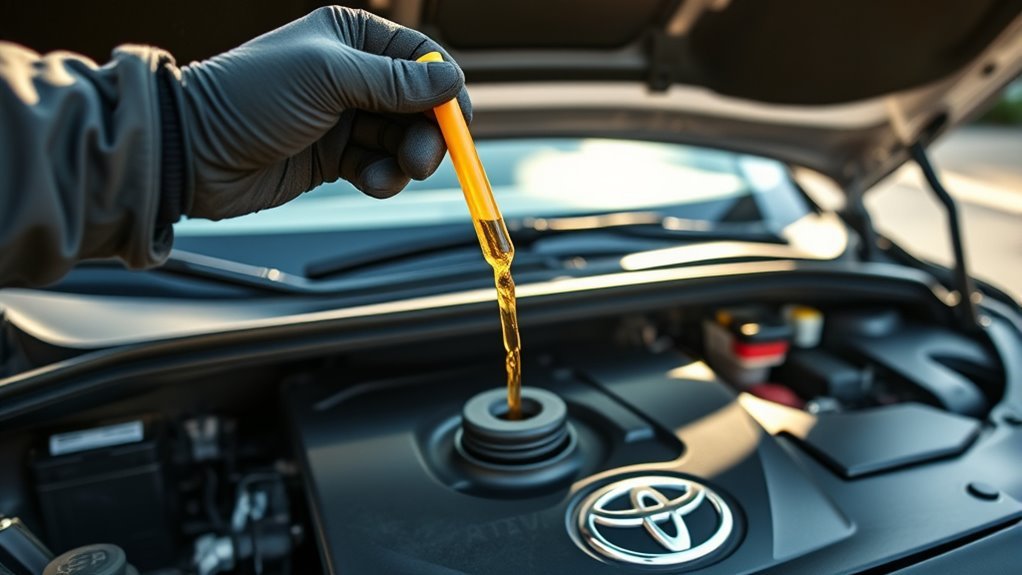
Locate the oil fill cap near the engine top; it’s clearly labeled “Oil” or shows an oil-can icon. If you must add oil, use the grade recommended in your manual, pour slowly, and recheck the dipstick until the level reaches the proper range. Secure the oil fill cap tightly to prevent leaks and contamination. Routine, precise checks preserve engine performance and keep you in control.
Step-by-Step Dipstick Check
Before you begin, make sure the engine has been off for at least five minutes so oil can drain back into the pan; then open the hood and find the dipstick, which gives a direct, quick measure of oil level. You’re doing basic dipstick maintenance and asserting control over your vehicle’s health; understanding oil level importance frees you from unnecessary dependency on shops.
Follow these steps precisely:
- Pull the dipstick out fully, wipe it clean with a lint‑free cloth, and inspect the stick for residue or contamination.
- Reinsert the dipstick fully to seat it, then withdraw it again to take the actual reading without disturbing settled oil.
- Observe the oil on the dipstick—if it’s between the marks you’ve done the check correctly; repeat if the stick looks smeared or unclear.
Regular checks prevent engine damage and sustain peak lubrication, giving you reliable mobility and the confidence to act when levels aren’t right.
Read the Dipstick: What the Marks Mean
Now that you’ve practiced the dipstick pull-and-read routine, focus on interpreting the marks: the lower mark shows the minimum safe oil level and the upper mark indicates the ideal fill. You’ll respect the dipstick importance by checking when the engine’s been off at least five minutes so oil settles and the oil level reading’s accurate. If the oil registers below the minimum, don’t ignore it—low oil can signal leaks, consumption, or servicing needs and warrants prompt attention.
A reading near the maximum mark means you’ve hit the target for efficient operation and engine longevity. Record readings over time to detect trends; regular monitoring helps you spot degradation or verify you’re using quality oil and proper top-off volumes. Use the marks as your objective guide: act if below minimum, maintain near maximum, and treat the dipstick as a simple, empowering tool that gives you direct control over your vehicle’s health.
What Oil Color & Smell Tell You About Condition
Color and smell give you quick, reliable clues about oil condition: fresh oil looks translucent amber and smells neutral, while dark or black oil means it’s breaking down and needs changing; a milky, opaque appearance suggests coolant contamination and serious trouble; a burnt odor points to overheating or excessive friction and requires prompt inspection; and gritty texture indicates debris or contamination that could harm the engine.
You’ll inspect on the dipstick: wipe, reinsert, withdraw, then evaluate visually and by scent. Watch for signs of oil contamination and burnt oil — both demand action. Act when you detect abnormal color, odor, or texture.
- If translucent amber and smooth, continue routine checks.
- If dark/black or smells burnt oil, schedule an oil change and inspection.
- If milky, foamy, or gritty, don’t drive extensively; this suggests coolant intrusion or debris and needs immediate professional diagnosis.
These checks free you from neglect, let you intervene early, and protect the engine’s longevity.
When to Add Oil, How Much, and Which Oil to Use
If your dipstick shows oil below the minimum mark, add oil promptly to prevent engine wear and maintain efficiency; start with about a quart, then recheck the level to avoid overfilling. You’ll add when the dipstick reads low or if you detect oil-related warning lights. Begin with a controlled amount—one quart—then wait a minute and remeasure. Repeat in small increments until the level sits between the low and full marks.
Choose oil that meets Toyota’s specs; many newer RAV4 engines call for 0W-20. Consult your owner’s manual for the exact oil capacity before topping off, since engine options vary. Use high-quality motor oil labeled to manufacturer standards to protect seals and combustion surfaces and to preserve engine performance. Monitor levels regularly and add only as needed. This methodical approach keeps you in control, prevents overfill damage, and supports long-term engine longevity while honoring your autonomy as a vehicle steward.
RAV4 Oil Change Schedule & Service Tips
Because regular oil changes are the simplest way to protect your engine, plan to service a new Toyota RAV4 every 10,000 miles using the manufacturer‑recommended oil and filter to maintain warranty coverage and peak efficiency. You’ll preserve engine health, improve fuel efficiency, and catch small issues before they grow. Track every service entry so your maintenance checklist is clear and defensible.
You should follow a concise routine:
- Record date, mileage, oil type, and filter model after each oil change to maintain a reliable maintenance checklist.
- Use only manufacturer‑recommended oil types at the specified oil change frequency to avoid warranty and performance problems.
- Inspect for leaks, check the drain plug torque, and verify the oil level after warm‑up to confirm service quality.
Stay disciplined: consistent records and adherence to intervals free you from unexpected failures and affirm your control over vehicle longevity.
Low-Oil Troubleshooting and Warning Light Actions
When the oil warning light comes on while you’re driving, pull over safely, shut the engine off, and check the dipstick to verify the level against the minimum mark; a reading below the minimum means you need to add the manufacturer‑recommended oil immediately or inspect for leaks. If the dipstick shows low oil, add oil to the specified level and recheck; this immediate action supports engine wear prevention and keeps you moving. If level reads normal yet the light stays on, perform basic oil leak detection: look under the parked vehicle for fresh drips, inspect around the oil filter and drain plug, and scan engine gaskets for wetness. Don’t ignore persistent warnings — consult the owner’s manual for model-specific procedures and contact a technician if you find leaks or continued illumination. Regular monitoring and prompt response free you from avoidable breakdowns and preserve engine life, aligning practical maintenance with your drive for independence.
Frequently Asked Questions
How to Tell When rav4 Needs Oil Change?
You’ll know by oil change indicators and engine performance signs: check dipstick for low or gritty oil, note dark color, listen for unusual noises, and watch reduced power or warning lights—act promptly to protect your freedom.
Conclusion
You’re now set to check your RAV4 like a pro—think of it as giving your engine a quick health check, like a pilot scanning instruments before takeoff. Stay methodical: check oil when warm, park level, use the dipstick correctly, and match oil type to Toyota specs. If levels or color worry you, add the right amount or seek service. Regular checks and timely changes keep your RAV4 reliable and avoid unexpected engine trouble.