To change the engine coolant in your Toyota Camry, start by lifting the front and removing the splash guard. Drain the old coolant by locating the petcock and using a hose to minimize spills. Once drained, fill the radiator with Toyota super long-life coolant until it flows from the EGR valve hose. Finally, bleed the air from the cooling system by revving the engine and monitoring for bubbles. Discover more detailed steps to guarantee a smooth process.
Why Changing Your Camry’s Coolant Is Essential
Changing your Camry’s coolant is crucial because it helps prevent overheating, which can cause severe engine damage and lead to costly repairs. Regular coolant changes offer numerous benefits, including improved heat transfer and reduced risk of blockages. Over time, coolant degrades, losing its ability to prevent rust and corrosion within the engine and cooling system components. By flushing the system, you eliminate gunk and mineral deposits, ensuring your engine runs smoothly.
Maintaining the proper pH balance with fresh coolant protects rubber hoses and seals, extending the lifespan of important cooling system parts. It’s essential to adhere to your maintenance schedule, typically recommending coolant changes every 30,000 miles or every two years, depending on your driving conditions. By prioritizing coolant maintenance, you empower your vehicle’s performance and reliability, keeping it in top shape for the long haul.
Preparing for Your Camry’s Coolant Change
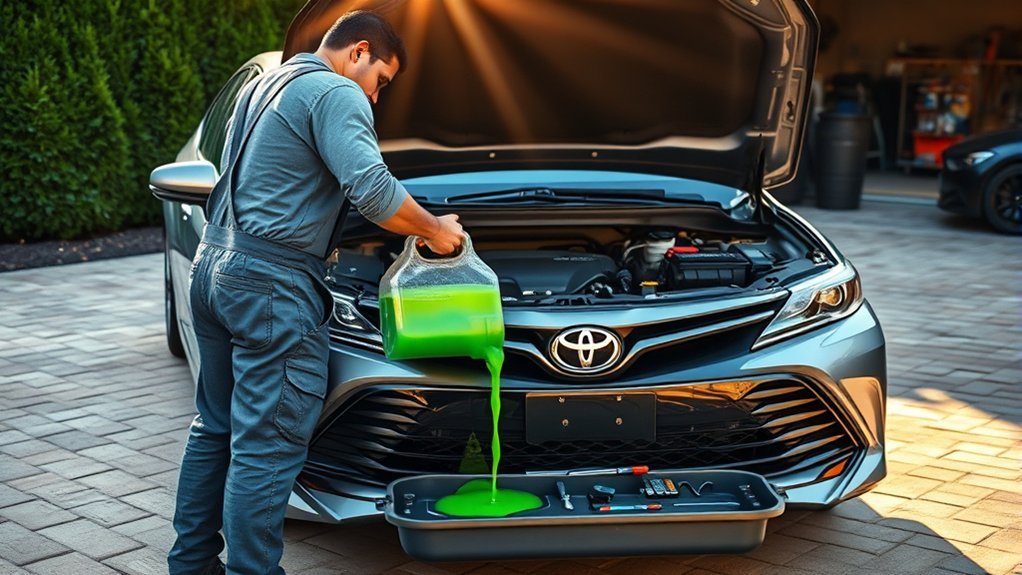
Before you begin the coolant change on your Toyota Camry, gather all necessary tools and materials to guarantee a smooth process. Following your maintenance schedule, confirm you have the right coolant types for your vehicle. Start by lifting the front of your Camry and removing the front splash guard, which typically requires 13 bolts and 2 push clips. Use a flat screwdriver to extract the push clips easily.
Next, locate the petcock on the radiator for fluid release, and attach a hose to minimize mess. Don’t forget to remove the radiator cap to allow airflow and prevent vacuum formation. Finally, prepare for responsible disposal of old coolant, as it’s toxic; have cat litter on hand for any spills during the process.
| Tool/Material | Purpose |
|---|---|
| Flat screwdriver | Remove push clips |
| Hose | Direct coolant drainage |
| Cat litter | Clean up spills |
| Radiator cap | Allow airflow during drainage |
| Bolts | Secure splash guard |
How to Safely Drain the Old Coolant
To safely drain the old coolant from your Toyota Camry, start by lifting the front of the vehicle and removing the front splash guard, which typically requires 13 bolts and 2 push clips. Next, remove the radiator cap to relieve pressure and promote better coolant flow. Locate the radiator drain plug (petcock) and use your drain tools to twist it counterclockwise. Attach a hose to the petcock to minimize spills while the coolant drains. Allow the coolant to fully drain until you see a steady trickle, then securely close the petcock by turning it clockwise. Remember, different coolant types may require specific disposal methods, so handle the old coolant responsibly. Dispose of it properly, as it’s toxic to both humans and animals. Clean up any spills with cat litter to guarantee a safe workspace.
Step-By-Step Guide to Filling Your Radiator With Coolant
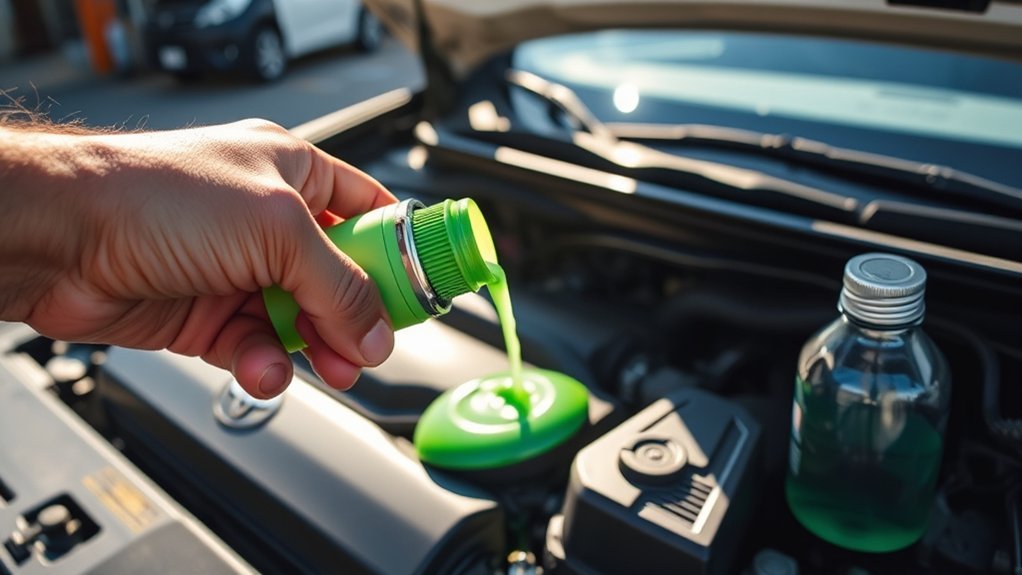
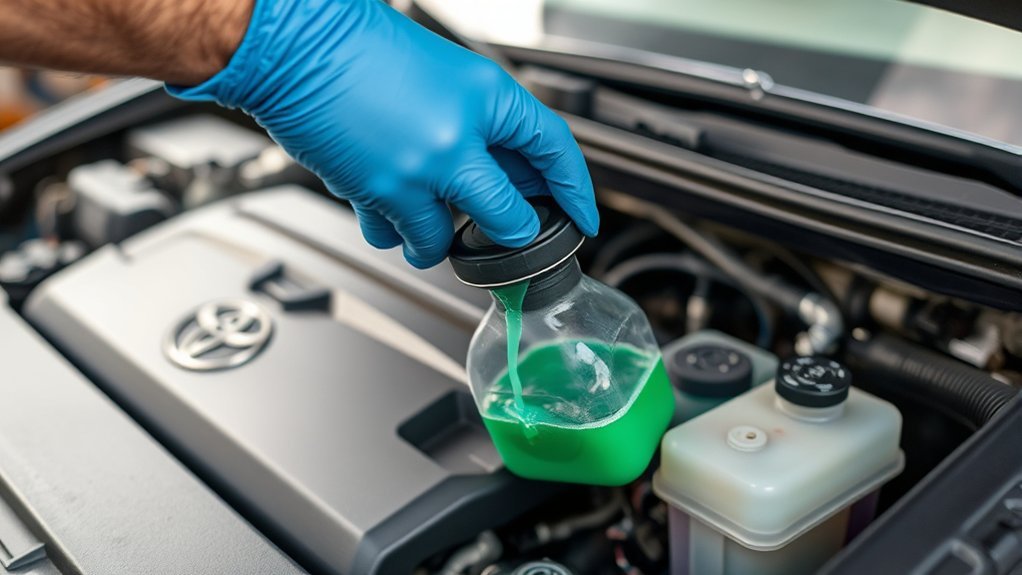
Filling your radiator with coolant is a straightforward process that guarantees your engine operates efficiently. Start by ensuring the engine is cool, then remove the radiator cap to prevent pressure buildup. Use a no-spill funnel for a clean fill, pouring in Toyota super long life coolant until it flows out of the hose connected to the EGR valve, indicating the system is full.
Once filled, securely reattach the EGR hose and clamp to prevent leaks. Start the engine and maintain RPMs at 2,000, monitoring for air bubbles in the funnel, which signals trapped air. When the fan cycles on and off twice, shut off the engine. Replace the radiator cap and confirm all air has been bled from the system. This process fits into your maintenance schedule, ensuring you choose the right coolant types for peak performance.
Troubleshooting: How to Bleed Air From Your Cooling System
How can you effectively bleed air from your cooling system to guarantee peak performance? Start by revving your vehicle to around 2,000 RPM until the fan cycles on and off twice. This action circulates the coolant and helps release trapped air bubbles.
To ensure optimal performance, rev your vehicle to 2,000 RPM until the fan cycles twice, releasing trapped air bubbles.
- Ascertain the blower motor is off for accurate monitoring.
- Remove the hose connected to the EGR valve to facilitate air escape.
- If you’re working solo, use a crowbar or similar tool to hold RPMs steady while observing for air bubbles in the funnel.
- After the second fan cycle, turn off the vehicle and confirm all air’s been bled before replacing the radiator cap to avoid overheating.
Frequently Asked Questions
How Often Should I Change the Coolant on My Toyota Camry?
You should change your Toyota Camry’s coolant every 30,000 miles or 24 months. If using Super Long Life Coolant, a coolant flush can extend this interval to 100,000 miles for the initial change.
How Much Does It Cost to Replace Coolant in a Toyota Camry?
So, you want to empty your wallet? Replacing coolant in your Toyota Camry costs between $100 and $150. But with some DIY tips, you could save big by using cheaper coolant types.
Conclusion
Changing your Toyota Camry’s coolant isn’t just routine maintenance; it’s a safeguard against overheating and potential engine damage. By ensuring your cooling system is in top shape, you’re not just preserving your car’s performance, but also your peace of mind. Remember, neglecting this simple task can lead to costly repairs down the road. Take the time now, and your Camry will reward you with reliability and longevity—because a well-maintained vehicle isn’t just an investment; it’s a promise kept.