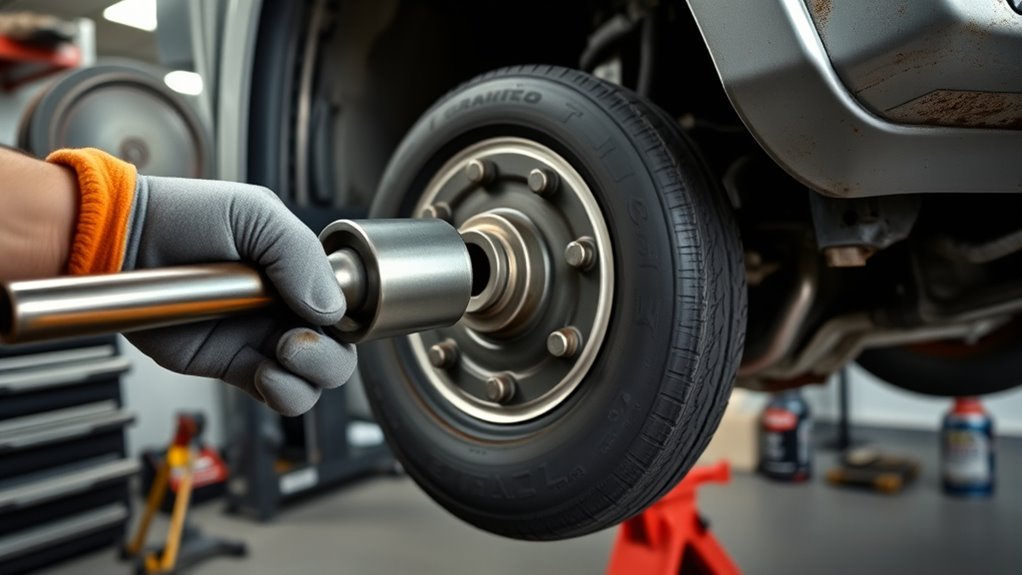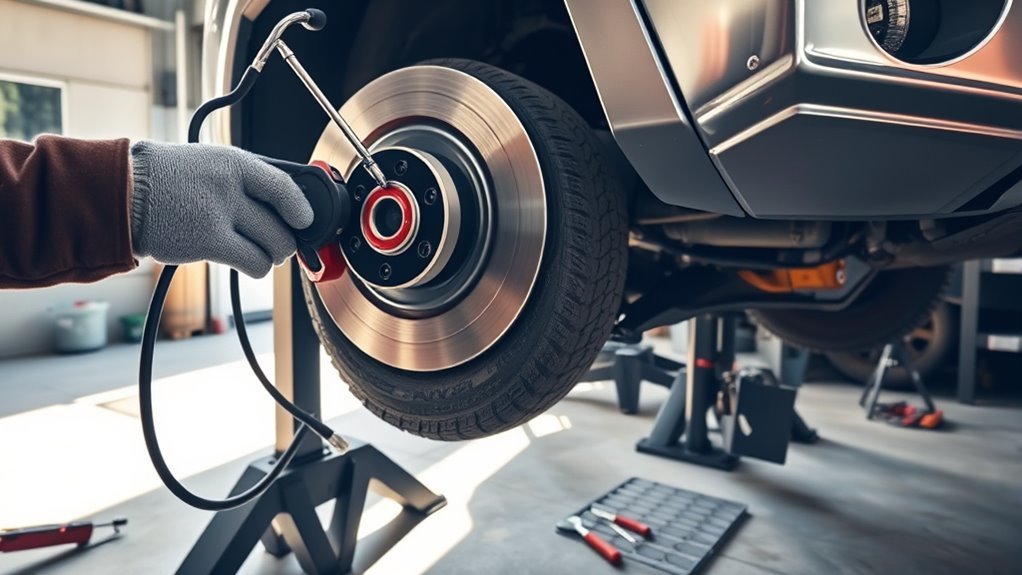
If your 4Runner hums and the tone rises around 60–70 mph, check driveline, wheel bearings, tires, and differential immediately. Spin wheels for roughness or play, inspect hubs and lug torque, and look for tread cupping or uneven wear. Verify driveshaft U‑joints, slip yoke lubrication, runout and pinion angle. Low maintenance fixes like greasing can help; replace bearings or U‑joints if gritty or loose. Continue below to get step‑by‑step tests, costs, and when to see a pro.
5‑Minute Tests to Pinpoint a Speed‑Dependent Humming
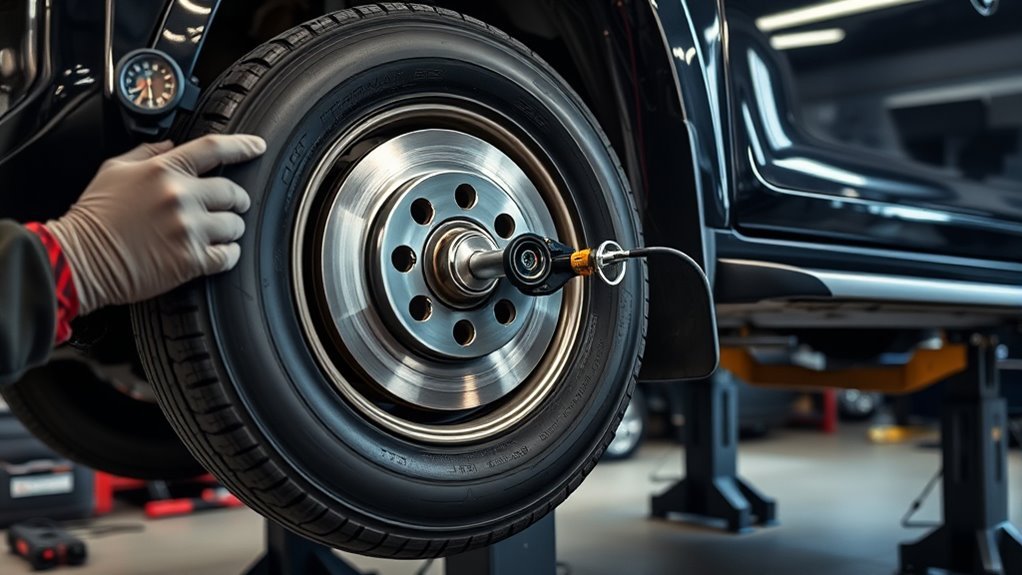
When you hear a humming that changes with speed—especially between 60 and 70 mph—start with quick, targeted checks to isolate the source. You’ll perform a focused humming diagnosis by noting sound frequency shifts as you accelerate through that band; driveline issues usually show clear pitch or intensity changes. Visually inspect U-joints and driveshaft alignment for obvious play or misalignment—correcting alignment often removes resonance. Jack the vehicle safely and spin each wheel; feeling resistance or hearing grinding points to bearing problems that can add to the hum. Check tire wear patterns for cupping or scalloping; uneven wear creates speed-dependent vibration and tonal changes that mimic driveline faults. Don’t skip lubrication: service driveshaft components and slip yokes every 5,000 miles to prevent noise from dry U-joints. These minute tests let you isolate wheel, tire, bearing, or driveline causes so you can act decisively and reclaim control of your 4Runner.
[Products Worth Considering]

This dial type tire tread depth gauge helps you quickly check tread wear on motorcycles, cars, trucks, and buses with easy-to-read 1/32-inch increments. Its colorful zone markings make it simple to assess tire condition for safer driving in different weather, while the durable zinc cast body and legible dial provide dependable everyday use.

This smart tire tread depth gauge provides quick, accurate readings from 0 to 1 inch in 1/32-inch increments, helping drivers assess tire wear with confidence. Its color-coded display makes it easy to see tread condition at a glance, while the pocket clip adds convenient portability for garages, glove boxes, and on-the-go inspections. Designed for use on trucks, motorcycles, automobiles, and other passenger vehicles, it is a simple tool for safer tire maintenance.

This universal wheel alignment tool helps you perform precise toe alignment at home with professional-grade accuracy and easy DIY operation. Its no-caliper-removal design simplifies setup, while the heavy-duty stainless steel construction and compact detachable form make it durable, stable, and easy to store. It is suitable for a wide range of vehicles, including cars, trucks, SUVs, ATVs, and UTVs.
Bearing, Hub, and Wheel Checks: How to Tell If a Bearing Is Bad
After you narrow the hum to the wheel area with the quick tests above, inspect the bearing, hub, and wheel assembly for the classic signs of failure. You’ll listen for a steady humming that rises with speed and sharper grinding or knocking when cornering — hallmark indicators across bearing types. Raise the vehicle safely, support it, and spin the wheel by hand: a bad bearing often feels gritty, resists smooth rotation, or shows axial/play movement when you rock the wheel. Check for roughness at the hub and any metal-to-metal contact. Don’t confuse tire noise with bearing noise; keep tests focused on the hub assembly and wheel bearings. Perform hub maintenance checks: torque lug nuts to spec, inspect seals, and verify there’s no grease leakage or contamination. If you detect play, persistent roughness, or speed-dependent hum, replace the bearing promptly. Neglect risks wheel lock-up or detachment — choose freedom from failure, not delay.
Tires and Balance: Spotting Tread Noise, Cupping, and Imbalance
Check your tires for cupping—irregular high-and-low scallops across the tread that show up as rhythmic humming at speed. You’ll also want to run a wheel balance check; unbalanced wheels cause vibration and accelerate cupping. If you see cupping or feel vibration, suspect balance, alignment, or worn suspension and address it promptly.
Tread Cupping Signs
Tread cupping shows up as alternating high and low spots across the tire tread and often produces a humming noise at speed, signaling wheel-balance, alignment, or suspension problems you should address. You’ll feel a waviness in the steering and hear rhythmic noise that changes with speed. Check tires for uneven peaks, especially on aggressive or off-road tread on paved road conditions. Maintain tire maintenance routines and inspect inflation; worn shocks or bushings worsen cupping and reduce grip.
| Symptom | Likely cause |
|---|---|
| Rhythmic humming | Uneven tread heights |
| Steering vibration | Suspension wear |
Act: inspect tread visually, rotate tires per schedule, correct alignment, and replace damaged components. Liberation comes from taking control of vehicle safety.
Wheel Balance Check
When you hear a steady humming or feel vibration at speed, inspect wheel balance immediately because unbalanced wheels quickly amplify uneven wear patterns like cupping and scalloping. Check tread visually for random high-to-low movement; that pattern signals imbalance or poor wheel alignment. You’ll want to verify tire pressure first — over- or under-inflation accelerates irregular wear and masks true causes. During tire rotation or replacement, insist on dynamic balancing with quality weights; static checks aren’t enough at highway speeds. Use higher-grade tires to resist scalloping and reduce noise. If balancing doesn’t cure the hum, confirm wheel alignment and suspension condition to stop recurrence. Balance is a liberation step: precise, measurable, and repeatable to restore smooth, quiet cruising.
Driveshaft, U‑Joints, and Pinion Angle: Tests and Common Symptoms
Check the driveshaft alignment at speed and on the lift to verify it’s tracking true and that the double‑cardan geometry isn’t inducing vibration. Inspect U‑joints for play or dry bearings and grease or replace any that show slop. Measure pinion angle with an inclinometer and adjust with adjustable control arms while watching for added vibration from non‑bushing links.
[Products Worth Considering]

This LUMITECO tire tread depth gauge set makes it easy to monitor tire wear and maintain safer driving performance. The color-coded scale provides quick, easy-to-read measurements, while the compact pocket-size design and included clip make it convenient to keep in your vehicle or toolbox. Suitable for cars, trucks, motorcycles, and more, it offers a simple reusable way to check tread depth whenever needed.

This 2-piece suspension tool set combines a compact strut spreader with a high-leverage lower control arm prying tool to help speed up safe suspension service. Designed for many FWD, import, and domestic vehicles, it supports strut, hub, ball joint, and control arm work while helping reduce the risk of damage to surrounding components. Heavy-duty steel construction makes it a dependable choice for mechanics and serious DIY suspension repair.

This color coded tire tread depth gauge helps you quickly check tire wear and monitor when replacement is needed. Calibrated in easy-to-read 32nds with clear red, yellow, and green ranges, it offers fast visual results for cars, trucks, motorcycles, and other passenger vehicles. The pocket clip makes it simple to keep on hand for routine maintenance and safety checks.
Driveshaft Alignment Checks
Because misaligned driveline geometry quickly amplifies vibration, you should inspect the 4Runner’s driveshaft, U‑joints, and pinion angle whenever you hear a humming noise around 60–70 mph. Use driveshaft inspections with dial indicators and alignment tools to verify runout, concentricity, and joint phasing. Check for worn splines, seal leakage, and corrosion that change dynamic balance. Measure pinion angle against transmission output at ride height; the double‑cardan design demands precise angles to prevent vibration. If you use adjustable control arms, adjust incrementally and monitor NVH—non‑bushing components can introduce new vibrations. Document measurements, correct small misalignments, and balance or replace components when tolerances exceed specs. You’ll reduce humming, reclaim control, and keep drivetrain forces predictable.
U‑Joint Play Inspection
With driveshaft runout and pinion angle verified, inspect U‑joint play next—worn joints are a common source of humming at 60–70 mph. You’ll lift and support the vehicle, secure the driveshaft, then grasp near each U‑joint and try to move the shaft laterally and rotationally. Any visible play, binding, roughness, or rust indicates failure. This is symptom identification: humming, vibration, and looseness point to worn bearings or caps. Practice disciplined u joint maintenance: clean, grease every 5,000 miles if serviceable, and document wear. Don’t ignore marginal movement—misalignment worsens play and accelerates damage. When you detect wear, plan immediate replacement or rebuild to restore driveline integrity and reclaim control of your 4Runner.
Pinion Angle Measurement
When diagnosing a humming at highway speeds you’ll want to measure the pinion angle first, since even small misalignment between the pinion and driveshaft can introduce vibration, accelerated U‑joint wear, and noise. You’ll use straightforward measurement techniques: mount an angle gauge on the pinion flange and driveshaft yoke, record both readings, and calculate the difference. Aim for near-parallelism or the manufacturer’s spec, adjusting shims or suspension links if needed. Inspect U‑joints while you’re there; worn or dry joints amplify problems and invalidate measurements. Remember lifted 4Runners and double cardan designs demand tighter tolerances — they free you to modify but require disciplined measurement techniques and regular greasing to prevent humming and premature driveline failure.
Transmission and Differential Signs to Rule Out (What to Listen For)
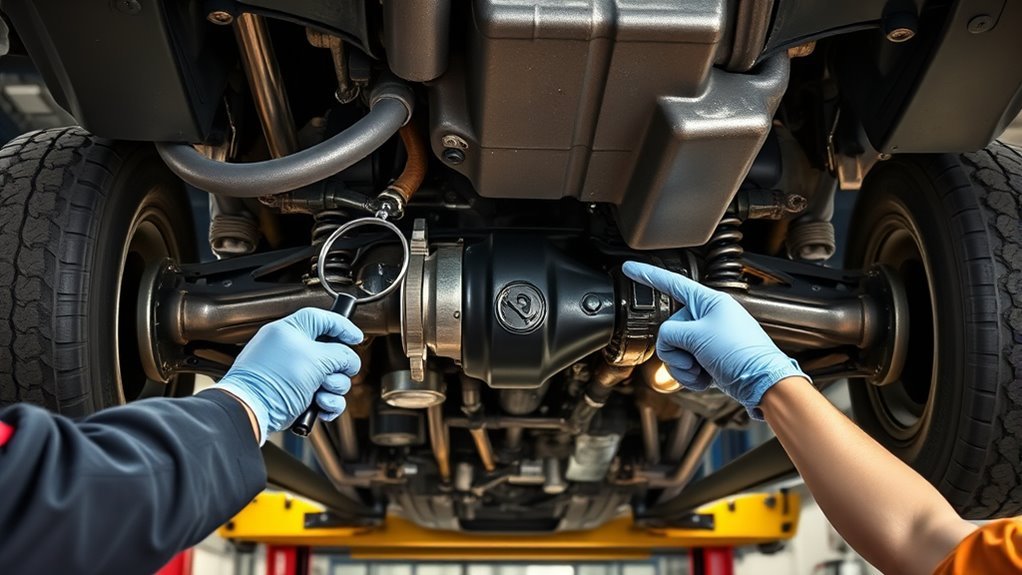
If you hear a low-pitched humming or grinding that grows louder with speed, suspect the transmission or differential and start isolating the source. You want clear signals so you can act and reclaim control.
- Listen for transmission noises that persist in neutral — if humming continues, suspect transmission or differential bearings, not wheel bearings.
- Note changes when cornering — differential issues often amplify or shift during turns; that’s a key differentiation.
- Feel for vibrations in the cabin or steering wheel — consistent vibration suggests misalignment or worn gears in the driveline or differential.
- Observe noise behavior with speed changes — if it drops when decelerating, check fluid levels and differential condition; rising tone with speed implies mechanical wear.
Don’t let ambiguity chain you; use these targeted cues to rule out drivetrain components. You’re diagnosing deliberately, separating transmission noises from wheel or tire causes so you can pursue the right solution.
DIY Fixes, Estimated Costs, and When to Take It to a Mechanic
Start by checking and lubricating serviceable driveline components—grease the U-joints and slip yoke every 5,000 miles and inspect for play or rust—because poor lubrication is a common, fixable cause of humming. You can replace worn U-joints ($150–$300) and adjust pinion angle with adjustable control arms to cure geometry-induced hum, especially after suspension upgrades like OME 851. If humming grows with speed or you hear grinding, inspect wheel bearings; replacement typically runs $300–$500.
If DIY steps (lubricate, tighten mounts, check bearings, realign pinion) stop the noise, you regain freedom and control. If noise persists, vibrates, or appears under load, take it to a mechanic for professional diagnosis and torque-verified repairs. Prioritize safety: bad bearings or misaligned pinion can fail catastrophically. You’re aiming for decisive noise reduction and vehicle liberation; know when to pull the toolset off and hand the keys to a pro.
| Action | Cost | Outcome |
|---|---|---|
| Grease U-joints | Low | Reduced hum |
| Replace U-joint | $150–$300 | Restored duty |
| Wheel bearing | $300–$500 | Reliable peace |
Frequently Asked Questions
Why Is My Toyota Making a Humming Sound?
Your Toyota’s humming likely comes from wheel bearings or differential issues; you’ll want to inspect bearings, check differential fluid and pinion angle, and replace worn components so you can reclaim control and freedom on the road.
Does a Bad Transmission Make a Humming Noise?
Yes — you’ll hear a low mechanical hum from transmission issues, like worn gears or a failing torque converter. Picture metal whispering under load; you’ll want prompt noise diagnosis to avoid seizure and reclaim driving freedom.
Conclusion
You’ve run quick tests and ruled out tires, hubs, driveline, and gears, yet the hum still varies with speed — simple checks catch most faults, but subtle failures hide in plain sight. Don’t confuse confidence with certainty: a balanced wheel makes noise vanish; a worn bearing hums steadily. Act fast on clear symptoms, attempt the cheap DIY fixes, and take it to a pro when vibration persists or safety feels compromised.
[Products Worth Considering]

This wheel alignment tool makes it easy to check and adjust toe-in and toe-out at home for better handling, stability, and more even tire wear. Designed for one-person use, it includes tape-measure slots for simple setup and accurate measurements without extra help. Its stainless steel construction and broad vehicle compatibility make it a practical addition to any DIY garage.

This 50-pack of tire tread depth gauges offers a simple way to check tire wear quickly and accurately. Color-coded reading zones make it easy to see tread condition at a glance, while the compact design and pocket clip support convenient everyday carry. Built for repeated use, these gauges help drivers monitor tire safety with confidence.

This smart color coded tire tread depth gauge makes it easy to check tread wear at a glance with clear red, yellow, and green ranges. Calibrated from 0 to 1 inch in 1/32 inch increments, it helps you quickly assess tire condition for safer driving and timely replacements. The pocket clip design makes it convenient to carry and use on trucks, motorcycles, cars, and other passenger vehicles.