You can clean your Land Cruiser leather seats safely by first confirming the material and test-spotting a hidden area. Vacuum with a soft brush, then apply a leather-specific cleaner to a microfiber cloth and work in small circular sections, wiping residue with a damp cloth and air-drying out of sunlight. Condition every 3–6 months using a UV-protectant product, treat stains gently from edges inward, and use repair kits for hairline cracks; follow the full steps below for complete guidance.
Prep: Check Seat Material, Tools, and Test-Spot
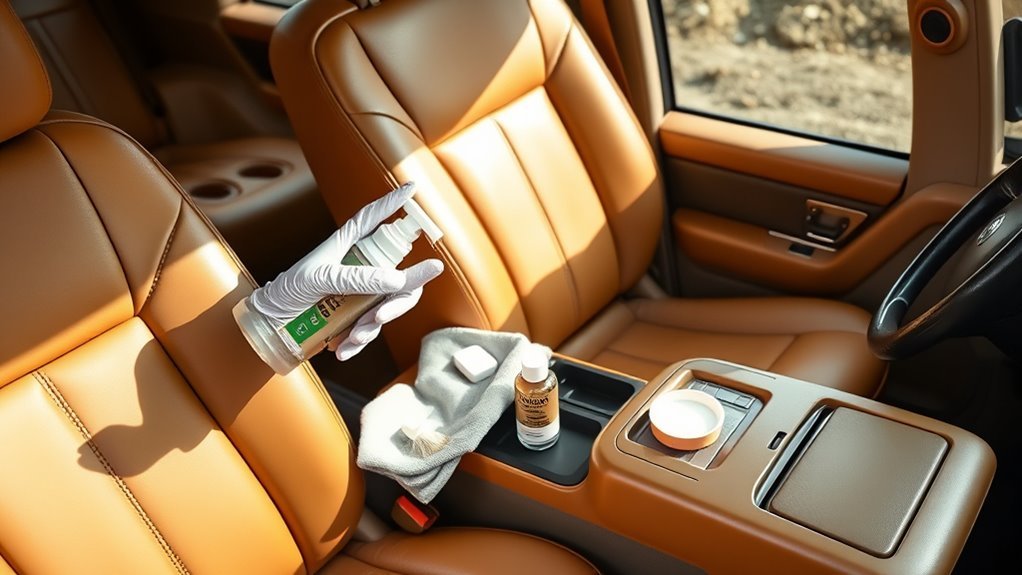
Before you start cleaning, confirm exactly what you’re working with—genuine leather, leather-trimmed, or a synthetic blend—because material type dictates which products and techniques are safe to use. You’ll begin seat care by inspecting seams, tags, and wear patterns to classify material types; don’t guess. Gather microfiber cloths, a vacuum with soft attachments, and cleaners and conditioners labeled for the specific leather type or synthetic. Ask the vehicle’s previous owner or service records about past treatments so you won’t mix incompatible products. Select a small, hidden area—under a seat bolster or inside a crease—and apply a tiny amount of cleaner; wait and observe for color change, stiffness, or residue. Avoid anything with bleach or ammonia; those break down dyes and finishes. If the test spot reacts, stop and source a product matched to the material. This preparation protects your investment and gives you confident, liberating control over effective, safe cleaning.
Clean Land Cruiser Leather Seats Safely (Step‑By‑Step)
Now that you’ve identified the leather type and tested a hidden spot, start by vacuuming the seats with a soft-brush attachment to lift grit from seams and creases without scratching the surface. Use deliberate vacuum techniques to remove loose dirt before any liquid touches the leather—this prevents abrasion and preserves grain. Apply a leather-specific cleaner to a microfiber cloth, never directly onto the seat, and work in small sections. Scrub gently in circular motions, focusing on high-contact areas and stitching. Keep a damp microfiber cloth ready to wipe away residue; wring it thoroughly so you don’t soak the leather. Inspect each section as you go, treating fresh stains immediately to stop them from setting. When the surface feels clean and slightly damp, allow it to air dry away from direct sun. Finish by applying a quality conditioner to restore suppleness—let it absorb for 4–6 hours. These steps give you confident, controlled leather care that frees you from worry.
Choose Cleaners & Conditioners for Land Cruiser Leather
When you pick cleaners and conditioners for your Land Cruiser’s leather, stick with automotive-specific products like Lexol or Leatherique and always spot-test first to verify compatibility with your seat finish. You want reliable leather care that cleans, nourishes, and protects without stripping dyes or finishes. Use a microfiber cloth for application to avoid scratches and guarantee even coverage. Condition every 4–6 months with a formula that includes UV protectants to prevent fading and cracking in sunny climates. Avoid household cleaners with bleach or ammonia—they’ll degrade the leather.
- Choose automotive-specific cleaners and conditioners (Lexol, Leatherique) and spot-test first.
- Apply with a microfiber cloth for gentle, uniform work and minimal abrasion.
- Pick conditioners with UV protectants and schedule treatment every 4–6 months.
Your product selection should free you from worry: precise choices and regular maintenance keep seats durable, comfortable, and visually liberating without risking damage.
Treat Stains, Yellowing, Cracks, and Sticky Residue

If a spill or sticky mess hits your Land Cruiser’s leather, blot it immediately with a microfiber cloth and treat the spot with a leather-specific cleaner—never reach for bleach, ammonia, or household solvents that strip dyes and finishes. For fresh stains, work from the edges toward the center, use short gentle strokes, then dry with a clean cloth to support stain prevention and leather preservation. Yellowing responds to a mild leather cleaner followed by a high-quality conditioner; apply sparingly, let it absorb, then buff to even tone. For hairline cracks, choose a color-matched leather repair kit, clean the area first, apply filler or adhesive per kit instructions, sand lightly if required, and finish with color compound for seamless repair. To remove sticky residue, dampen a microfiber with a mild all-purpose cleaner, wipe gently, then dry thoroughly. You’ll free your seats from blemishes while maintaining suppleness—practical steps that safeguard appearance and give you control over long-term condition.
Maintain Leather: Schedule, Protection Tips, and When to Call a Pro
Because leather dries out and shows wear faster than fabric, you should set a regular maintenance schedule—clean and condition every 3–6 months—to keep your Land Cruiser seats supple and UV-resistant. Stick to high-quality cleaners and conditioners (Lexol, Leatherique) and always spot-test on an inconspicuous area before full application. Leather longevity depends on routine care and the climate impact where you drive; hot sun and cold, dry air accelerate deterioration.
Clean and condition your leather Land Cruiser seats every 3–6 months—use quality products and spot-test first.
- Clean: use a pH-balanced leather cleaner, soft brush, and microfibre towel; remove soil before conditioning.
- Condition & Protect: apply a reputable conditioner, then a protectant serum to repel stains and spills—vital if you carry kids or pets.
- Inspect & Act: watch for yellowing, deep cracks, or flaking; consult a professional detailer for restoration when damage is beyond surface repair.
You’re preserving freedom on the road—follow this schedule, respect product compatibility, and call a pro when repair exceeds DIY limits.
Frequently Asked Questions
How to Clean Land Rover Leather Seats?
You clean Land Rover leather seats by vacuuming, using automotive leather cleaner and a microfiber in circular motions, scrubbing stubborn areas gently, then applying conditioner for leather care and interior maintenance to restore flexibility and protection.
How Do You Clean Leather Without Damaging It?
Treat leather gently: you’ll use leather maintenance tips and safe cleaning methods—test cleaners, spray microfiber, gently scrub with a soft brush in circles, avoid harsh chemicals, then condition to restore moisture and prevent cracking.
What Do Professionals Use to Clean Leather Car Seats?
Professionals use pH-balanced leather care cleaners, soft-bristle brushes and microfiber towels, plus quality conditioners; you’ll follow proven cleaning techniques, precise steps, and regular maintenance to free your seats from dirt while preserving and restoring their resilience.
Does Toyota Use Real Leather on Their Seats?
Yes — Toyota often uses real leather on some seat areas, but it’s usually leather-trimmed mixes. Picture a patchwork cloak: leather quality varies, yet seat durability remains prioritized, so check specs to know exact material ratios.
Conclusion
You’ve prepped, tested, and followed careful steps to clean and condition your Land Cruiser’s leather without harm. Like a ship’s captain tending sails before a long voyage, you’ve attended stitches, spots, and seals so leather lasts. Keep a steady schedule, use recommended products, and handle stains promptly. With routine care and timely professional help when needed, your seats will stay supple, protected, and ready for every road ahead.