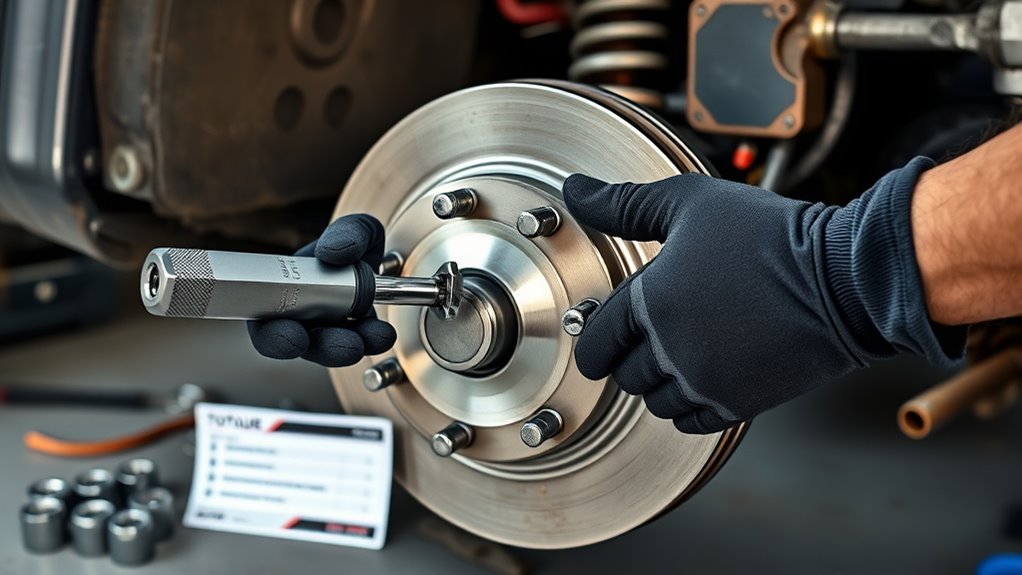
Last updated: July 31, 2026 | Technically reviewed by [VERIFY: Add author byline with automotive technical credentials]
Toyota specifies 97 ft·lb (131 N·m) for the 2024–2026 U.S. Land Cruiser (LC250), Land Cruiser 300 Series, Land Cruiser 200 Series, and current Japanese Land Cruiser 70 Series (GDJ76W) factory-wheel applications. Older Land Cruiser generations, such as the 80 Series, utilize smaller studs and specify 76–80 ft·lb (103–108 N·m). Do not use 85 ft·lb as a universal Land Cruiser specification.
- 2024–2026 Land Cruiser (250 Series / Prado): 97 ft·lb (131 N·m) — M14 × 1.5 studs
- Land Cruiser 300 Series (2022–Present): 97 ft·lb (131 N·m) — M14 × 1.5 studs
- Land Cruiser 200 Series (2008–2021): 97 ft·lb (131 N·m) — M14 × 1.5 studs
- Land Cruiser 100 Series (1998–2007): 97 ft·lb (131 N·m) — M14 × 1.5 studs
- Land Cruiser 70 Series (Current GDJ76W): 97 ft·lb (131 N·m) — M14 × 1.5 studs
- Land Cruiser 80 Series (1990–1997): 76–80 ft·lb (103–108 N·m) — M12 × 1.5 studs
Confirm the exact model year, market, wheel seat, and hardware before tightening. Always use a calibrated torque wrench on clean, dry threads, tighten in a cross or star pattern in two stages, and avoid using anti-seize or grease unless explicitly instructed by an aftermarket wheel manufacturer.
Toyota Land Cruiser Lug Nut Torque: Confirmed Values and Master Specs
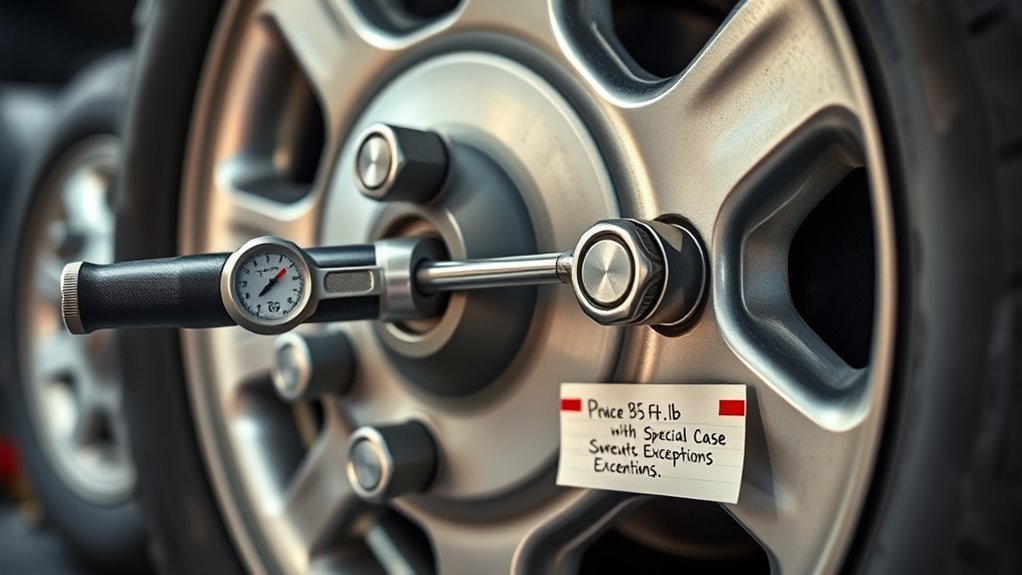
The table below lists factory-wheel torque specifications verified against official Toyota repair manuals and owner documentation. Thread dimensions determine the engineered clamping force; never apply M14 torque specifications to older M12 wheel studs.
| Land Cruiser Model & Generation | Stud Thread Size | Verified Torque Spec | Hardware & Factory Notes |
|---|---|---|---|
| 2024–2026 U.S. Land Cruiser (250 Series) | M14 × 1.5 | 97 ft·lb (131 N·m) | Factory 18-inch and 20-inch alloy wheels; flat-seat lug nuts with captive washer. |
| Land Cruiser 300 Series (Global) | M14 × 1.5 | 97 ft·lb (131 N·m) | Factory alloy wheels; 6-lug configuration (6 × 139.7 mm PCD). |
| Land Cruiser 200 Series (2008–2021) | M14 × 1.5 | 97 ft·lb (131 N·m) | Factory alloy and steel wheels; 5-lug configuration (5 × 150 mm PCD). |
| Land Cruiser 100 Series (1998–2007) | M14 × 1.5 | 97 ft·lb (131 N·m) | 5-lug configuration (5 × 150 mm PCD). Check steel vs alloy factory manual notes. |
| Land Cruiser 70 Series (GDJ76W Japan) | M14 × 1.5 | 97 ft·lb (131 N·m) | Current Japanese owner’s manual value for factory alloy applications. |
| Land Cruiser 79 / 76 / 78 Series (Global / Older) | M14 × 1.5 or M12 × 1.5 | Check Manual (76–97 ft·lb) | Varies by production era, market, split-rim steel wheels, and hub configurations. |
| Land Cruiser 80 Series (1990–1997) | M12 × 1.5 | 76–80 ft·lb (103–108 N·m) | Smaller M12 studs; do not exceed 80 ft·lb on factory hardware. |
| Land Cruiser FJ (Japan Market) | M12 × 1.5 | 77 ft·lb (105 N·m) | Toyota Japan official service data for Land Cruiser-branded FJ application. |
| Aftermarket Wheels or Wheel Spacers | Varies | Manufacturer Spec | Follow wheel/spacer manufacturer torque instructions; verify seat profile. |
How Do You Find the Correct Torque for Your Land Cruiser?
- Identify model series and stud size: Use the door-jamb VIN label and owner’s manual to confirm generation. Refer to our Land Cruiser model-code guide to differentiate major chassis platforms.
- Inspect the lug nut seating style: Factory Toyota alloy wheels use a flat Mag-style seat with a captive flat washer. Aftermarket wheels almost exclusively use a 60-degree conical (tapered) seat. Never mix these configurations.
- Verify fastener thread condition: Clean threads with a wire brush. Do not apply anti-seize, motor oil, or grease.
- Consult manufacturer documentation for aftermarket equipment: Beadlock wheels, forged off-road wheels, and hub-centric wheel spacers carry dedicated torque ratings that supersede factory manual numbers.
Critical Hardware Rule: Never use conical (acorn) lug nuts on factory Toyota wheels designed for flat-washer Mag-seat nuts, and never use factory flat-washer nuts on aftermarket conical-seat wheels. Incorrect seating leads to fastener loosening and catastrophic wheel detachment.
Torque Tools: Pick and Set Your Wrench Correctly
Use a calibrated 1/2-inch drive torque wrench whose working scale places your target value (e.g., 97 ft·lb) in its middle 20% to 80% range. Quality digital torque wrenches and micrometer click-type wrenches are both suitable when properly calibrated.
- Calibrated 1/2-inch drive torque wrench: Stated accuracy of ±3% or ±4%.
- Deep 6-point thin-wall socket: Typically 21 mm for factory Toyota lug nuts. Thin-wall construction prevents the socket from rubbing against deep off-road wheel lug wells, which causes false torque readings.
- 1/2-inch breaker bar: Dedicated tool for loosening nuts. Never use a torque wrench to break loose stuck fasteners.
- Wire brush & clean rag: For clearing corrosion, dirt, and trail grime from stud threads and hub mounting faces.
Store click-type torque wrenches dialed down to their lowest marked setting to maintain spring calibration. Have the tool re-calibrated annually or after any accidental drop onto a hard shop floor.
[Products Worth Considering]

This wheel lock key set is designed to help remove and replace compatible Toyota and Lexus wheel locks with confidence. It includes four wheel lock nuts and one key, offering a practical replacement solution for many popular models while supporting secure wheel protection and reliable fitment. Built for durability and corrosion resistance, it is a useful choice when matching OE reference numbers and vehicle compatibility is important.

This wheel lock lug nut set adds an extra layer of theft protection for compatible Toyota and Lexus vehicles by securing wheels with a unique key pattern that resists common removal tools. Built to OEM-standard fitment with corrosion-resistant, triple-chrome finished construction, it is designed for direct replacement and long-lasting performance. The set includes locking nuts and a matching key for easy installation on compatible vehicles with the correct thread and cone seat specifications.
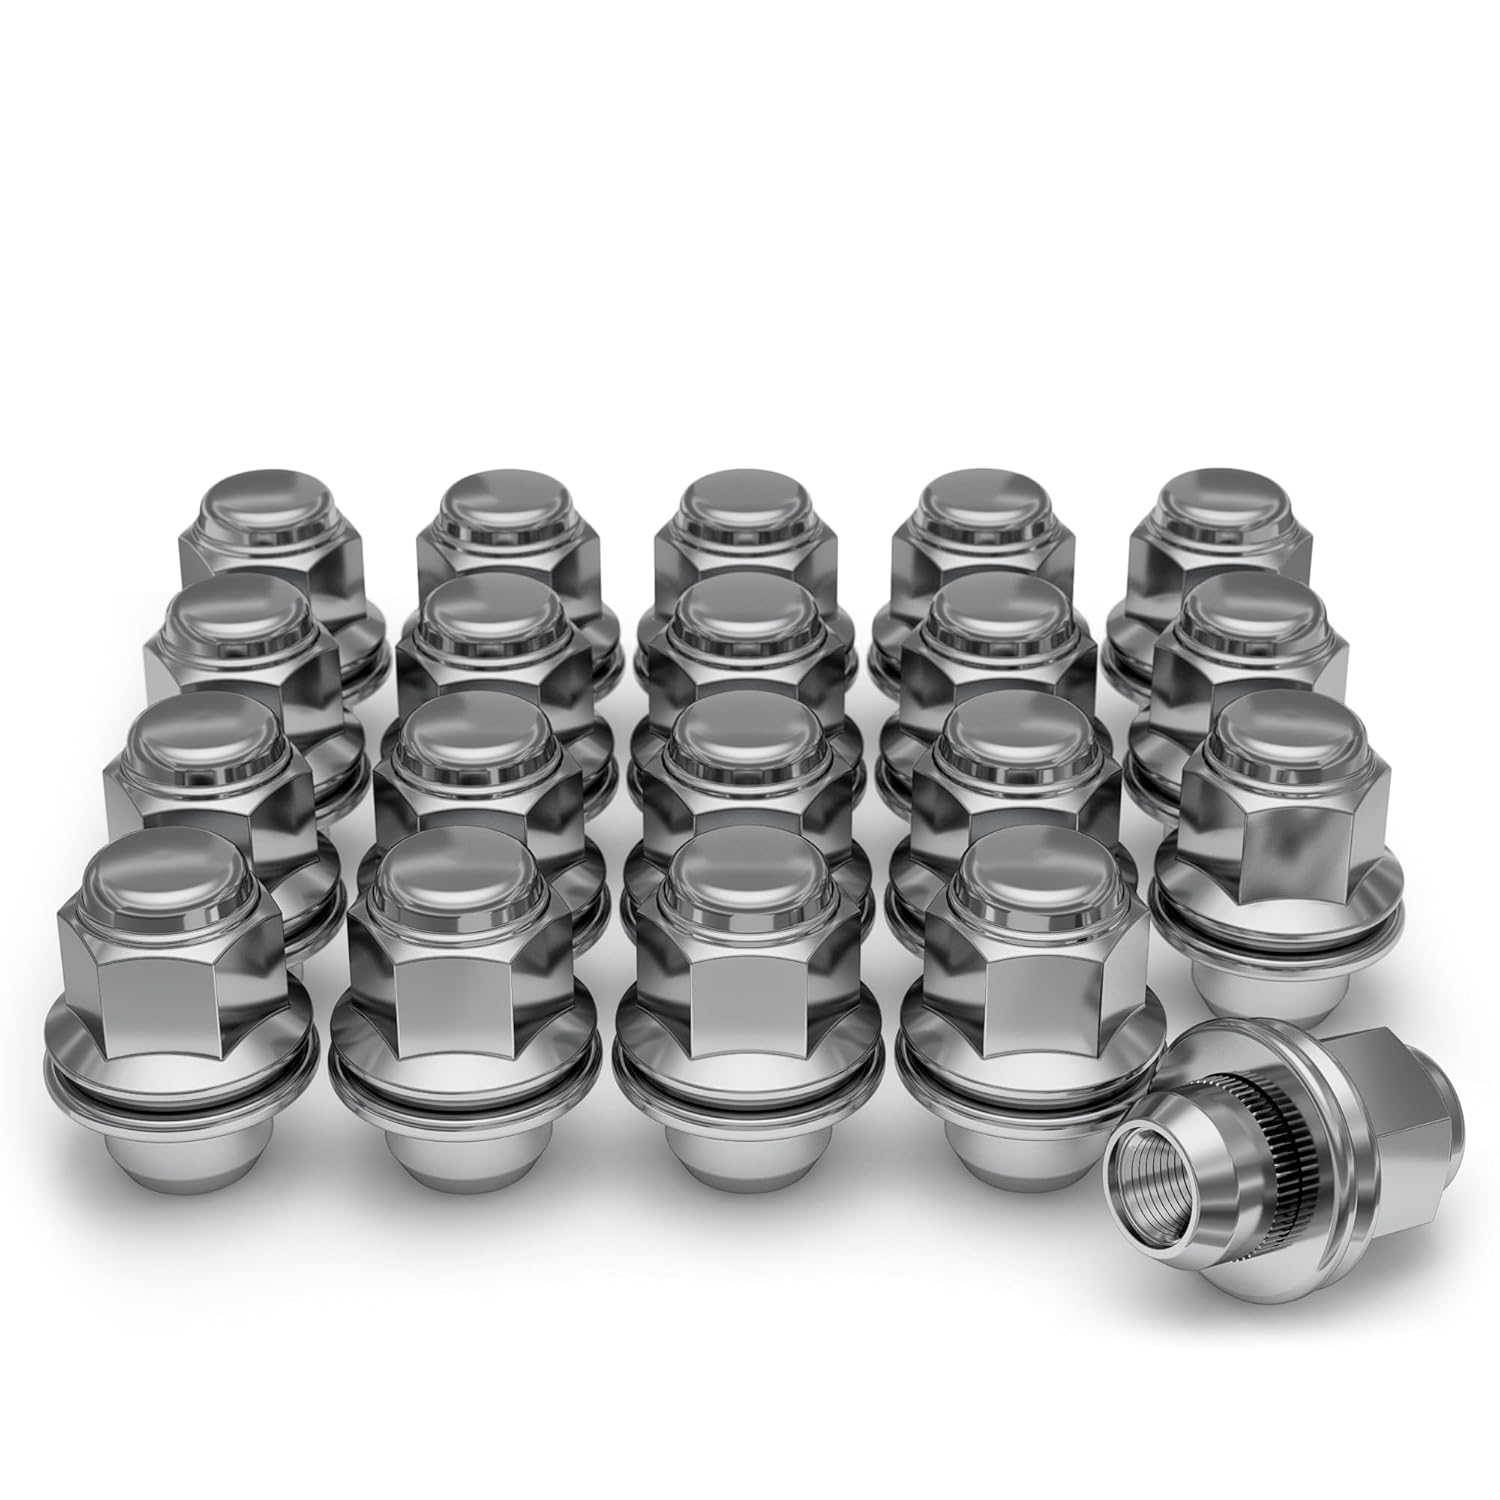
These White Knight mag-style lug nuts are designed for select Toyota, Lexus, Kia, and Genesis vehicles, delivering a secure fit and a clean factory-inspired look. Made from heat-treated cold forged carbon steel with a chrome finish, they offer durable strength, reliable corrosion resistance, and easy installation with a traditional hex-body, flat-seat design. Use them to replace worn or damaged lug nuts while maintaining proper wheel fitment and dependable performance.
How to Torque Land Cruiser Lug Nuts Step by Step
Proper clamp load requires clean components, dry threads, and a progressive two-stage tightening sequence. Toyota explicitly specifies dry threads; applying anti-seize or grease decreases thread friction, causing severe over-stretching and potential stud breakage at the factory torque setting.
- Secure the vehicle: Park on level ground, engage the parking brake, shift transmission into Park (or 1st gear for manual transmissions), and chock the opposing wheels. See our guide to using the factory jack and changing a Land Cruiser tire for safe jacking points.
- Clean all mating surfaces: Remove loose rust flakes and dirt from the wheel hub face, brake rotor hat, stud threads, and wheel mounting pad. The wheel must rest completely flat against the hub.
- Verify hardware compatibility: Ensure thread pitch (M14 × 1.5 or M12 × 1.5) and seat type (Mag seat with washer vs. 60° cone) precisely match the wheel.
- Hand-thread all lug nuts: Thread each nut by hand at least 3 to 4 full revolutions. If a nut binds immediately, stop and inspect for crossed or damaged threads.
- Stage 1 tightening (Initial snug pass): With the wheel elevated or lightly resting on the ground, use a hand wrench to snug all nuts in a criss-cross (star) pattern to approximately 50 ft·lb (68 N·m). This seats the wheel hub-centrically without distortion.
- Lower tire to ground contact: Lower the jack until the tire makes sufficient contact with the ground to prevent rotation, but keep partial weight supported by the jack.
- Stage 2 tightening (Final torque): Set your calibrated torque wrench to the exact specification (e.g., 97 ft·lb / 131 N·m for 250/300/200/100 Series). Pull the wrench smoothly until you feel and hear a single firm click.
- Execute the star pattern: Follow a diagonal cross pattern across the 5-lug or 6-lug pattern to ensure uniform clamp load across the brake rotor hat.
- Perform a single verification circle: Go around the lug nuts once more in sequence at the final setting to confirm no nut moved. Do not click the wrench repeatedly on an already torqued nut.
- Fully lower vehicle & reinstall center caps: Lower the jack completely, stow all tools, and reinstall dust or center caps.
- Perform road re-check: Re-torque all lug nuts after 50 to 100 miles (80–160 km) of initial driving. Wheel settling, thermal cycling, and paint compression on new wheels can reduce clamping tension.
[Products Worth Considering]

FITMENT: Only fit for 17mm hex 6 spline lug nuts, Typically 12x1.25, 12x1.5, 1/2-20'' thread pitch, Not work on hex or spike lug nuts

Fitment: 6 Spline Lug Nut Socket Key Tool only work for 6 spline aftermarket Lug Nuts M12x1.5, M12x1.25, 1/2"-20, M10x1.25, 3/8"-20 thread pitch
How to Inspect Wheels, Studs, and Lug Nuts for Damage
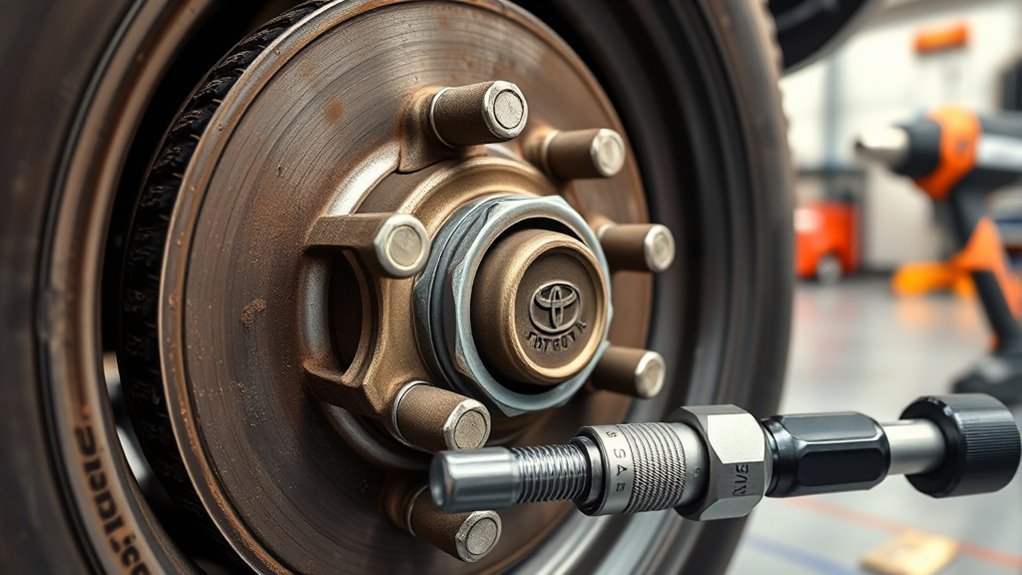
Inspect the complete mounting interface whenever a tire shop has used an uncalibrated pneumatic impact gun, when fasteners were difficult to remove, or after severe off-road driving.
- Stud threads & neck: Inspect for stretched or narrowed thread pitch (necking), sheared threads, rust pitting, or studs that wobble in the hub flange.
- Lug nuts & captive washers: Check for stripped internal threads, rounded hex corners, swollen decorative chrome caps, or missing/deformed captive flat washers.
- Wheel mounting holes: Examine alloy lug holes for oval elongation, cracking, burred edges, or galling caused by incorrect tapered nuts.
- Hub & rotor mating surface: Ensure no corrosion scale, trapped grit, or excessive paint buildup prevents 100% flush contact between the rotor hat and wheel backpad.
Replace any damaged wheel stud immediately. Never drive a Land Cruiser with missing, cross-threaded, or compromised wheel fasteners.
[Products Worth Considering]

14mmx1.5 OE Factory Mag Seat Lug Nuts Replacement for 1998-2007 LX470, 2008-2021 LX570, 1998-2021 LAND CRUISER,2008-2021 SEQUOIA,2007-2021 TUNDRA Stock Wheels .To ensure the accuracy of our service, please carefully check the specific model of your vehicle. If you have any questions, feel free to contact us at any time.

One Piece Design: Our wheel lug nuts are a great choice to replace the original two-piece design nuts. They feature a sturdy one-piece construction and are heat-treated, which effectively prevents the expansion and cracking issues commonly found in original nuts.

For Select Toyota Land Cruiser / Sequoia / Tundra, Lexus LX570 / LX470
At the Tire Shop: What to Request and Document
High-volume tire shops frequently use high-torque pneumatic impact guns or generic 80–100 ft·lb torque sticks that lack precise calibration. Communicate specific Land Cruiser requirements prior to service.
| Shop Request Item | Why It Matters | What to Record on Work Order |
|---|---|---|
| Specify exact generation & torque | Prevents techs from applying generic 85 ft·lb or excessive 150 ft·lb truck values | Record exact spec (e.g., 97 ft·lb / 131 N·m) |
| Dry thread installation | Prevents unapproved grease/anti-seize that over-stretches studs | “Assemble dry — no anti-seize applied” |
| Calibrated hand torque wrench | Impact guns and torque sticks can deviate by over 30 ft·lb | “Final torque verified by hand torque wrench” |
| Lug nut seat style check | Prevents destructive mixing of OEM Mag flat washers and aftermarket cones | “Fastener seat profile matched to wheel” |
| 50–100 mile re-torque policy | Protects warranty and verifies settlement on new tires/wheels | “Customer return for 50-mile torque check” |
Frequently Asked Questions
What Is the Lug Nut Torque on a Toyota Land Cruiser?
Toyota specifies 97 ft·lb (131 N·m) for the 2024–2026 U.S. Land Cruiser (250 Series), Land Cruiser 300 Series, 200 Series, 100 Series, and current Japanese Land Cruiser 70 Series (GDJ76W) with factory wheels. Older 80 Series models with M12 studs require 76–80 ft·lb (103–108 N·m).
Is 85 Ft-Lb Correct for a Toyota Land Cruiser?
No, 85 ft·lb is not a universal Land Cruiser specification. Modern Land Cruisers using M14 × 1.5 studs require 97 ft·lb (131 N·m). Torquing an M14 Land Cruiser wheel to only 85 ft·lb results in insufficient clamping force, creating a risk of wheel fastener loosening under off-road articulation or heavy towing.
What Is the Wheel-Nut Torque for a 79 Series Toyota LandCruiser?
For current Land Cruiser 70 Series models with M14 studs (such as the GDJ76W), Toyota specifies 131 N·m (97 ft·lb). However, 79 Series single-cab and dual-cab workhorses across Australia, Africa, and the Middle East vary depending on whether they are fitted with factory steel split rims, alloy wheels, or aftermarket heavy-duty hubs. Always check the exact under-bonnet or owner’s manual placard for your specific build year.
Should You Lubricate Land Cruiser Wheel Studs?
No. Toyota engineering specifies all wheel torque values as dry torque. Applying anti-seize, grease, or oil reduces thread friction, which increases bolt tension by 25% to 45% at the same torque reading. This over-stretches studs, distorts wheel seats, and can cause wheel studs to shear under load.
What Size Socket Fits Land Cruiser Lug Nuts?
Most factory Toyota Land Cruiser lug nuts require a 21 mm 6-point socket (some 100/200 series aftermarket replacements use 22 mm). Always use a deep, thin-wall 6-point metric socket. Avoid 12-point sockets or loose SAE equivalents like 13/16-inch that can round off fastener hex corners.
When Should Land Cruiser Lug Nut Torque Be Rechecked?
Perform a re-torque check after 50 to 100 miles (80 to 160 km) whenever wheels have been removed, rotated, or replaced. This secondary check ensures that wheel seating settling, paint compaction, or thermal expansion has not compromised fastener clamping tension.
Conclusion
For modern Toyota Land Cruiser applications (250, 300, 200, 100, and current 70 Series) with factory hardware, use 97 ft·lb (131 N·m). Always verify whether your vehicle uses M14 × 1.5 or older M12 × 1.5 studs, ensure threads are clean and dry, use a two-stage star tightening pattern, and re-torque after 50 to 100 miles.
Sources
- Toyota USA: 2026 Land Cruiser Maintenance Data & Specifications
- Toyota Japan: Land Cruiser 250 Service & Wheel Maintenance Data
- Toyota Japan: Land Cruiser 300 Owner’s Manual Maintenance Specifications
- Toyota Japan: Land Cruiser 70 Series Owner’s Manual (GDJ76W)
- Toyota Japan: Land Cruiser FJ Service & Wheel Installation Data
- Tire Rack: Wheel Fastener Installation & Proper Torque Procedures