

Last updated: September 16, 2026
Source check: This procedure and the stock specifications below were verified against Toyota’s 1994 Land Cruiser owner’s manual (OM60620U), including the factory flat-tire procedure and tire-specification pages.
To lower the under-body spare on a 1994 Toyota Land Cruiser FZJ80, insert the end of the factory jack-handle extension into the spare-tire lowering screw and turn the handle counterclockwise. Keep turning until the tire rests fully on the ground, then remove the holding bracket through the wheel opening. For a wheel change, chock the wheel diagonally opposite the flat, loosen each wheel nut about one-half turn before lifting, place the jack under the Toyota-specified axle point, install the spare, lower the vehicle, and tighten the nuts evenly in a crisscross pattern. The U.S.-market 1994 manual lists 32 psi cold for the stock P275/70R16 tires during normal driving and 108 ft-lb (147 N·m) for wheel-nut torque. Verify the correct values if the wheels, lug nuts, tires, spacers, or other wheel hardware have been changed.
Safety warning: Do not attempt a roadside tire change beside fast traffic, on a slope, or on soft or unstable ground. Move to a safer place or call roadside assistance. Keep everyone out of the vehicle while it is raised, do not run the engine, and never place any part of your body under a vehicle supported by the factory jack.
| Step | 1994 FZJ80 action |
|---|---|
| 1 | Park on firm, level ground; select Park; set the parking brake; switch on the hazards |
| 2 | Chock the wheel diagonally opposite the flat tire |
| 3 | Lower the spare by turning the lowering screw counterclockwise until the tire is completely on the ground |
| 4 | If fitted, remove the wheel ornament; loosen each wheel nut about one-half turn before lifting |
| 5 | Front: jack under the front axle housing between the suspension arm and wheel; rear: under the rear axle housing near the wheel |
| 6 | Install the spare, hand-start the nuts, lower the vehicle, tighten evenly, and verify 108 ft-lb with a torque wrench for the stock setup |
Quick Prep Checklist: Spare, Tools, and Safe Parking
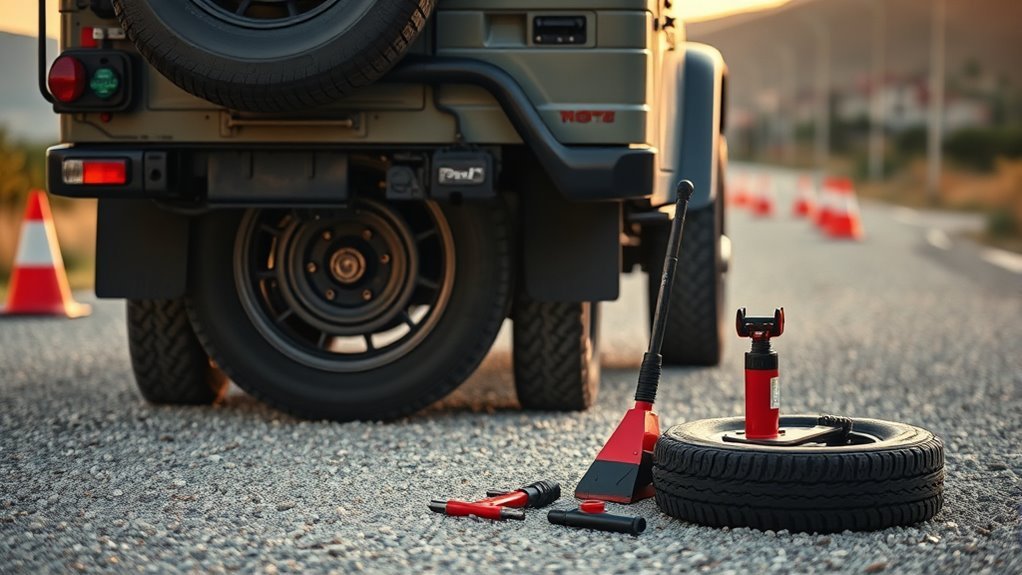
Before touching the jack, confirm that the Land Cruiser is completely outside the traffic lane on a firm, level surface. Shift the transmission to Park, turn off the engine, set the parking brake, switch on the hazard lights, and have passengers wait away from traffic. Place a wheel chock at the wheel diagonally opposite the flat. Toyota’s 1994 instructions specify blocking from the front for a front wheel and from the rear for a rear wheel.
- Check that the spare is inflated and has no cuts, bulges, exposed cords, severe cracking, or other visible damage.
- For the stock U.S.-market P275/70R16 setup, Toyota lists 32 psi cold for normal driving. Use the tire placard, owner’s manual, or verified load guidance if your tire size or construction has changed.
- Confirm that the bottle jack, jack-handle pieces, wheel-nut wrench, wheel-ornament remover, wheel-lock key if fitted, tire gauge, and wheel chock are present.
- Test-fit the wheel-nut wrench and the spare-lowering extension before a trip. A missing or mismatched extension can make the under-body spare inaccessible.
- Stop and call for help if the surface is unstable, the jack leans, a wheel nut is seized, or the spare hoist binds under heavy force.
Check all tires, including the spare, when they are cold. For more detail on choosing the correct pressure source, see the tire pressure sticker guide. NHTSA TireWise recommends checking the spare at least monthly and using the vehicle manufacturer’s recommended cold pressure rather than the tire sidewall maximum.
[Products Worth Considering]

The MaxxHaul Solid Rubber Wheel Chock 2-Pack provides dependable vehicle stabilization for cars, trucks, trailers, and RVs in garages, driveways, job sites, and campgrounds. Its solid rubber construction, non-slip traction surface, and built-in handle make placement easy while delivering long-lasting grip and all-weather durability for safer parking and storage.

This tire repair screw kit offers a fast, simple way to seal punctures without removing the tire or visiting a shop. Made with durable carbon steel and rubber, the pre-sealed plugs help create a secure repair for tubeless tires in emergency situations. With two convenient sizes and portable individual packaging, it is a handy solution for cars, motorcycles, bicycles, trucks, and other compatible vehicles.
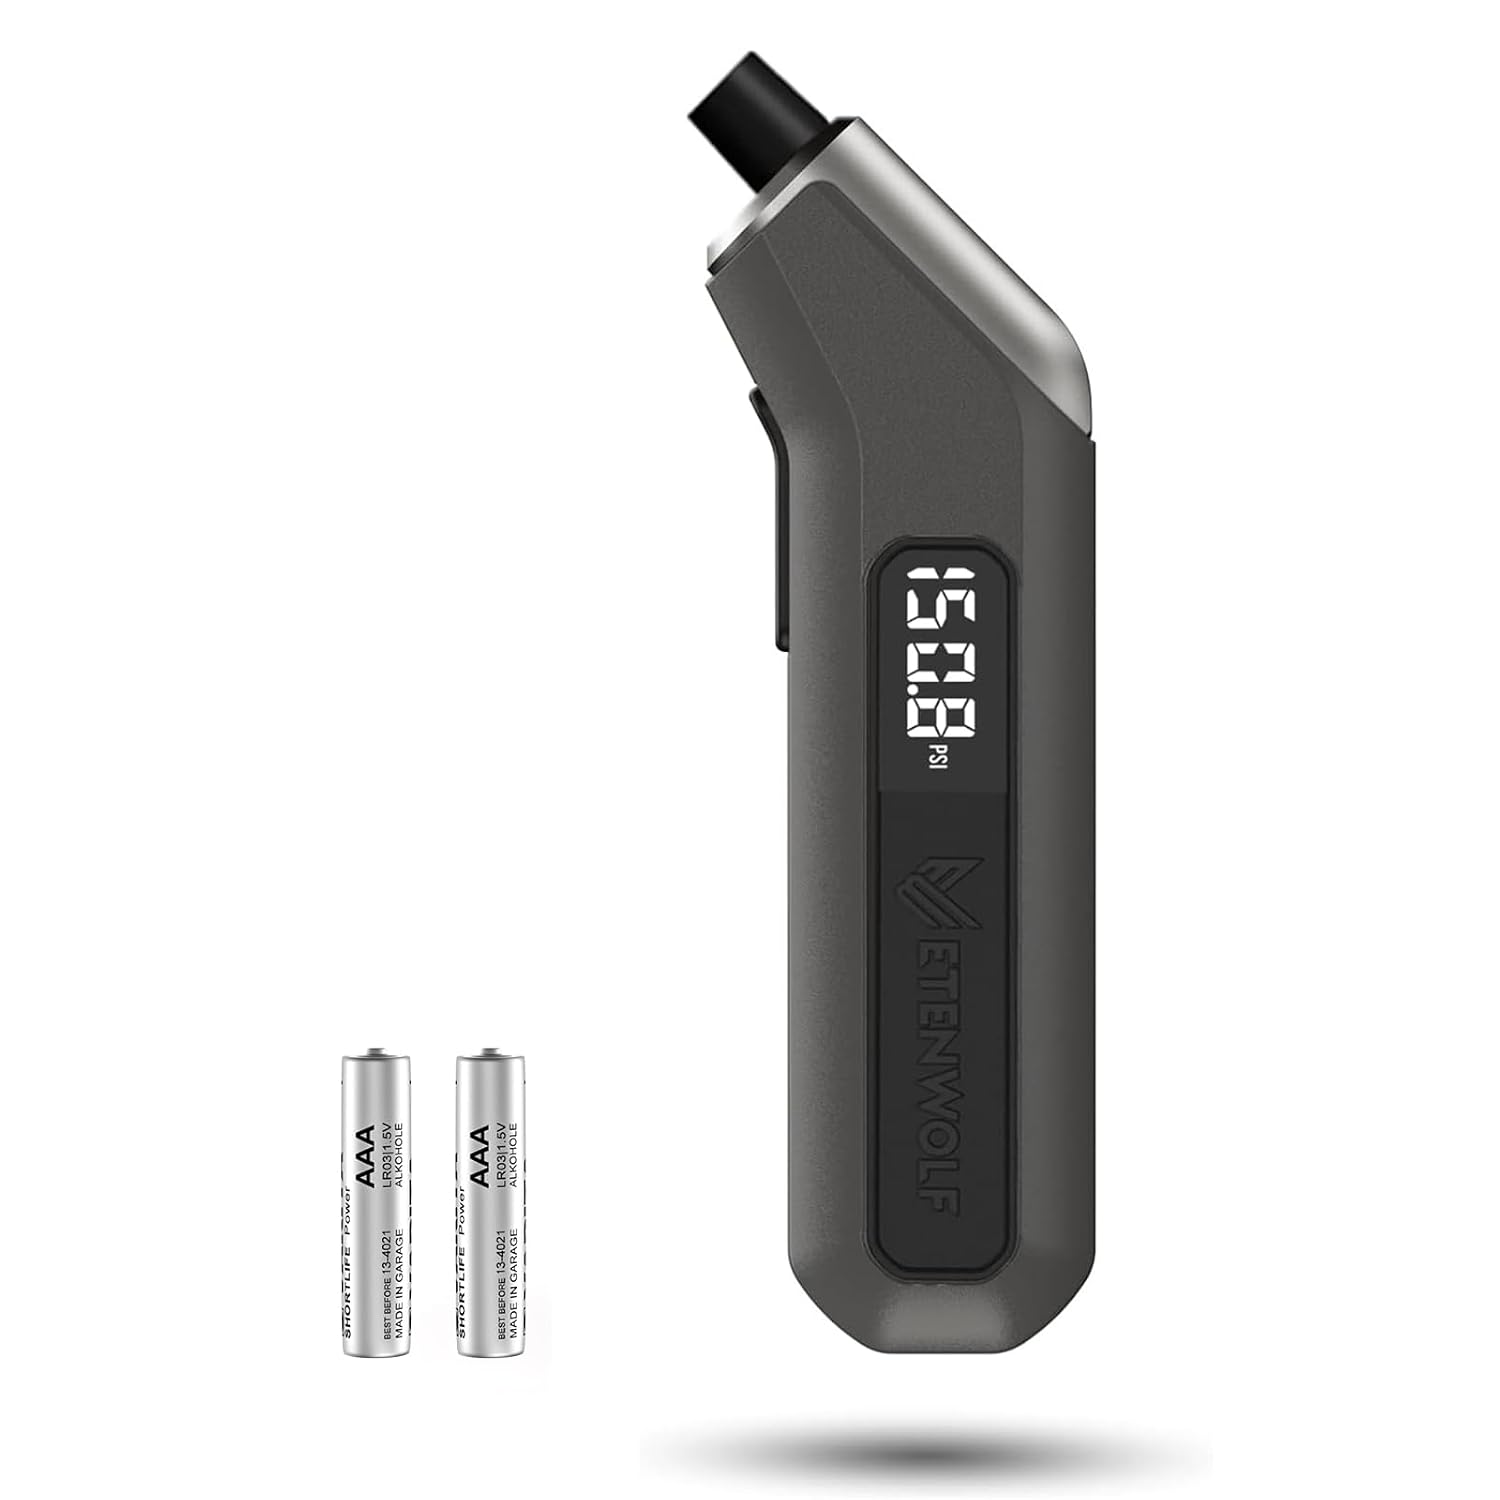
The ETENWOLF T300 digital tire pressure gauge delivers precise readings for cars, RVs, trucks, bikes, and heavy-duty vehicles with a wide measuring range and consistent accuracy. It is built to perform in extreme temperatures, includes a bright LED light for low-visibility use, and uses replaceable AAA batteries for convenient long-term operation. Durable enough to withstand rugged use, it is a practical tool for maintaining proper tire pressure across a variety of vehicles.
Where Is the Factory Jack on a 1994 FZJ80?
The factory bottle jack is stored in a rear cargo-area quarter-trim jack compartment, with the factory tools in the rear cargo area. Toyota’s 1994 manual tells owners to familiarize themselves with the jack, tool bag, spare tire, and their storage locations. Because many 80 Series Land Cruisers have been modified or have had their tool kits relocated, inspect your vehicle before a trip and compare the arrangement with the owner’s-manual illustration.
Before using the jack, inspect the base, lifting saddle, screw, handle socket, and retaining hardware. Do not use it if the base is bent, the screw binds, the saddle is damaged, or corrosion has weakened the jack. When restowing it, tighten or secure the factory retainer so the jack and tools cannot move during hard braking or a collision.
Assemble the Jack Tools for the Spare Hoist and Bottle Jack
The factory kit uses a handle and jack-handle extension pieces that operate the spare-tire lowering screw and bottle jack. Connect the pieces fully before applying force. Keep the assembled tool aligned so it remains engaged with the lowering screw or jack socket.
[Products Worth Considering]

CAR GUYS Super Cleaner is a versatile multi-surface solution designed to lift dirt, grime, stains, and messes from your car’s interior and more. It works on upholstery, fabric, leather, vinyl, plastic, rubber, carpet, and other compatible surfaces, making detailing simpler with one all-purpose cleaner. Formulated for effective cleaning without unnecessary complexity, it is ideal for drivers who want a reliable interior care product in a refill size.
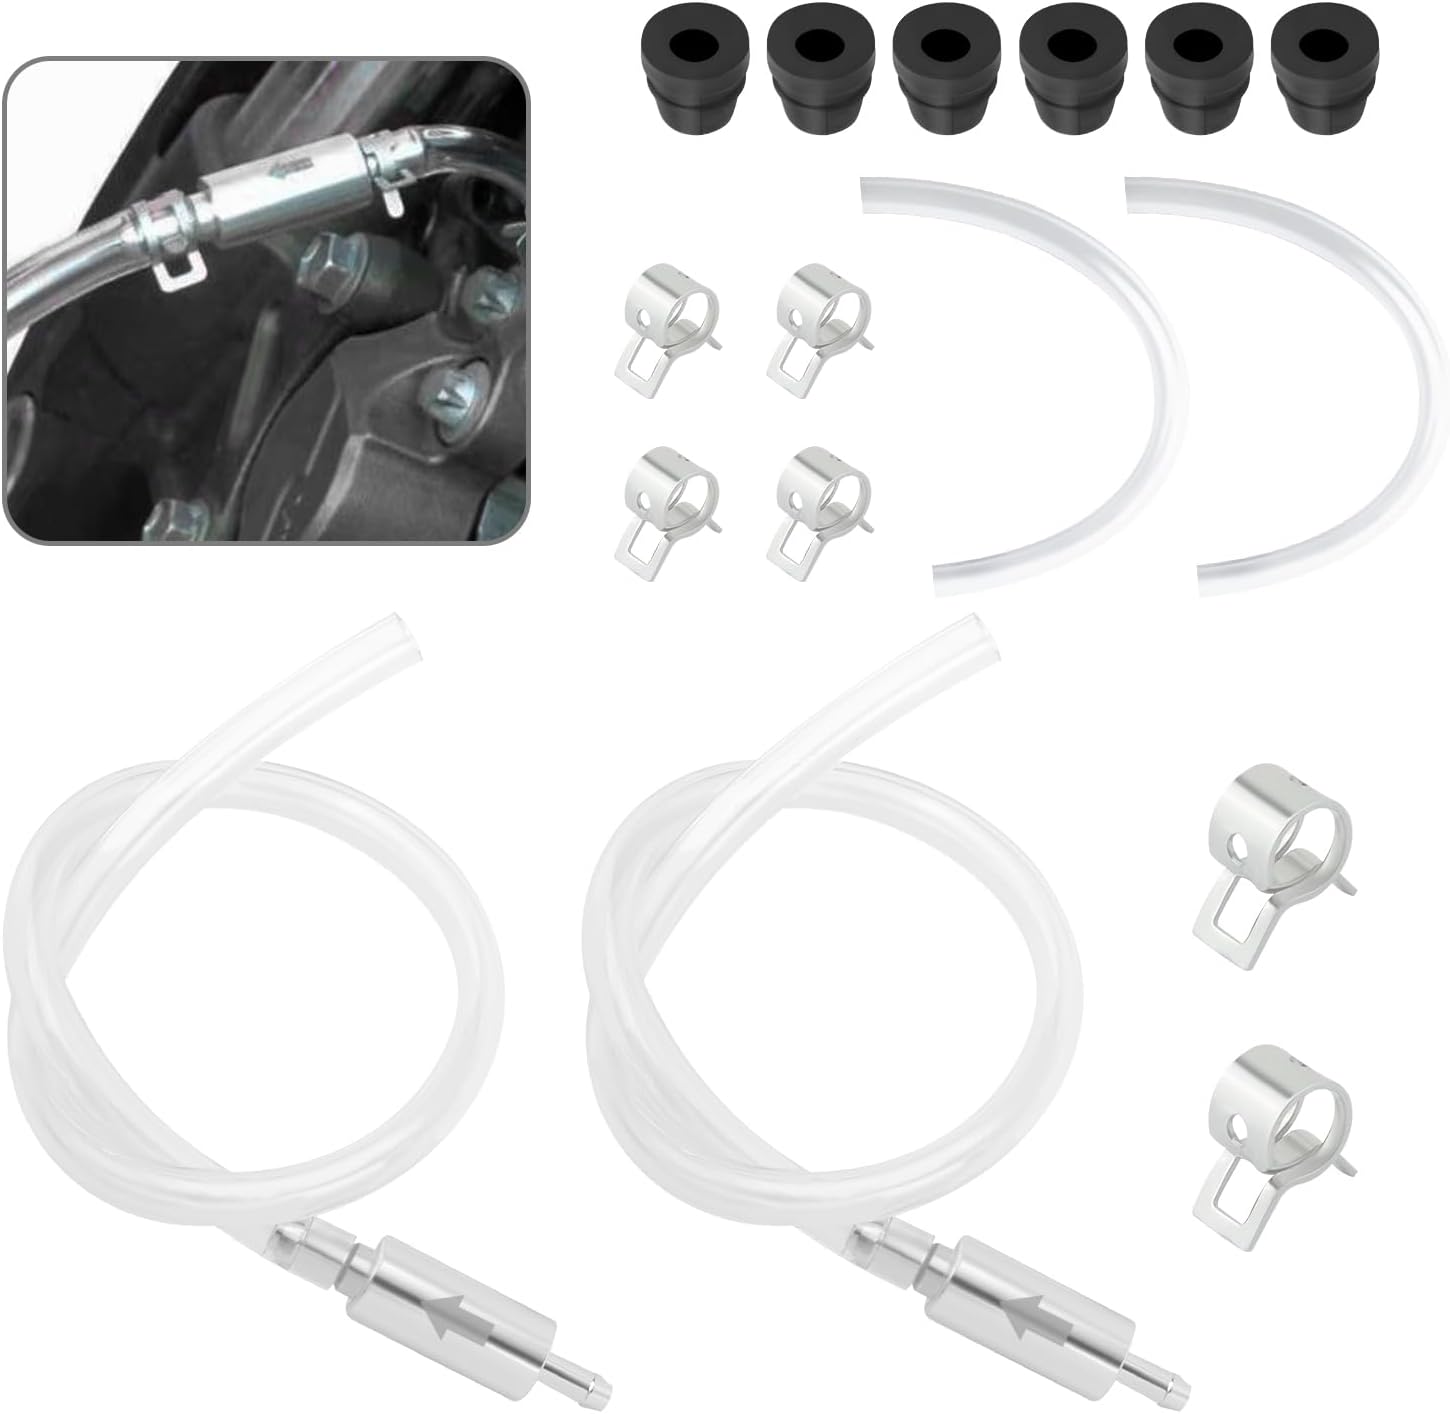
This brake bleeder kit helps make hydraulic brake bleeding easier on motorcycles, cars, and bikes with a simple one-way valve setup that helps prevent air and contamination from entering the system. It includes multiple hoses, clamps, and dust-proof screw caps for a cleaner, more controlled bleeding process. Durable rubber tubing and rust-resistant valves support repeated use and flexible installation around different brake layouts.
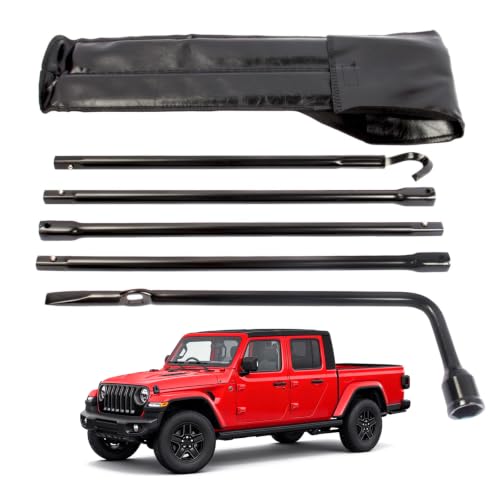
Material: Heavy Duty 45# Carbon Steel Heat Treatment with Convenient Carrying Case
How Do You Assemble the FZJ80 Jack Handle?
Connect the handle and extensions so each joint is fully seated. For the bottle jack, insert the extension into the jack’s handle socket; Toyota notes that this connection is a loose fit, so keep the handle firmly engaged while turning. Turn clockwise to raise the jack and counterclockwise to lower it. Stop if the jack binds, shifts, or will not operate normally.
Which Tool End Engages the Spare-Tire Lowering Screw?
Use the end of the jack-handle extension that fits the spare-tire lowering screw. Push it in until it seats, keep the tool aligned with the screw, and attach the handle. If it will not engage cleanly, stop rather than forcing the tool into the mechanism.
How to Lower the Under-Body Spare: Step by Step
The 1994 Land Cruiser owner’s manual gives a simple two-part procedure: engage the lowering screw and turn counterclockwise, then remove the holding bracket after the tire is completely on the ground. The important detail is to lower the tire far enough that its full weight is off the chain and bracket before trying to pull the retainer through the wheel.
[Products Worth Considering]

【Applicable Models】:Compatible with 1999-2019 Silverado, 1999-2019 Tahoe, 2002-2013 Avalanche, Suburban 1999-2019 Suburban, 1999-2019 Sierra (does not include C/K body styles), 2000-2019 Yukon, 2002-2019 Escalade, 2007-2019 Escalade ESV, 2007-2013 Escalade EXT

【Car Jack Capacity】Maximum lifting weight 2 Ton (4409 lbs),This Jack for Car Lifting Range from 4.33" (11cm) to 15.75"(40cm). The scissor lift jack provides a wider range to reach under low chassis sedans or elevate high-body SUVs effortlessly.
Lowering the Spare
- Park safely, set the brake, switch on the hazards, and chock the diagonally opposite wheel.
- Assemble the jack-handle extension and handle.
- Insert the extension into the spare-tire lowering screw and keep it firmly seated.
- Turn the handle counterclockwise at a steady pace.
- Continue until the spare rests flat on the ground and the chain has enough slack for the holding bracket to move.
- Pull the tire out far enough to reach the center opening without placing your head or torso under the vehicle.
If the handle turns but the tire does not move, or if the mechanism needs excessive force, stop and inspect for rust, a tangled chain, a bent retainer, or a disconnected tool joint.
Removing the Holding Bracket
With the tire fully supported by the ground, lift or tilt the holding bracket and guide it through the wheel’s center opening. Do not pull hard against a tight chain. If the bracket will not rotate through the opening, lower the hoist farther and reposition the tire so the chain hangs straight.
| What you see | What to do |
|---|---|
| Tire still hanging | Continue turning counterclockwise |
| Tire on ground, chain tight | Lower farther until the bracket moves freely |
| Bracket catches in wheel | Tilt the bracket and straighten the chain |
| Tool slips or hoist binds | Stop and inspect; do not force the mechanism |
Jack the Vehicle Safely at Toyota’s Axle Points
If the factory wheel ornament covers the wheel nuts, remove it first with the wheel-ornament remover. Then loosen all six wheel nuts about one-half turn while the tire is still on the ground. Place the factory jack on solid, level ground at the point specified in the 1994 manual:
- Front: under the front axle housing between the suspension arm and the wheel.
- Rear: under the rear axle housing near the wheel.
Raise the Land Cruiser only high enough to install the inflated spare. Keep the jack vertical, keep the saddle centered under the axle, and stop immediately if the base shifts or the vehicle leans. No one should remain inside the vehicle. Do not start the engine, crawl underneath, or place hands or legs where the vehicle could trap them if the jack slips.
Jack stands are appropriate for repair work on a controlled workshop surface when they are placed at verified support points, but they are not a substitute for the 1994 owner’s-manual roadside sequence. A wheel change does not require anyone to work beneath the vehicle.
Remove the Flat and Mount the Spare Correctly
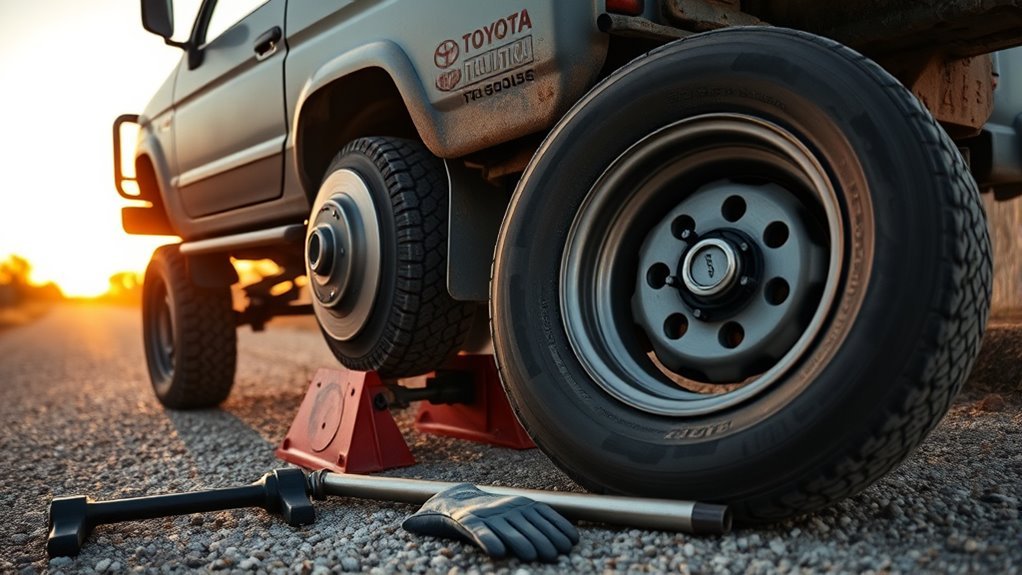
After the flat tire clears the ground, remove the loosened wheel nuts and store them where they cannot roll away. Pull the wheel straight off the studs and lay it flat. Inspect the hub and wheel mounting surfaces and remove loose dirt or corrosion that would prevent full metal-to-metal contact. Toyota’s 1994 procedure specifically calls for clean mounting surfaces before the spare is installed.
Roll the spare into position, align the holes with the studs, and start the top wheel nut first to help support the wheel. Hand-thread every nut before using the wrench. A nut that does not turn smoothly by hand may be cross-threaded; remove it and realign the wheel rather than forcing it.
Snug the nuts a little at a time in a crisscross pattern while the wheel is raised. Lower the vehicle completely, then tighten each nut a little at a time in the same pattern with the wheel-nut wrench. Toyota’s roadside instructions warn against using added leverage such as a hammer, pipe, or foot. As soon as possible after the wheel change, use a torque wrench to verify the specified torque. For the stock 1994 U.S.-market wheel and nut setup, Toyota specifies 108 ft-lb (147 N·m). If the truck has aftermarket wheels, non-OEM lug nuts, repaired studs, or wheel spacers, follow the applicable component manufacturer’s verified specification.
If the factory wheel ornament was removed, reinstall it after the wheel nuts are secure. Check the installed spare’s pressure before driving. Restow the jack, tools, and flat tire securely. Have the damaged tire inspected and repaired or replaced promptly.
Troubleshooting a Missing Tool, Loose Chain, or Stuck Spare
Most FZJ80 spare-tire problems fall into three groups: the correct lowering tool is missing, the tool does not fully engage the lowering screw, or rust and debris have seized the hoist. Diagnose the engagement problem before adding force.
- Missing handle or extension: obtain the correct OEM-style pieces or borrow a confirmed compatible 80 Series kit before an emergency. Do not guess at the engagement shape.
- Tool spins or slips: clean the access path, align the extension squarely, and verify that every handle joint is fully connected.
- Chain is slack but the bracket will not pass through: reposition the tire, straighten the chain, and tilt the holding bracket through the wheel opening.
- Hoist is rusted or seized: stop forcing the handle. Keep clear of the tire’s drop path and have the carrier serviced by a qualified technician. Cutting or unbolting a loaded carrier overhead can allow the wheel or carrier to fall.
- Tire is wedged against exhaust or suspension parts: lower slightly, move the tire by its tread from outside the drop path, and keep your head and torso clear of the underbody.
A preventive test in the driveway is safer than discovering a seized hoist on the shoulder. Lower the spare fully, inspect the chain and bracket, then raise it until secure.
Maintain the Jack, Spare Hoist, and Tool Kit
Inspect the spare and factory tools before long trips and during routine tire-pressure checks. Keep dirt and corrosion from interfering with the jack screw, handle joints, spare-hoist chain, and holding bracket. If the jack binds, leaks, is bent, or shows serious corrosion or damage, replace or professionally service it rather than relying on it during an emergency.
- Lower and raise the spare periodically to confirm that the hoist moves smoothly.
- Check that the holding bracket centers in the wheel opening and that the tire rises straight without catching.
- Secure the spare with the outer face of the wheel upward, as specified in the 1994 manual.
- Confirm that the jack can reach the axle with the truck’s current tire size and suspension height. A lifted vehicle may exceed the useful range of the stock jack.
- Use a wide, load-rated base only on a surface where the manufacturer permits it; do not stack loose blocks under the jack.
Any replacement jack must have sufficient rated capacity, a closed height that fits beneath the approved axle point with a flat tire, and enough lift travel for the current tire and suspension setup. Secure aftermarket equipment so it cannot become a projectile in a crash.
Frequently Asked Questions
Can I Use the Factory Jack on Uneven or Soft Ground Safely?
No. Toyota’s procedure calls for level, solid ground. If the shoulder is sloped, muddy, sandy, or unstable, move to a safer location or call roadside assistance. Do not build a tall stack of loose blocks under the jack.
Where Is the OEM Jack Stored in an FZJ80?
The factory bottle jack is stored in a rear cargo-area quarter-trim jack compartment, with the factory tools kept in the rear cargo area. Because previous owners may relocate the jack or tools, confirm their actual location and secure storage before a trip.
What Tire Pressure Should the Stock 1994 FZJ80 Spare Use?
The 1994 U.S. owner’s manual lists 32 psi cold for the stock P275/70R16 tires during normal driving. That full-size spare is not a 60 psi compact temporary tire. Verify pressure using the manual or placard if the vehicle has a different tire size, LT tire construction, or modified load setup.
What Is the 1994 FZJ80 Wheel-Nut Torque?
Toyota lists 147 N·m, or 108 ft-lb, for the stock 1994 wheel-nut setup. Hand-start all nuts, tighten them evenly in the specified pattern, lower the vehicle, and verify final torque with a torque wrench as soon as possible. Use the applicable verified specification for aftermarket wheels or lug hardware.
Where Are the Factory Jack Points on a 1994 FZJ80?
For the front, Toyota specifies the front axle housing between the suspension arm and the wheel. For the rear, use the rear axle housing near the wheel. Position the factory jack on firm, level ground and make sure it remains properly seated as the vehicle begins to rise.
What Should I Do if the Spare Hoist Will Not Lower?
Stop if the handle slips or requires excessive force. Confirm that the correct extension is fully seated, then inspect for rust, debris, a tangled chain, or a wedged tire. If the hoist remains seized, keep clear of the tire’s drop path and have the carrier serviced; do not work beneath an unsupported tire or cut a loaded carrier overhead.
Conclusion
For a 1994 FZJ80, the safe order is simple: park on firm level ground, chock the diagonally opposite wheel, lower the under-body spare counterclockwise until it is completely on the ground, remove the wheel ornament if fitted, loosen the wheel nuts before lifting, jack only under the specified axle point, install the spare, lower the vehicle, and verify the stock wheel nuts at 108 ft-lb with a torque wrench. Practice the procedure at home, verify that the spare is at the correct cold pressure, and make sure every factory tool is present before the next trip.
Sources
- 1994 Toyota Land Cruiser Owner’s Manual (OM6062U scan): flat-tire procedure, spare lowering, jack points, tire pressure, and wheel-nut torque.
- NHTSA TireWise: cold-pressure checks, spare-tire inspection, tread, and tire-age guidance.
- AAA tire-changing safety guidance: safe parking, passenger safety, wheel chocks, and roadside stop conditions.



[…] into Park (or 1st gear for manual transmissions), and chock the opposing wheels. See our guide to using the factory jack and changing a Land Cruiser tire for safe jacking […]