Last updated: August 31, 2026
Brake pad replacement vs brake fluid flush: they are separate brake services, and needing one does not automatically mean you need the other. Brake pads are friction parts that wear as you stop. Brake fluid transfers hydraulic pressure through the braking system and is serviced according to vehicle requirements, fluid condition, or hydraulic repairs. You may need pads, fluid, both services, or a diagnosis first depending on what an inspection finds.
Quick Answer
Replace brake pads when measured wear, damage, contamination, or other inspection findings show they are due. AAA notes that front brake pads often last about 30,000–70,000 miles, but actual life varies widely. Change brake fluid according to your vehicle’s maintenance schedule, fluid condition, or hydraulic-service requirements. Many vehicles use a two- or three-year interval, but there is no universal schedule. A routine pad change does not automatically require a brake fluid flush.
Key Takeaways
- Brake pads create friction against the rotors. Replace them based on measured wear and condition, not mileage alone.
- Brake fluid carries hydraulic pressure. Service it according to the owner’s manual, fluid condition, or requirements after hydraulic repairs.
- A spongy or sinking pedal, visible fluid leak, sharply reduced braking, or brake warning light calls for diagnosis first. Do not assume a fluid flush or new pads alone will fix it.
- Use only the brake-fluid specification required by your vehicle. DOT 5 silicone fluid is a different category from DOT 3, DOT 4, and DOT 5.1.
Brake Pad Replacement vs Brake Fluid Flush: Quick Decision Guide
The easiest way to separate these services is to look at the inspection result rather than buying a bundled brake service automatically.
| Inspection Result | Likely Next Step |
|---|---|
| Pads are worn, but fluid service is not due and no hydraulic system was opened | Replace the pads and inspect the rotors, calipers, and hardware |
| Pads have usable material, but the fluid is due by schedule or confirmed to need service | Service the brake fluid; pads may not need replacement |
| Pads are worn and the fluid is also due | Both services can reasonably be performed during the same visit |
| Pedal sinks, a leak is visible, braking changes sharply, or a warning light appears | Diagnose the brake system before choosing a maintenance service |
Pro Tip: If a shop recommends pads and a fluid flush together, ask for the measured pad thickness, rotor condition, and the exact reason the fluid service is due. A useful recommendation should be tied to measurable wear, the manufacturer’s schedule, fluid condition, contamination, or a hydraulic repair.
Understanding Brake Fluid and Its Role in Vehicle Safety
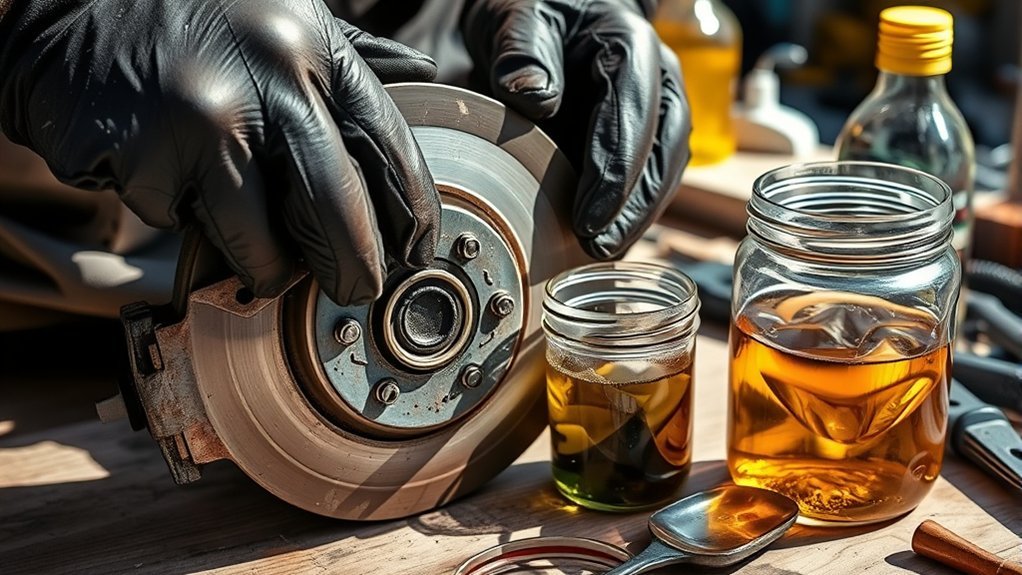
Brake fluid is the liquid inside a hydraulic braking system. When you press the brake pedal, the master cylinder creates hydraulic pressure that travels through the brake system to the calipers or wheel cylinders. That pressure helps the pads or shoes clamp against the rotors or drums so the vehicle slows down.
Most modern vehicles use DOT-rated brake fluid. U.S. Federal Motor Vehicle Safety Standard No. 116 establishes requirements for motor-vehicle brake fluids, including DOT 3, DOT 4, DOT 5 silicone, and DOT 5.1 non-silicone classifications. You can review the federal standard at the Electronic Code of Federal Regulations.
Many DOT 3 and DOT 4 brake fluids absorb moisture over time. Added moisture can reduce boiling-point protection and contribute to internal corrosion. That is why brake-fluid service is preventive maintenance on vehicles whose manufacturer calls for periodic replacement.
Warning: Do not drive a vehicle with a sinking pedal, visible brake fluid leak, or serious loss of braking unless a qualified technician confirms it is safe. These symptoms can indicate a hydraulic fault that a routine fluid flush will not repair.
There is no single brake-fluid interval for every vehicle. For example, Honda’s 2026 Maintenance Minder guidance says to change the brake fluid every three years if the brake-fluid maintenance reminder does not appear sooner. Other vehicles use different schedules or condition-based maintenance. Follow your owner’s manual or manufacturer maintenance system rather than applying one universal interval.
Signs That You Need a Brake Fluid Flush
A brake-fluid exchange replaces aging or contaminated fluid with fresh fluid that meets the vehicle’s specification. The strongest reasons for the service are a manufacturer-specified interval, confirmed fluid contamination or condition, or work that requires servicing the hydraulic circuit.
- Brake-fluid service is due: Follow the maintenance schedule for your exact year, make, model, and brake system.
- Dark, cloudy, or debris-filled fluid: Visible contamination deserves inspection. Color alone does not measure moisture content or prove the fluid’s boiling-point condition.
- Hydraulic components were opened or replaced: Caliper, hose, line, master-cylinder, or related repairs can require bleeding or fluid exchange according to the service procedure.
- Spongy or soft brake pedal: This can come from air, a leak, hydraulic-component failure, or another fault. Diagnose the cause instead of assuming a flush will fix it.
- Brake warning light or ABS light: Inspect and diagnose the system first. Warning lights can have causes unrelated to fluid age.
- Visible leak near a wheel, brake line, hose, caliper, or master cylinder: A flush will not repair a leak. Repair the fault first, then bleed or service the fluid as required.
Note: A brake flush is not the same as topping off the reservoir. A lower fluid level can occur as pads wear because caliper pistons extend farther, but it can also indicate a leak. Find the cause before adding fluid blindly.
[Products Worth Considering]
This one-man brake bleeding kit helps flush old brake fluid and remove trapped air for firmer, more responsive braking without the hassle of a second person. Its improved sealing and translucent catch bottle help prevent leaks while making fluid level checks easy during use. With multiple adapter sizes for many vehicle makes, it is a practical tool for clean, efficient brake system maintenance.

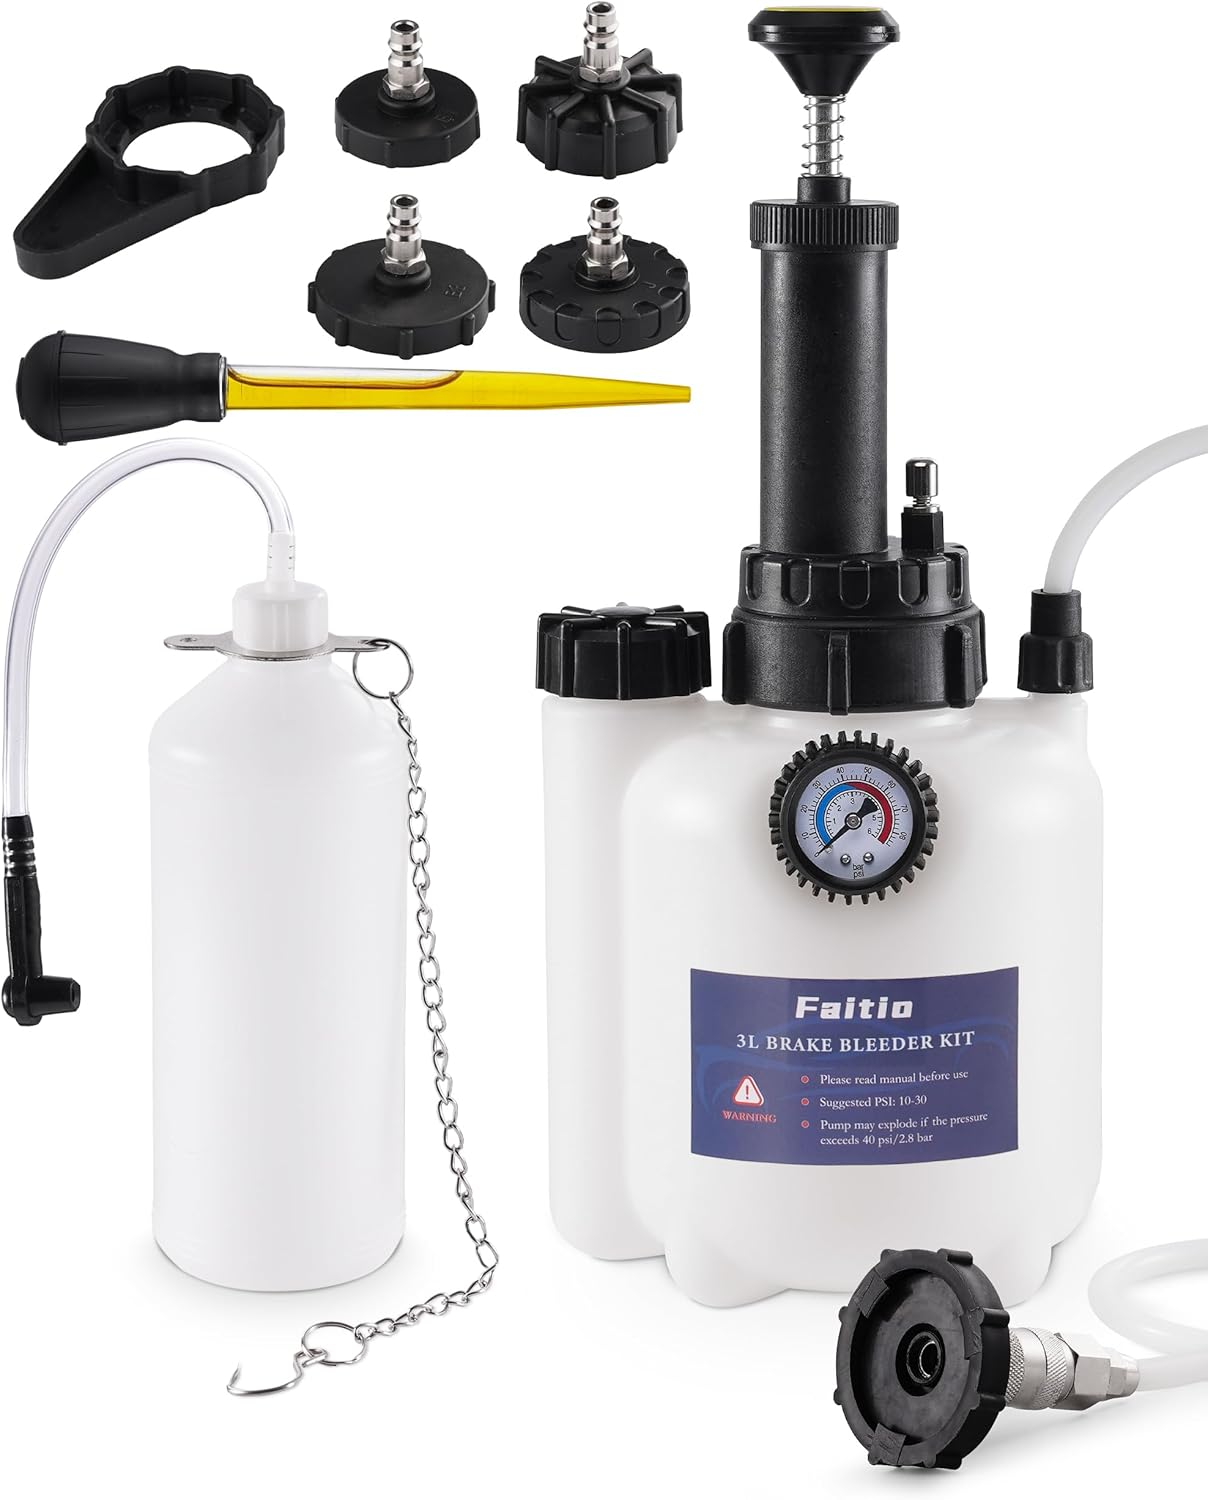
This universal brake bleeder kit makes one-person brake and clutch line bleeding simple by using compressed air to create stable vacuum-assisted fluid flow. Its extra-large 3L tank helps complete full-system flushes with fewer interruptions, while the included refill bottle, flexible hose, and universal adapter support clean, efficient use on standard and ABS brake systems.

The Mityvac MV8500 Silverline Elite is a versatile automotive service kit for brake and clutch bleeding, diesel fuel priming, and vacuum or pressure testing. Its dual-capability pump streamlines diagnostics and maintenance across motorcycles, cars, trucks, and SUVs, while the ergonomic design supports comfortable use during longer jobs. Built with a durable zinc-aluminum die-cast body and a 4.5oz fluid reservoir, it delivers reliable performance for professional and DIY repair work.
How Brake Pad Replacement Differs From a Brake Fluid Flush
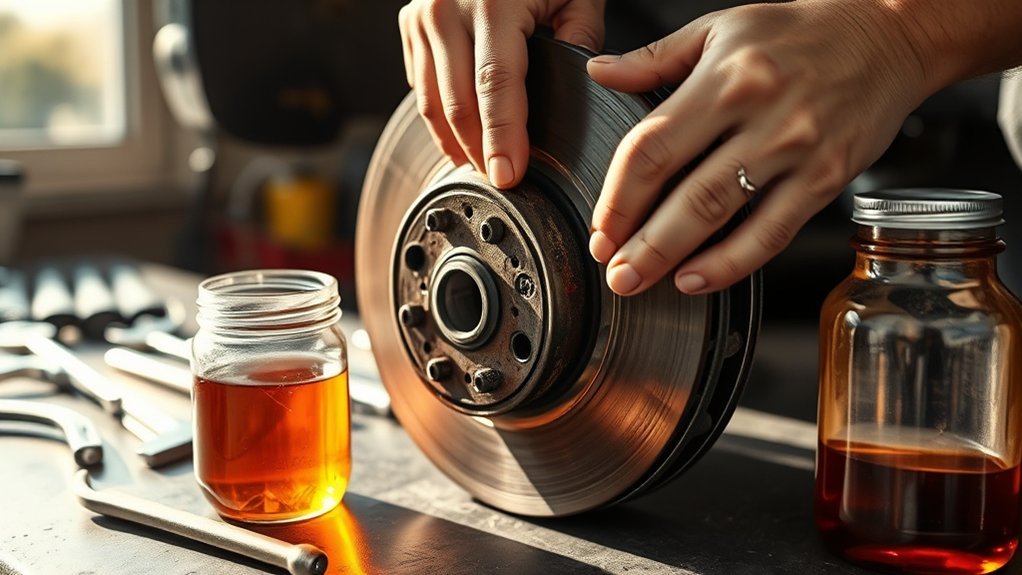
Brake pad replacement is a friction-material service. The worn pads are removed, the caliper and hardware are inspected, and new pads are installed. Rotor condition and thickness should also be checked because damaged or undersized rotors may require additional service.
Brake-fluid flushing or exchange is a hydraulic-fluid service. Fresh fluid is moved through the brake hydraulic circuits according to the manufacturer’s procedure. Some ABS-equipped vehicles require a specific bleeding sequence or scan-tool function.
| Service | What It Addresses | Common Triggers | Timing |
|---|---|---|---|
| Brake pad replacement | Worn, damaged, or contaminated friction material | Measured wear, wear indicator, grinding, cracking, contamination, uneven wear | Inspect by condition; AAA notes front pads often last about 30,000–70,000 miles |
| Brake fluid flush or exchange | Aging, contaminated, incorrect, or service-due hydraulic fluid | Manufacturer schedule, confirmed fluid condition, contamination, hydraulic repair | Follow the vehicle manufacturer’s schedule; intervals vary |
AAA reports that front brake pads commonly last about 30,000 to 70,000 miles, depending on the vehicle, driving habits, and road conditions. Their brake-pad guidance is available through AAA Club Alliance.
Brake pads and brake fluid work together, but one service does not substitute for the other. New pads cannot repair a leak or remove air from the hydraulic system, and fresh fluid cannot restore worn friction material.
Do You Need Brake Pads, a Brake Fluid Flush, or Both?
Use symptoms as a starting point, but make the final decision from inspection results. Pad thickness, rotor condition, fluid-service history, leaks, caliper operation, pedal feel, and diagnostic trouble codes can all change the answer.
| Symptom or Finding | Likely Next Step | What to Check |
|---|---|---|
| High-pitched squeal while braking | Brake inspection | Wear indicators, pad thickness, rotor surface, hardware |
| Grinding noise | Immediate brake inspection | Pads, rotors, calipers, hardware damage |
| Soft or sinking brake pedal | Hydraulic diagnosis before routine maintenance | Leaks, air, master cylinder, hoses, calipers, ABS procedure, fluid condition |
| Dark or cloudy brake fluid | Inspect fluid condition and service history | Correct fluid specification, contamination, service interval, condition test if appropriate |
| Brake warning light or ABS light | Diagnostic inspection first | Fluid level, leaks, sensors, wiring, ABS or brake-system codes |
A normal brake-pad replacement does not automatically require a brake-fluid flush because replacing pads does not normally require opening the hydraulic circuit. However, both services can legitimately be due at the same visit, and hydraulic repairs may require bleeding or fluid exchange.
What to ask the shop: “What is the measured pad thickness? What is the rotor condition? Why is the fluid due—manufacturer schedule, fluid condition, contamination, or hydraulic repair?” Those answers are more useful than a generic recommendation to replace everything together.
[Products Worth Considering]

This brake bleeder bottle helps simplify brake fluid replacement by draining old fluid while reducing air in the line. Its rubber connector fits most bleed screws, and the included hose and chain help keep the bottle securely in place during use. Built from durable, corrosion-resistant plastic, it is suitable for a wide range of vehicles including cars, motorcycles, ATVs, dirt bikes, and scooters.

This brake bleeder bottle is designed to make fluid bleeding easier for one-person use with a built-in check valve and magnetic mount. The flexible hose fits most bleeder valves and helps reduce the chance of air entering the system during service. With a practical fluid capacity and universal fit, it is a handy tool for brake maintenance and repair.
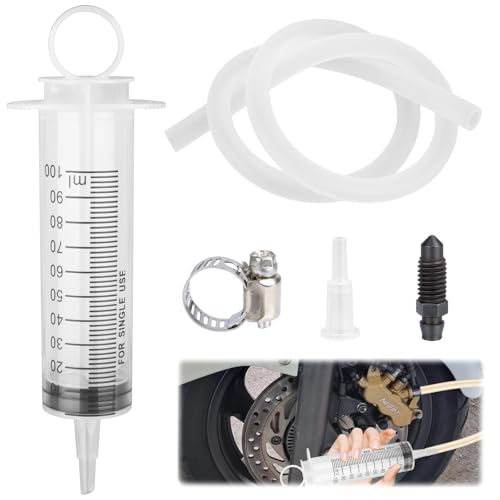
Efficient Air Bleeding & Brake Restore — Transparent tubing gives real-time visibility as you flush air and old brake fluid from the system. Restores full brake sensitivity and response in minutes, no shop visit needed.
How to Replace Brake Pads and Flush Brake Fluid
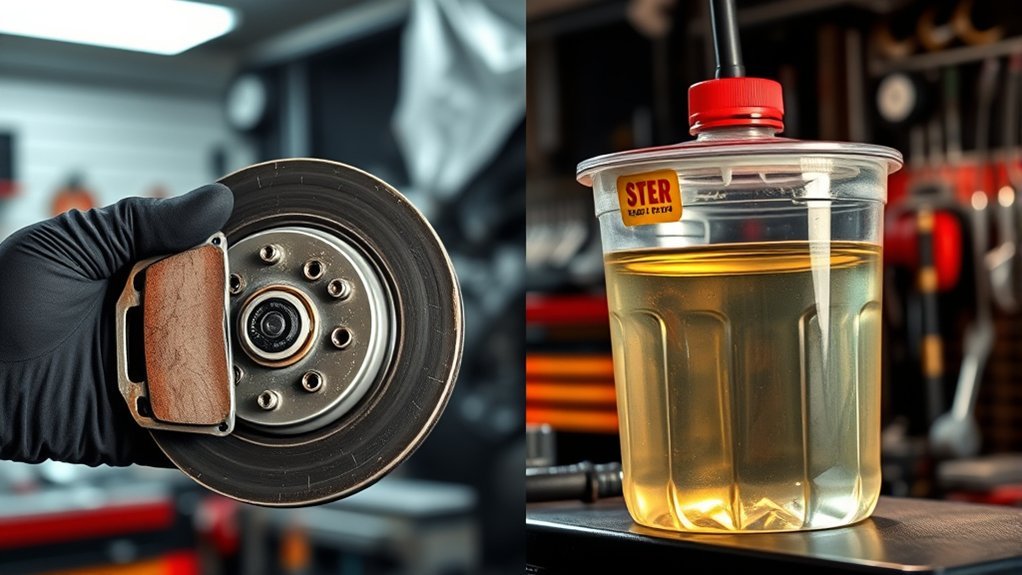
Replacing brake pads and servicing brake fluid can be DIY jobs for experienced home mechanics, but brakes are a primary safety system. If you are unsure about vehicle lifting, torque specifications, electronic parking brake service mode, ABS bleeding, or the required fluid specification, use a qualified repair shop.
At a Glance
| Time Required | Varies by vehicle, corrosion, rotor condition, electronic parking brake design, and hydraulic procedure |
| Difficulty | Moderate to advanced; not recommended if you are new to brake work |
| Tools Needed | Jack, jack stands, lug wrench, sockets, torque wrench, appropriate caliper tool, brake cleaner, correct brake fluid, clear hose, catch bottle, and the bleeding equipment required by the vehicle procedure |
| Cost Context | AAA lists brake-pad replacement around $100–$300 per axle on many vehicles; Kelley Blue Book currently lists an average brake-fluid flush around $173–$205, with local and vehicle-specific variation |
Warning: Never work under a vehicle supported only by a jack. Use jack stands on solid, level ground, chock the wheels, wear eye protection, and use the vehicle manufacturer’s torque specifications and service procedure.
[Products Worth Considering]

Transparent Funnel: Liquid and bubbles are clearly visible during the bleeding of bicycle brakes.
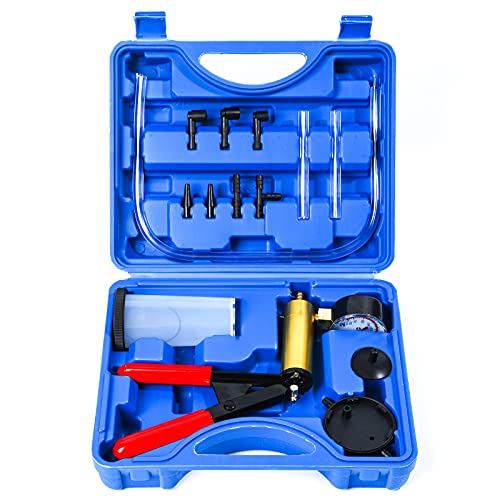
Multi-Functional Professional Testing Kit:The handheld vacuum pump kit with a vacuum pressure gauge enables precise pressure readings, covering a measurement range of 0-30 inches Hg (0-760 mmHg). Equipped with accessories for brake bleeding and automotive diagnostics, it is suitable for testing and diagnosing components and systems of bikes, motorcycles, trucks, pickups, and various vehicles, meeting professional needs in multiple scenarios.
Basic Brake Pad Replacement Steps
- Confirm the problem. Measure pad wear and inspect rotor condition, caliper leaks, slide movement, and brake hardware before buying parts.
- Confirm service information. Check the required torque values, minimum dimensions, electronic parking brake procedure, and any model-specific instructions.
- Lift and secure the vehicle. Loosen the lug nuts as appropriate, raise the vehicle, support it with jack stands, and remove the wheel.
- Remove the caliper carefully. Support it with a hanger or other suitable support. Do not let the caliper hang by the brake hose.
- Remove the old pads and inspect the hardware. Check clips, shims, slide pins, boots, and rotor condition.
- Retract the caliper piston correctly. Some rear brakes require a wind-back procedure or electronic parking brake service mode. Follow the manufacturer’s instructions.
- Install the new pads. Apply brake lubricant only at locations approved by the service procedure. Keep lubricant off the rotor and pad friction surfaces.
- Reassemble and torque. Install the caliper, wheel, and fasteners to the manufacturer’s specification.
- Restore pedal firmness before moving the vehicle. Pump the brake pedal as required to seat the pads against the rotors.
- Follow the pad maker’s bedding procedure if required. Do not assume every pad compound uses the same break-in sequence.
Basic Brake Fluid Flush Steps
- Confirm the exact fluid specification. Use the brake-fluid type required on the reservoir cap, owner’s manual, or manufacturer service information. Do not choose fluid by DOT number alone.
- Protect paint and skin. Brake fluid can damage painted surfaces. Wear gloves and eye protection and clean spills promptly using the appropriate procedure.
- Check the manufacturer’s bleeding procedure. Confirm the wheel sequence and whether the ABS system requires a scan tool, service mode, pressure bleeder, or another special step. Do not assume a universal bleeding order.
- Prepare the reservoir. Remove old reservoir fluid and refill with fresh fluid only if that step is appropriate for the vehicle’s service procedure.
- Keep the reservoir supplied with fresh fluid. Do not allow it to run dry because air can enter the hydraulic system.
- Exchange the fluid through each required circuit. Continue according to the manufacturer’s procedure until fresh fluid without trapped air exits the relevant bleeder.
- Complete any required ABS procedure. If the manufacturer requires an automated bleed or scan-tool operation, perform it exactly as specified.
- Check pedal feel and inspect for leaks. Do not drive if the pedal remains soft, sinks, or any leak is present.
- Dispose of used fluid correctly. Take it to an appropriate automotive-fluid or hazardous-waste collection facility where required.
Pro Tip: Inspect pads, rotors, hydraulic components, and brake-fluid history during the same visit. That does not mean every part needs replacement; it means the recommendation should come from a complete brake-system inspection.
Brake Fluid Flush vs Brake Bleed
A brake bleed primarily removes trapped air from the hydraulic circuit. A brake-fluid flush or exchange is intended to replace aging or contaminated fluid. The procedures can overlap, but their reasons are different. Kelley Blue Book also distinguishes bleeding from a full fluid flush in its brake fluid flush cost guide.
If the hydraulic system was opened during a caliper, hose, line, or master-cylinder repair, bleeding may be required. If the fluid is due by the vehicle’s maintenance schedule or its condition justifies replacement, a fluid exchange may also be appropriate.
Tips for Maintaining Optimal Brake Performance
- Inspect pads and rotors regularly. Tire rotations and other routine service visits are useful opportunities to catch uneven wear, damaged rotors, or sticking calipers.
- Watch brake-fluid level. A change in level deserves inspection. Do not repeatedly top off fluid without understanding why the level changed.
- Follow the owner’s manual. Brake-fluid specification and service interval vary by make, model, year, and brake system.
- Do not substitute incompatible fluid. Use the exact specification required by the vehicle. DOT 5 silicone fluid is not simply a higher-number replacement for DOT 3, DOT 4, or DOT 5.1.
- Address noises early. A wear indicator can cause squealing, while grinding may indicate severe friction-material wear or another brake fault.
- Verify the brake pedal after service. Before normal driving, confirm a firm pedal while stationary and check the system for leaks.
Brake pads and brake fluid are separate maintenance items, but inspecting them together makes sense. A car with new pads can still have a hydraulic problem. A car with fresh fluid can still be unsafe if its pads, rotors, calipers, hoses, or other brake components are damaged.
Frequently Asked Questions
How much should it cost to have your brake fluid flushed?
Kelley Blue Book currently lists an average brake-fluid flush cost of about $173 to $205. Your price can vary by vehicle, location, fluid specification, labor rate, and whether diagnosis or additional brake repairs are required.
Should I replace brake pads and flush brake fluid at the same time?
Not automatically. Replace pads when inspection shows they are worn or damaged. Service brake fluid when the vehicle’s schedule, fluid condition, contamination, or hydraulic repair calls for it. If both are due, doing them during the same visit is reasonable.
Is a brake fluid flush the same as bleeding brakes?
No. Bleeding primarily removes air from the hydraulic system. A fluid flush or exchange is intended to replace aging or contaminated fluid. A hydraulic repair may require bleeding, while scheduled maintenance may call for a fluid exchange.
Can I drive with a spongy brake pedal?
A spongy or sinking pedal is not normal. It can indicate air, a leak, hydraulic-component failure, or another brake-system fault. Have the system inspected before regular driving rather than assuming a routine fluid flush will solve it.
How do I know which brake fluid my car needs?
Check the reservoir cap, owner’s manual, or manufacturer service information. Use the exact specification required for the vehicle. DOT 5 silicone fluid is a different category from DOT 3, DOT 4, and DOT 5.1, so do not substitute fluid based only on the number.
What happens if I replace pads but skip old brake fluid?
If the fluid is still within the manufacturer’s service requirements, a separate flush may not be necessary just because the pads were replaced. If the fluid is overdue, contaminated, or requires service after hydraulic work, new pads do not correct that separate issue.
Can I just top off brake fluid instead of flushing it?
Topping off changes the reservoir level but does not replace aging or contaminated fluid throughout the system. A lower level can also result from pad wear or a hydraulic leak, so identify the cause first instead of using a top-off as a substitute for inspection or scheduled fluid service.
Conclusion
Brake pad replacement and a brake-fluid flush solve different problems. Pads handle friction and wear; brake fluid transfers hydraulic pressure. A normal pad change does not automatically require a fluid flush, and fresh fluid cannot correct worn pads. Use measured pad wear, rotor condition, the vehicle’s maintenance schedule, fluid condition, and hydraulic-system findings to decide what is actually needed. If the pedal sinks, braking changes sharply, fluid is leaking, or a brake warning appears, diagnose the problem before treating it as routine maintenance.
Sources
- Electronic Code of Federal Regulations — 49 CFR § 571.116 — federal motor-vehicle brake-fluid requirements.
- 2026 Honda Pilot Maintenance Minder — current manufacturer example for brake-fluid replacement timing.
- AAA Club Alliance — brake-pad wear signs, front-pad lifespan range, and replacement-cost context.
- Kelley Blue Book Brake Fluid Flush Costs — current average flush cost and bleed-vs-flush explanation.
- AutoZone DOT 3 vs DOT 4 Brake Fluid Guide — plain-language brake-fluid and DOT-rating background.