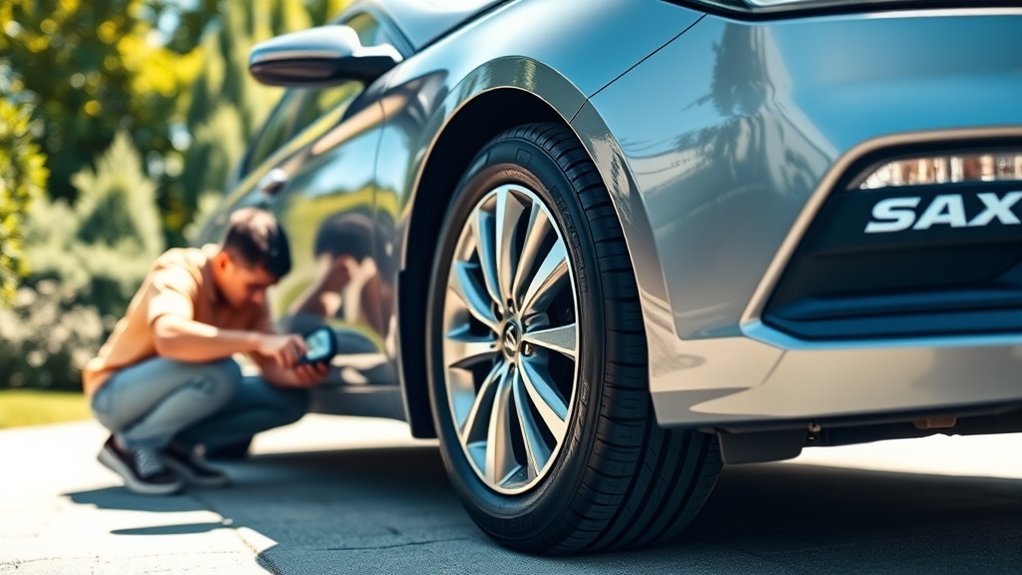
If your Sonata’s fuel door won’t open, start by checking whether the interior release clicks, listen for a latch clunk, and try the manual cable while someone presses the button. A stretched or disconnected cable, sticky latch, or blown fuse are common culprits; lubricate and tap the latch, inspect wiring and switch, and use a stiff card or manual pull as an emergency workaround. If the fix is elusive, keep going to identify parts, costs, and step-by-step repairs.
Quick Answer: Why Your Fuel Door Won’t Open
Why won’t your fuel door open? You’ve got a malfunctioning interior button or a seized latch mechanism—those are the usual culprits. In fuel door troubleshooting you’ll first note whether the release button clicks but the door doesn’t move; a clunk often signals internal release failure. Owner experiences point to intermittent faults: some cars fail repeatedly, others never. There’s a manual cable pull near the driver’s seat you can use as a workaround, and community fixes include lubricating the latch with WD-40 or tapping the mechanism to free it temporarily. These steps free you short-term, but they don’t replace diagnosing a broken actuator, frayed cable, or faulty switch. Plan a focused repair to reclaim control.
Open a Stuck Fuel Door Now (3 Fast Emergency Methods)
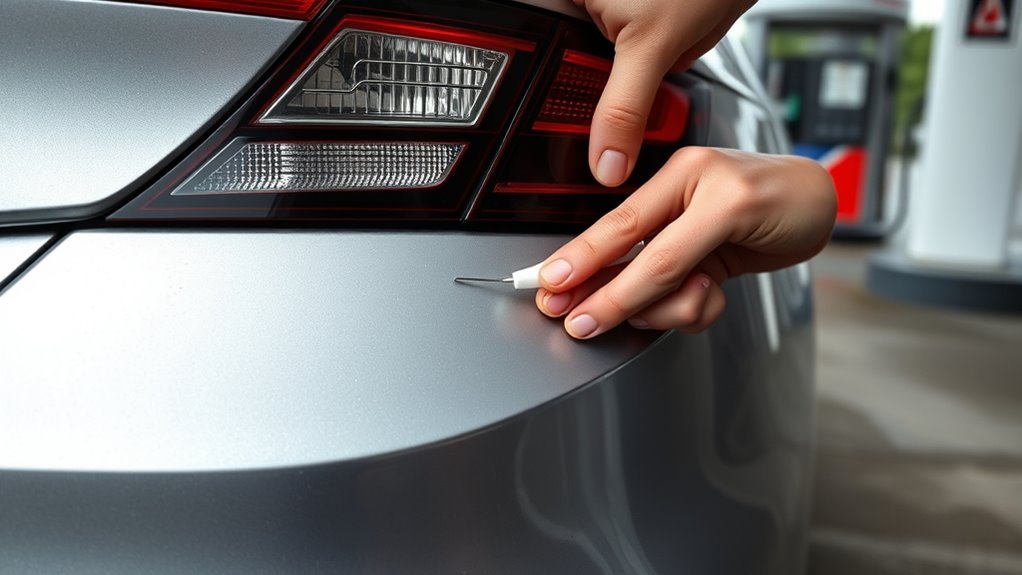
If the fuel door sticks shut and you need to fuel up now, try these three fast emergency methods to get it open: First, pull the manual cable (if accessible) to bypass the electronic release—grip firmly and tug while an assistant presses the interior button to free the latch. Second, apply WD40 to the exposed latch area, wait a minute, then press the button and gently tap the mechanism; lubrication plus a light jolt often restores movement. Third, slide a stiff credit card along the seam to pry the latch if the other methods fail—work slowly to avoid paint damage. These practical emergency solutions free you quickly and get you back on the road with control and independence.
Which Problem Is It: Latch, Cable, or Fuse?
Those quick emergency fixes get you going, but now you need to pinpoint what’s actually stopping the fuel door so you can fix it for good. You want freedom from repeated jams, so apply systematic fuel door troubleshooting: listen, probe, rule things out. If you hear a clunk the latch likely tries to move — focus on latch mechanism maintenance (clean and lube, replace if stiff or broken). If a manual pull opens it, suspect a stretched or disconnected cable. If nothing happens and the release feels dead, check for a blown fuse affecting the release circuit.
- Latch: clean, lube, inspect for wear or binding.
- Cable: test manual pull, trace for breaks or disconnection.
- Fuse: inspect and replace if blown.
Inspect the Interior Release and Wiring: Step-by-Step
Start by checking the interior release switch for physical damage or sticking; a faulty switch is a common cause of non-opening fuel doors. Then inspect the wiring at the switch and connector for frays, corrosion, or loose pins that could interrupt the circuit. If wiring looks intact but the button still fails, test continuity with a multimeter and try the manual pull cable as a temporary workaround.
Check Release Switch
Inspect the interior release switch and its wiring for visible damage or wear that could prevent operation. You’ll approach the release mechanism with focused troubleshooting techniques: verify the switch housing, test actuation, and isolate electrical faults. Press the button repeatedly to check for intermittent response; document behavior.
- Visually inspect switch for cracks, corrosion, or loose mounting that hinders motion.
- Use a multimeter to measure voltage at the switch while actuating; no voltage points to switch or upstream control faults.
- Check wiring insulation near the switch for frays or breaks that interrupt the circuit; avoid tracing deeper connections here.
If switch and immediate wiring look good, lubricate the mechanism lightly with WD40 and retest for liberation.
Inspect Wiring Connections
Begin by removing the trim around the interior release button so you can access the switch and its wiring; you’ll be checking for loose connectors, corrosion, and any pinched or broken insulation that can interrupt the circuit. Inspect the button for wear and test each connector visually and by gentle tug. Follow wiring diagrams in your service manual to trace the circuit to the fuel-door actuator. Use a multimeter for electrical troubleshooting: check continuity, voltage at the switch with button pressed, and ground integrity. Clean corroded terminals, repair or replace damaged insulation, and secure loose pins. Check the latch area for debris that could mimic an electrical fault. If faults persist, escalate to a professional with your diagnostics documented.
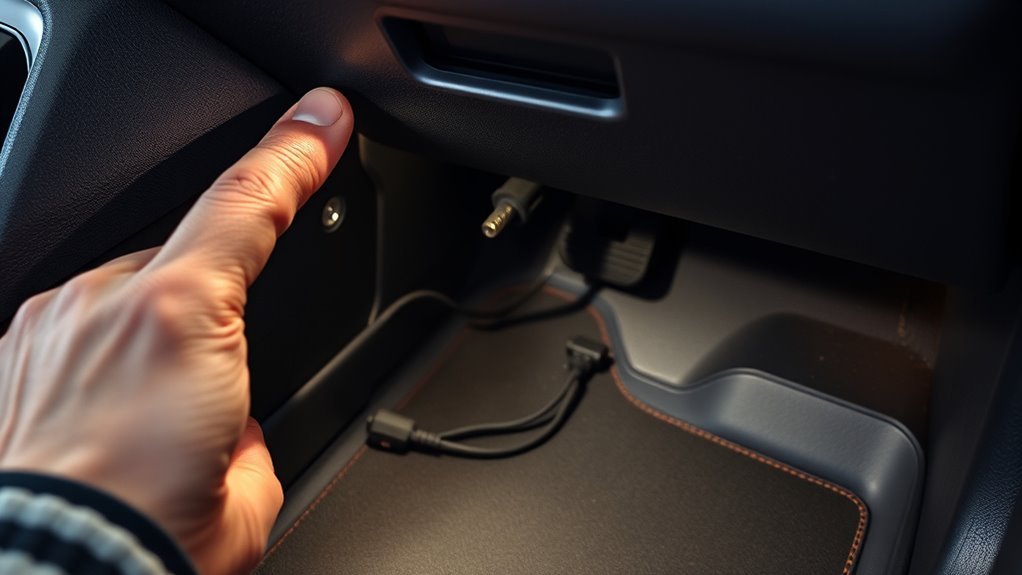
Access and Test the Manual Release Cable (2014 Sonata Hybrid)
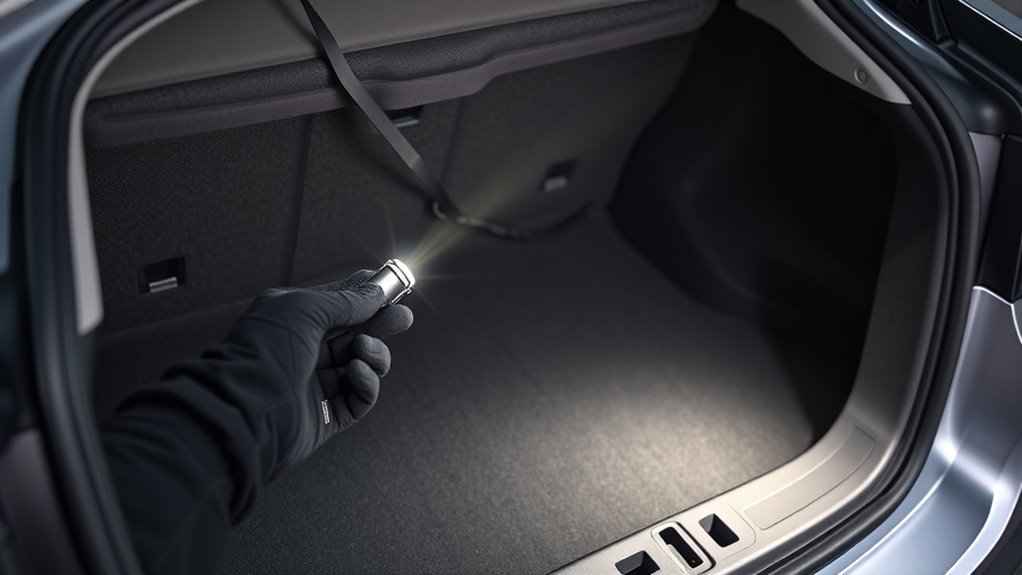
Next, locate the manual release cable by removing the interior panel near the fuel door release button and trace it to the latch. Inspect the cable and housing for frays, kinks, or corrosion, then pull the cable firmly to operate and test the mechanism. If it’s stiff or unresponsive, apply a penetrating lubricant and test again, tapping the latch gently while pulling if needed.
Locate The Release Cable
Locate the manual release cable inside the cabin—usually along the driver’s-side kick panel or under a small trim cover near the seat—and remove the cover to access the cable assembly. You want clear release cable location and cable accessibility so you can test or free the mechanism without delay. Feel for the cable sheath and the pull loop; it should be anchored and run toward the fuel door latch.
- Visually inspect behind the panel for a plastic or metal cable with a pull tab; confirm mounting points and slack.
- Gently pull the cable while listening for a click or movement at the fuel door; this verifies connectivity.
- If stiff, note accessibility for lubrication or a replacement route to regain control and freedom.
Inspect Cable For Damage
Remove the interior panel near the fuel door release button to access the manual release cable, then visually inspect the cable for fraying, kinks, corrosion, or breaks and confirm it’s securely fastened at both ends. Follow the cable routing from the release lever to the latch, noting any sharp bends or pinch points that will accelerate wear. Perform a corrosion check on exposed metal ferrules and attachment points; surface rust can impede motion and signal replacement. Verify clips and anchor points are intact so the cable retains correct tension. If the sheath is split or inner wire is frayed, plan immediate replacement to restore reliable operation and preserve your independence from roadside constraints. Keep lubrication as a later, targeted intervention.
Operate And Test Mechanism
Access the manual release cable by folding the rear seat and reaching beneath the cushion or along the fuel filler neck cover; you’ll pull the cable to confirm it actuates the latch and observe any binding or slack. Test deliberately: tug the cable, watch the fuel door, note resistance. If it frees the latch, you’ve restored access; if not, proceed with targeted repairs.
- Inspect for fraying, disconnection, or corrosion; document exact failure points as part of troubleshooting tips.
- Try a credit card to release the latch if cable action is inconsistent, then re-evaluate cable routing and connections.
- Apply WD40 sparingly to pivot points and re-test movement to prevent recurrence and reclaim control over your vehicle.
Common Fuel-Door Panel Problems and How to Spot Them
When the fuel-door button on a 2014 Sonata Hybrid Limited starts giving only a clunk and no release, you’re likely seeing the early signs of a failing release mechanism—usually a sticky latch, stretched cable, or worn actuator. Inspect the panel visually: look for misalignment, corrosion, or plastic deformation around the hinge and latch. Note how different fuel door designs affect access to fasteners and cables; some hide the actuator behind trim. Rely on user experiences: repeated clunks, intermittent operation, and the need for manual cable pulls point to progressive wear. Check for stiff movement or slack in the pull cable and for electrical noise or silence at the actuator when you press the button. These signs let you diagnose failure mode and plan decisive repair.
Home Fixes: Lubrication, Tapping, and Latch Cleaning
Start by trying simple, low-cost remedies that often restore a sticky fuel-door on a 2014 Sonata Hybrid Limited: you want efficient fuel door maintenance that frees you from repeated jams. First, spray a light penetrating lubricant (WD‑40) into the hinge and latch; latch lubrication reduces friction and often fixes binding. Second, clean the mechanism—remove dirt and debris with a brush and solvent so the parts move freely. Third, if the interior button stalls, tap the door area while pressing it; the impact can unstick the latch and let you access the tank. Quick workaround: slide a credit card to release the latch from outside if needed. These steps are practical, technical, and empowering—do them to regain control and prevent repeat failures.
When to Replace the Cable or Latch : Parts and Signs
Diagnosing the need for a new cable or latch starts with consistent failure patterns: if pressing the interior release yields only a clunk, or you repeatedly have to pull the manual cable or use external tricks to open the door, the actuator or cable is likely compromised and should be replaced. You’ll want to inspect for frayed cable, sticky latch, or repeated WD40 fixes that only last briefly. Affected Sonatas (notably 2014 Hybrid Limited) suggest a design weak point; don’t tolerate recurring failures—choose liberation by replacing worn parts.
| Sign | Action |
|---|---|
| Clunk sound | Plan latch replacement |
| Manual pulls needed | Replace cable |
| Temporary lubrication | Schedule parts swap |
Prioritize cable maintenance and prompt latch replacement to avoid future entrapment.
Cost, Time, and Prevention Tips From Owners
After you’ve identified a failing cable or latch, you’ll want to weigh cost, time, and simple prevention steps so the problem doesn’t repeat. Expect $50–$150: DIY parts and tools at the low end, shop labor at the high end. Troubleshooting and quick repairs usually take about 30 minutes if you use manual cable pull, tapping, or a targeted lubricant application. Prioritize a maintenance checklist that protects fuel efficiency and overall reliability.
- Lubricate latch and pivot with WD-40 or silicone spray every few months to prevent buildup and sticking.
- Inspect and clean the latch, cable path, and surrounding seals during routine service to catch wear early.
- Check trunk release function too; shared mechanisms can indicate systemic wear.
Frequently Asked Questions
How to Fix a Stuck Fuel Door?
Pull the manual trunk cable, spray WD40 on the latch, tap gently, or use a credit card to release; you’ll solve fuel door troubleshooting, address common fuel issues, and reclaim control with simple, practical mechanical liberation.
Why Is My Hyundai Fuel Tank Not Opening?
Like a stubborn lock refusing freedom, your Hyundai’s fuel door malfunction usually stems from a broken interior release, jammed latch, or stretched cable; try Hyundai troubleshooting steps, manual release, lubrication, or replace the latch to reclaim control.
What Is the Recall on the Hyundai Sonata Fuel Tank?
The recall on the Hyundai Sonata fuel tank addresses fuel tank safety by fixing cracks or leaks that can cause fire hazards; you’ll get recall details and free dealer inspections and repairs so you’re protected and regain control.
How Much Does It Cost to Replace a Fuel Door Actuator?
“Where there’s a will, there’s a way.” You’ll pay about $100–$300 for fuel door actuator replacement, parts $50–$150, labor $50–$150/hour, DIY saves labor but needs tools and mechanical know-how for proper installation.
Conclusion
When a stuck fuel door acts like a stubborn vault, don’t panic — you can usually pry it open and fix the root cause without a tow. Start with quick emergency methods, then diagnose latch, cable, or fuse issues using the inspection steps and manual-release technique. Lubrication, targeted tapping, or latch cleaning often restores function; replace the cable or latch if frayed or seized. Prevent future trouble with periodic checks and light lubrication.