You’ll flush your 5th‑Gen 4Runner by keeping the master cylinder topped, following the bleed order (rear passenger, rear driver, front passenger, front driver), and using vacuum or manual bleeding to remove water‑contaminated DOT‑3 fluid and air. Protect paint, use clear tubing and catch bottles, and monitor fluid clarity and pedal firmness. Tighten bleeders when fluid runs clear and bubble‑free, check for leaks and ABS warnings, and document service—continue for step‑by‑step setup, tips, and troubleshooting.
Brake-Flush Goals for a 5th Gen 4Runner
Even if your 5th‑Gen 4Runner hasn’t shown brake issues, you should flush the fluid every 2 years or 60,000 miles to prevent moisture absorption and corrosion that degrade calipers, lines, and ABS components. Your goal is to restore system integrity: remove water-laden brake fluid, purge air, and confirm leak-free components so you regain confident control. Start bleeding at the rear passenger, then rear driver, front passenger, and finish front driver to follow the recommended sequence and maximize air removal. Keep the reservoir above one-quarter full throughout to avoid drawing air into the lines. Use a method that lets you work cleanly and, if you want autonomy, choose tools that let one person operate efficiently. After flushing, inspect calipers for leaks and test pedal firmness; a responsive, non-spongy pedal verifies success. Focus on measurable outcomes—dry fluid, no leaks, firm pedal—so your maintenance importance translates into reliable braking and the freedom to drive without compromise.
Which Method Is Best for a 4Runner: Vacuum, Gravity, Pressure, or Power?
You’ll find vacuum bleeding is often the best compromise for a 4Runner—single-operator, efficient, and reliable at removing air. Gravity bleeding is the simplest option but is slow and requires careful reservoir monitoring to prevent air ingress. Pressure and power methods can speed the job, however pressure bleeders sometimes conflict with the 4Runner’s ABS and power flushing needs the ignition on, so weigh their tradeoffs before using them.
Vacuum Bleeding Pros/Cons
When you compare bleeding methods for a 4Runner, vacuum bleeding often stands out for its balance of cleanliness, control, and ease of use: it draws fluid steadily from each caliper or wheel cylinder, minimizes brake fluid spatter, and usually removes air reliably without needing a helper. You’ll appreciate vacuum efficiency when you want consistent flow rates and minimal contamination. Pros: clean, controlled extraction; simple setup; effective on most lines; widely recommended by DIYers who value liberation from shop dependency. Cons: less effective on some ABS/ATRAC quirks than a controlled pressure system; you must monitor reservoir level to avoid drawing air; vacuum pumps vary in quality. In practice, vacuum bleeding is a pragmatic, reliable bleeding technique for most 4Runner conditions.
Gravity Bleeding Simplicity
Although it’s slower than pressure or vacuum systems, gravity bleeding is the simplest reliable way to flush brake fluid on a 4Runner and works well if you want a low-cost, low-mess procedure. You’ll open the bleeder and let fluid flow by gravity, starting rear passenger and progressing to front driver to follow standard bleeding order. Monitor the reservoir so it never runs dry; uninterrupted flow minimizes air intrusion. Expect longer dwell time but fewer tools and less cleanup, a liberating tradeoff if you value independence. Use clear tubing and a catch bottle, inspect expelled fluid for contamination, and replace reservoir caps promptly between wheels. These DIY tips keep the job controlled, methodical, and effective without vacuum or pressure gear.
Pressure/Power Bleeder Tradeoffs
Because ABS systems in the 4Runner are sensitive to backpressure and electrical signals, you should weigh the risk of triggering codes or damaging components before choosing a pressure- or power-based bleeder. You’ll usually favor vacuum or gravity methods for reliability and control. Pressure bleeder risks include overpressurizing lines and confusing ABS valves; power bleeder complications stem from engaging the vehicle’s pump and modules. Choose based on control, speed, and tolerance for diagnostic follow-up.
| Method | Tradeoff |
|---|---|
| Vacuum | Clean, controlled; slightly slower at rear circuits |
| Gravity | Simplest; slowest, needs patience |
| Pressure | Fast; risk: pressure bleeder risks |
| Power | Quick; risk: power bleeder complications |
Select vacuum or manual for liberation from headaches and needless codes.
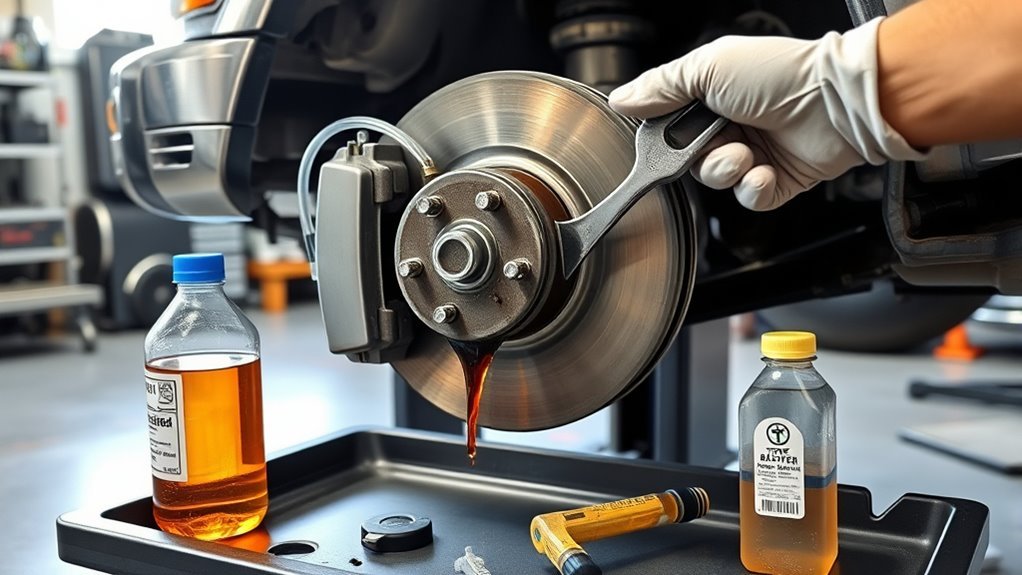
Tools and Supplies Checklist for a Safe 4Runner Brake Flush
A complete toolkit and supplies list prevents delays and contamination during a 4Runner brake fluid flush, so gather DOT-3 fluid, catch bottles with clear tubing, cleaning gear, weights for pedal pressure, and the correct wrench sizes before you start. You’ll need at least two 32 oz. bottles of DOT-3 brake fluid; that volume covers a full system exchange and aligns with common brake fluid types guidance. Prepare two plastic bottles and clear tubing to route expelled fluid into sealed containers; label and cap them to prevent spills.
Bring brake cleaner, shop towels, and disposable gloves to keep the master cylinder and surrounding components clean—contamination kills performance. For consistent rear-bleed pressure use weights such as filled ammo cans to hold the pedal down steadily. Finally, select wrenches matching your 4Runner bleeder valve sizes; a secure fit prevents stripped fittings and wasted time. This checklist supports reliable brake system maintenance while you reclaim control of your vehicle’s safety.
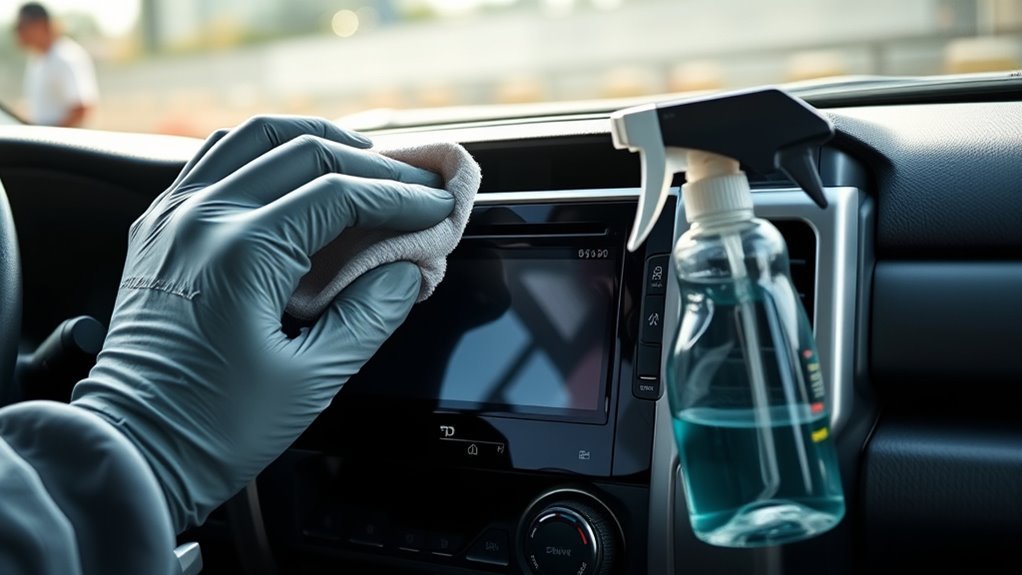
Prep: Access the Master Cylinder and Protect Paint and Components
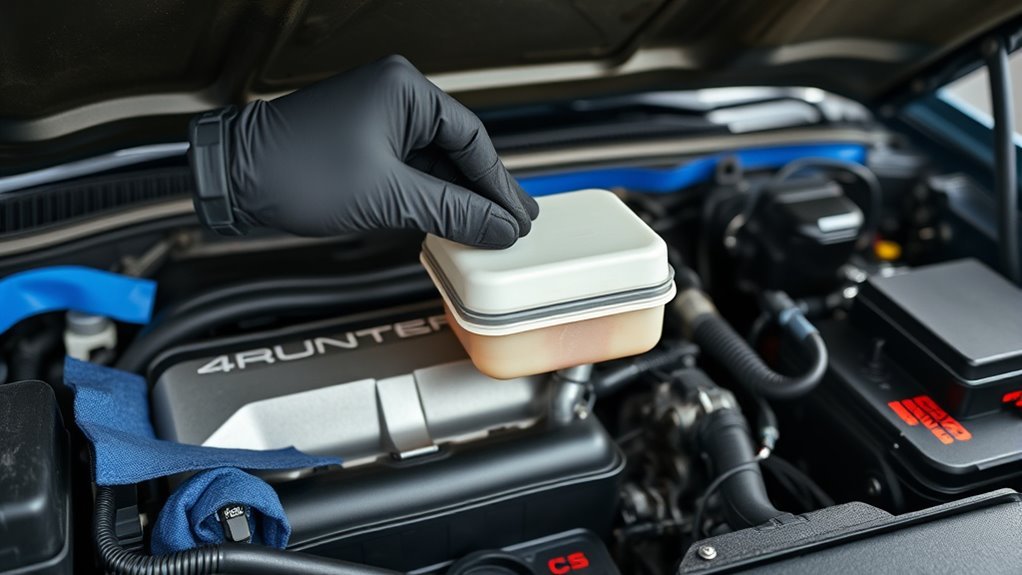
Start by parking the 4Runner on level ground, shutting off the engine, and removing the engine cover if fitted to access the master cylinder reservoir. Clean the area around the reservoir cap with a lint-free cloth to remove dirt and debris; contamination will compromise the procedure. Don disposable gloves before touching fluid—brake fluid is corrosive to skin and finishes.
Drape a protective tarp or absorbent cloth over adjacent painted surfaces and components; secure edges so wind or movement won’t expose paint. Position a small catch tray under the master cylinder area to catch drips. Verify the fluid level is above the “MIN” mark; top with correct DOT-rated fluid only if needed, wiping any spills immediately.
Work deliberately: loosen the reservoir cap slowly to avoid splatter, and keep rags and solvent nearby for cleanup. These precautions protect the master cylinder integrity and guarantee paint protection while you proceed to bleeding.
Full Step-by-Step Bleed Sequence (Rear Passenger → Rear Driver → Front Passenger → Front Driver)
Someone will begin the bleed sequence at the rear passenger wheel; work methodically from rear passenger → rear driver → front passenger → front driver, opening each bleeder valve, pumping the brake pedal, and watching the expelled fluid for clarity and absence of air bubbles before closing the valve.
You’ll attach a clear hose, press the pedal steadily, and monitor the line. Move to rear driver and repeat, keeping the reservoir above the 1/4 mark to avoid introducing air. At front passenger, pump, open, observe clarity, and avoid letting the master cylinder run dry. Finish at front driver, confirming only clean brake fluid exits and pedal feel is firm. These maintenance tips free you from uncertainty and keep stopping power reliable.
| Wheel | Action | Acceptance |
|---|---|---|
| Rear Passenger | Pump, open, observe | Clear, no bubbles |
| Rear Driver | Pump, open, observe | Clear, no bubbles |
| Front Passenger | Pump, open, observe | Clear, no bubbles |
| Front Driver | Pump, open, observe | Clear, firm pedal |
How to Bleed Rear Brakes Using the Ignition‑On Power Trick (Safe Steps)
Turn the ignition to ON (don’t start the engine) to energize the brake system, confirm the reservoir is above the MIN line, then sit in the driver’s seat and use a weight or steady foot pressure on the pedal while you crack the rear bleeder valve to force fluid and air out. With the system powered, you’ll keep steady pedal pressure so the ABS and brake booster remain active; this lets trapped air move toward the rear bleeder. Open the rear bleeder slightly, watch for bubbles, and collect expelled brake fluid in a clear container. When fluid runs clear and bubble-free, tighten the bleeder promptly to avoid ingress. Check the bleeder for leaks and verify the reservoir level periodically, topping with fresh brake fluid as needed. This ignition-on power trick is a controlled bleeding technique that minimizes pedal cycling and preserves your right to self-reliance. Repeat if bubbles persist, maintaining cleanliness and proper disposal of old brake fluid.
How to Bleed Front Brakes (Passenger Then Driver) : Vacuum and Manual Options
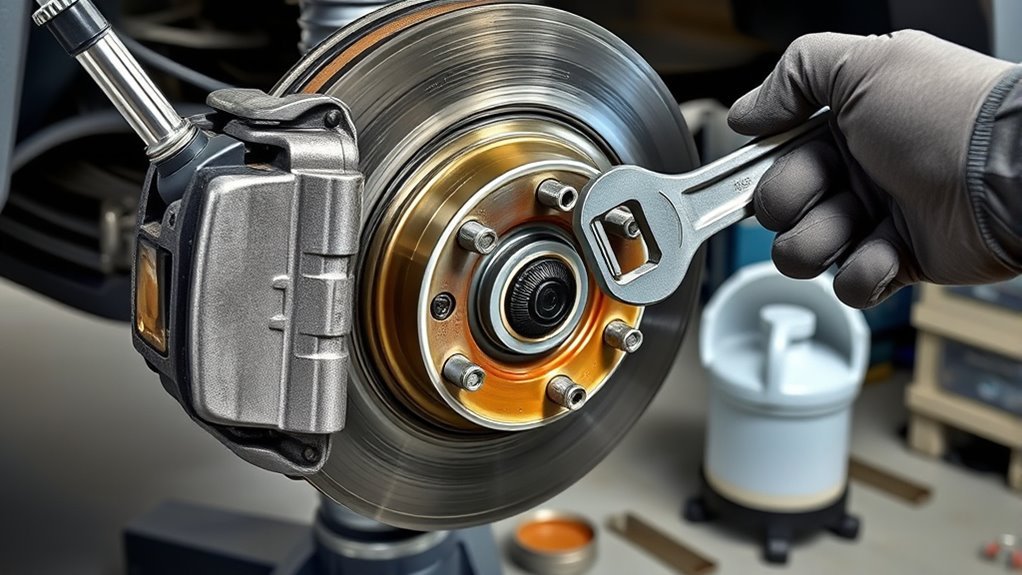
Start by removing and cleaning the brake fluid reservoir cover to prevent contamination. For the passenger front, set up a vacuum bleeder on the bleeder valve and run suction while you open the valve until clear fluid appears, or have an assistant pump the pedal several times then hold pressure for the manual method. Repeat the same procedure on the driver side, checking fluid level frequently to avoid introducing air.
Vacuum Bleeder Setup
Before you begin, make sure the brake fluid reservoir is clean and topped with fresh DOT-3 fluid; you’ll keep it full throughout the process to avoid drawing air into the system. Set the vehicle secure and access the front passenger wheel. Locate the bleeder valve, attach clear tubing, and route the other end into a transparent catch bottle so you can monitor brake fluid and air evacuation. Connect your vacuum bleeder to the tubing, verify seals, then activate the pump to establish vacuum efficiency. Open the bleeder valve and watch for continuous, bubble-free fluid; close the valve when clear. Move to the driver side and repeat, maintaining reservoir level. Finish by checking pedal feel and inspecting bleeder valves for leaks.
Manual Pedal Technique
Prepare to bleed the front brakes by removing the reservoir cap, wiping the area clean, and keeping the reservoir topped with fresh DOT-3 fluid throughout the procedure; you’ll work the passenger caliper first, then the driver. You pump the pedal several times to build pedal pressure, hold it down, and an assistant opens the passenger bleeder to expel old brake fluid and air. Watch fluid color; when it runs clear, close the valve before the assistant releases the pedal to avoid sucking air back in. Maintain reservoir level, then repeat at the driver side.
- Pump, hold, open bleeder — monitor fluid until clear.
- Close bleeder before releasing pedal; top reservoir as needed.
- Use a vacuum pump if solo for cleaner, faster results.
Keep the Reservoir Topped : Avoid Introducing Air Into the Master Cylinder
Because even a brief drop in reservoir level can draw air into the master cylinder, keep the brake fluid reservoir above the 1/4 mark throughout the bleed or flush. You’ll preserve brake fluid importance and perform disciplined reservoir maintenance by monitoring levels constantly and topping off from a sealed spare bottle. If the tank runs low, air enters the master cylinder and you’ll get spongy brakes and reduced performance.
| Task | Frequency | Notes |
|---|---|---|
| Check level | Every 1–2 pumps | During manual pedal technique |
| Top off | As needed | Use fresh DOT-specified fluid |
| Spare bottle | At hand | Keep cap sealed |
| Method watch | Continuous | Vacuum/power flush uses more fluid |
Work methodically: check before each wheel, keep the cap clean, avoid contamination, and never let the reservoir sit near empty. This approach frees you from repeat bleeds and keeps braking reliable while you complete the flush.
Troubleshooting: Air, Leaks, ABS Warnings, and What to Do Next
If you get a soft pedal, notice fluid pooling, or see an ABS warning after a flush, stop driving and diagnose immediately to avoid compromised braking. Check pedal pressure first: pump the brake pedal to confirm sponginess. A persistent soft brake pedal usually means air in the lines; repeat bleeding until firm.
If brakes feel soft, see leaks, or ABS lights appear after a flush—stop, bleed, and diagnose immediately.
- Inspect for fluid leaks at calipers, lines, and bleeder valves. Any fluid leaks reduce hydraulic pressure and must be fixed before retesting pedal pressure.
- If the ABS module triggers a warning, suspect trapped air in the ABS module or an electronic fault. Use the ABS bleed procedure or a scan tool to cycle and purge the module; reset codes only after proper bleeding.
- Keep the reservoir above minimum during all operations to prevent drawing air into the master cylinder. After repairs and bleeding, perform a controlled road test to verify firm pedal response and absence of leaks.
Post-Flush Checks, Service Intervals, and When to Call a Pro
After flushing the brake fluid, inspect all calipers, lines, and bleeder valves for leaks and confirm the reservoir level sits between “MIN” and “MAX,” then test the pedal for a firm, non‑sinking response; any soft feel, visible seepage, or ABS warnings means recheck seals, top up and rebleed as needed, and halt road testing until the system is verified.
Document the date and odometer reading for fluid maintenance: schedule the next flush at two years or 60,000 miles, whichever comes first, to prevent moisture ingress and protect system components. Monitor brake performance during initial drives—consistent pedal travel, immediate engagement, and no warning lights indicate a successful service. If you encounter intermittent softness, unresponsive ABS activation, or visible contamination, stop and diagnose; complex ABS systems can trap air and require scan tools or bench bleeding. When you’re uncertain, lack specialized tools, or face recurring faults, call a qualified technician. That preserves your autonomy on the road while ensuring safe, reliable braking.
Frequently Asked Questions
How Often Should I Flush Brake Fluid on My 4runner?
You should flush brake fluid every two years or about 60,000 miles to preserve brake fluid maintenance and guarantee 4Runner longevity. Do it routinely, follow specs, and don’t delay to protect braking reliability and freedom.
How Much Is a Brake Fluid Flush on a Toyota?
Expect about $75–$150 at shops; you can DIY for under $20 using DOT brake fluid types. Satirically rejoice — the flushing process liberates trapped moisture; follow methodical steps, and you’re freed from costly dealer labor.
Conclusion
You’ve followed the checklist and bled each wheel in sequence, keeping the reservoir full and watching for leaks and ABS faults—now you’ve got brakes that feel like they just rolled off the assembly line. Like a ship’s captain checking rigging after a storm, you’ve verified lines, pedal travel, and system pressure before you head out. If anything still feels soft or a warning light lingers, stop and call a professional; safety isn’t a DIY badge, it’s a responsibility.