Park on level ground, turn off the engine, remove keys, and wear gloves and eye protection. Open the sunroof fully, wipe glass and trim with mild detergent, and vacuum or blow out debris from the tracks. Clean rubber seals gently, dry them, then apply a silicone spray every 3–6 months; avoid petroleum products. Use flexible line and compressed air to clear drains, pour water to test flow, and cycle the sunroof to distribute lubricant—more step‑by‑step guidance follows.
Safety & Prep Checklist Before You Start
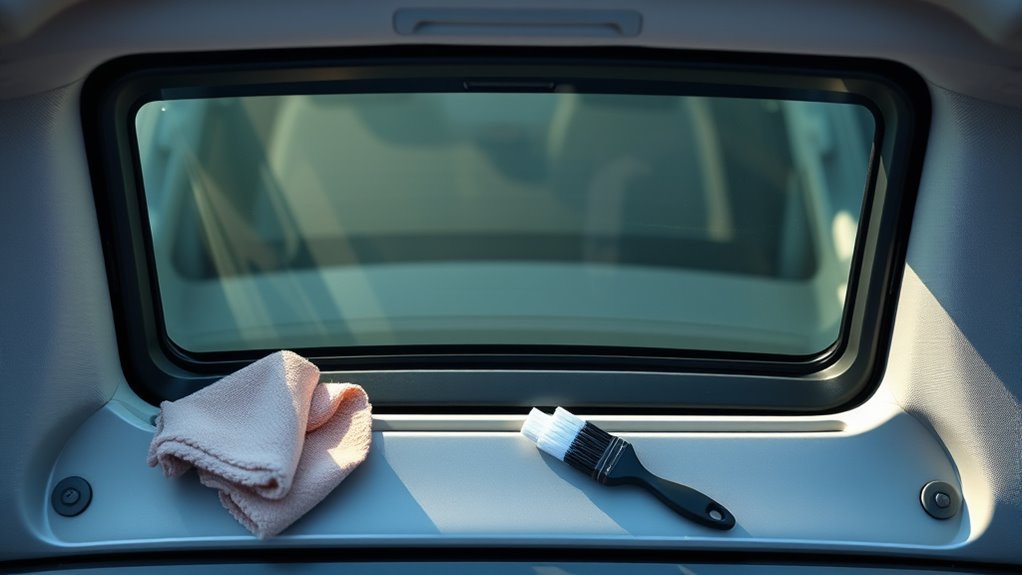
Before you start, park on level ground, turn the engine off, and clear the work area so the vehicle can’t move and you won’t trip over loose items. Confirm the 4Runner is stable and keys are removed. Put on safety gear: gloves and eye protection to guard against sharp edges and debris. Assemble cleaning supplies and tools: soft cloth, mild detergent, soft brush, lubricant, vacuum or compressed air. Keep supplies within reach to avoid leaving the vehicle unattended.
Inspect the sunroof perimeter for obvious obstructions and remove loose items from the cabin. Check drainage exits visually and plan access to tracks. Work with a partner if the sunroof mechanism needs manual positioning. Maintain a clean footprint: contain removed debris and dispose of it responsibly. You’re reclaiming control of your vehicle’s function and freedom of movement—stay deliberate, follow the checklist, and proceed only when each item is confirmed complete.
How to Clean 4Runner Sunroof Glass, Tracks & Trim
Start by opening the sunroof fully (or to the service position specified in your owner’s manual) so you can access the glass, tracks, and trim; wear gloves and eye protection, keep tools nearby, and work on level ground. Wipe the glass with a mild detergent or automotive glass cleaner using a soft, lint-free cloth; don’t use abrasives. Inspect tracks visually, remove loose debris with a soft brush or compressed air, and perform targeted debris removal to prevent blockages. Apply the manufacturer-recommended lubricant sparingly to tracks and hinges, cycling the sunroof to distribute it evenly. Check rubber seals for cracks, deformation, or hardening; replace damaged seals to restore insulation and prevent leaks and wind noise. Clean trim surfaces with a gentle cleaner and soft brush, avoiding contact with electrical components. Finish by cycling the sunroof several times to confirm smooth operation. Schedule routine professional inspections for motor and drainage verification to protect your freedom from costly failures.
How to Inspect & Clear 4Runner Sunroof Drain Channels
After cleaning the glass, tracks, and trim, inspect the sunroof drain channels to prevent water intrusion. You’ll begin visual checks for leaves, dirt, and grit in the visible channel mouths; drain channel maintenance requires regular attention. Use a soft brush to remove loose material, then apply short bursts of compressed air to clear remaining surface debris without forcing it deeper. Employ debris removal techniques that prioritize gentle agitation over force.
Locate the drain exits—commonly near the rear wheel wells—to confirm access for tools. If you find a blockage, insert a flexible tool such as string trimmer line and work it back and forth slowly to dislodge obstructions; don’t force rigid rods that can deform channels. After clearing, recheck channel paths for residual debris and wipe accessible areas clean. Maintain a schedule for inspection and cleaning to protect the cabin from leaks and to keep your sunroof functioning freely and reliably.
How to Test Drain Flow and Confirm Drains Are Clear
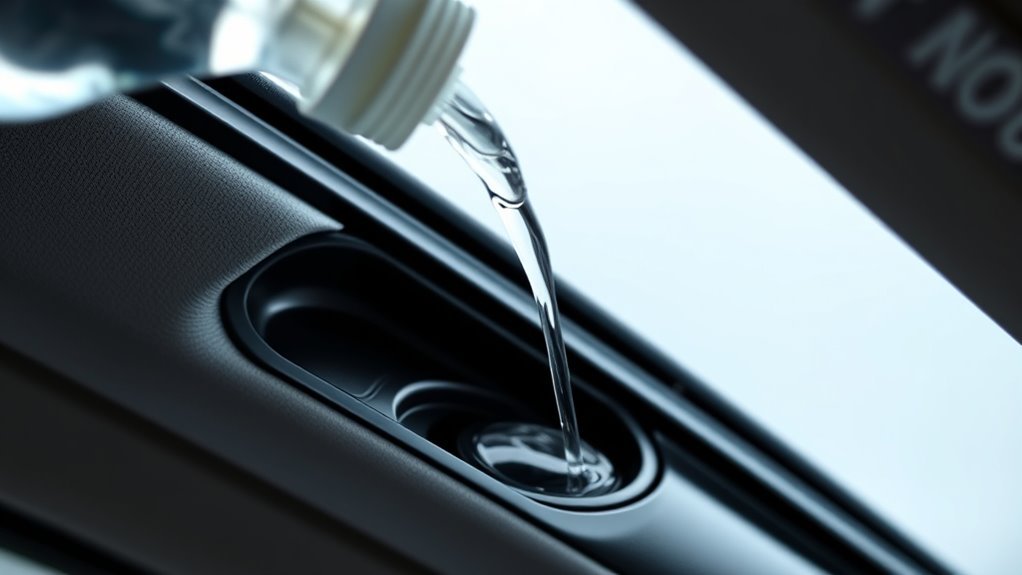
Pour a small amount of water into the sunroof channel and watch the flow toward the designated drain exit points. Make sure you’ve cleared surface debris by hand first so the test reflects the tube condition, then inspect the rear wheel-well exit for steady runoff. If water stalls or leaks into the cabin, feed a length of trimmer line gently into the drain tube and move it back and forth to dislodge the obstruction.
Pour Water Into Channel
One quick test confirms whether your sunroof drains are clear: remove loose debris from the channel by hand, then add a small, steady stream of water at the sunroof opening and watch the exit points (usually in the wheel wells) for prompt flow. This simple procedure is core to sunroof maintenance and drainage troubleshooting. Pour water slowly, observe, and act immediately on abnormal behavior.
- Use a cup or low-flow bottle to control volume and avoid overpressurizing the system.
- Watch for pooling in the channel; pooling signals a blockage needing mechanical clearing.
- Repeat after heavy rain to validate drain integrity and prevent cabin leaks.
- If flow stalls, feed a flexible trimmer line through the tube to dislodge obstructions.
Inspect Drain Exit Points
How can you confirm your 4Runner’s sunroof drains are clear? Pour a small amount of water into the sunroof channel and watch each corner exit point. Inspect drain exit points for visible debris or clogs; water should flow freely. This drain maintenance routine verifies flow and supports leakage freedom.
If flow stalls, clear surface debris with a soft brush or use compressed air to dislodge loose particles. For persistent obstructions, insert a flexible tool like trimmer line carefully into the drain to break up the blockage without pushing it deeper. Test again after clearing. Repeat regularly, especially after heavy rain. Routine checks are essential for blockage prevention and to keep your cabin dry and your mobility uncompromised.
Lubricate Sunroof Tracks & Hinges (Recommended Products)
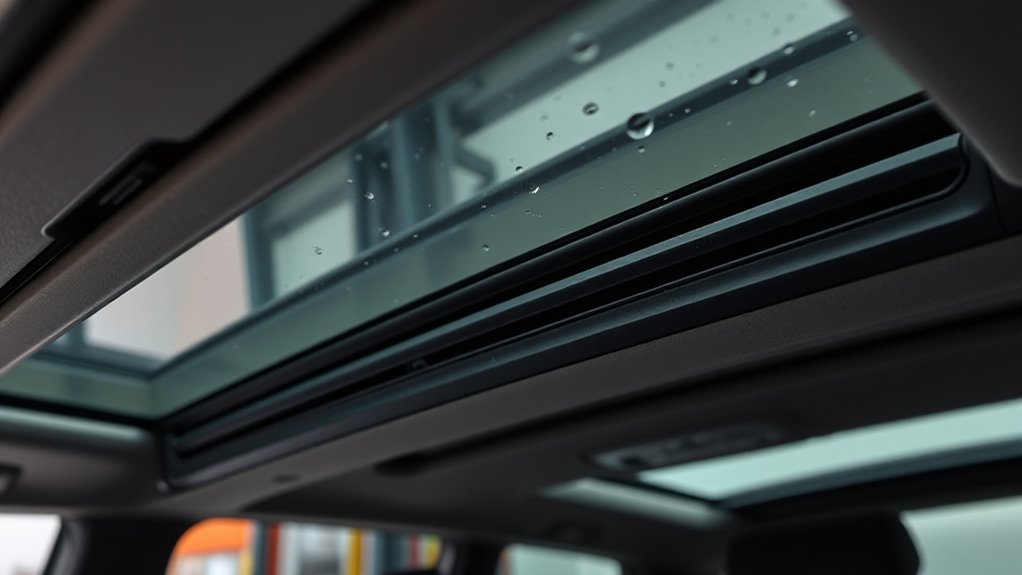
Start by selecting a lubricant formulated for automotive use—silicone spray or lithium grease are ideal—so you avoid damaging seals or metal components. Use these sunroof maintenance tips and precise lubricant application methods to free your 4Runner from stiffness and hesitation. Consult the owner’s manual for approved products to protect warranty and performance.
Select automotive-grade lubricant—silicone spray or lithium grease—apply sparingly to tracks and hinges, cycle to ensure smooth operation.
- Apply lubricant sparingly to tracks and hinges; excess attracts dirt and undermines movement.
- Lubricate at least twice yearly, more often with frequent use or harsh exposure.
- After applying, manually cycle the sunroof several times to spread lubricant evenly and verify smooth travel.
- Focus on hinge pivots and sliding channels; avoid seal faces and contact points that require different care.
Work deliberately and reclaim control of your vehicle’s mechanisms. You’ll preserve parts, prevent binding, and maintain reliable operation without introducing contaminants. Follow procedural steps, record intervals, and choose specified products for lasting liberation of motion.
Inspect, Clean & Spot‑Repair 4Runner Sunroof Rubber Seals
Inspect the sunroof seals for cracks, hardening, or gaps and verify the rubber molding compresses evenly when closed. Clean the seal surfaces with a mild detergent and soft cloth, then dry thoroughly before treating. Spot-repair small tears with rubber adhesive or replace compromised sections to restore a watertight seal.
Inspect Seal Integrity
Check the sunroof rubber seals for cracks, deformation, or soft spots on a regular schedule—these defects let water in and increase wind noise. You’ll assess seal durability and note environmental impact from sun, ozone, and road salts. Inspect visually and by touch; document locations and severity.
- Run your fingers along the entire seal, feeling for soft spots and ridges.
- Open and close the sunroof to watch seal compression and alignment.
- After heavy rain, check the interior for fresh moisture or damp odors.
- For minor cuts, apply compatible sealant; for widespread cracking, plan replacement.
You’ll prioritize repairs that restore sealing function and minimize cabin damage, acting decisively to preserve freedom from leaks.
Clean Seal Surfaces
Wipe the sunroof seals with a soft cloth and mild detergent or automotive glass cleaner to remove dirt, road film, and residue that accelerate wear; avoid abrasive pads or solvents that can swell or dry the rubber. Inspect seals for cracks or hardening; perform checks after heavy rain. Use gentle cleaning techniques and dry thoroughly before treatment. Apply silicone spray sparingly to restore pliancy and repel moisture, supporting long-term seal maintenance. Don’t use petroleum products.
| Task | Tool | Frequency |
|---|---|---|
| Visual inspection | Bright light | Monthly |
| Cleaning | Soft cloth, mild detergent | As needed |
| Protectant application | Silicone spray | Every 3–6 months |
Maintain discipline: clean, protect, and monitor seals to prevent leaks and preserve freedom from avoidable repair.
Spot Repair Or Replace
When you find cracks, gaps, or hardened sections in the sunroof rubber, decide quickly whether a targeted repair will restore sealing or if a full replacement is needed; inspect thoroughly, clean with mild detergent, and dry before work. If damage is local, spot-repair using appropriate adhesive options that bond rubber—apply sparingly, clamp while curing, then treat with silicone spray for flexibility.
- Remove loose debris and test the area for flexibility and adhesion.
- Use a rubber-safe adhesive for small cuts; match compound to original material.
- Replace the seal when damage spans seams or multiple sections beyond repair.
- After repair or replacement, follow seal longevity tips: periodic cleaning, silicone lubrication, and scheduled inspections.
Act decisively to prevent leaks and reclaim control of your vehicle.
When to Replace Seals & Molding (How to Replace)
Inspect your 4Runner’s sunroof seals and molding every six months for cracks, deformation, or softening, and plan immediate replacement if you spot damage to prevent water intrusion and excess cabin noise. For seal replacement and molding inspection, act decisively: damaged rubber compromises waterproofing and cabin quiet; replace with OEM parts to restore integrity. You can prepare, remove old seals, and fit new molding, but you’ll want professional help for precise seating and adhesive application to maintain system alignment.
| Task | Guidance |
|---|---|
| Frequency | Every 6 months |
| Signs | Cracks, softening, deformation |
| Parts | OEM seals & molding |
| Who | DIY with skill or professional |
| Risk | Water intrusion, wind noise |
Procedure: isolate power, clean contact surfaces, strip old seal, dry channel, test-fit OEM molding, apply recommended adhesive, seat seal uniformly, allow cure time. Confirm by leak test and functional run. Replace promptly to reclaim control and freedom from leaks.
Remove Sunroof Glass & Access Headliner (Step‑by‑Step)
Start by sliding the interior shade fully back, then pry off the plastic trim pieces held by tabs to expose the four 10mm bolts—remove those bolts and lift the sunroof glass straight up and out of the frame to reveal the track and headliner below. You’re performing targeted sunroof maintenance: remove glass to inspect tracks, drains, and surrounding seals. Follow a logical sequence and protect components.
Slide the shade back, pry off trim, remove four 10mm bolts, and lift the sunroof glass to access tracks and seals.
- Pop off side trim pieces and grab handles to free the headliner edges.
- Remove sunroof trim and gently angle the headliner down toward the rear hatch opening.
- Carefully pull the headliner out through the hatch, watching for wiring and clips.
- If you need carpet access, remove front seats, center console, and door floor trim first.
Keep hardware organized and use correct tools for trim removal. Work deliberately; liberation comes from reclaiming control of your vehicle’s sealing system. Don’t force panels—note clip locations and connector orientations for flawless reassembly.
Troubleshoot Common Sunroof Leaks (By Symptom & Quick Fixes)
If the motor runs but the sunroof won’t move, check for a stripped gear or jammed track and free debris or replace the drive assembly as needed. If water’s pooling in the passenger footwell, inspect and clear clogged drain lines and verify seals for cracks or deterioration. For slow or no drain, test by pouring water into the sunroof channel and clear blocked tubes with compressed air or trimmer line until water flows freely.
Motor Runs But Stuck
When the motor runs but the sunroof won’t move, check the tracks and drain channels for obstructions or debris that can jam the mechanism and trap water. You’ll apply practical troubleshooting tips to regain freedom: inspect seals for cracks, clear drains, lubricate tracks, and verify cable motion. Use these steps in sequence and stay methodical.
- Visually clear tracks of dirt, grit, leaves; remove with a soft brush and vacuum.
- Pour water into the channel to test drains; if pooling occurs, snake the drain and re-test.
- Inspect rubber seals for tears or hardening; replace if compromised to prevent leaks and binding.
- Lubricate rails and hinges with the OEM-recommended lubricant; cycle the sunroof to distribute.
If it still binds, consult a technician to test the sunroof motor and cables.
Water In Footwell
Because water in the footwell usually means the sunroof drains or seals are failing, you should first inspect and clear the drain lines and surrounding channels to stop water entering the cabin. Use a string trimmer line or compressed air to dislodge blockages; push gently to avoid internal damage. Examine rubber seals for cracks, hardening, or separation and replace any degraded sections to restore sealing integrity. Remove debris from the sunroof track and channels; rinse and dry before reassembly. Perform a controlled water test by pouring into the sunroof channel and observing outlet flow to confirm proper drainage. Address discovered leaks immediately to prevent mold and interior damage. These procedural steps support rigorous sunroof maintenance and effective leak prevention.
Slow Or No Drain
Although slow or blocked sunroof drains often start as minor clogs, they’ll quickly cause pooling and dampness in the footwell if you don’t address them. You’ll want to diagnose drainage issues methodically: inspect visible channels, test flow, and clear obstructions before moisture spreads. Use maintenance tips to keep drains free and seals effective so you regain control of your cabin.
- Visually inspect drain openings for leaves, grit, or compression of rubber components.
- Test by pouring a small amount of water into the sunroof channel and watching the exit points for steady flow.
- Clean channels with a soft brush or compressed air; avoid forcing debris deeper.
- If flow remains slow, feed flexible trimmer line through tube to extract blockages; recheck seals for cracks.
Preventive Maintenance Schedule & Tips to Avoid Leaks
To keep your 4Runner’s sunroof leak-free and operating smoothly, clean the tracks and seals with a mild detergent or automotive glass cleaner on a regular schedule, inspect and clear drain channels every few months, and lubricate tracks and hinges at least twice a year per the owner’s manual; also check rubber seals for cracks and arrange an annual professional inspection to verify motor, cable, and drainage system integrity. For sunroof maintenance and leak prevention, follow a simple preventive schedule: monthly visual check of seals and tracks, quarterly drain channel clearing and debris removal, and semiannual lubrication using the recommended product. Replace any cracked or aged seals immediately. During each service, cycle the sunroof to confirm smooth travel and listen for unusual motor or cable noise. Keep a log of inspections and actions to assert control over system health. Book a professional inspection annually to test motor torque, cable tension, and drain flow, preventing costly interior water damage and preserving your freedom to drive without worry.
Frequently Asked Questions
How to Clean Sunroof Seals?
Inspect seals for cracks, clean with mild detergent and soft cloth, rinse, then apply silicone spray or conditioner. You’ll prevent common sunroof issues, extend seal life, and follow sunroof maintenance tips for lasting freedom.
How to Rejuvenate Sunroof Seal?
You rejuvenate sunroof seal by cleaning with mild detergent, drying, then applying silicone spray or rubber conditioner; massage it in, cycle the sunroof to seat the seal, and inspect regularly for sunroof maintenance and improved seal longevity.
Conclusion
You’ve cleared the channels, cleaned the tracks, and lubed the hinges — think of the sunroof as a sealed compass, guiding rain away from your cabin. Keep the drains open, seals pliant, and fasteners snug; each small check is a steady hand on the wheel. Inspect, test, replace when wear shows, and schedule routine maintenance. Do this, and the roof will stay watertight, reliable, and true, season after season.